When you click on links to various merchants on this site and make a purchase, this can result in this site earning a commission. Affiliate programs and affiliations include, but are not limited to, the eBay Partner Network.
Started this a few months ago and have been posting about it on another forum, Madison Motorsports a drivers club at James Madison University (alma mater) in the Member's Projects section. I'll go ahead and copy and paste over here so some of the time references won't make sense...oh well.
As of right now, the engine is installed and has been started. I am working on the trans install. And definitely have some small things that will need to be redone.
I'll try to pull together a parts list and add it here...
Here is the car when I started, updated shot below! (hood scoop was to clear air cleaner that was on top of a 434)
Last edited by Steve85; 12-29-2022 at 03:59 PM.
Reason: Added updated shot from 2022
The next phase is a major step in a new direction. I am about 99% settled on putting in an LS based engine, L33 to be specific. The L33 is an aluminum block 5.3L truck motor that was considered a high output version with LS6 heads, higher compression and slightly bigger cam than the standard truck 5.3.
I will do some basic things like a cam and some headers but intend to keep the bottom end untouched. I should be close to 400 at the crank, quite a bit less than I have now which is fine.
With the reduced HP, better driveability and MPG, I'll be able to drive the car to work a few days a week without going broke. It's a long commute and I'm looking to make it more interesting and be able to change it up from the teggy without losing reliability and bunch of gas money.
Project cost - I should come out ahead, well sort of, I'll ignore what this stuff cost. So far I have sold:
Victor EFI intake $300
18� Spider intake $200
Accel DFI $1100
24lb Injectors $150
I still have about $3K in heads and some other misc stuff to sell for $4750 in.
Need to buy: (I ended up going with LS1 out of a 2001 Vette and using stock manifolds)
L33 $700
Cam $300
C4 LS Adapters $90
C4 LS headers $825 (might use C5 or C6 Z06 manifolds for $100 - $300 instead)
LS6 intake $320
ECM $100
F-Body/C5 oil pan $150
That's $2485 in major components (with the possibility of saving $500) plus budgeting about $1000 misc for brackets, accessories, hoses, gaskets etc for $3485 out.
Once I sold the Victor intake and DFI a couple weeks ago, I went ahead and pulled the motor: :thumbup:
Total sales = $4580 and still have short block, going well!
Purchase total so far = $2670
I took a hard look at my original idea to go with a L33 out of a truck and by the time I got it to the HP I wanted, all the vette belt driven accessories, and intake to fit under the hood, I'd be close to just getting an LS1. So I went looking at car-part.com and scored a complete vette LS1 out of a 2000 with only 54K miles for $2100. Got my hands on an LS6 intake for 320 delivered, they normally go for 350-400 + shipping and "fees" from LS1tech.com and ordered the motor mount adapters for $90 from Vettaid.com
And just scored a "621" bellhousing from eBay. Had to pay a little more than expecting but oh well. $350 less than the aftermarket one I thought I needed when I started planning this.
It's a GM bellhousing used on 60's big block 4 speed cars... and how you get an aftermarket transmission designed for an 85-88 vette to fit an engine from a 97+ vette. I'll need an LS7 pilot bearing to complete the puzzle. I love this stuff!
A few months ago I read about an aftermarket bellhousing used to mount an LS to a Muncie /BW T10. The same Muncie /BW T10 that the Doug Nash 4+3 in 84-87 vettes is based on. So I went to Richmond Gears website and started comparing input shaft lengths and bolt alignments and turns out the 6 speed I have (designed as a 4+3 replacement) is identical to the T10. Once I felt like I could resuse my trans I started building my spreadsheet for this project. The 621 BH idea came from LS1tech and was a great find to save some money.
The major hard parts are all on their way and I is excited to begin fitting. :thumbup:
I had planned to do a full integration to the car including retaining cruise control by using the drive-by-wire and redoing a stock harness. This would require a new pedal and throttle actuator control module, ~$4-500 of stuff, a few days going through the harness, finding someone to reflash the PCM and hoping that the pedal/TAC/PCM were all compatible.
Instead..EASY Button. Called PSI Conversions and they are sending me a brand new stand-alone harness for drive by cable and a PCM with emissions and anti-theft removed. It's against my DIY nature, but agrees with my wanting to avoid days or weeks of delays from one misplaced pinout or something. It's a budget strainer at $700, not "can't feed the kids" strain, just goal of "spending less than I make on the sale of SBC stuff" strain.
I should have just about everything I need by the end of February to start putting the puzzle together. I need to get it in quick before I break down and buy a cam. <-(guess I didn't move quick enough, you'll see...)
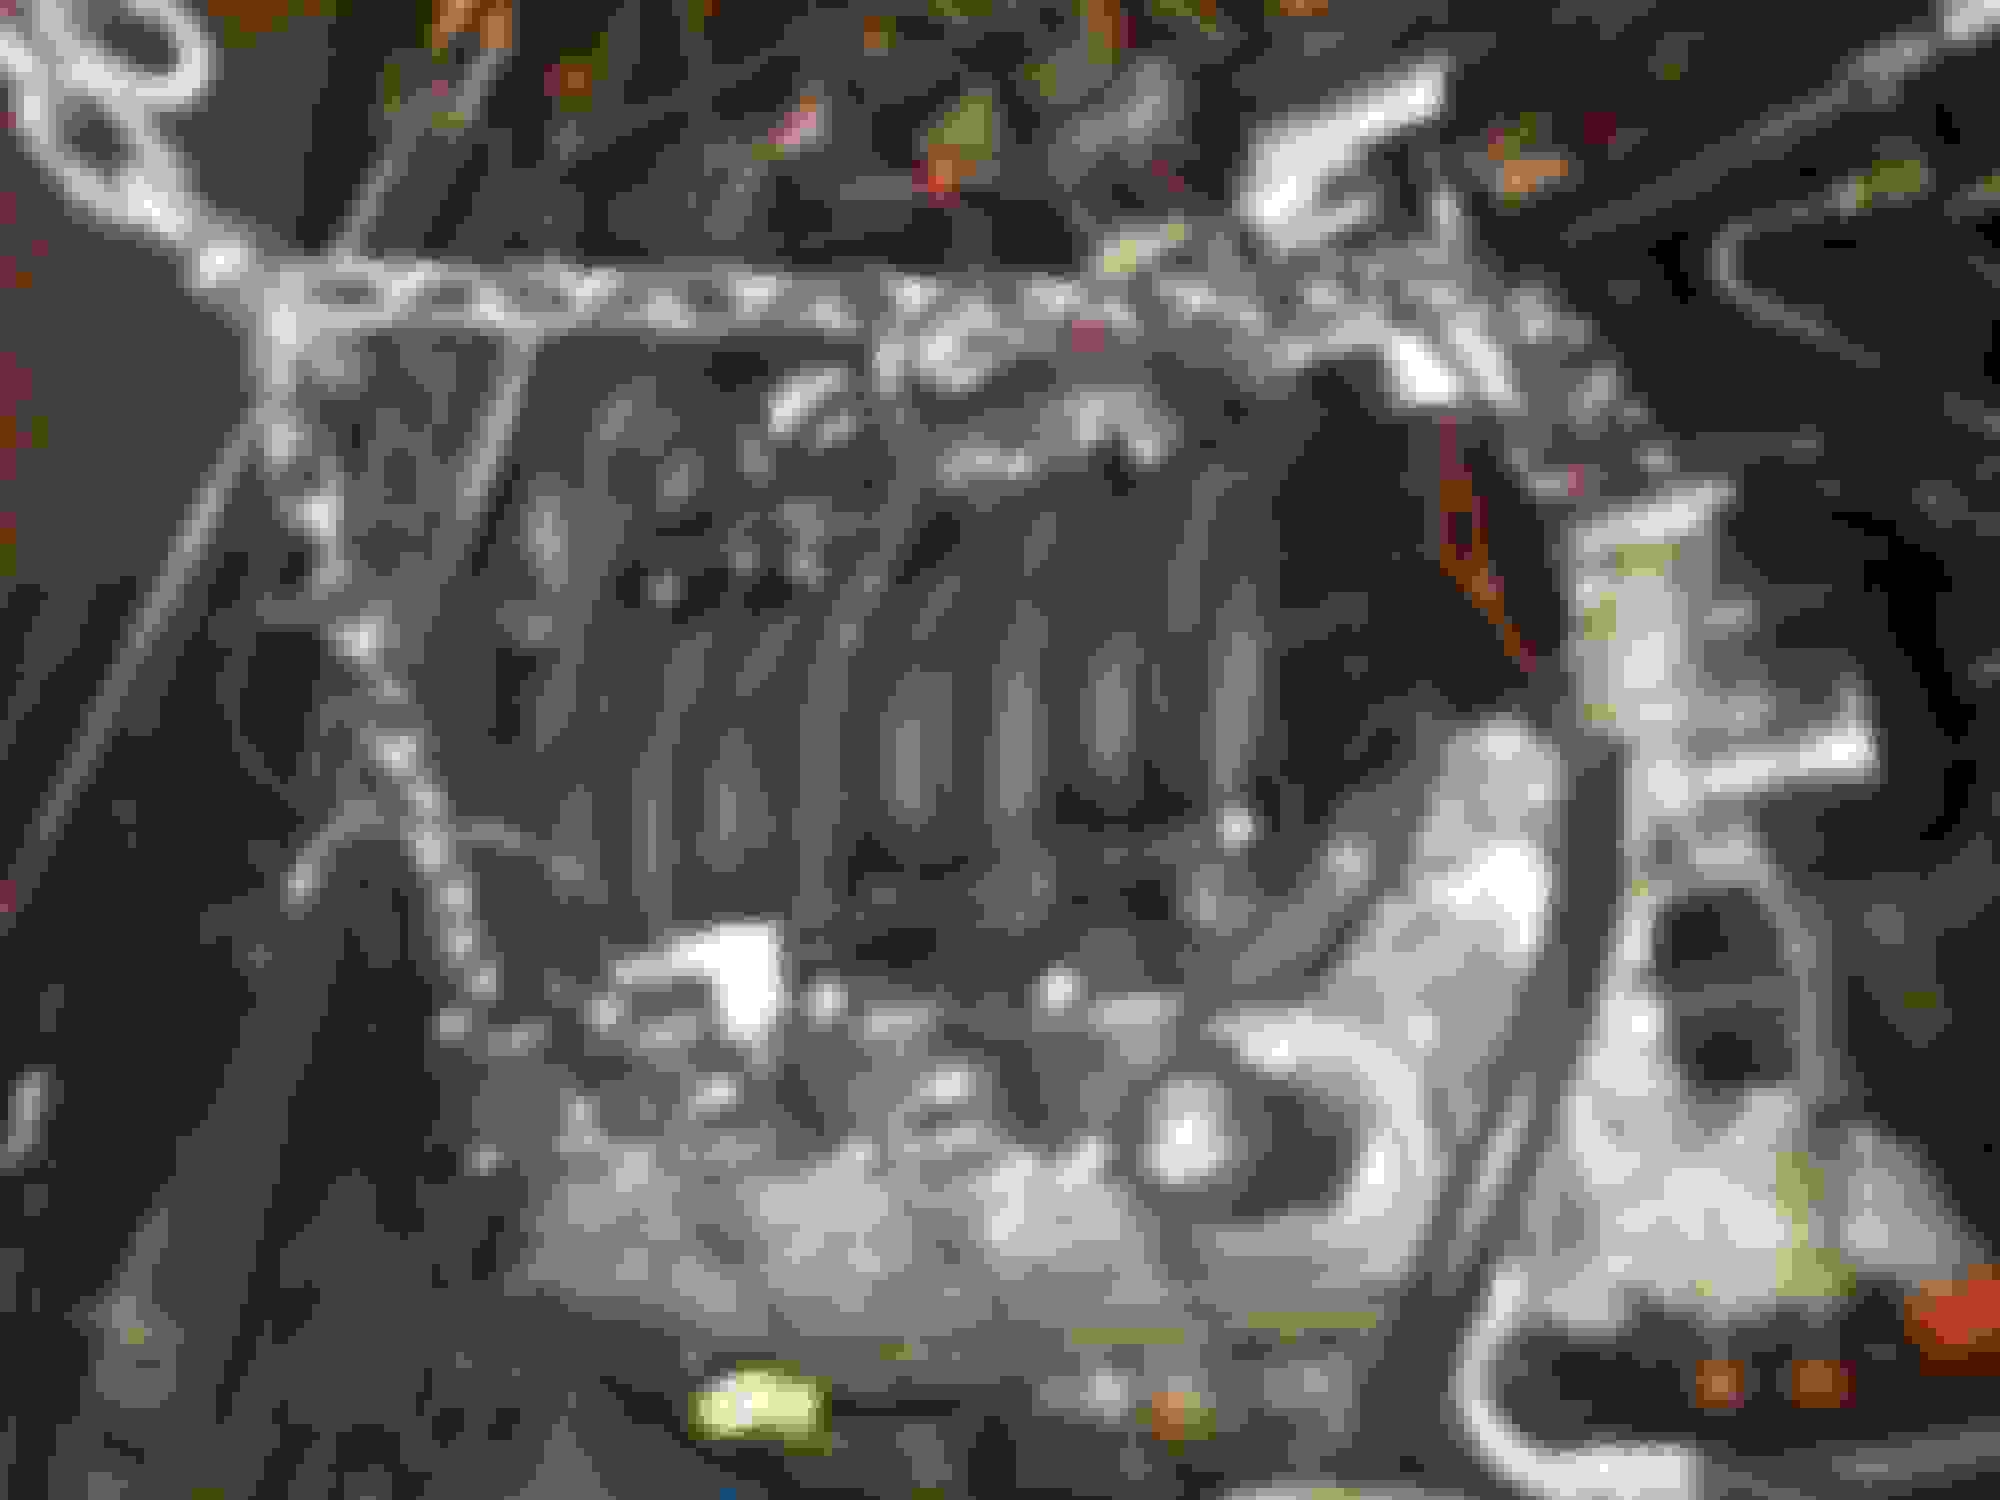
Did some test fitting and it looks great. There are two issues that will need to be addressed -
Coils on passenger side interfere with HVAC box - coils will be mounted further inboard, attached to fuel rail/intake rather than valve cover - Update - thanks to ch@os - I tried harder and it does fit with some modification
Wiper motor does not clear - Rain-X (for now)
Crappy cell phone pic test fit
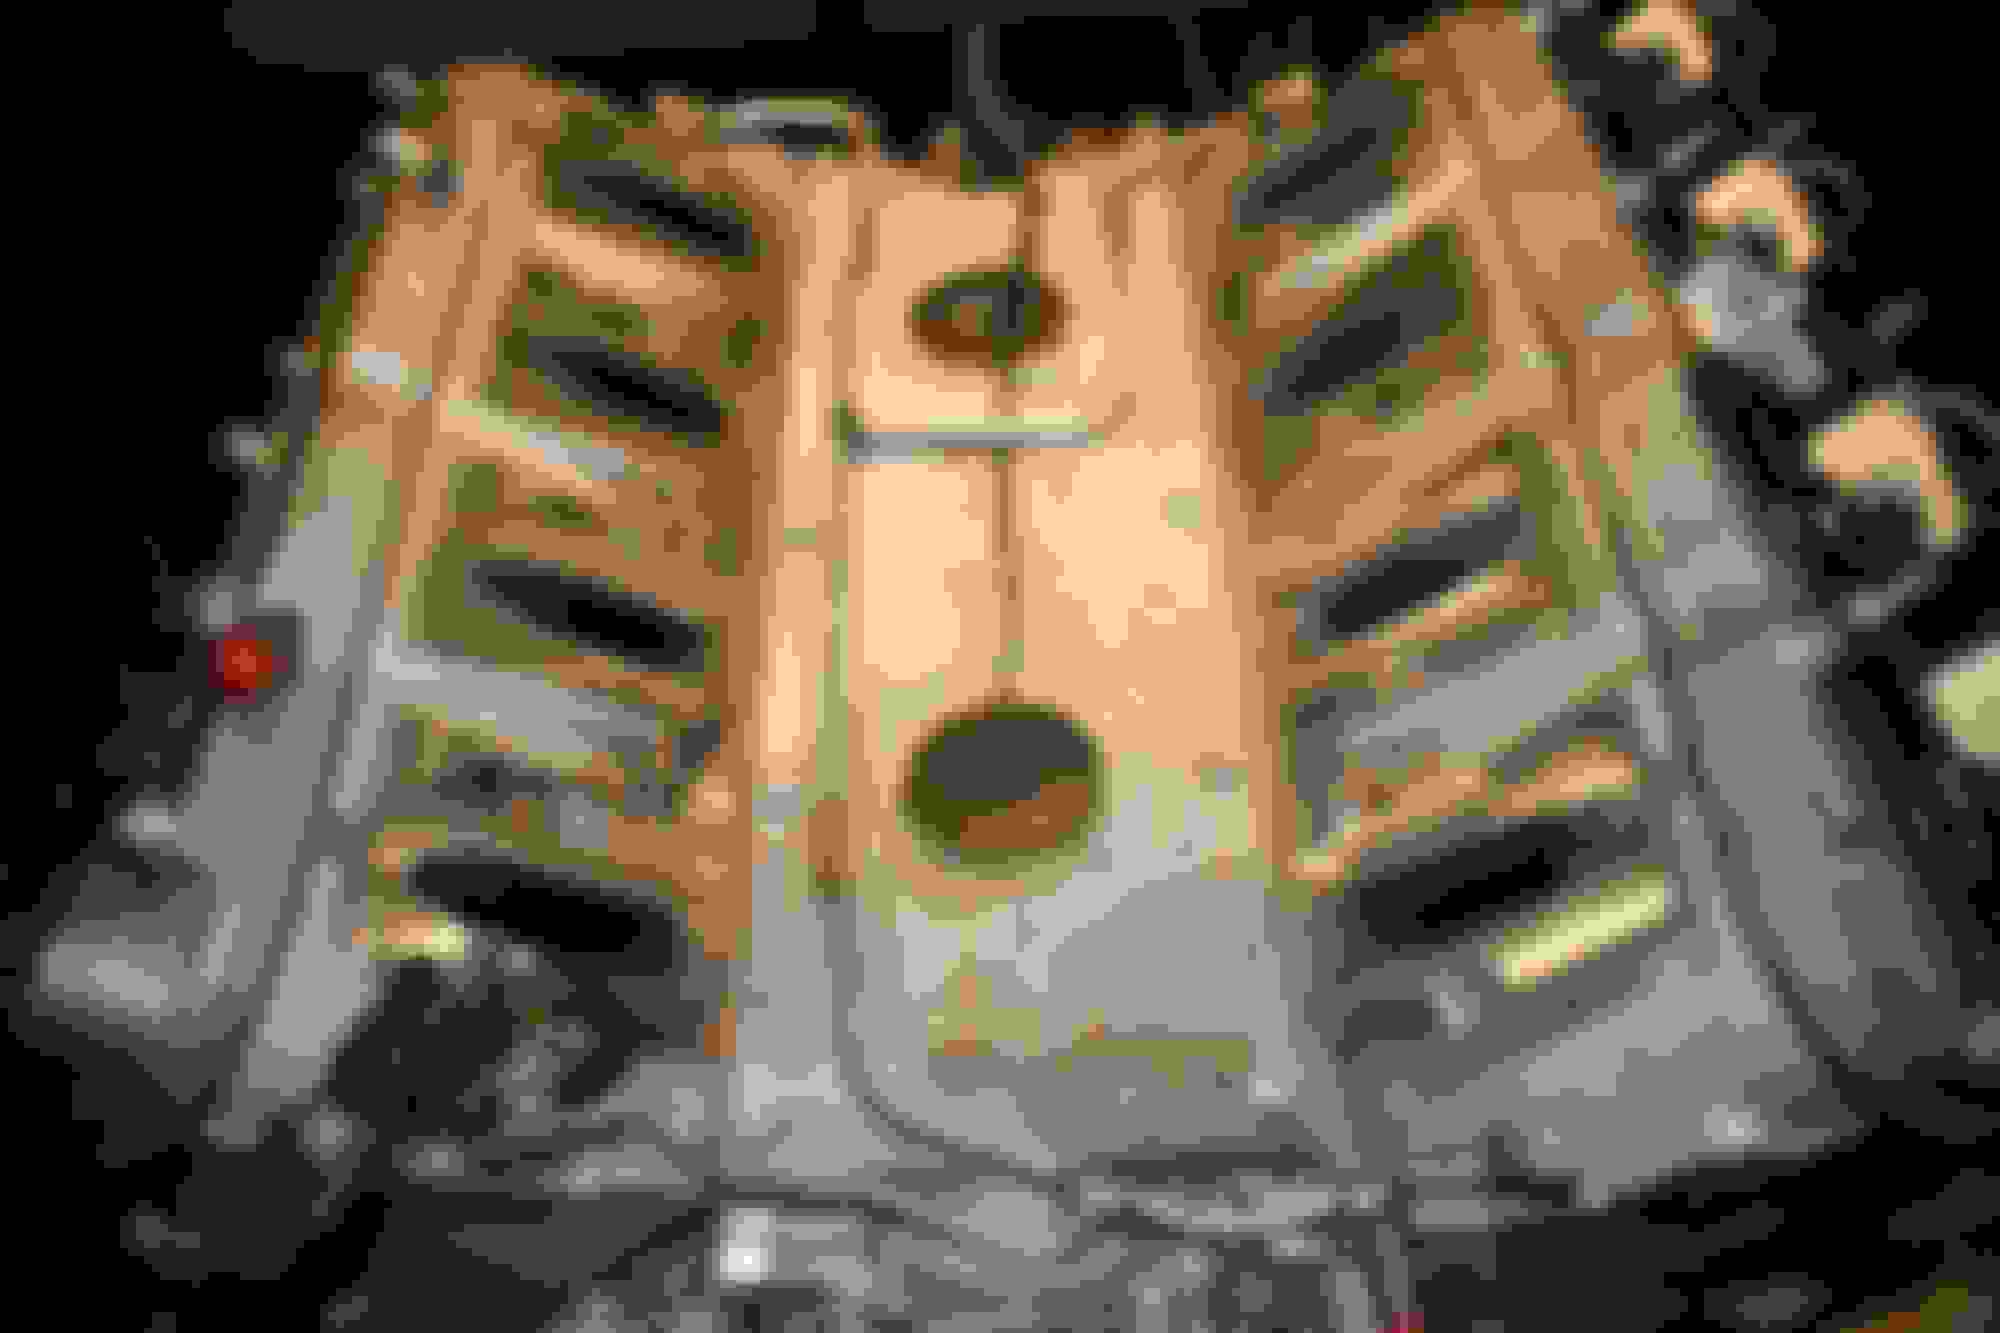
Installing the LS6 intake:
The LS1 and LS6 intakes are different on the bottom so you have to remove the ridges on the LS6 to clear the steam pipes. A hammer and wood chisel takes the ridges off quickly and cleanly.
steam pipes
LS1 intake bottom
LS6 bottom modified
New gaskets and foam trimmed to clear steam pipes
Done with fuel rail reversed to put inlet on passenger side. (will make plumbing to stock system much cleaner)
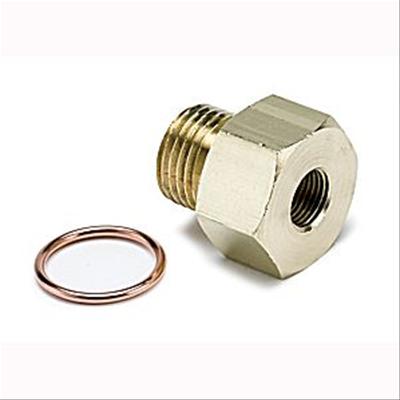
Next step is to drill out metric threads and tap with NPT to use original sensors for the dash.
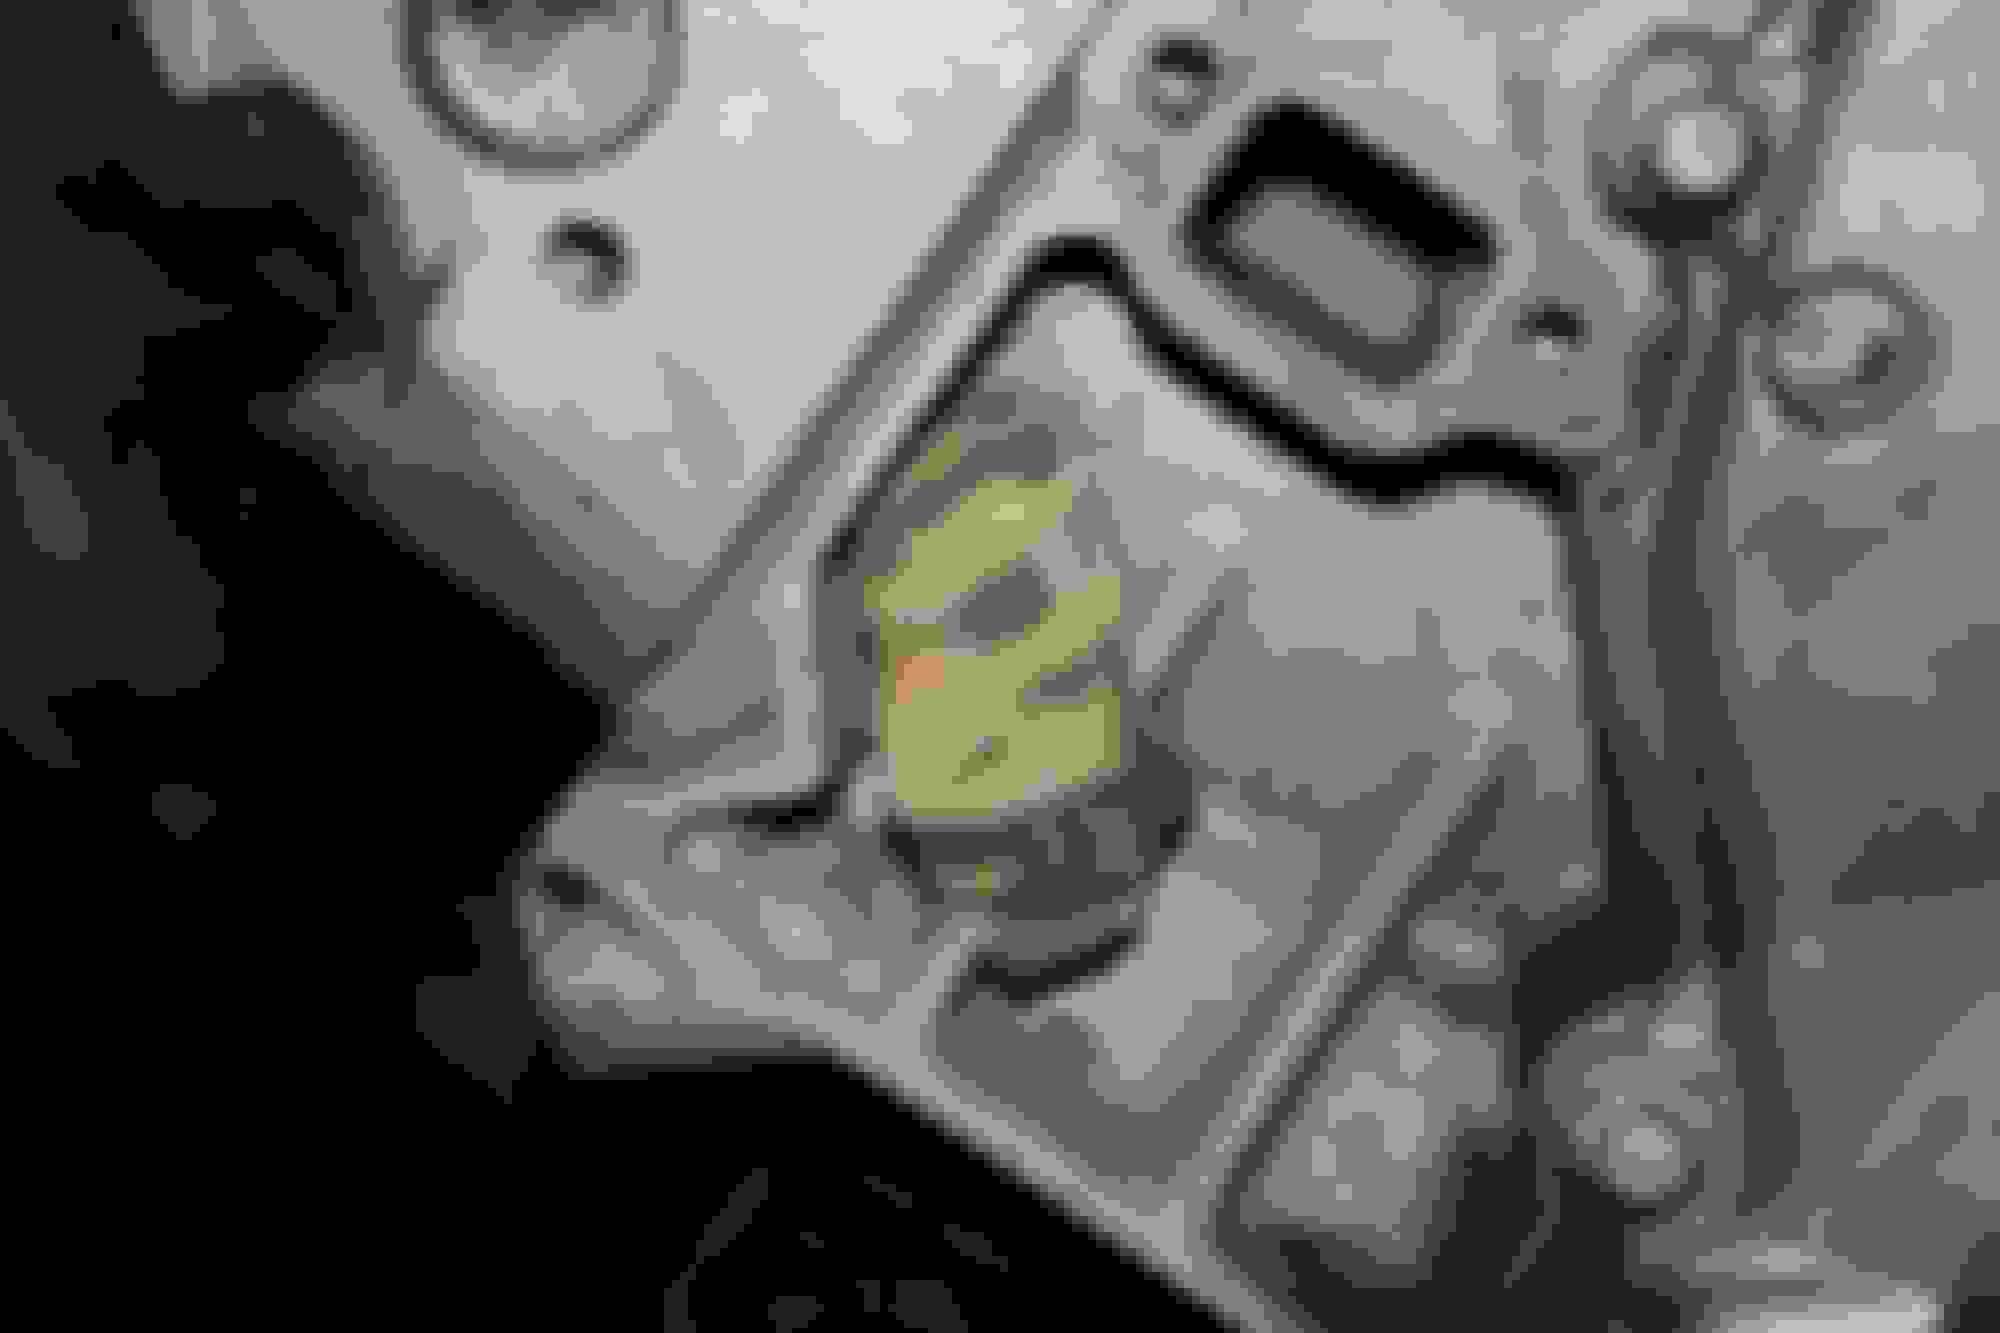
Lots of progress lately, starting with fitting the transmission. I got a stock C5 clutch for $80 delivered, a hydraulic TO bearing/slave for $90, and pulled the big block bellhousing out of my parts pile.
The LS clutch/flywheel is bigger than the old SBC clutches so a big block bellhousing is used. Thank you GM for using the same pattern on the rear of your blocks since.... forever...new all metric block still has english threads for trans mounting 8) . The hydraulic TO bearing comes with spacers that allow me to make up the difference in fw / clutch thicknesses. I measured from the back of the block to the clutch fingers, then from the BH face to the front of the TOB and it was 1/4" off. Using the spacers behind the TOB to push it towards the clutch I got this fitment:
TOB:
Notice the stud in the lower right corner of the third pic - it's usually a bolt that is one four for the front bearing retainer. The slave cylinder comes with a stud that would replace the bolt and keep the slave from spinning. Richmond uses a metric stud and nut arrangement, so had to order an M8 coupling nut and M8 threaded stud.
The next part of this is mating the existing lines to the new clutch slave. I could not find a hard tube adapter that had a -4AN fitting on the other end so I went to a local NAPA truck center that has a sign "we make hydraulic hoses". A few minutes later I had a hose with a right sized compression fitting on one end and a 4AN on the other. This hose in this application will never break, it's some industrial 6,000 PSI rubber/braided/rubber hose. (Might be going a stainless braided line after all, we'll see)
Original (after cut of course)
New Line:
So driveline fitment is nearly done, I will likely have to enlarge some holes on the "C" beam that connects the trans to the diff since I'm betting fitment won't be exact. Rough measurements show about an 1/8" difference...
Since I'm pretty sure it's somewhere in the hot rod bylaws that you're not allowed to have an engine on a stand not put a cam in it, I installed a cam to comply. And it’s soooo much easier on this engine, I should have done this years ago. Intake stays on, lifters stay in, and rockers do not need adjusting. (If you go much bigger on the cam, you do have to get new pushrods because the base circle size of the core goes down and you need make up the difference)
The cam is very mild. I actually got a custom recommendation that turned out to be very close to a GM Performance Hot Cam which I felt was too aggressive for what I want out of this. The goals were a good idle, not too aggressive for the valvetrain and retain some semblance of fuel mileage... and if I could, avoid the need for a custom tune. If I went with an aggressive cam I would be almost $1K into it with springs, pushrods, tune, and custom cam. I found a comp cam 54-424-11 with the right Comp springs on LS1Tech. com for $350 shipped.
Specs:
212/218, .558/.563 lift on a 115 LSA
For comparison to stock cam:
197/207, .467/.479 lift on a 116 LSA
The pics:
Water pump off
Pet grub
timing cover off
Water pump bolts for a handle (they could have made it the same as early SBC bolt pattern, but it's just off enough that you can't use your old cam install handle..booo!)
Cam retainer off and cam out. Also looks pretty clean in there...
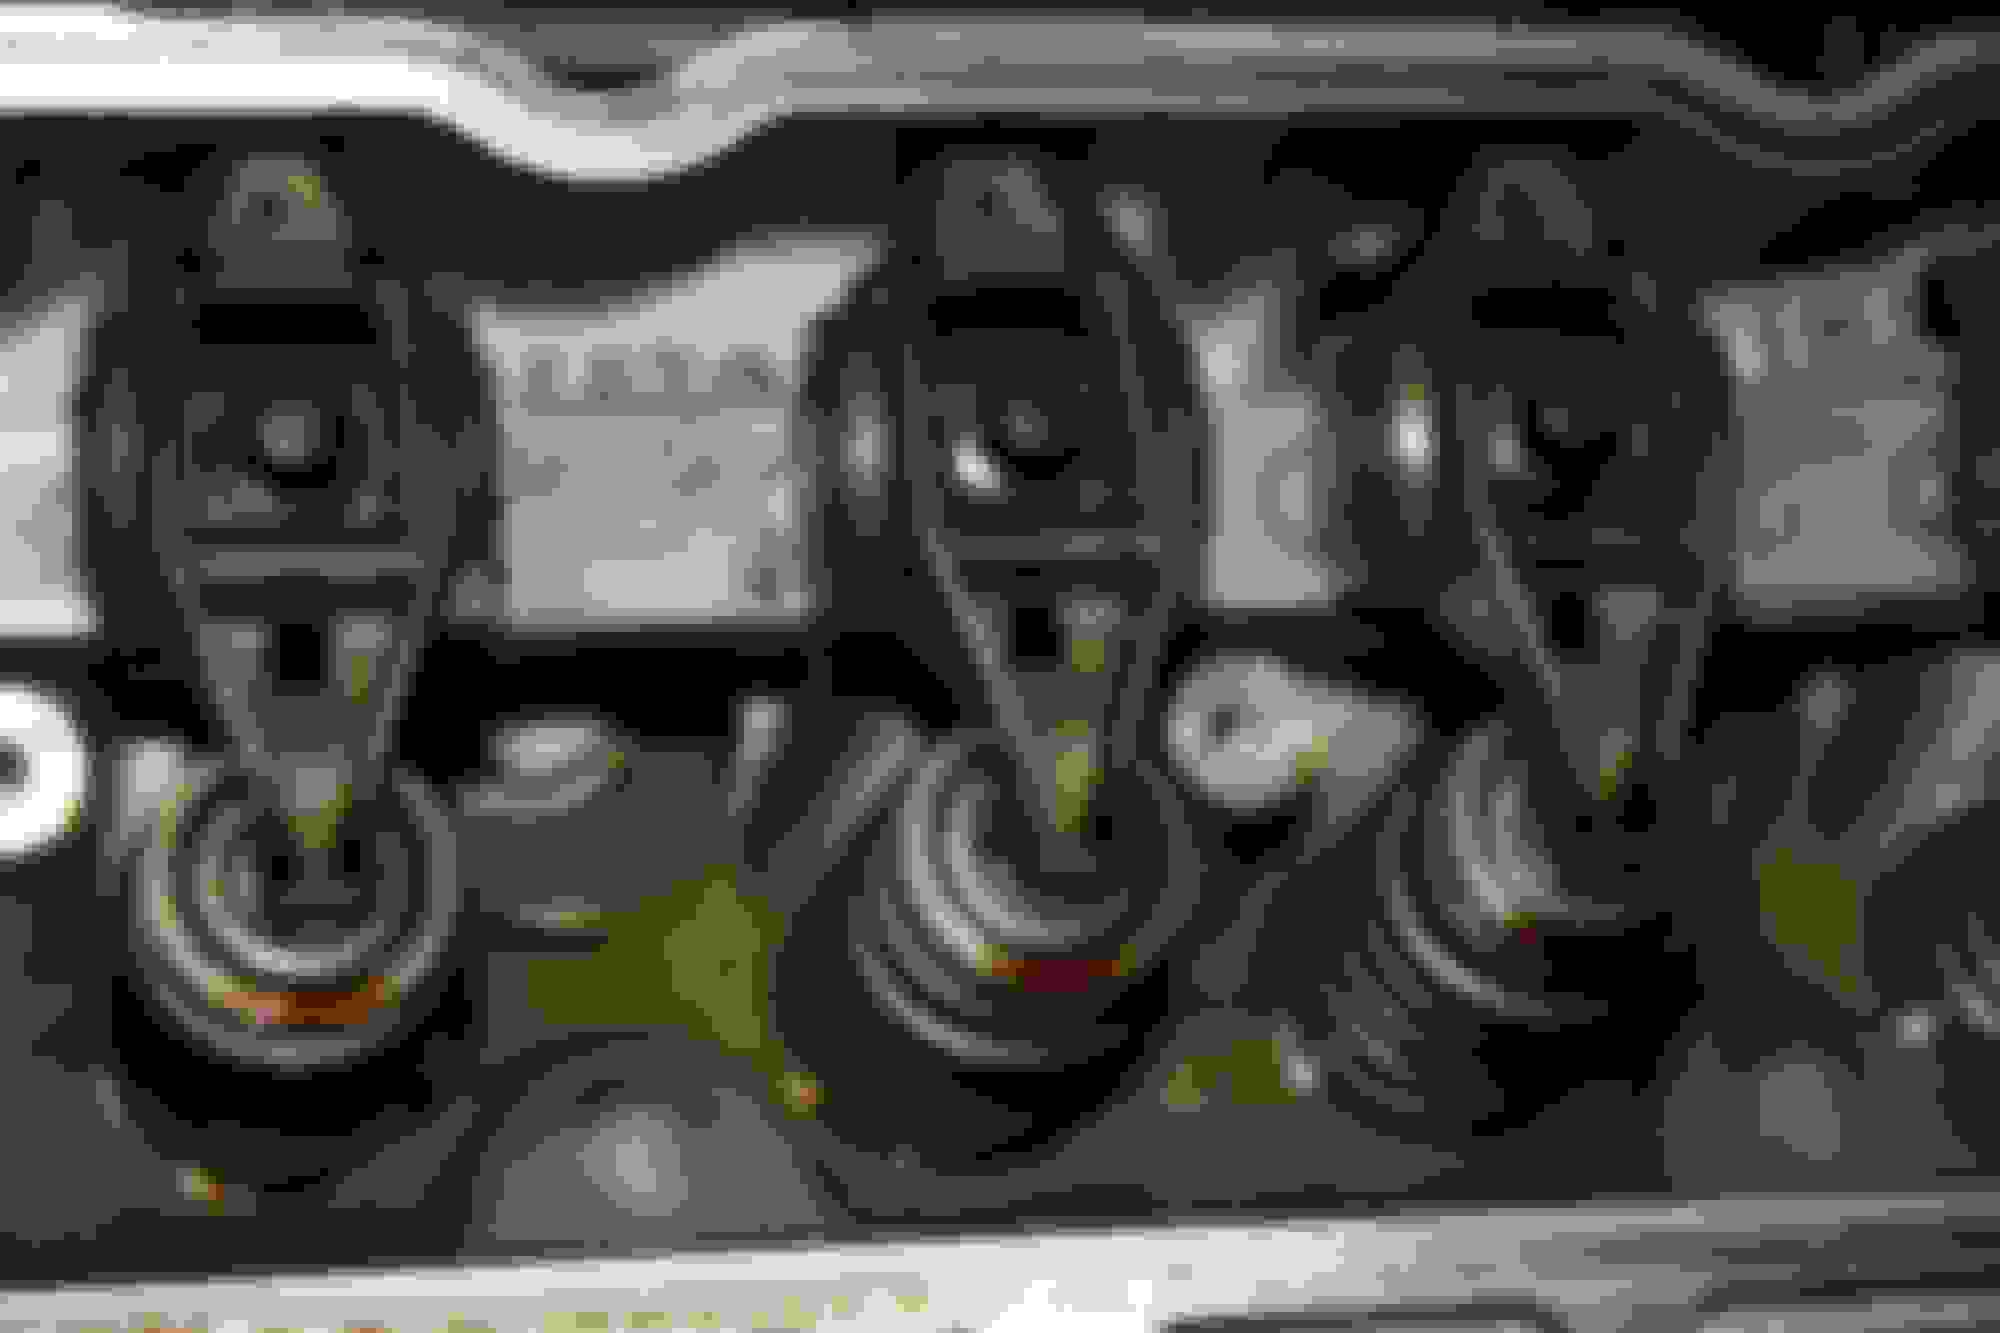
Now scroll up to see what it looked like going back together
pedestal rockers, no adjustment necessary
Air line to hold the valves up and super easy to use valve spring compressor allows you to do two at a time.
I've been working through all the little odds and ends as well but very close to dropping it in.
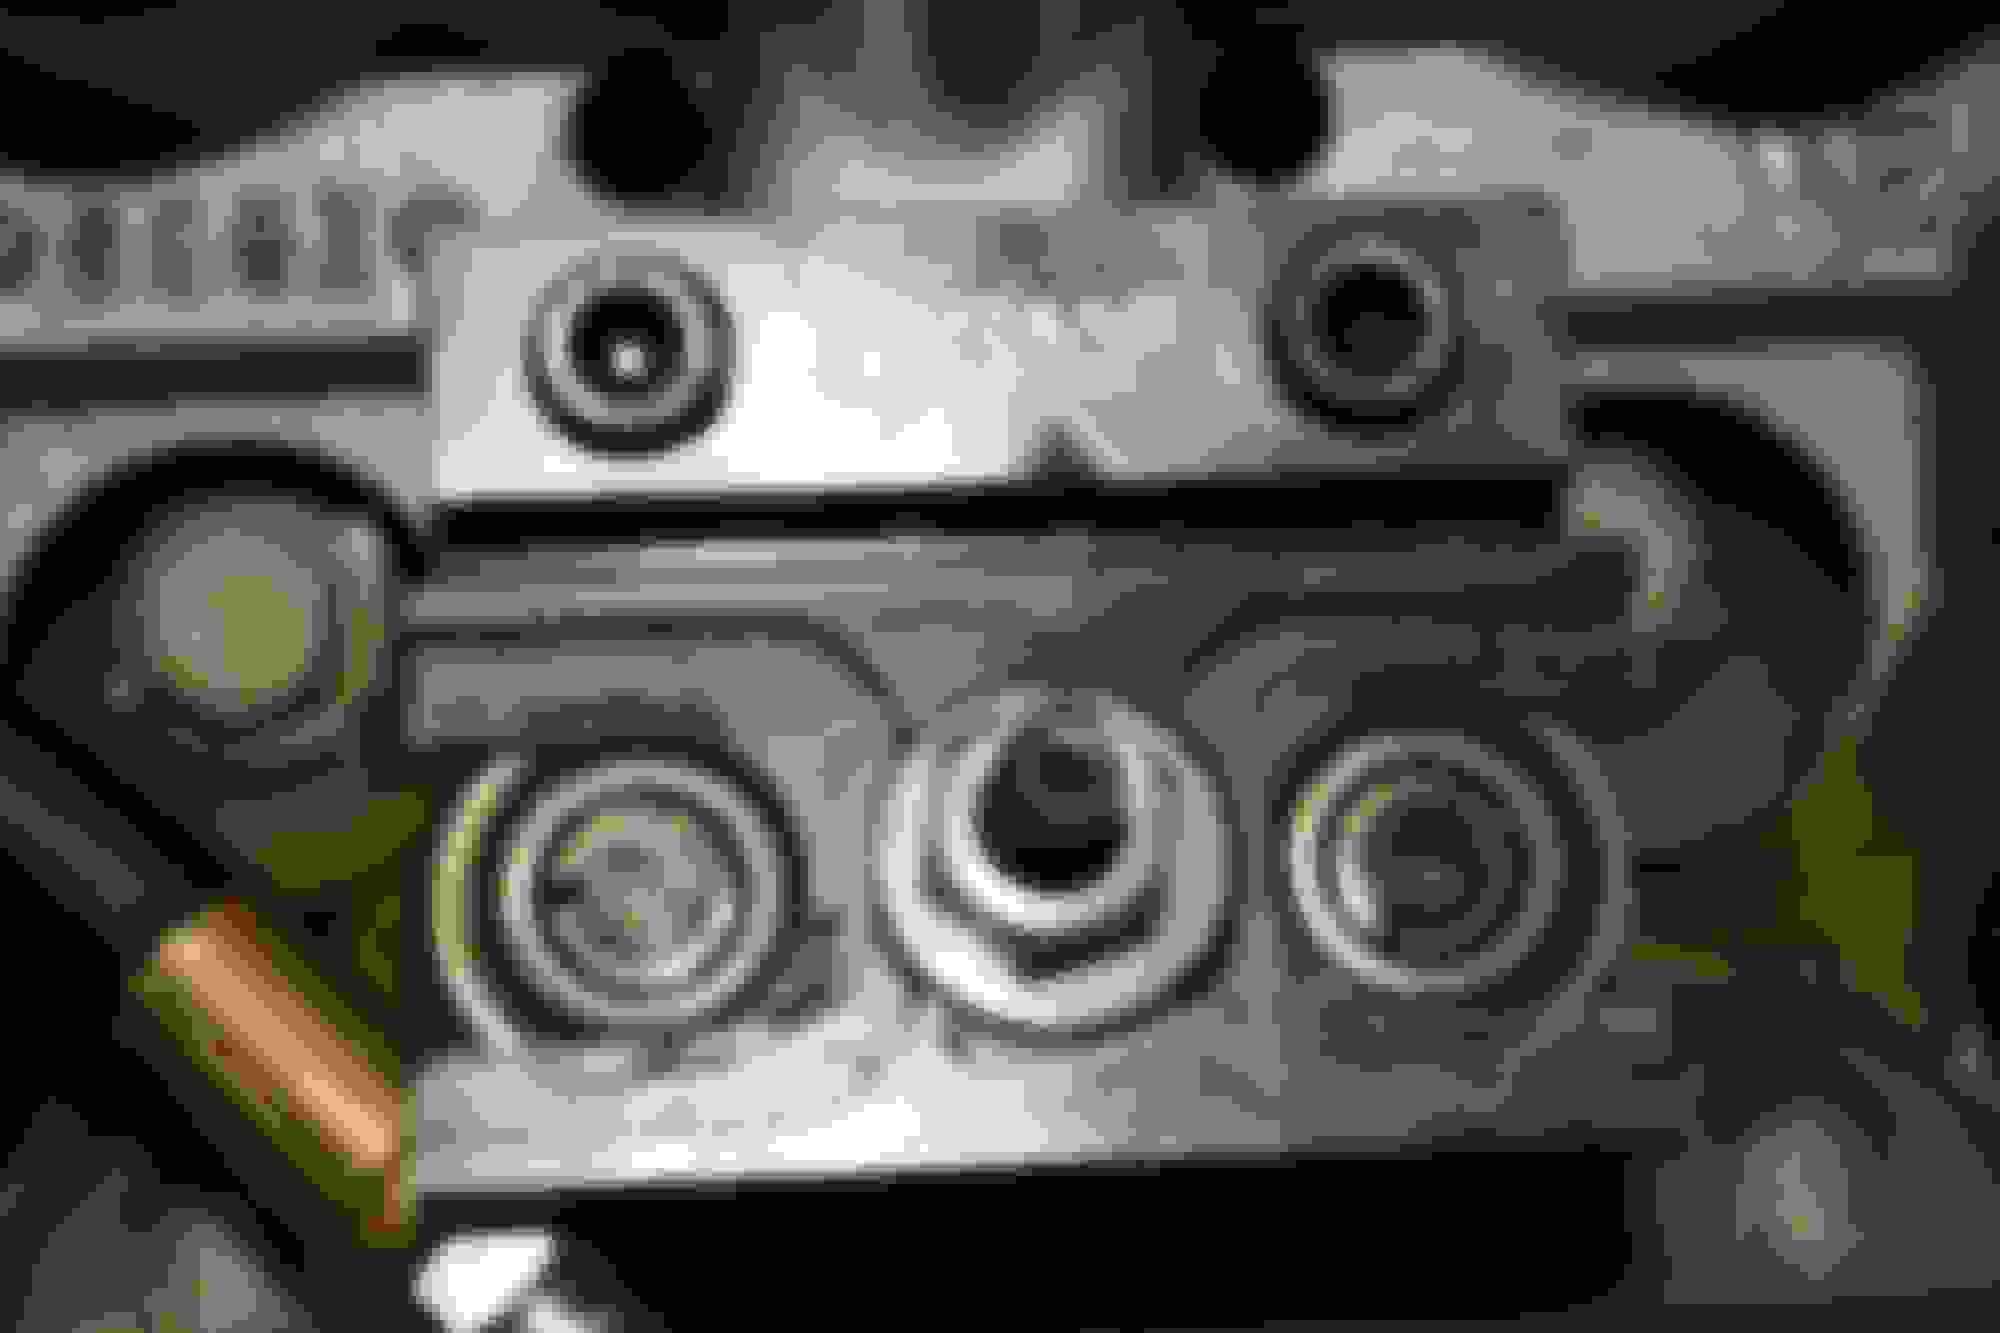
I wanted the stock dash to work which meant getting the sending units to mount on this engine somewhere.
BIG EDIT: the way I originally did this was not good, see post 23 for corrected install. Pics removed because getting rid of photobucket...
Update - A friend pointed out that the sending unit and fittings will subject to a lot of vibration here and I have to agree. I do have a fitting in the top rear of the block that replaces the original LS oil pressure sender that accepts the old sensor. If I have room to use it (cowl and firewall clearance) I will relocate the sender and just have the temp sender by the filter with no brass tee, screwed directly into the LS fitting.
I would try to get the temp sensor close to the way it was prior to drilling it out. You want it to be in the flow of oil. The way you have it now, it's dead-headed on the tee. Really, I don't think it will be a very accurate temperature reading.
I would definitely try very hard to relocate the pressure sender to the top of the block.
It seemed like a good idea when I saw it on their swap but, you're right...
Great thread! If I wasn't going the stroker route, I would have loved to do a bargain find LS2/3/6 with same transmission. Looking forward to this playing out. Any plans to massage the LS1 for more cubes or other hotrodding?
Cool project. I think that glob of "pet grub" is actually a bunch of tubes made by a Mud Dauber wasp though. Not that that has anything to do with the thread. Carry on.
Hey Steve, what is this? the 2nd motor you have put in that car? This is going to be an interesting thread!!
Hey Rich! This is actually number 3 (I've put in) . Started with the 350, went to the 408 I had when we did MIR and then a 434 (back to the 408) and now this. And I'm done...
Originally Posted by 1985 Corvette
Great thread! If I wasn't going the stroker route, I would have loved to do a bargain find LS2/3/6 with same transmission. Looking forward to this playing out. Any plans to massage the LS1 for more cubes or other hotrodding?
No more cubes, not needed at all. Did the mild cam and I'll be happy with that. They just don't need extra cubes for a reasonable street/HPDE build.
I did the whole big engine HP thing and now I'm more after having a fun street car that will see some track time and just enough HP to be interesting and not so much that I need $1500 brakes to use it on the track. I also have an eye on maybe doing Time Trials and the penalty for HP is ending up in a very $pendy class of racing!!
 04-26-2012, 08:51 AM


 )
)


 I think the LS1 over the L33 choice is a good one. In a early C4 with the Richmond 6 speed...Now you really have my attention.


 . Started with the 350, went to the 408 I had when we did MIR and then a 434 (back to the 408) and now this. And I'm done...