Race Car Engine Build
 04-06-2012, 06:03 PM
#1
Le Mans Master

Thread Starter
Member Since: Oct 2007
Location: Akron Ohio
Posts: 8,876
Received 1,769 Likes
on
946 Posts
2023 C5 of the Year Finalist - Modified
2022 C5 of the Year Finalist - Modified
St. Jude Donor '09-'10-'11

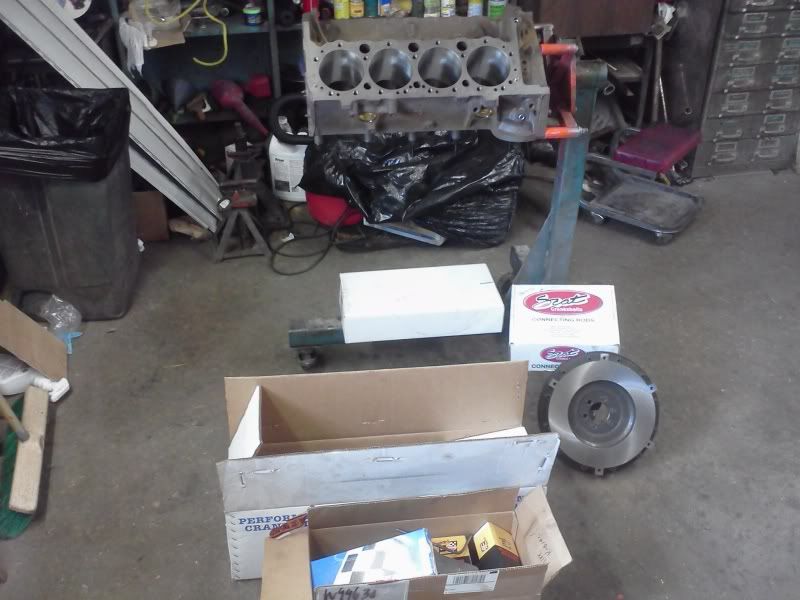
It has taken me a while to get to this point but I am finally starting to put the engine together for my race car. I picked up the block back in February, and have been working a little at a time. I do not have a garage where I live so all of my stuff is stored at my Dad's or Grandpa's shop, and both live about an hour away. I only go to work on the race car on Saturdays so I only get a couple of hours of progress per week. I am to the point where I think I have enough done to warrant some picture posting.
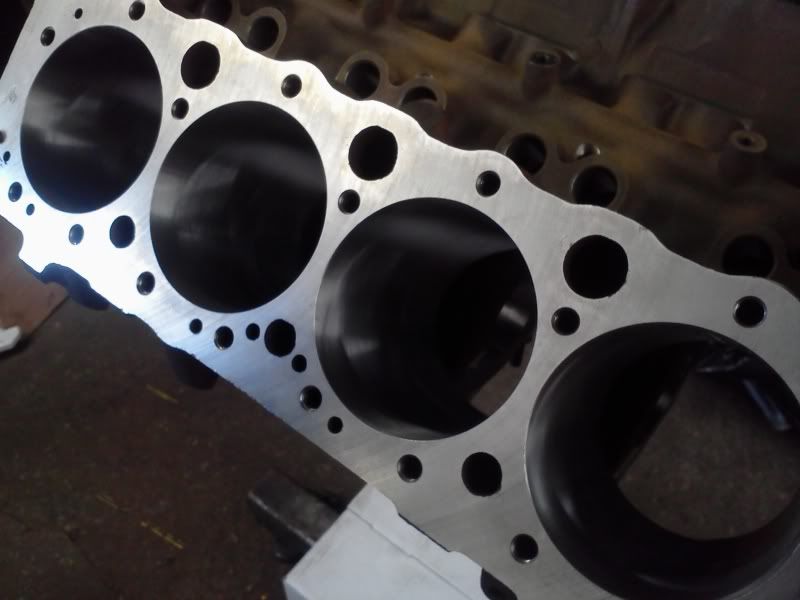
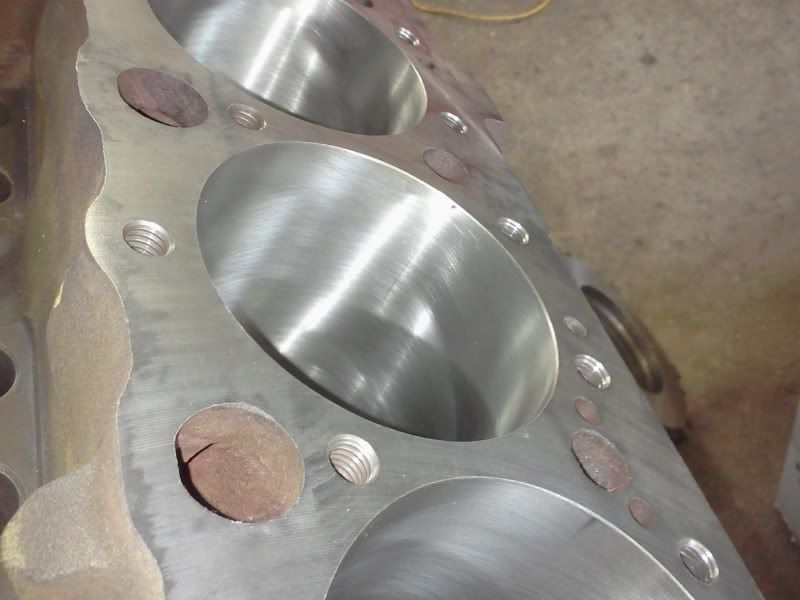
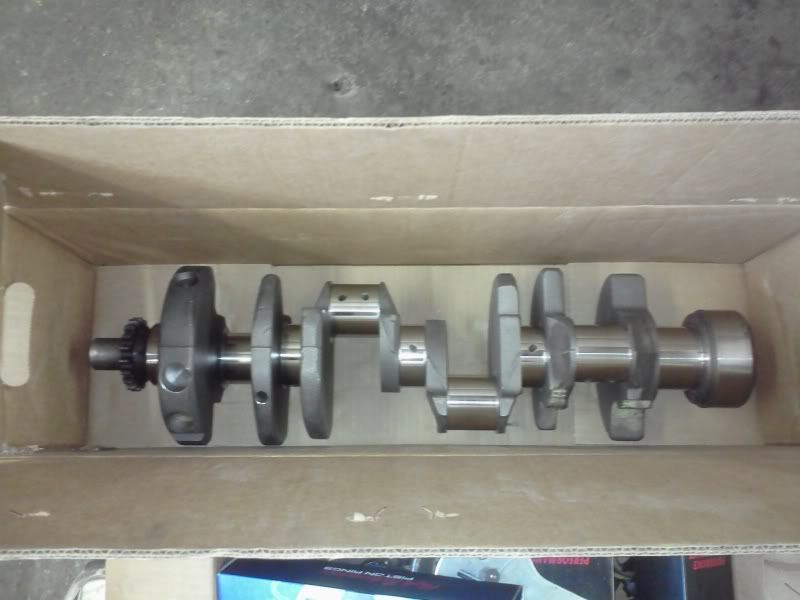
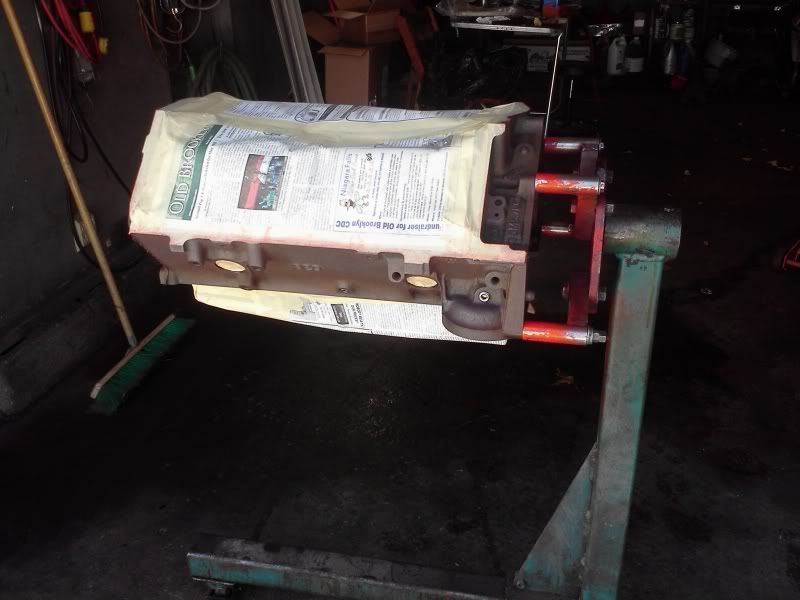
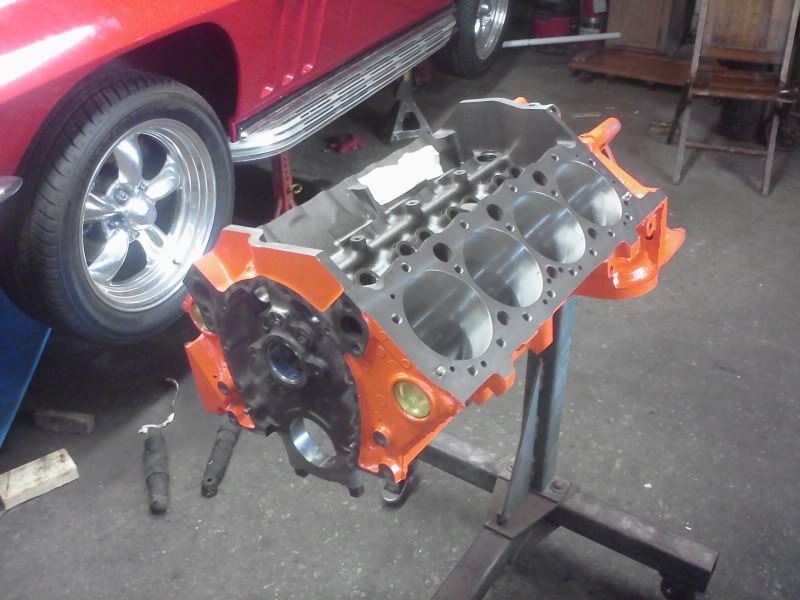
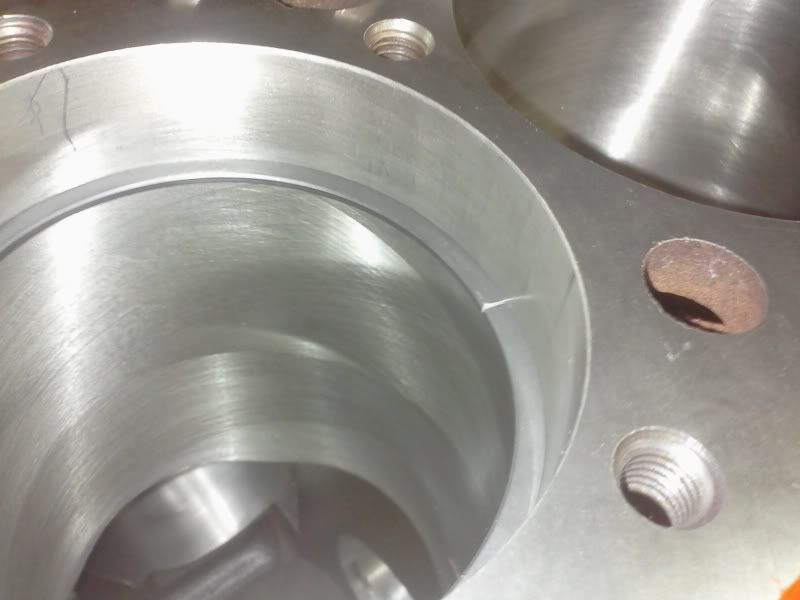
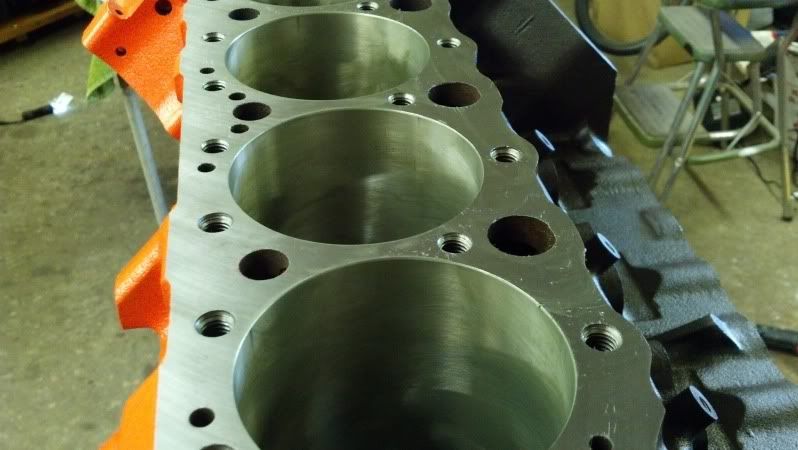
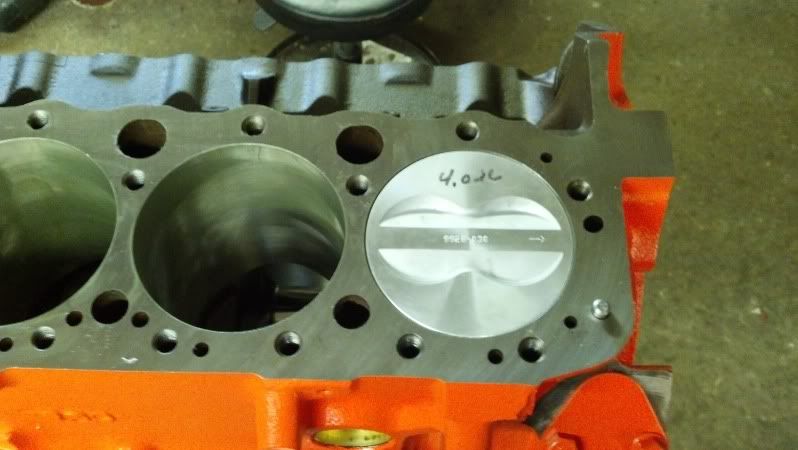
It is a standard C4 2 bolt, one piece seal block bored 0.030" over and decked to 9.015. He also cleaned up all the oil passages and line honed the mains. The crank is just a polished stock crank (its just in an Eagle box) which will be fine for the power level I am aiming for. Rods are forged Scat 6", and ICON flat top forged pistons with 4 valve reliefs.
Here is the block back from the machinist.
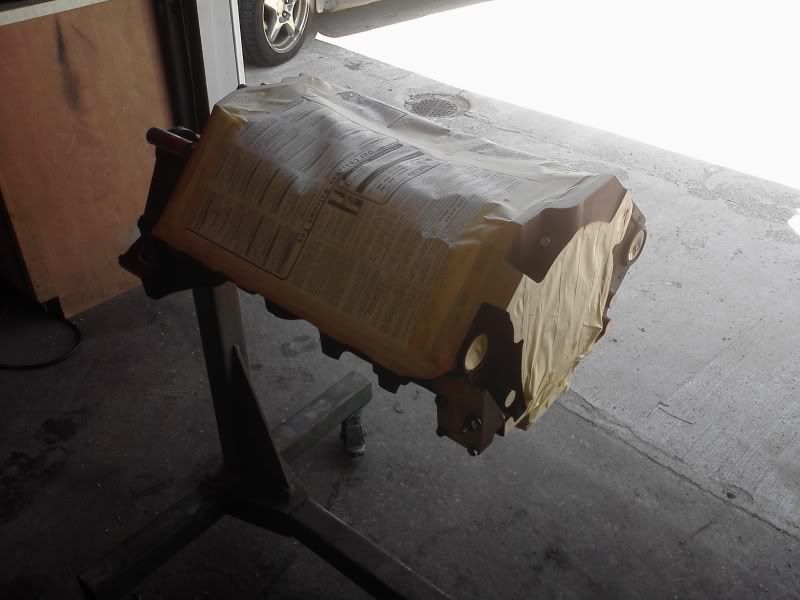
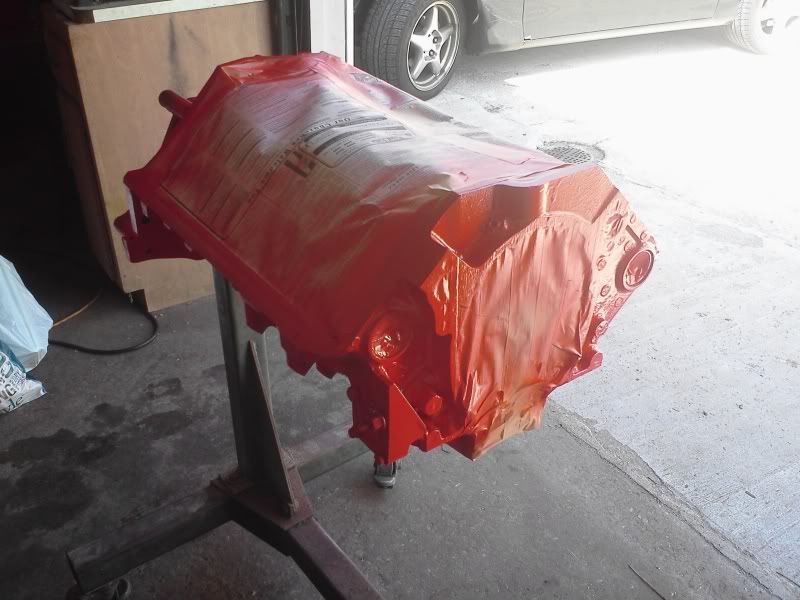
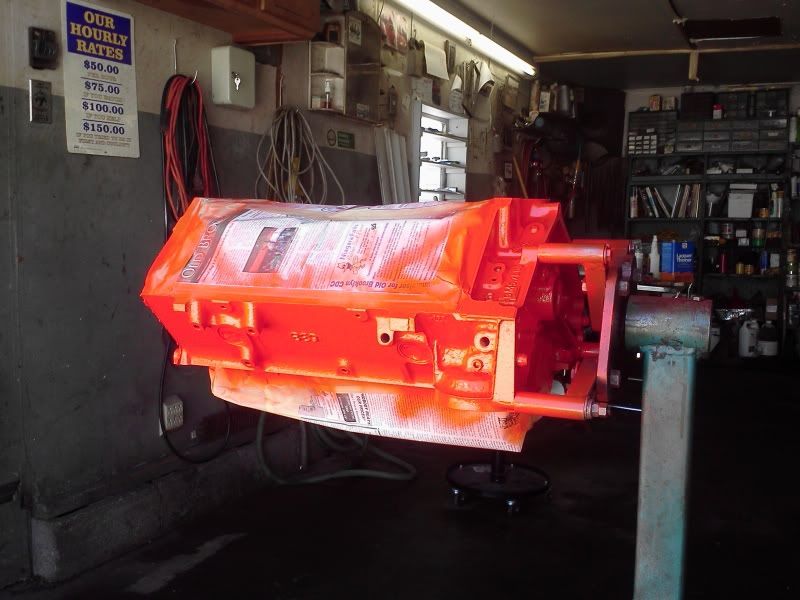
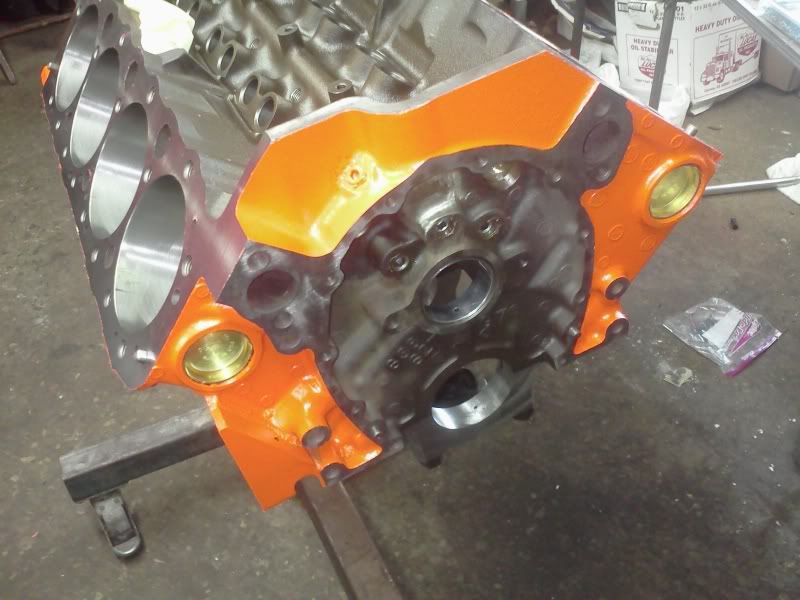
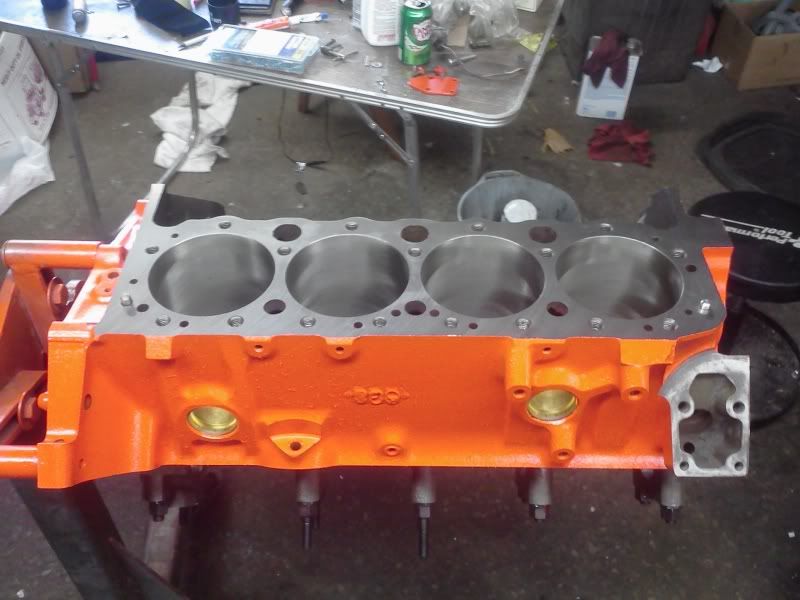
The first weekend I spent cleaning the block and painting it. It is painted Chevy Engine Orange. It took about 3 hours just to mask off everything.
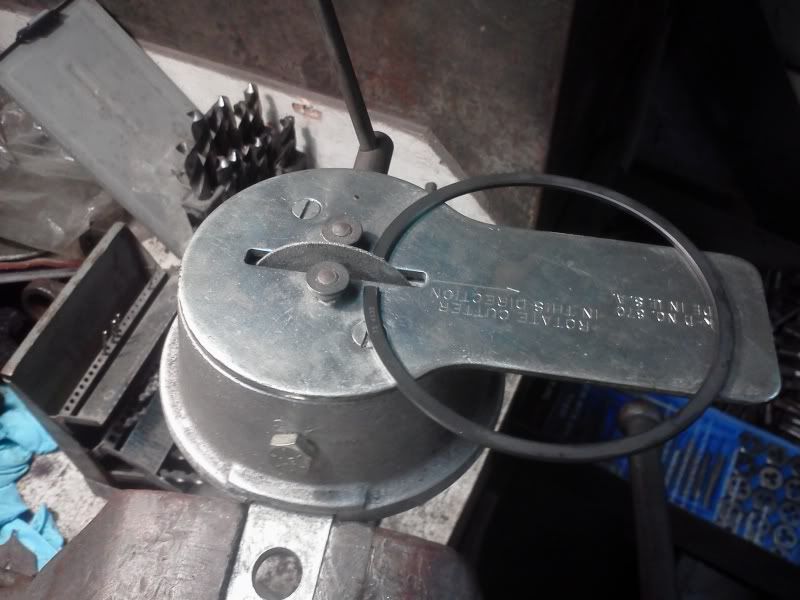
Once painted I started fitting the rings. I used a 0.018" gap on he top ring and 0.022" gap on the bottom.
Here is the ring filer I used
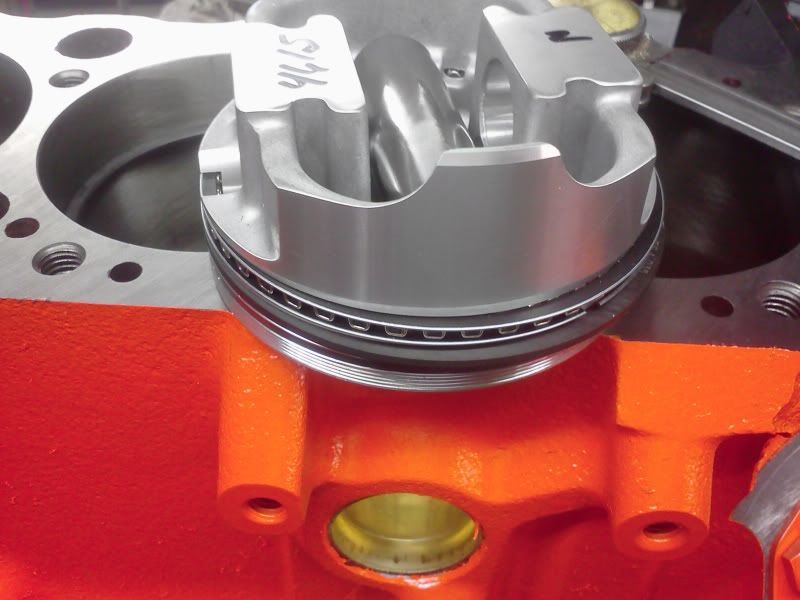
I finished up the last piston today.
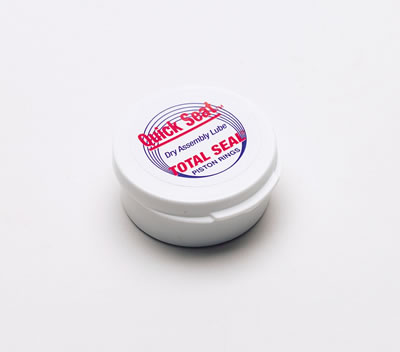
Once all the rings were fit I cleaned the cylinder walls once again and installed the Quick Seat. Quick Seat is made by Total Seal and is made to help rings seat quicker and better. My machinist swears by it and he recommended I try it out. It is a powder that you smear on to cylinder walls covered in WD40. Spray the walls with WD40 and then wipe it out with a rag leaving only a small film on the walls. Dip a finger or two into the Quick Seat powder and smear it onto the walls. If the cylinder is clean the powder turns green, but if it is dirty it will turn black.
QUICK SEAT
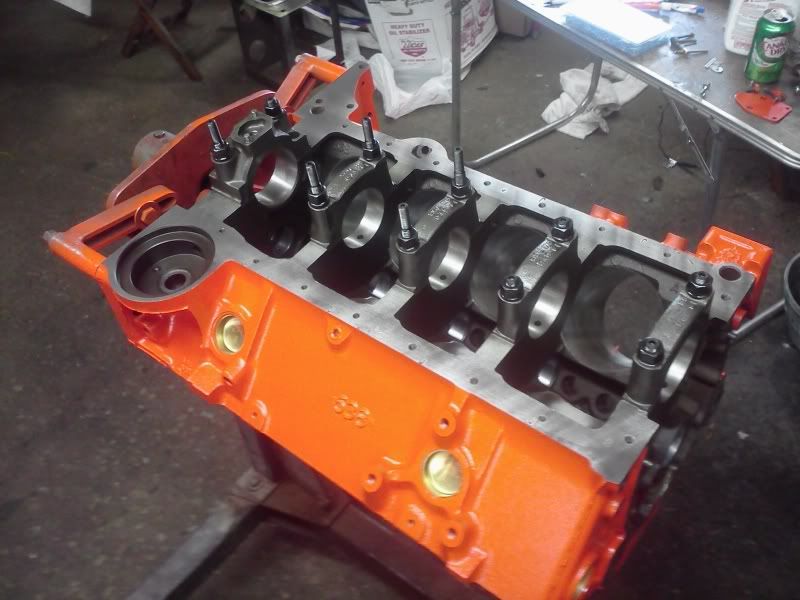
After the quick seat was installed I cleaned and installed the crank. I used ARP main studs.
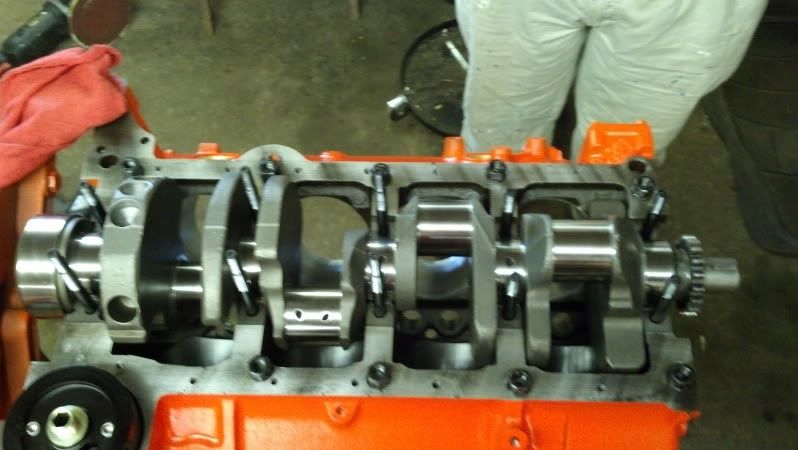
The main caps are on and torqued to 70 ft/lbs using assembly lube on the nut side of the threads only.
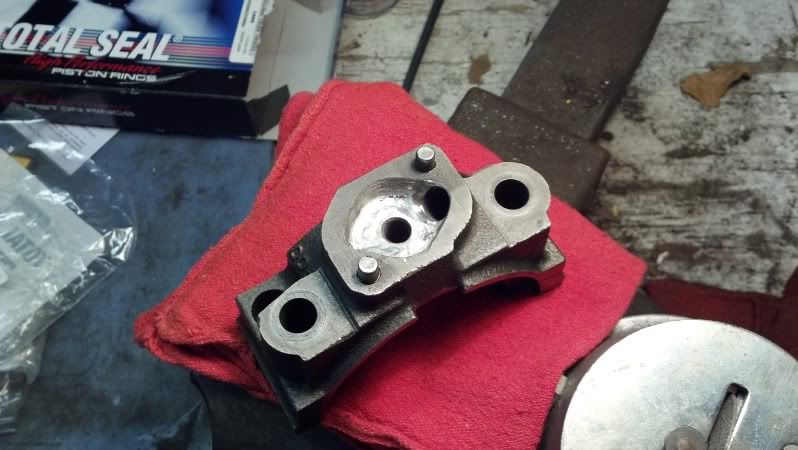
I also polished and de-burred the oil passage in the main cap.
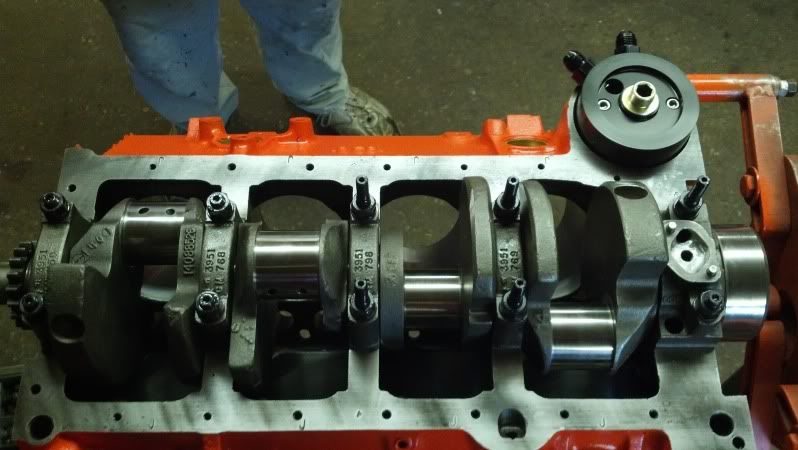
By the end of the day I only got one piston in, but at least I got one in!
I will continue to update as I make progress, but it will be a couple months before it is complete. I don't get to work on it very often and I dont have all the parts yet, as I buy them as I am able.
It is a standard C4 2 bolt, one piece seal block bored 0.030" over and decked to 9.015. He also cleaned up all the oil passages and line honed the mains. The crank is just a polished stock crank (its just in an Eagle box) which will be fine for the power level I am aiming for. Rods are forged Scat 6", and ICON flat top forged pistons with 4 valve reliefs.
Here is the block back from the machinist.
The first weekend I spent cleaning the block and painting it. It is painted Chevy Engine Orange. It took about 3 hours just to mask off everything.
Once painted I started fitting the rings. I used a 0.018" gap on he top ring and 0.022" gap on the bottom.
Here is the ring filer I used
I finished up the last piston today.
Once all the rings were fit I cleaned the cylinder walls once again and installed the Quick Seat. Quick Seat is made by Total Seal and is made to help rings seat quicker and better. My machinist swears by it and he recommended I try it out. It is a powder that you smear on to cylinder walls covered in WD40. Spray the walls with WD40 and then wipe it out with a rag leaving only a small film on the walls. Dip a finger or two into the Quick Seat powder and smear it onto the walls. If the cylinder is clean the powder turns green, but if it is dirty it will turn black.
QUICK SEAT
After the quick seat was installed I cleaned and installed the crank. I used ARP main studs.
The main caps are on and torqued to 70 ft/lbs using assembly lube on the nut side of the threads only.
I also polished and de-burred the oil passage in the main cap.
By the end of the day I only got one piston in, but at least I got one in!
I will continue to update as I make progress, but it will be a couple months before it is complete. I don't get to work on it very often and I dont have all the parts yet, as I buy them as I am able.
Last edited by Kubs; 04-06-2012 at 06:07 PM.


 04-06-2012, 08:13 PM
#4
Race Director

Looks good Kubs. 
 04-06-2012, 09:04 PM
#6
Safety Car

 I like engine builds.
 WTHeck, I just noticed Kubs, you live in Wadsworth, OH. I lived there for about two years in 07-08.
Small world. Not trying to hi-jack your thread. Haha.
04-06-2012, 09:47 PM
#7
Le Mans Master
Thread Starter
Member Since: Oct 2007
Location: Akron Ohio
Posts: 8,876
Received 1,769 Likes
on
946 Posts
2023 C5 of the Year Finalist - Modified
2022 C5 of the Year Finalist - Modified
St. Jude Donor '09-'10-'11
Thanks guys! I went with a 355 because of the NASA points system for my race class. Every modification you do cost points. Every 20 points you acquire bumps you to the next fastest class. I am allowed <1.5% increase without taking points and going from a 350 to a 355 is 1.4999%. I have a custom grind cam I spec'ed out and ported 113 heads going on. In my race class I have to use the factory head castings, so I am stuck with 113s. The pistons have the weights written on the bottom of them. The one in the picture appears to be 461.5g. I know they are all real close in weight. Summit shows the weight as 477g and the pin is 132g.
Yup I do! I have only been there a year. I am from the Cleveland area but got a job in the Akron/Canton area. Wadsworth is about halfway between my parents' house (where the car is) and my work.
I have a custom grind cam I spec'ed out and ported 113 heads going on. In my race class I have to use the factory head castings, so I am stuck with 113s. The pistons have the weights written on the bottom of them. The one in the picture appears to be 461.5g. I know they are all real close in weight. Summit shows the weight as 477g and the pin is 132g.Yup I do! I have only been there a year. I am from the Cleveland area but got a job in the Akron/Canton area. Wadsworth is about halfway between my parents' house (where the car is) and my work.
Last edited by Kubs; 04-06-2012 at 09:51 PM.


 04-06-2012, 10:36 PM
#10
Team Owner


Member Since: Aug 2005
Location: Riverside County Southern California
Posts: 34,988
Received 501 Likes
on
342 Posts
Co-winner 2020 C4 of the Year - Modified
2018 Corvette of Year Finalist
2017 C4 of Year
2016 C7 of Year Finalist
St. Jude Donor '09-'10-'11-'12-'13-'14-'15-'16-'17-'18-'19-'20

Great Thread

04-07-2012, 04:13 AM
#11
Drifting


Sweet. Do all L98 blocks come with studs for the main bearing caps or is that something installed by the machine shop? Im assuming its stronger with studs?
04-07-2012, 06:41 AM
#13
Suckin' gas, haulin' ass.


Member Since: Apr 2010
Location: Newport News Virginia
Posts: 1,100
Likes: 0
Received 8 Likes
on
7 Posts
Looks like a Canton piece to me.
04-07-2012, 11:19 AM
#17
Le Mans Master
Yep. He probably kept the caps the way they are for budget reasons.
I'll bet he isn't going for a huge HP build, probably in the 300 - 350 rwhp
I have the same problem, but I'm not adverse to a dyno reclass.
I'm going to be around 3400lbs (driver and splash of fuel) and MAX 350 rwhp with a 383. One of the reasons I went with a Hotcam instead of a cusom grind.
Now I'm still planning the replacement engine for the 383 in case it blows. I'll be using my original LT1 for that one.
