When you click on links to various merchants on this site and make a purchase, this can result in this site earning a commission. Affiliate programs and affiliations include, but are not limited to, the eBay Partner Network.
I have had several requests for the C4 flush mount tail light kit as detailed in one of my old posts. https://www.corvetteforum.com/forums...mount-kit.html
Since the parts that I was harvesting from the wrecking yard are getting harder to find I thought I would pass on the information needed to other members in this forum. The extended studs from the attached post were removed from several different GM cars I found at the local "remove your own parts" wrecking yard. The vehicles I have scrounged the studs from include '86 Olds Cutlass, '88 Chevy Beretta, '87 Pontiac Bonneville, late 80s early 90s Chevy Corsica, '89 early 90s Buick Skylark, '92-'96 Olds Ciera, early 90s Chevy Lumina. You can also look on fleabay for the tail lights from these vehicles. I couldn't find these studs online so scrounging from the wrecking yard seems to be the most economical way. One may have to harvest these studs from a couple of vehicles since some only have a few long studs, not a total of 8, which is needed. On fleabay, there are some good pics with different angles which show the number of long and, if any, short mounting studs. There are others that I probably missed but they seem to be from the same era, around late 80s early 90s. Removal is simple once you remove the tail light assembly from the vehicle. A pair of small vise grips work well to unscrew the stud from the housing. Or, you can use a small 4mm or 5/32" socket on the end of the stud. The stud wing nuts hold the tail light to the body and are the same ones that will hold it to the Corvette bumper. There may be other fasteners so come prepared with some pliers, screwdrivers, torx bits, metric sockets, etc. I have also found some studs that have a torx end on the stud. Once I have them, I simply inform the sales window that they are fasteners. Use your own judgement on the language since you don't want to make a big deal about what they came from. The four C4 tail lights use two studs each for a total of 8 studs. I try to grab as many as I can since the vehicles are getting scarce to find. Once you have them back in your shop then you'll need to modify the studs slightly. The large metal washer needs to be removed from the stud. I just open the vise a little so the stud will pass through the washer when tapping the stud through the washer. In the attached pic, I used a socket to tap the stud through the washer to protect the allen type end. Next, I grind down, on the stud, the area where the washer was pressed on. The stud needs to be ground down so a 1/4" washer can slide down the stud so it sits on the bulged area of the stud. The attached thread I linked to at the beginning of this post shows, in essence, how the lights are attached. I attached the installation word doc. to the end of this thread. Feel free to message me with any questions. I'll try to answer questions in this thread also. Let me know if there are any problems reading this thread.
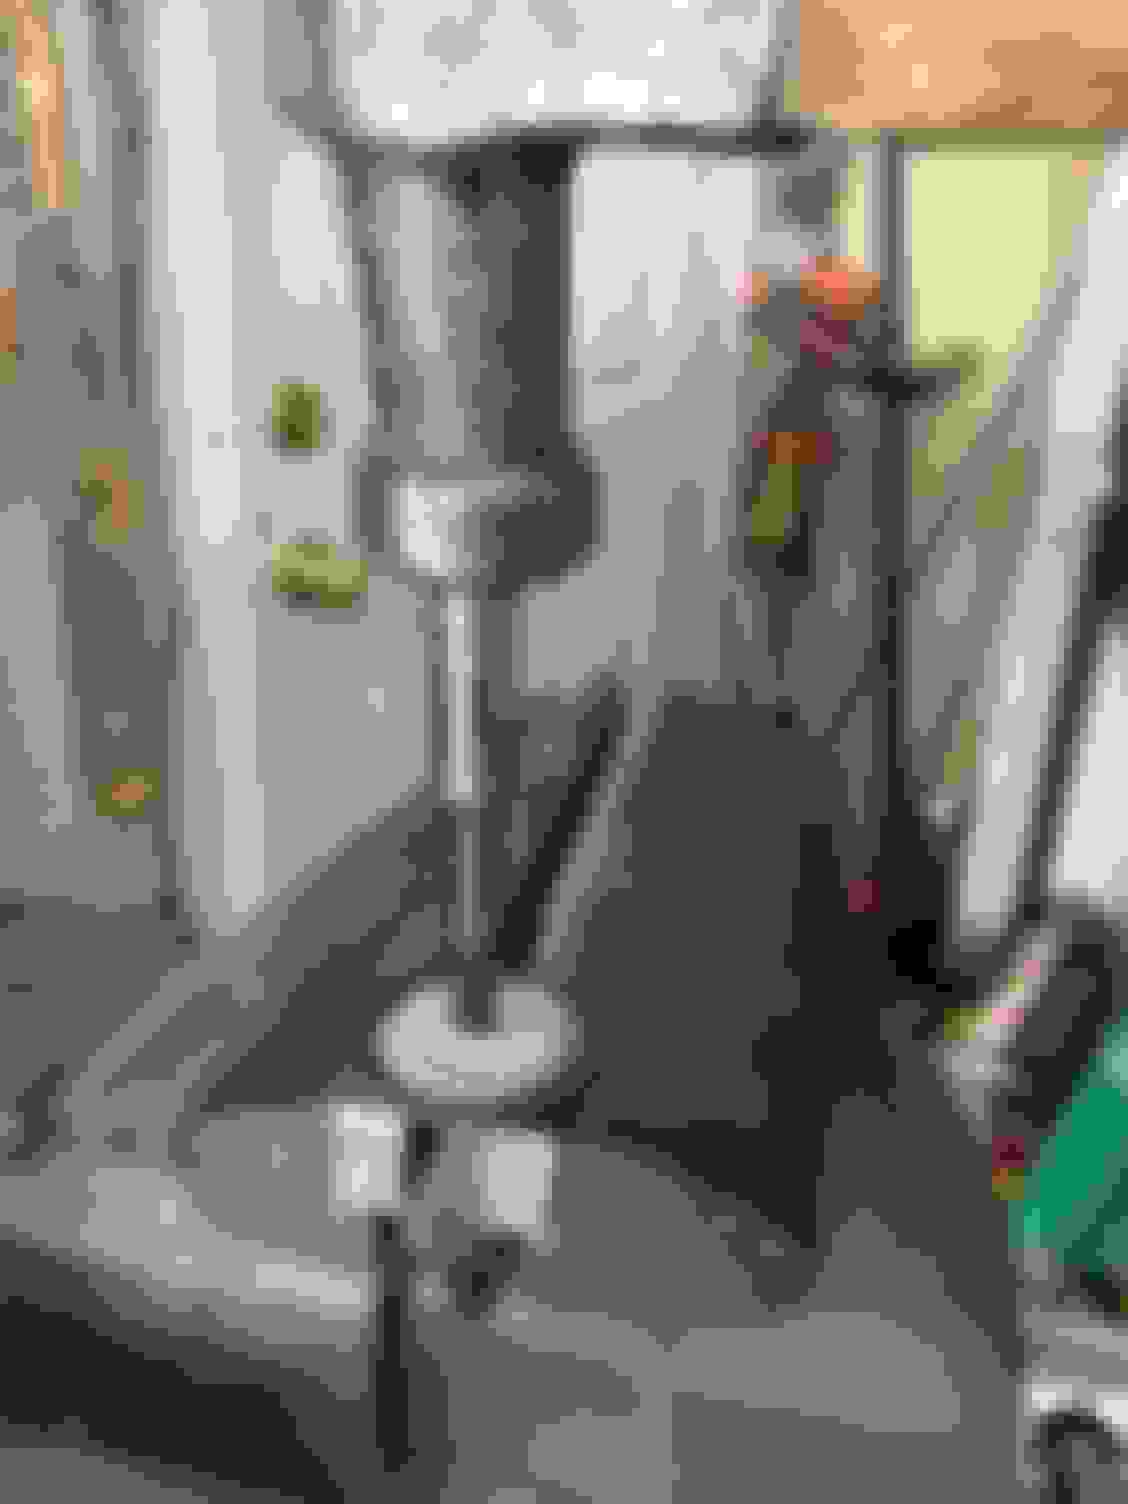
This is a typical example of what the studs look like mounted to the donor vehicle.
This is the 87-90 Corsica tail light. Between both, the left and right side tail lights, there should be 8 studs. A good find, if you can find them.
Driving the stud through the attached washer
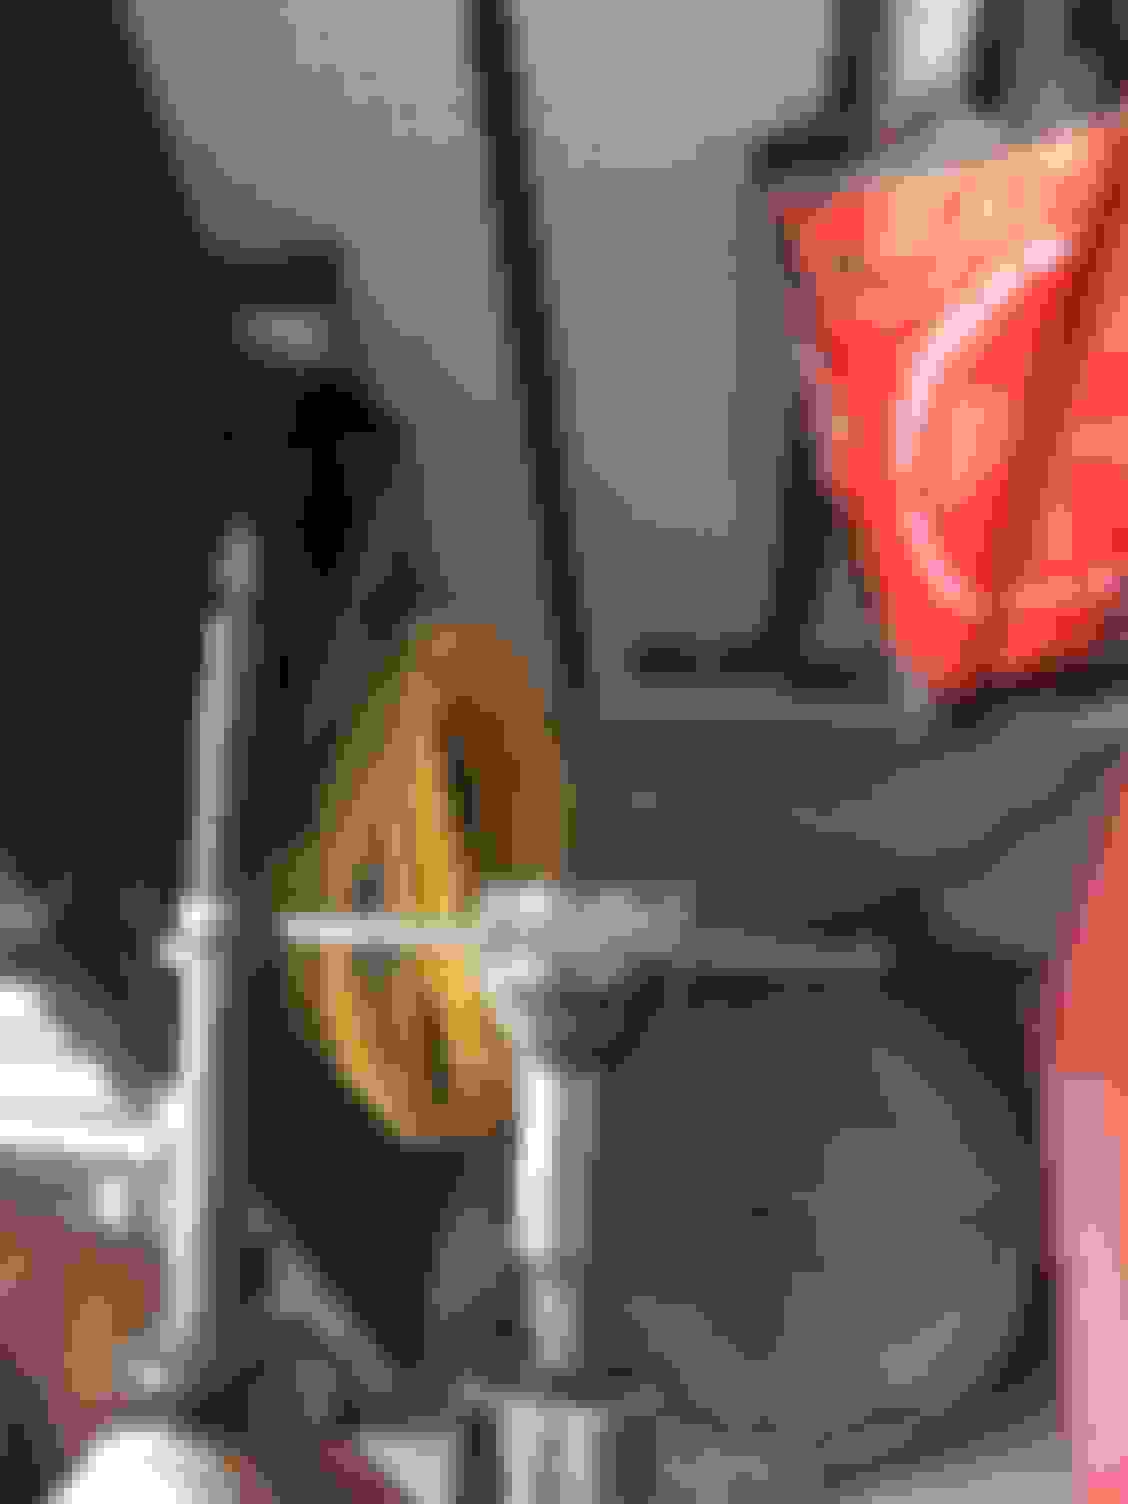
Area to die grind the stud for the washer
Washer in the correct position
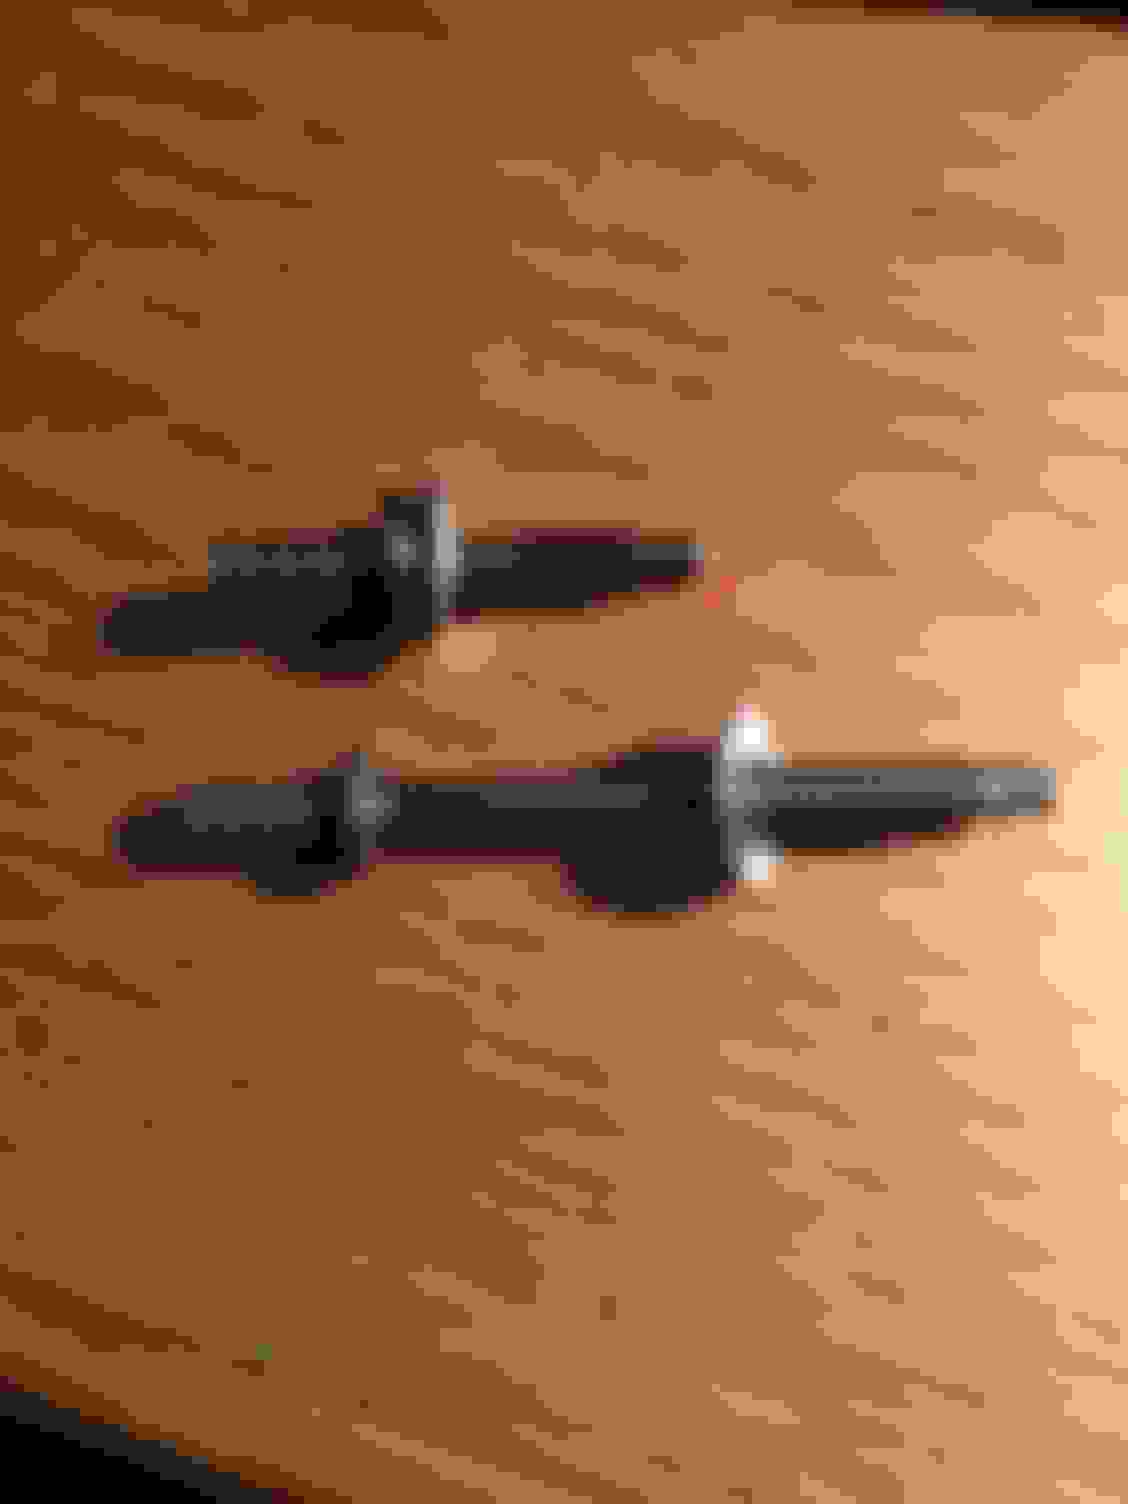
You may find short studs also. These work great if you're tired of dropping the screws but want to maintain the tail light in the "almost" original position. I don't know why GM didn't use these type studs to mount the lights.
This is what I shipped, minus the tail light. Studs, wing nuts, 1/4" washers, "j" or speed nuts and 7mm head screws.
Finished job!!
Last edited by MrRenoman; 02-14-2023 at 06:23 PM.
Reason: grammer
I was at ACE hardware looking around, and they have "hanging studs" that are very similar to the tail light studs you removed. Maybe tack weld a washer where you need it. I was thinking about trying that route. They come in different sizes and lengths.
Interesting, I�ve been screwing with C4 Corvettes since 1999 and I�ve never seen this.
Yeah, I've been working on 'em since '87. I bought my first new Vette in '82. I've always worked on cars. I don't know what prompted me to do this mod but the parts work well for what they do. I did it to my '85 and thought it was cool and had never seen something like this. I sold a number of them but no one had ever posted a pic that they did it. I'm kind of curious what others that bought the kit thought about it. So, since the donor cars are hard to find in the "pick your own part" wrecking yards I thought I would pass on the info since I think someone would like to know how it's done.
 02-13-2023, 02:18 AM