When you click on links to various merchants on this site and make a purchase, this can result in this site earning a commission. Affiliate programs and affiliations include, but are not limited to, the eBay Partner Network.
Wow!!!! Now that's one way to do it. Complete unobstructed access to everything. I like your style. This car will literally be about brand new when you're done! Great work!
Wow!!!! Now that's one way to do it. Complete unobstructed access to everything. I like your style. This car will literally be about brand new when you're done! Great work!
thanks! now it’s time to redo everything from the ground up.
Finally got the wiring harness out for clean up. I also framed up a body dolly to make it easier to take it outside and clean up the frame and firewall.
Some more progress on the 88’. Finally removed all the rust off of the frame. Surprisingly it was all surface rust and nothing major. No major repairs either just a snapped weld bolt in the frame for one of the strut supports which required me to dril out the hole and weld in a new nut. Sanded,sealed, primed and painted oh yeah.
Now on to the firewall and cowl. Finally removed all the accessories so now I can get started on sanding, sealing , priming and painting again. Thinking about pulling in a little Mopar styling and painting it body color.
Btw.. that one nut on the power brake booster is a real bitch.
That is some great work. I very much enjoyed all the photos and have great respect on the direction you went to improve your daily drive. Very encouraging, thanks!
wow thats a lot of work !!
I copied some of your photos to help me figure how to reassemble the air pump a/c and plumbing
mine came to me in a pile and a box when I bought my 85
if your doug nash 4+3 is good and you are getting rid of if I would be a buyer for it. mine is trash
That is some great work. I very much enjoyed all the photos and have great respect on the direction you went to improve your daily drive. Very encouraging, thanks!
Hawk
thank you Hawk. Your feedback is appreciated and encouraging. It helps keep me motivated.
wow thats a lot of work !!
I copied some of your photos to help me figure how to reassemble the air pump a/c and plumbing
mine came to me in a pile and a box when I bought my 85
if your doug nash 4+3 is good and you are getting rid of if I would be a buyer for it. mine is trash
Awesome! If my photos help you with your project that makes me happy. let me know if you need anything specific and I’ll send you whatever photos I have.
my DN worked good I don’t know how many miles are on it though and but it definitely wasn’t trashed. I was planning on rebuilding the OD but decided to go with a tremec unit.
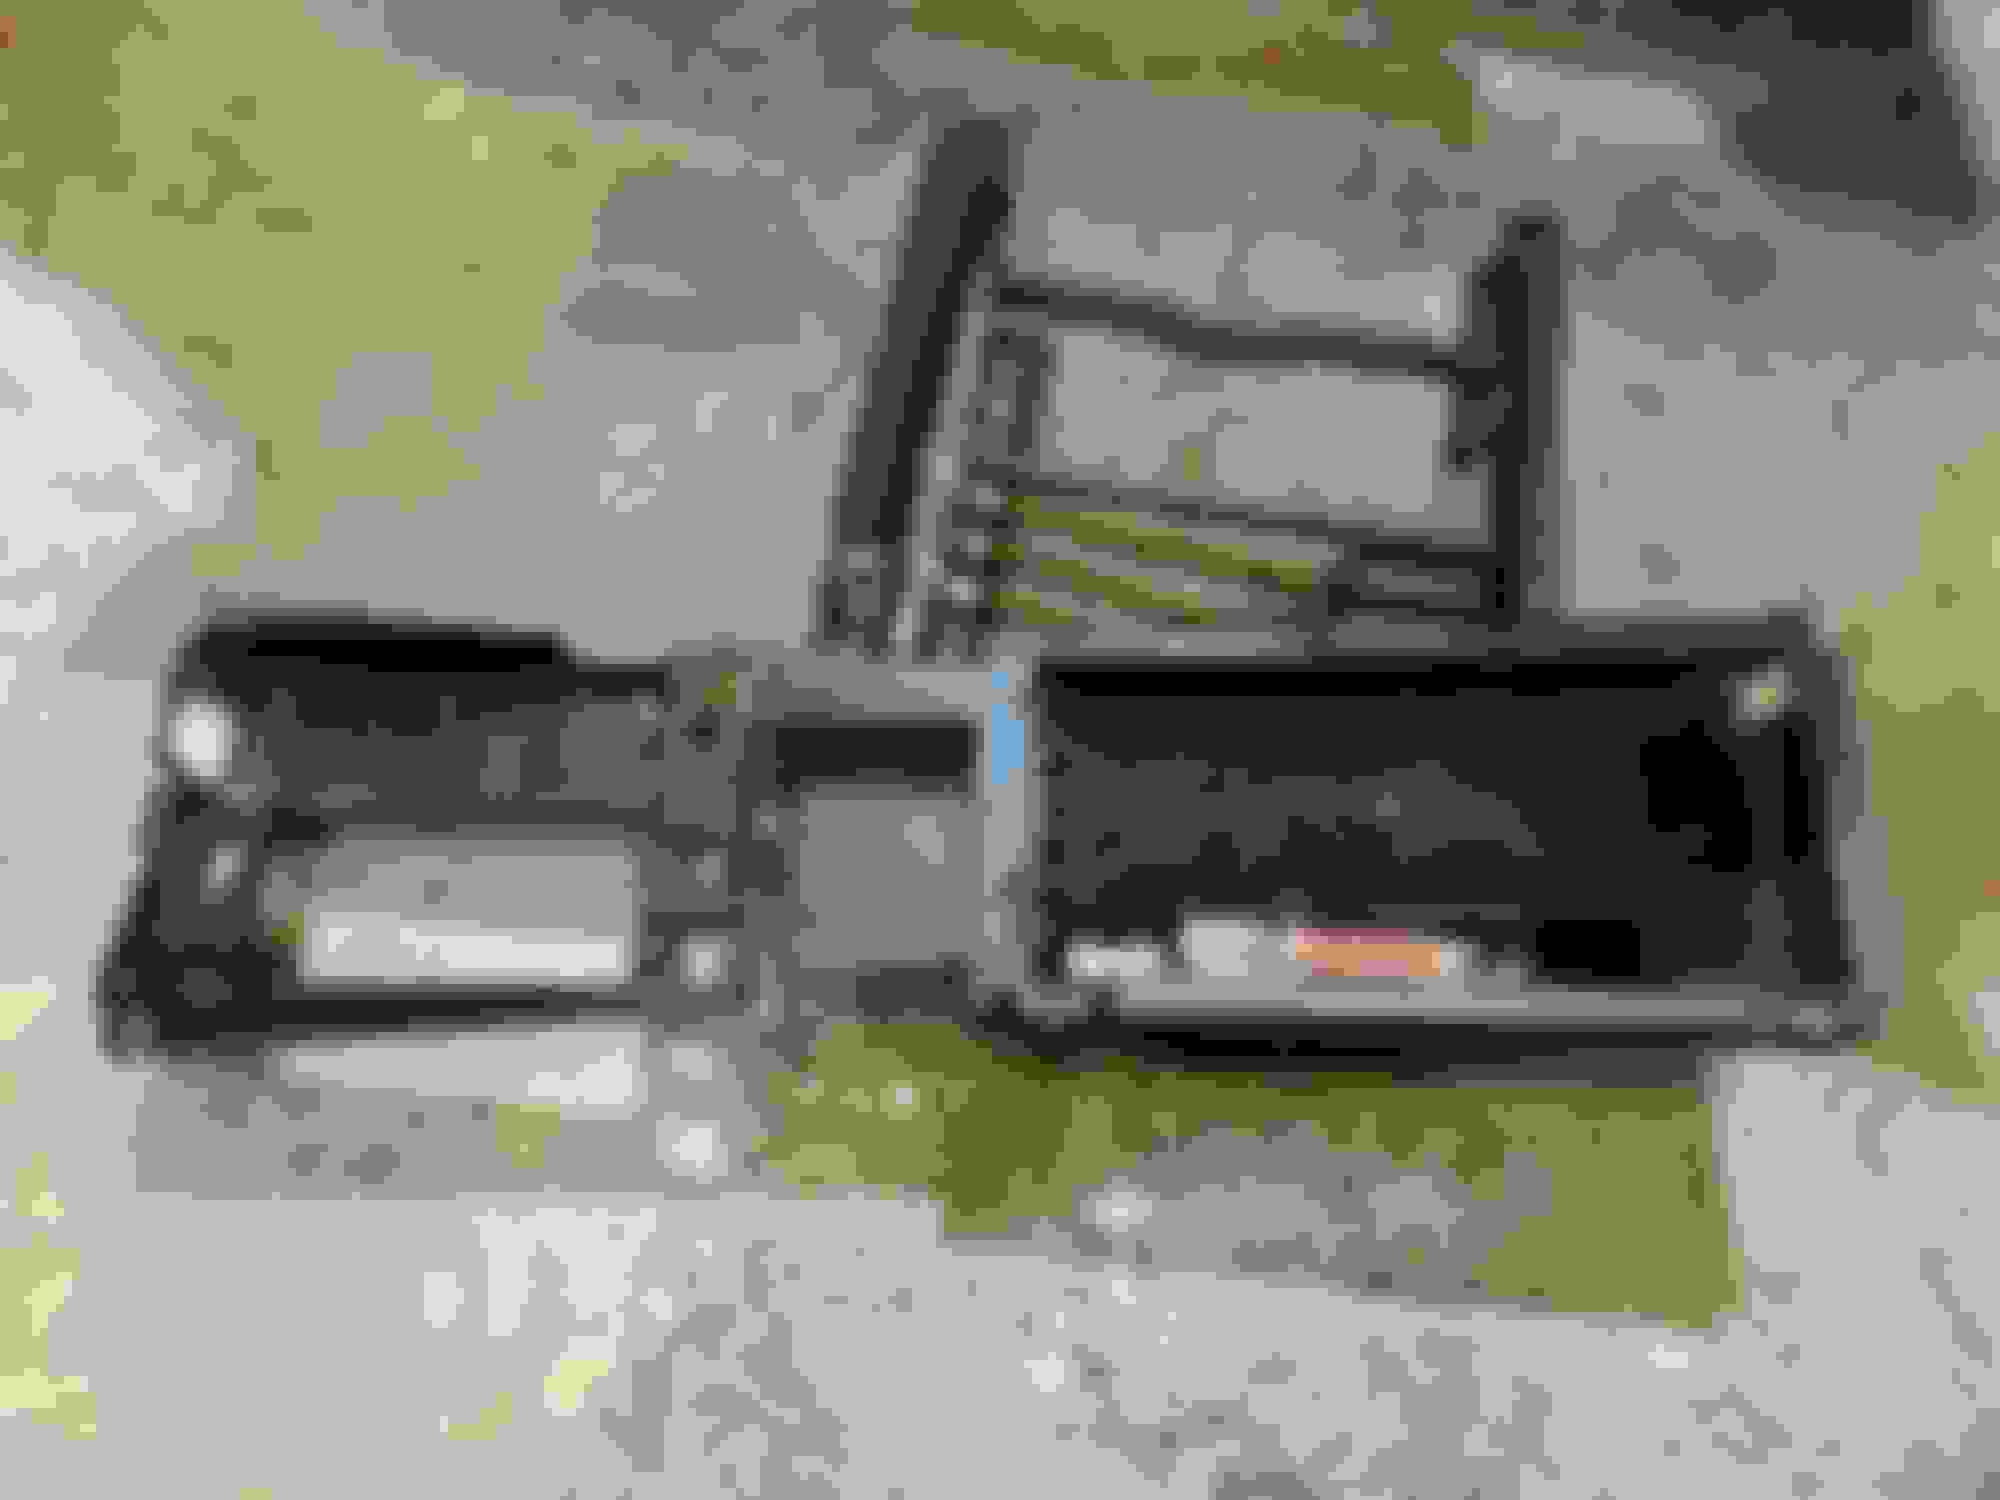
I’m almost done with the front end cleanup.
up next on the scrub are the cowl leaf screens, master cylinder and new clutch hose.
after that the body and frame go outside under cover and the driveline comes in for disassembly.
More progress on the 88’ color for the most part is done. Now my attention is on the transmission tunnel. Remove the old shifter and modify the shift pocket to receive the new Tremec TKO. Add some undercoat then in to the driveline.
Prepping the Vett to receive the new Tremec TKO transmission. Removal of the stock shifter with linkage,and fit the tunnel patch all that’s left to do is cut out the old shift pocket. Then decide if I’ll install the metal patch or use it as a mold for creating a fiberglass patch.
Tunnel pocket is out.. lot more clearance. Probably going to patch the giberglas to close the hole up some.
I now have a complete manual shift and tunnel conversion package ready now. Just add transmission and everything else LOL
Just plugging along here with the 88. I pushed the body outsider and rolled in the driveline for disassembled. Working from the back to the front to dismantle everything lol. Last picture is the 88 driveline scattered around the garage.
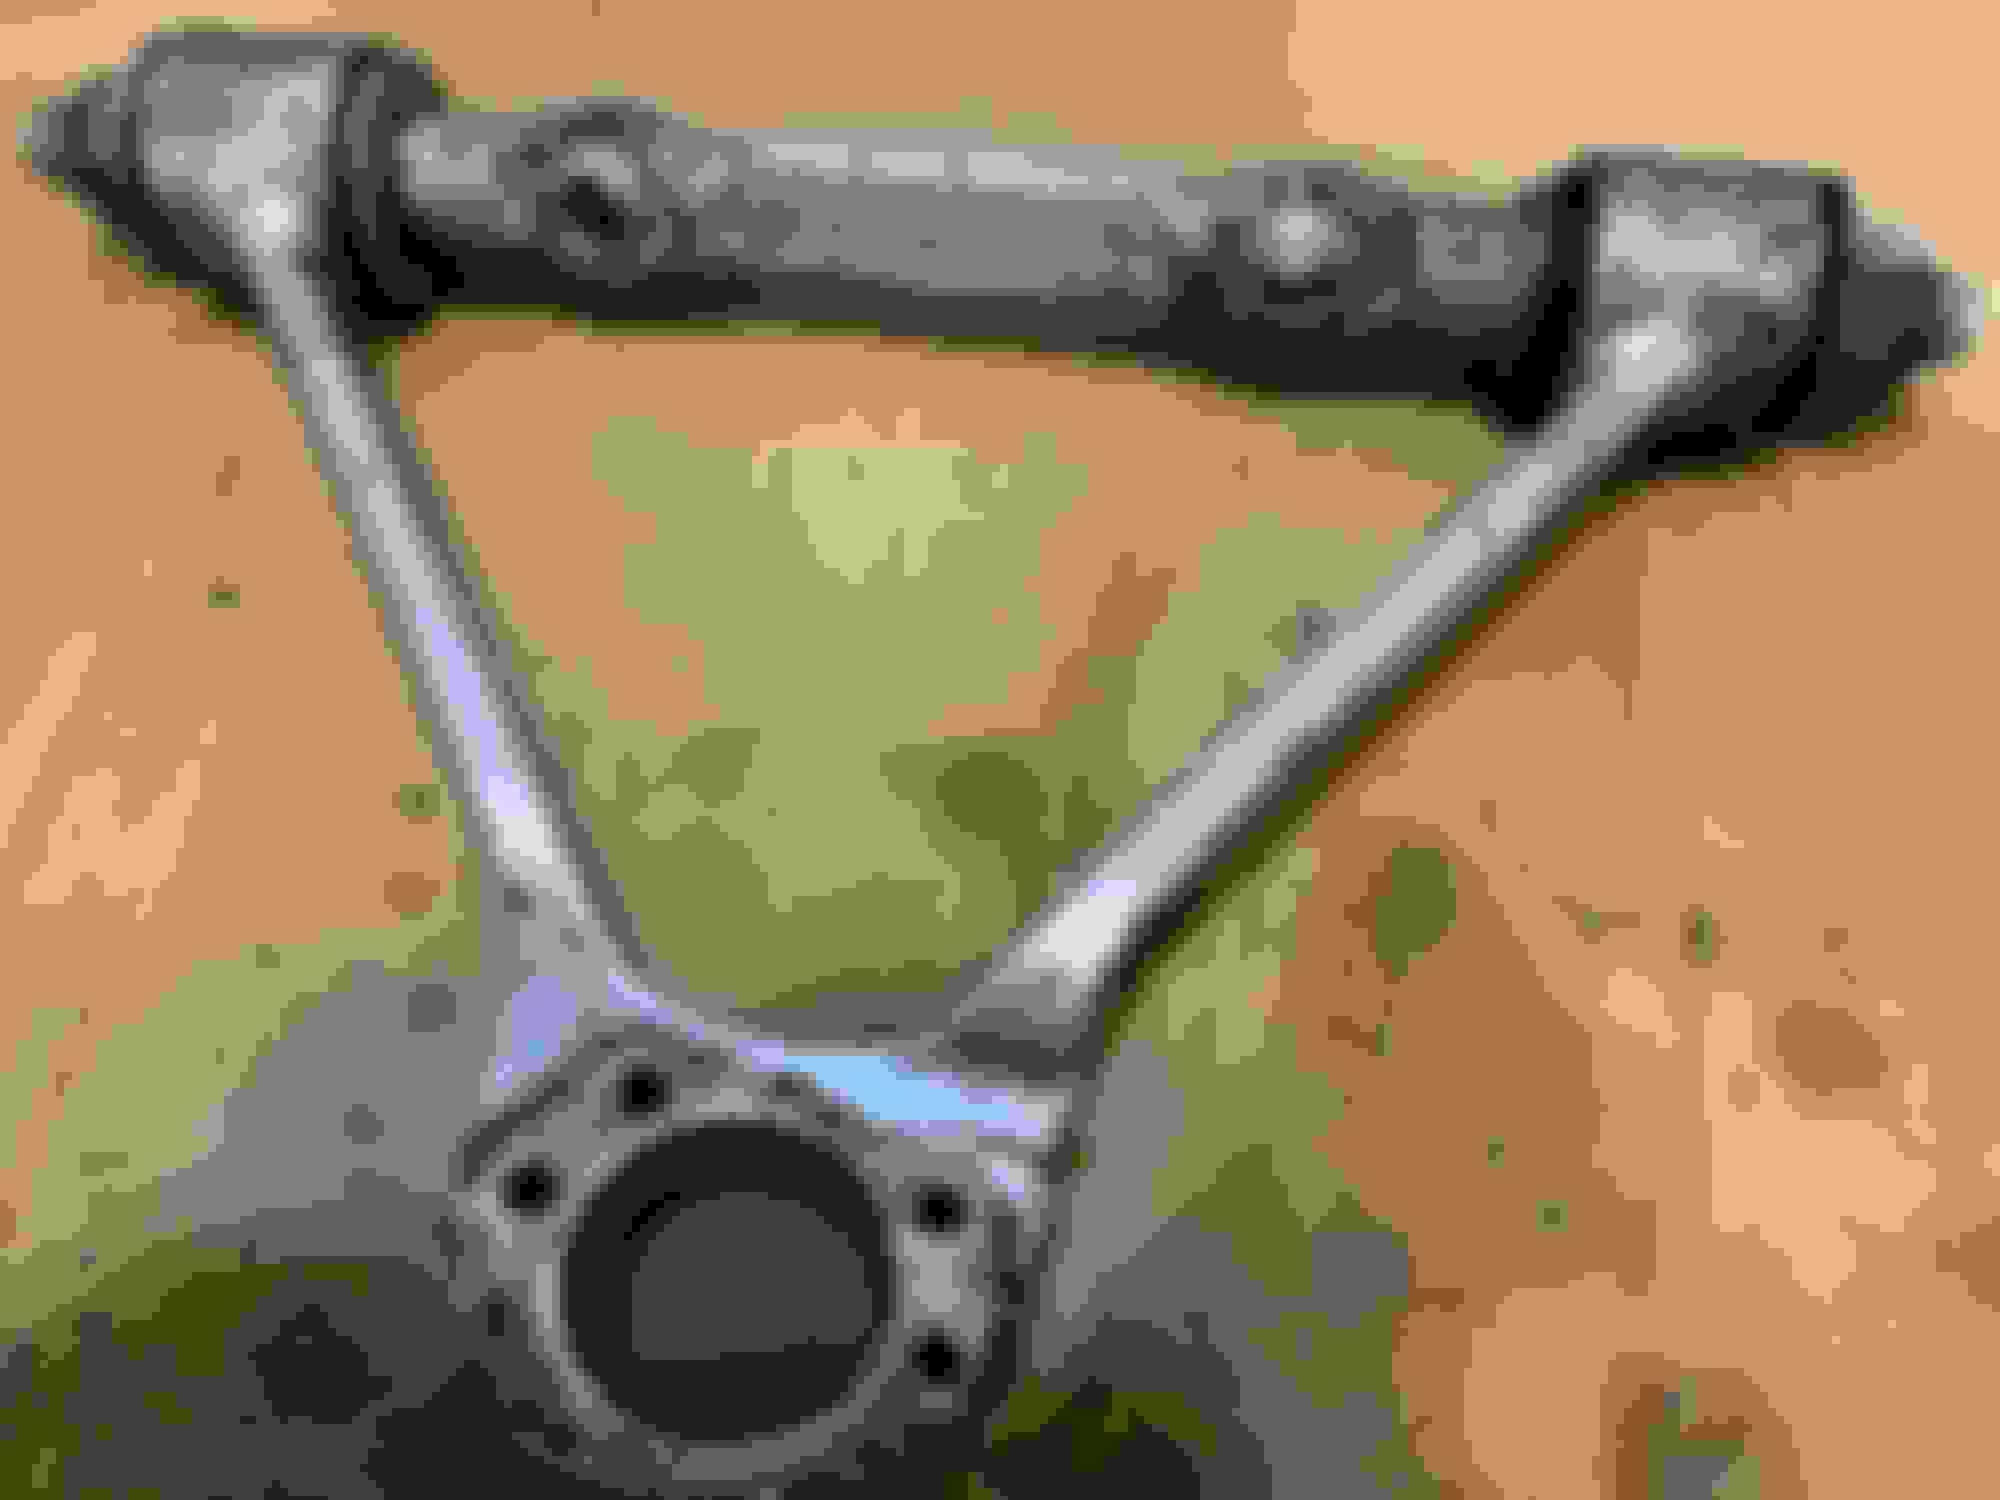
first thing I cleans and prepped we’re the upper and lower arms. As you can see from the rear strut rod the bushing were non existent.


 04-08-2020, 09:07 AM