When you click on links to various merchants on this site and make a purchase, this can result in this site earning a commission. Affiliate programs and affiliations include, but are not limited to, the eBay Partner Network.
Fel Pro's new one-piece oil pan gasket is pretty slick! A long over-due product! IMHO anyway. Included in the kit were 4 plastic rods to screw into the two 5/16" pan bolt holes in the block that straddle the rear main bearing cap and the two at the front bearing. They were to support the gasket against the block and also act as guides for the pan to slip over the rods and cozy up to the gasket while you started the pan bolts along each side of the pan. However, my '84 block has 5/16" studs there, so I couldn't use the plastic rods.
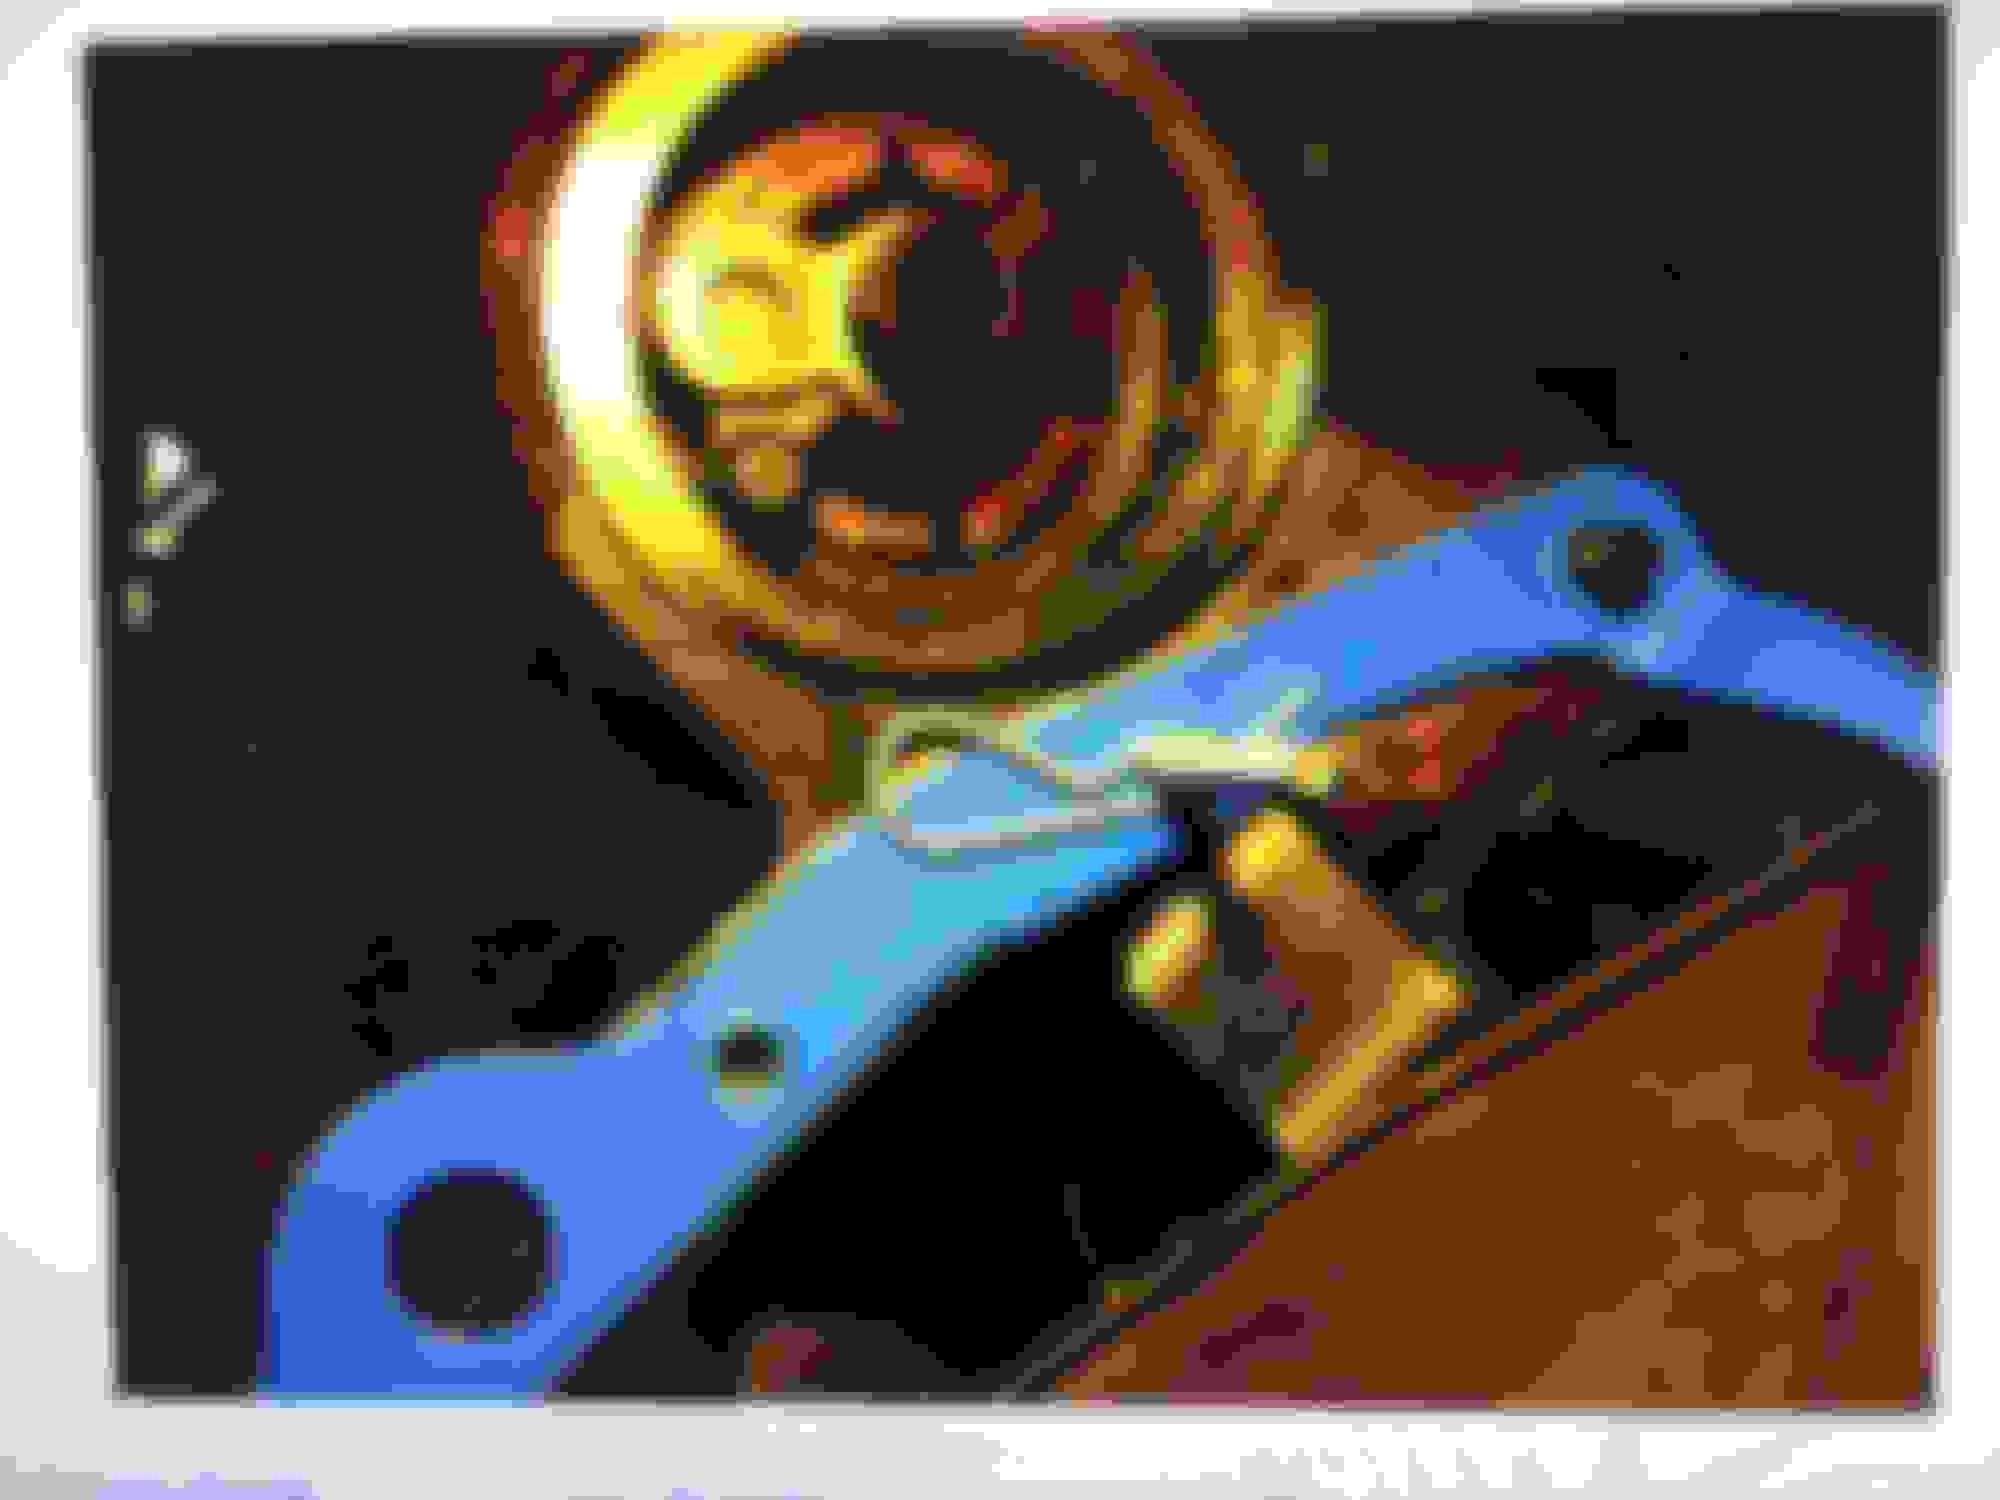
After a trip to my local hardware store, I used four 1/4x20 threaded rods in the block holes next-in-line to the studs though. I cut the rods 1 1/4" long for the front and 2 1/2" long for the rear holes. The gasket slid over the studs and then I used a "hairpin" clip to clip onto each rod and hold the gasket snug up to the block. The clips make a nice positive lock on the rod threads. I was then able to adjust the fit and seal of the gasket.
I then slid the oil pan over the threaded rods and up to the clips and then start a pan bolt into the block on each side to hold the pan in place. After that the clips can be extracted from the rods with a quick flip of a screwdriver, the rods unscrewed and the rest of the pan bolts started and torqued.
I'm sure there are other methods and you can use more than 4 studs in the case of the old cork-style gaskets, but this worked out well for me on the fly..
Last edited by SQUIRMIN VERMIN 84; 03-10-2018 at 08:23 PM.
Reason: clarification
Do you have to remove the exhaust and jack up the engine ?
Nope! had lots of clearance with stock exhaust. Did have to unbolt starter and push over to side for access to pan bolts on right side. Although I didn't have to, I removed the two diagonal braces under the front of the oil pan. The pan came out just fine with them still in place, but once they were out, I had more room to clean the underside of the block. Remember, this is on an '84-later years may have a little different landscaping. Best bet is to drive up on a lift or crawl under and eyeball the scene. Your FSM should list what you may have to remove first.
You may also have to turn the crank snout just a smidge to clear the front crank journal when it's coming off....at least I did. Then again, I ain't always the brightest dog in the pound either
You may also have to turn the crank snout just a smidge to clear the front crank journal when it's coming off....at least I did. Then again, I ain't always the brightest dog in the pound either
well, not about not being the brightest..
good quality flywheel turner, $35 at NAPA.. best way to rotate crank!!!
Last edited by SQUIRMIN VERMIN 84; 08-29-2010 at 05:34 PM.
As long as you have the pan off-change out that timing chain and sprocket set! Tip here for old eyes - use some dayglow paint to accent the cam timing marks before installing new sprockets....easier to line up if lighting ain't all that great!
Last edited by SQUIRMIN VERMIN 84; 03-10-2018 at 08:29 PM.
 08-29-2010, 12:49 AM


 well, not about not being the brightest..