When you click on links to various merchants on this site and make a purchase, this can result in this site earning a commission. Affiliate programs and affiliations include, but are not limited to, the eBay Partner Network.
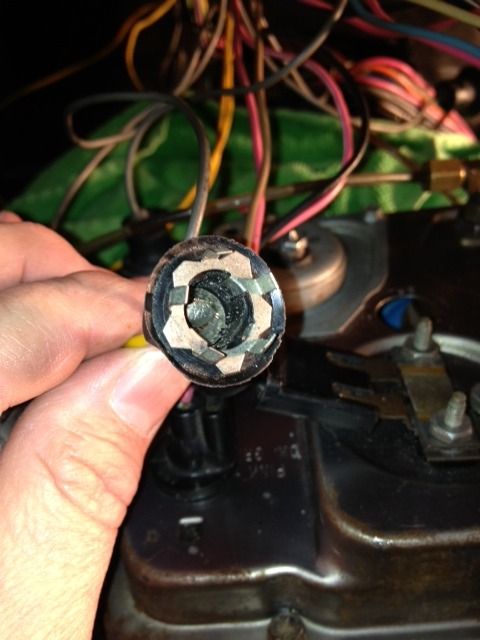
Well, maybe not the shi##iest, but at least in the top 10. Why did they not make this a single unit. I guess because they knew, 40 something years later, it would be a cruel joke on us guys trying to keep this all together with out bulbs falling out into the gauge cluster housing. About the time I'm putting in the last bulb and am ever so slightly handling the center console gauge housing, I hear a bulb fall off into the housing..... I'm about to just go with no lights. I've thought about a drop of super glue in each of the little holes where to metal prong inserts into the plastic, but I'm sure that would disrupt the circuit or something and cause no lights. I'm completely open to suggestions.
I've thought about a drop of super glue in each of the little holes where to metal prong inserts into the plastic, but I'm sure that would disrupt the circuit or something and cause no lights.
That's exactly what I did and it works fine. The metal cage grounds the bulb. The little prongs are only there to hold it together, no electricity flows that way.
There is a new version of this lamp holder out there that fits and holds the lamp better but unfortunately I have lost the link. Came from a lamp specialty place I think.
I mixed up some JB Weld 2-part (tube) epoxy and put a small dab on each of the slots before inserting the clips back in to the sockets. That does nothing to the electrical circuit; it just holds the two parts together like they are supposed to be.
Originally, those black plastic sockets were somewhat pliable and the jagged prongs bit into the plastic just fine. But, 40+ years later, the socket plastic has hardened and shrunk a bit, reducing the retention power of those prongs.
It's best to carefully pry out those sockets (so they don't come apart as you yank them out), then pop the bulb AND the metal ring out of the socket. When you get them all prepared, do the epoxy thing and let them set overnight to fully harden. No more problems.
Bought my '72 in '95 after a few times removing/installing that large panel and even the small one over the console.....I went to radio shack and bought some white nylon MOLEX connectors.....all the lights on one gray wire in the thing, R/L turn sigs, and one other so to leave all the bulbs in their sockets....ONE ground lug and jumped the other unit permanently.....this for the tach/speedo assy.....
I can R&R my main dash in about 20 minits.....GOD, I'm lazy.....
center gauges are even easier....custom set up there.....
The only thing I'm not sure of is how long the Super Glue will last, being next to a hot bulb (in each location). Maybe someone has had their sockets done with S/G for a long time (used a night a lot, hopefully) to give us a read on durability.
I know that the epoxy method has worked for over 5 years. I've driven some at night, but not a lot of night hours over that time (maybe 50).
I had the same problem fiddling with installing too many bulb sockets. I can't imagine what they were thinking when they designed this. Below is a picture of my solution. This is the center gauge cluster but I did the same for speedo and tach. I got the Molex connectors at Radio Shack and I left wiring long enough that I can get my hand under the dash to connect/disconnect. I used two pins and wires for the ground as the pins would not take a larger gauge wire. I did use a few new bulb sockets too. I started to do the gauge wiring also but just left it alone.
I encountered this when installing my new fuel gauge and yes, it's frustrating. Bent the metal prongs outward to grab into the plastic housing better and also used super glue. Also organized the wiring in case I need to dig into here again...
That looks clean. I super glued and got it all plugged up and re-installed the dash trim tonight. The clips were solid. I tried the "bending the prongs", but they were pretty worn.
Ok, I had the same issue but what I did is on all Ford series pickups 66-75 or so is the same exact bulb housing but the bulbs twist in and lock and they fit perfect is the cluster. I went to the salvage yard and found a Ford truck that had already been hacked up and got about 20 pig tails and cut them put cost me about 5 bucks.
I have a local corvette scrap yard that I get a lot of parts from. The owner said I could go cut up some old wiring harnesses for what I need. I will fix it right when I do the frame off resto. I am converting to a 4 speed right now and had all the dash out for the pedals. Quick fix for now.

 02-18-2015, 08:51 PM