When you click on links to various merchants on this site and make a purchase, this can result in this site earning a commission. Affiliate programs and affiliations include, but are not limited to, the eBay Partner Network.
Yes- you are correct it is high...the mixture is supposed to be a little rich till coolant temp (CLT) reaches 160�- it wasn't there yet-
As I (and I'm sure you have too!!!) find it's usually more than one thing messed up when it looks like an easy fix!!!
BUT a few of the plugs were not carbon covered...so that's why I was checking the spark - vacuum leak and my tune set up.
When I did rev on it -it went lean- so I have some work to do...but I have it running - supposedly the rest is easier...I hope!!!
Is your son driving your old vette???
Richard
I was wondering if you were at temp yet, I guess I didn't look too close at that log you posted. I'd like to learn more about tuning, have though about seeing if there's a course near me for it. Keep at it, I know you'll figure it out!
As far as I know AJ (my son), does drive the vette, he's mentioned he's had issues with the throttle cable breaking on him (think it's happened twice), I told him to get on here and see if it's happened to anyone else and to ask a couple of people that I know are pretty smart on these vettes. When I restored the dash I put in a new cable so I'm not sure why it's happening. It would be cool if he could finish it, I had it about 80% restored, then go on the power tour with it.
Sounds right for the ignition. I'm surprised your injectors aren't banked, but that's good.
I assume you checked your 12 injectors for balance. Anyway, I wouldn't worry too much at idle or when the engine is not up to temp as long as it's running well. At Idle it could be the injectors are not even or the throttle opening not being exactly the same for each cyl. Nothing to sweat about IMHO. Get it on the road, up to temperature and some load, do some logs and then check the plugs after.
I forgot if you had a log manifold or separate exhaust manifolds. If separate, then shoot a temperature on them to see how close they are. Back in the day, I used to log an EGT for each cyl, but I only had 4.
You're well on your way IMHO..
Thanks Carl-
I have brand new injectors...trust me it's NOT cheaper to buy by the dozen!!!! I have not checked for balance- I went with the recommended Bosch and stayed stock size. Believe or not the original injectors were Lucas!!! They are known for breaking the center out and screwing up the spray pattern- so I decided it was best to replace. I did go through the test mode and made sure every injector was in the correct location and working. I am running a slightly higher regulator-and have twin pumps in the tank- but I did that mainly for a back up. Just a Walbro 255.
I am running the stock stainless steel exhaust manifolds- they have a really nifty heat shield on them and after a bunch of reading -headers on the V12 really didn't give it much of a performance gain- so I just cleaned them up- matched the ports. I'm running 3 cylinders into 2" and then the twin 2"s into a 2�" straight pipe for each side. Remember we are talking 328ci engine.
I did take my trusty harbor freight IR temp gun and check around at the exhaust and they were about 20� of each other.
OK- so I guess it's brake time!!!
Lucas injectors-Bad one on top
Originally Posted by AirborneSilva
I was wondering if you were at temp yet, I guess I didn't look too close at that log you posted. I'd like to learn more about tuning, have though about seeing if there's a course near me for it. Keep at it, I know you'll figure it out!
As far as I know AJ (my son), does drive the vette, he's mentioned he's had issues with the throttle cable breaking on him (think it's happened twice), I told him to get on here and see if it's happened to anyone else and to ask a couple of people that I know are pretty smart on these vettes. When I restored the dash I put in a new cable so I'm not sure why it's happening. It would be cool if he could finish it, I had it about 80% restored, then go on the power tour with it.
I have been watching a youtube on tuning ...it's a lot to take in....
Good deal on your son driving it... He got the headlights back up and working- a throttle cable should be a no brainer!!!
Had a nice day (60�+) so I rolled the car out and ran it for a while. Got it up to 180� idling and clicked on the fans- no problems. I ran it for about 30 minutes while the ECU was tuning and getting the AFR where it was supposed to be. My wife said "wow- it doesn't stink like it did!!!" The car idles about 1800RPM so I have decided to do the right thing- not mess with the throttle stops to bleed air and use an IAC valve. Found a lot of tuners were using the Bosch as it uses two wires and my ECU can completely control it with it's built in PWM. Stopped by the junkyard today and found a couple Volvos that had the valve- so I'm all in for $10!
So- I'm going to connect it to the vacuum fuel rails- I used some old injectors -cut them down - tapped them and then had my machinist buddy hollow out some threaded rod to mount the injectors to ITBs vacuum - looks a lot better than 12 vacuum hoses...
Anyway- I'll just either run a small air filter -or a rubber hose to the air box (when I build it...)
I'm also redoing the coil mounting- making a new plate to go where the heater box was- just running Vintage Air and no heat- and then use some bulkhead mounts for AC line.
Getting there- the list is down to only one page!!!
Bosch IAC and cut down injectors and fuel rail turned into vacuum rail
Steel ready to be cut
I have the heat shrink numbering for the plug wires now...I'll powdercoat and use the ss button head bolts- I'll have two sets of 6 coils then make a cover
I love the level of craftmanship and problem solving that's going on here!! There are very few people, if any, that would see a concept/ project like this to fruition...
I'm excited to see the final results, and will follow along until then!!
Hmmm- can Mr Clarkson drive left hand drive cars?!!!
Another update...maybe it's just me- every time I order parts- I get one piece that won't work in my application...so I have to order more. So that "this weekend" becomes next weekend to finish up what I just shoulda left alone....
Anyway-
I decided to buy a fuel pressure meter- went with the AEM brand- sort of thought it was a ricer brand- but after using their O2 and AFR gauge- that is totally self calibrating - worked right out of the box and basically a three wire hook-up- I gotta say I was impressed. The gauges will be inside the console- and viewable when you open the panel- more for quick troubleshooting than anything else.
I modded the Bosch IAC valve to fit AN 6 fittings and found a K&N filter to top it off. I ordered some AN6 fittings that have dual 1/8NPT fittings which will have hose ends to connect to the vacuum rails. I feel that'll be a little better air flow than the small vacuum hoses.
The coils- are getting a complete make over- bought all new connectors and some 90� coil ends for some extra clearance.
Yep - now I have to order a 45� hose fitting....
I like- but might powdercoat the chrome "K&N" with gloss black
I decided to buy a fuel pressure meter- went with the AEM brand- sort of thought it was a ricer brand- but after using their O2 and AFR gauge- that is totally self calibrating - worked right out of the box and basically a three wire hook-up- I gotta say I was impressed. The gauges will be inside the console- and viewable when you open the panel- more for quick troubleshooting than anything else.
Yes, AEM was mostly ricer engine management before. But I think their accessory parts and gauges have now become mainstream and their engine management is taking a back seat to Megasquirt and Holley, especially in the 8 cyl world. I've been using AEM widebands for almost 20 years
Originally Posted by Richard454
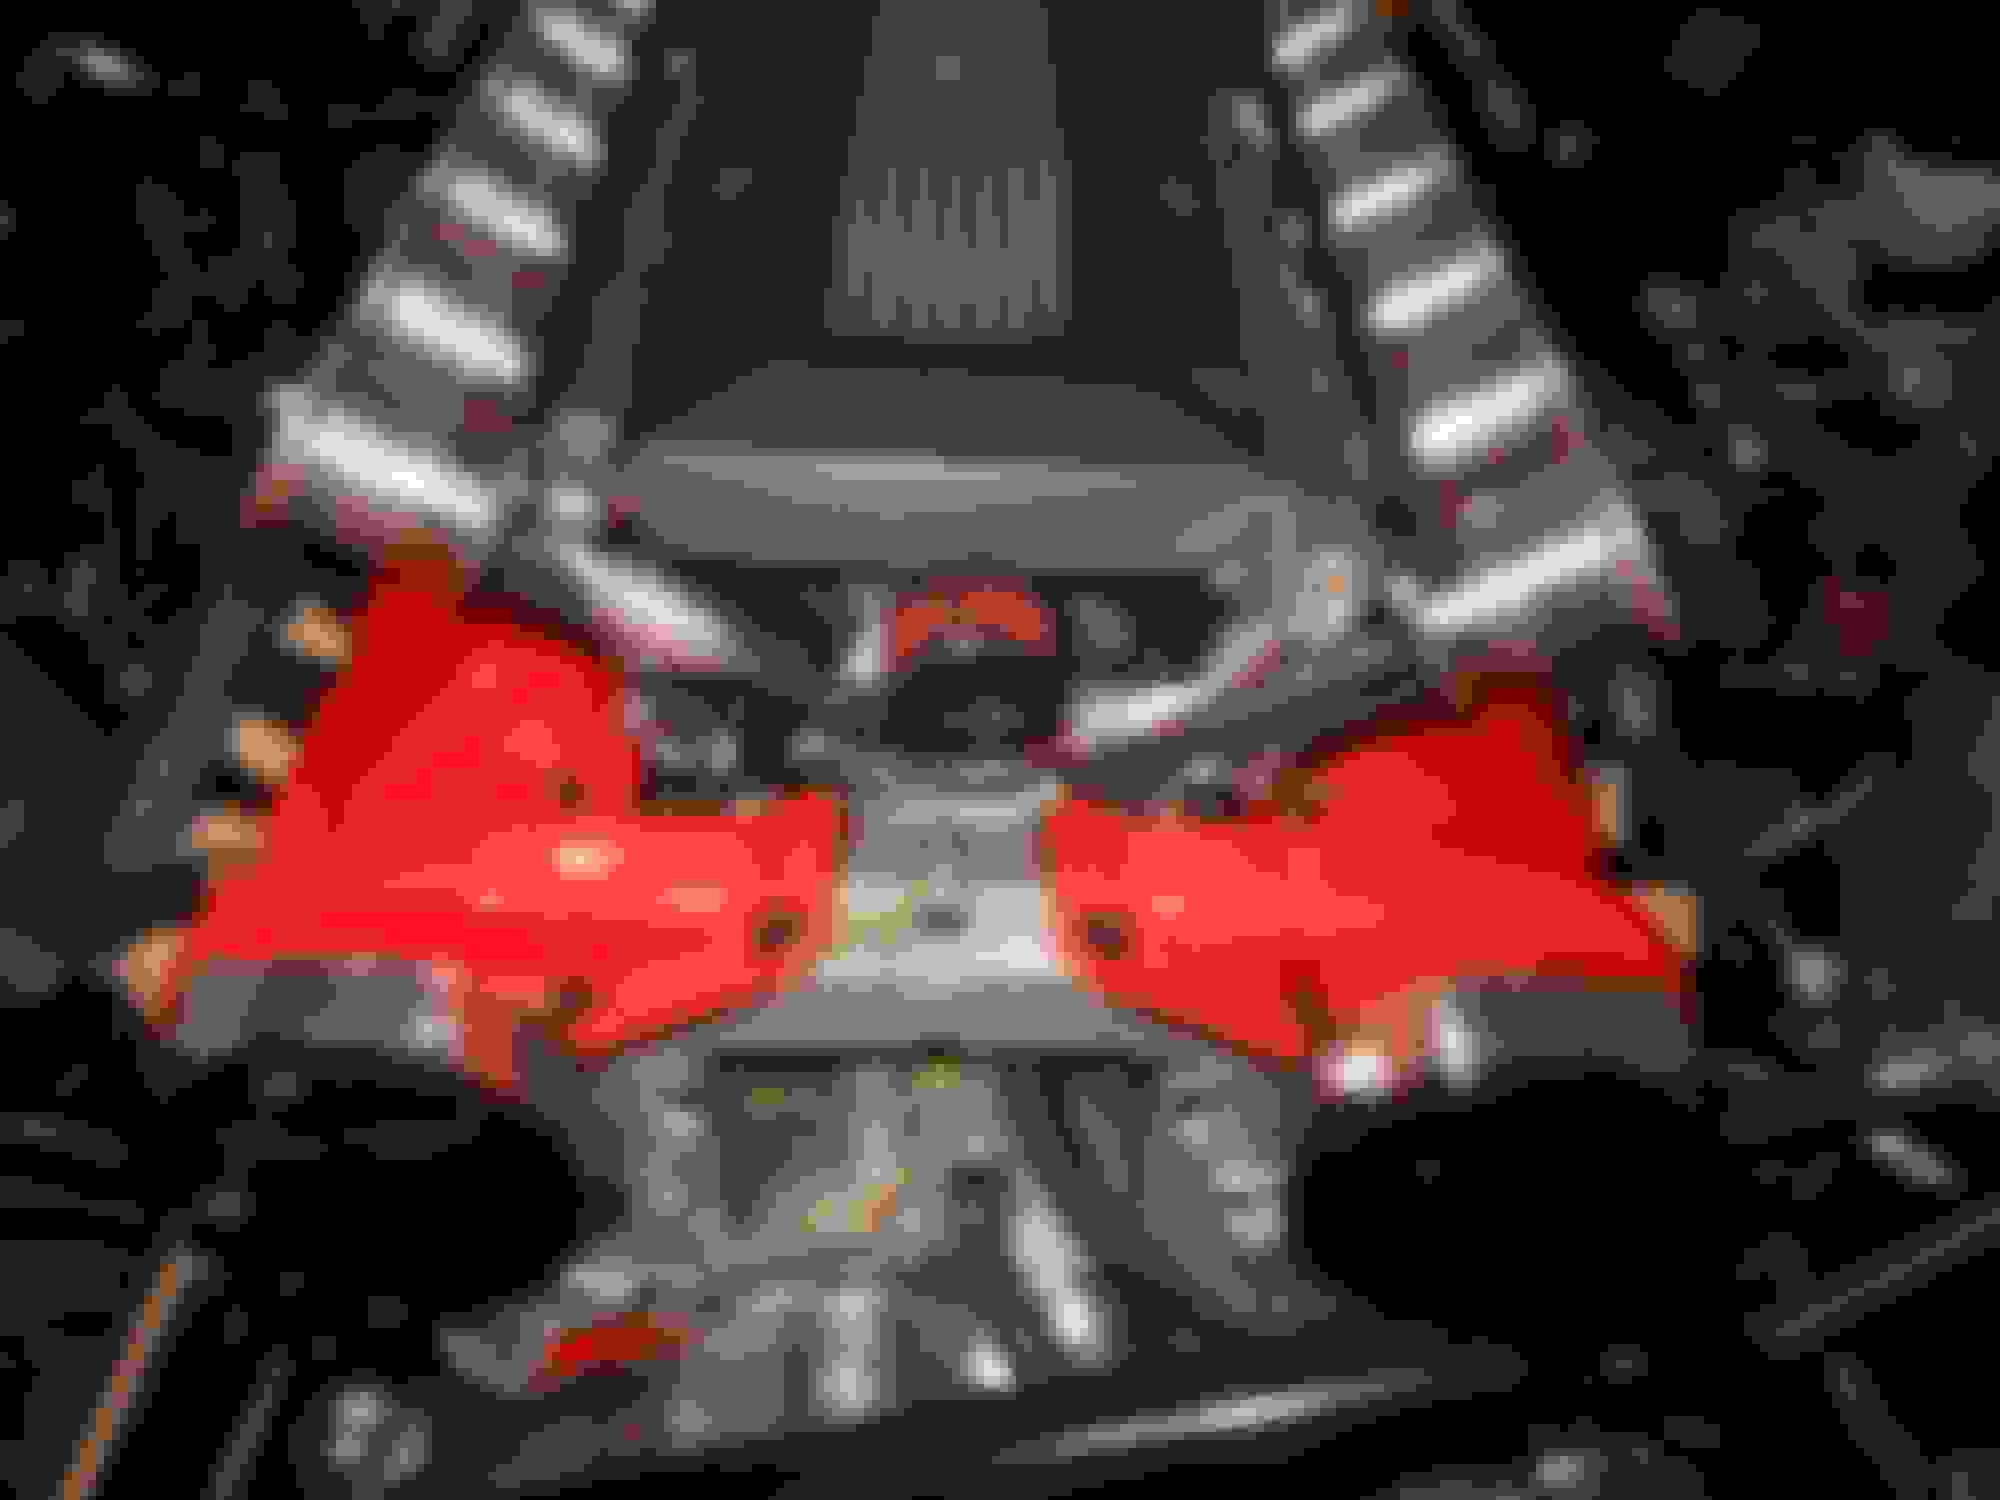
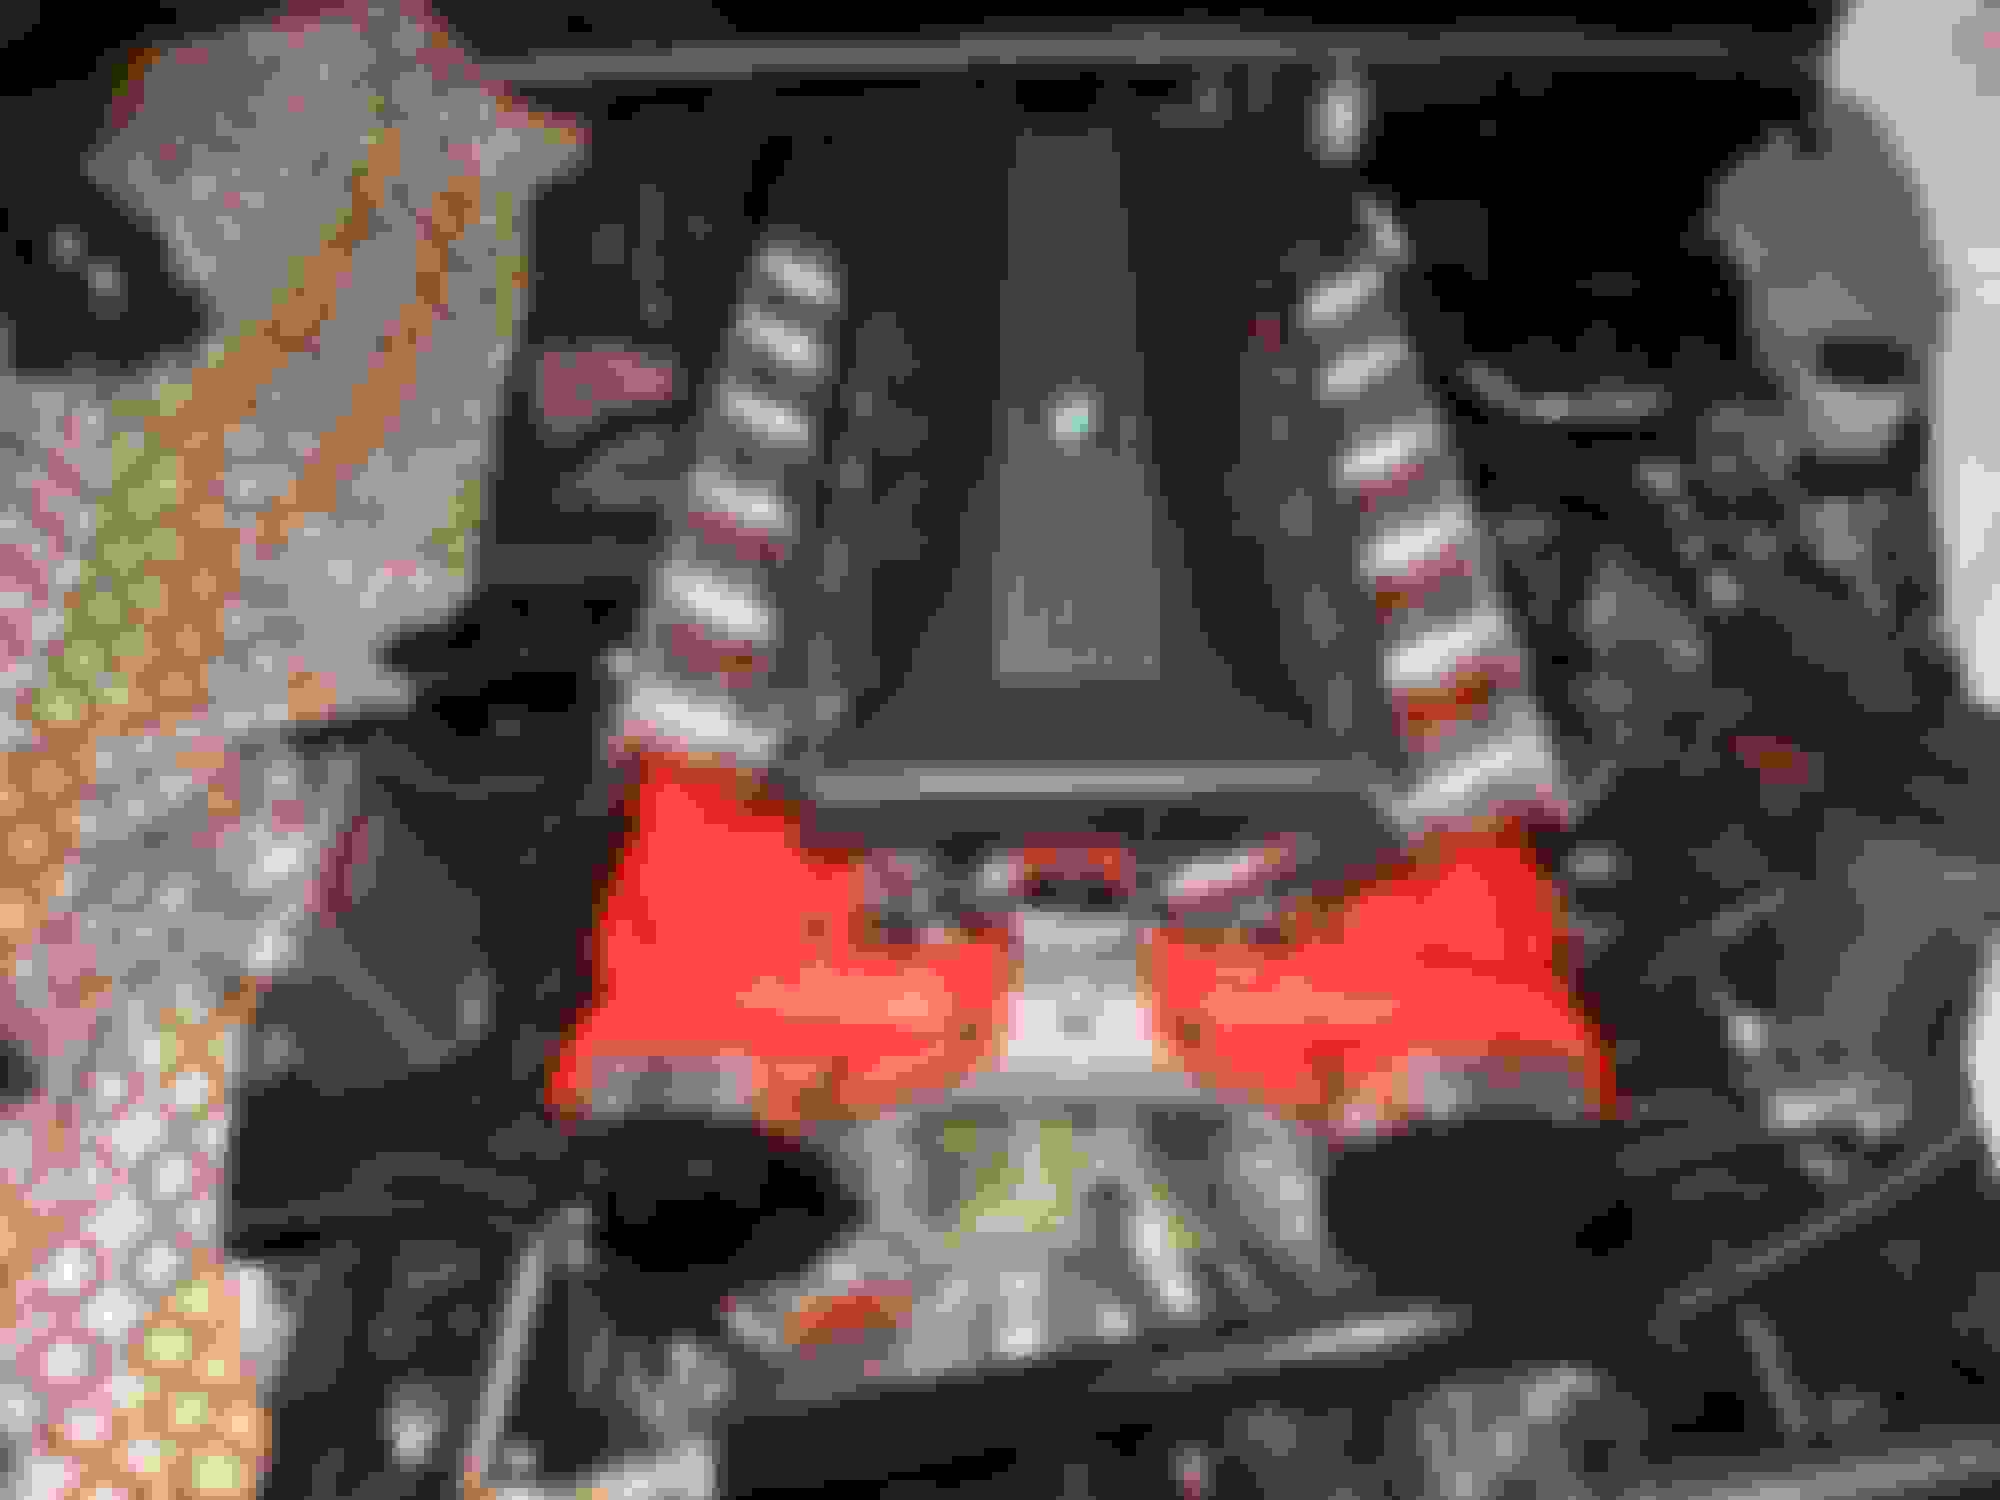
Vacuum manifold idea...using AN6 hose
I was wondering how you would hook up all the vacuum rail parts. Interesting approach. Where do you pick up a MAP input in an ITB?
If you had separate vacuum hoses, would the valley cover hide them?
Yes, AEM was mostly ricer engine management before. But I think their accessory parts and gauges have now become mainstream and their engine management is taking a back seat to Megasquirt and Holley, especially in the 8 cyl world. I've been using AEM widebands for almost 20 years
I was wondering how you would hook up all the vacuum rail parts. Interesting approach. Where do you pick up a MAP input in an ITB?
If you had separate vacuum hoses, would the valley cover hide them?
I tried the innovate- calibrate- what a pain...AEM was great!!! I might have to go watch "Fast and Furious 27" now!!!
If you hook up one cylinder- the pulses on the vacuum just wouldn't work. My log looks good- just using the fuel rails and vacuum hose. But adding a controlled vacuum leak- I figured maybe some more volume in the AN 6 line would help...IDK- but it looks better!!!
I sort of have hidden the lines- covering the vacuum lines with some braided split loom...
Here's old (top ) and hopefully better design incorporating the IAC( bottom)
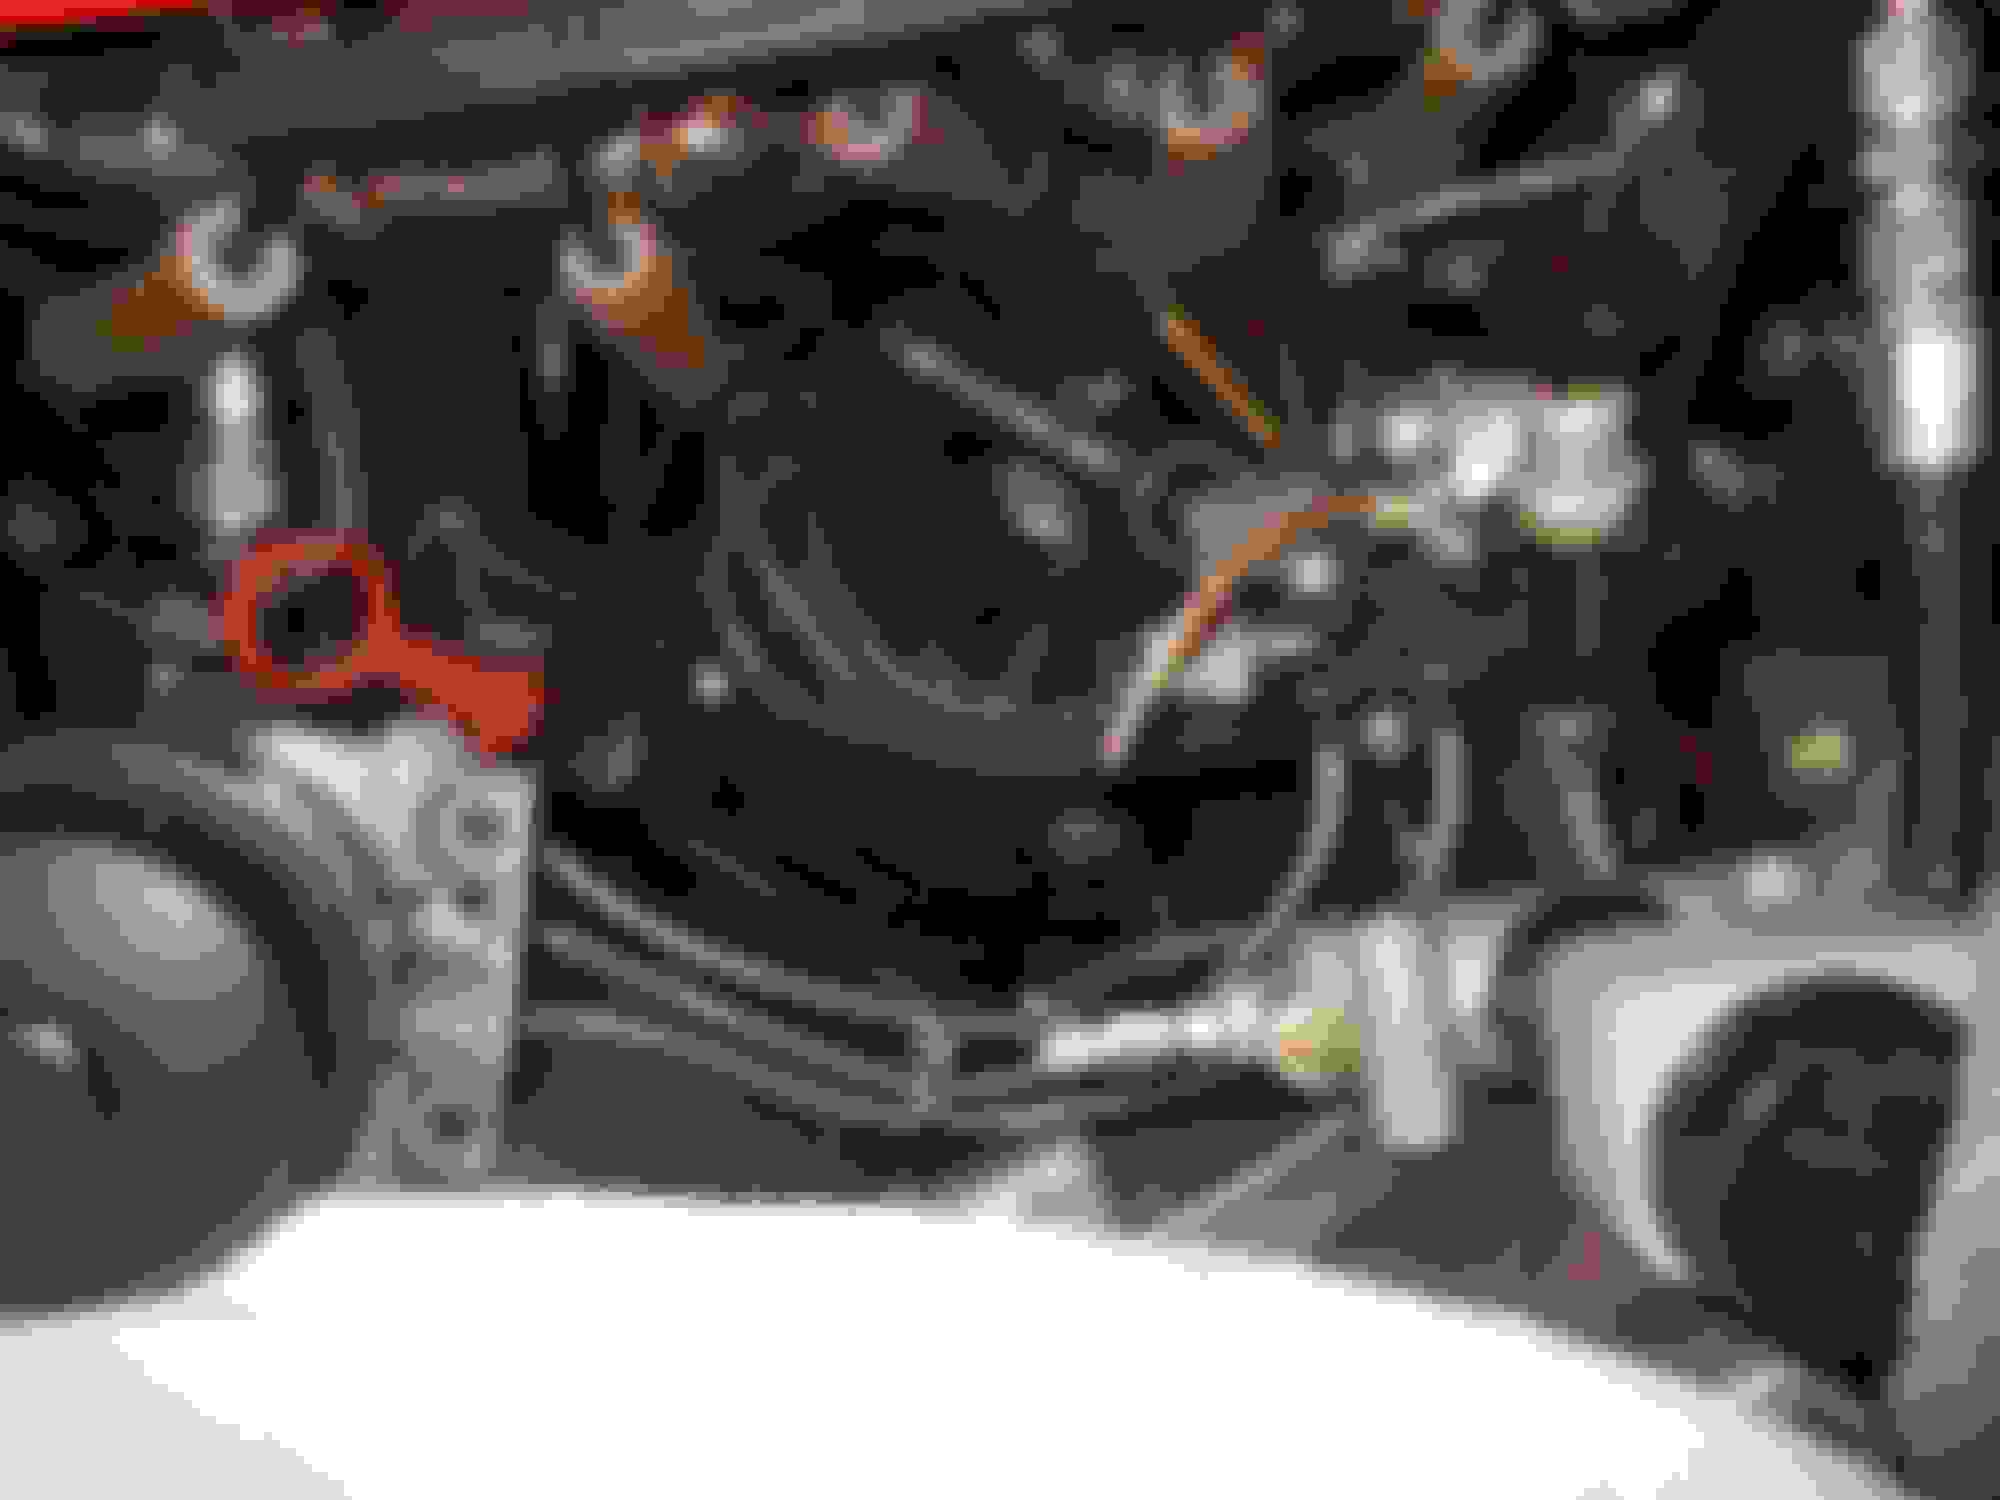
Here's how I covered the line to the fuel regulator-
Maybe consider using a reservoir between the vaccum rail and the regulator/map sensor fed by a small diameter vacuum hose. That will smooth things out.
Maybe consider using a reservoir between the vacuum rail and the regulator/map sensor fed by a small diameter vacuum hose. That will smooth things out.
Ahhh- OK - I'm thinking an AN ended fuel filter - a cheap one on eBay...Crap now I have to order more stuff!!!
Ahhh- OK - I'm thinking an AN ended fuel filter - a cheap one on eBay...Crap now I have to order more stuff!!!
Filter is a great idea. However, I'm thinking more like 3/16 ID vacuum hose rather than 6 or 8 AN. I guess it depends on the size of the chamber and length of hose.
.
Or just make the hose from the vacuum manifold to the FPR/MAP sensor long. That may have the same effect.
Filter is a great idea. However, I'm thinking more like 3/16 ID vacuum hose rather than 6 or 8 AN. I guess it depends on the size of the chamber and length of hose.
.
Or just make the hose from the vacuum manifold to the FPR/MAP sensor long. That may have the same effect.
I know you'll do it right.
I looked up the long hose idea- it seems to help smooth out...then I found this for ITBs- 6 map sensors....two boards and I'm there!! Only problem is $33 per sensor x12.....
Anyway- I will put the fuel filter AKA vacuum canister in the center- as from my understanding thats the best way...but still waiting on parts...
I have success with the coil pack layout on the firewall- I used the Vintage air piece as a template - and then cut it up so it'll be support inside- rather than just bolting through the fiberglass- 12 coils and associated hardware gets pretty heavy!!!
Here it is- tight fit - then label- label - label- I've learned you can have too many labels!!! I'll make a heat shield for it- have to do the grommets yet for the wires- had looked at a bulk head fitting but decided against it...cut down the ss screws...make some more tube spacers..then paint.
What's cylinder 55? well it's 5 + 5 =10 as I ran out of "1"s
Last edited by Richard454; 01-28-2020 at 11:45 PM.
I looked up the long hose idea- it seems to help smooth out...then I found this for ITBs- 6 map sensors....two boards and I'm there!! Only problem is $33 per sensor x12.....
Anyway- I will put the fuel filter AKA vacuum canister in the center- as from my understanding thats the best way...but still waiting on parts...
I have success with the coil pack layout on the firewall- I used the Vintage air piece as a template - and then cut it up so it'll be support inside- rather than just bolting through the fiberglass- 12 coils and associated hardware gets pretty heavy!!!
Here it is- tight fit - then label- label - label- I've learned you can have too many labels!!! I'll make a heat shield for it- have to do the grommets yet for the wires- had looked at a bulk head fitting but decided against it...cut down the ss screws...make some more tube spacers..then paint.
What's cylinder 55? well it's 5 + 5 =10 as I ran out of "1"s
I agree, 12 map sensors = no-go. The smaller the diameter of the hose, the more smoothing you will get. I'll bet even a 1/8 ID hose to feed both the map sensor and FPR will work fine.
Hey wait, I'm confused. Do I see 12 coils? I thought you were running wasted spark. Can't you find some coils that have a dual output?
I got the IAC mounted and wired- used AN6 hose/fittings and a "fuel" filter w/o a filter to distribute the vacuum-
Also found a BMW emblem to dress up the engine cover
And here's the "new" coil set up thanks to "DblTrbl"- he threw me some bait and I took it!!! It was a great idea to use a coil pac from a late 2000's GM 6 cylinder set up. The coils will handle the wasted spark set up and have built in drivers- so it's a no brainer. Smaller- so I was able to shorted the plug wires and clean up the firewall. Labeled everything - I am really happy with the outcome!!! So thanks again Carl!!!
Well- different times - since I posted a month ago...
Between my wife retiring -planning a move to another city- shutting down my business- finishing up my house and selling- now locked down.
Have been dabbling on the car- with sort of like what is next thoughts- I have made a little progress- motivation has sort of changed tangents...
Anyway- I got some mojo and finished up the design on my side grills- a lot more work than I thought. Tonight I am finish bolting up the bumper and grills as I rewired everything up front for my new headlight motor set up.
I'm about ready to roll the car back outside again- as soon as it stops raining pollen- and test all of the stuff I have supposedly fixed!!!
Hope all are doing well and keeping your sanity!!!
Anyway- here's the side louvers-
original versus cutting up another set- the cut up one is off a 70- has thinner fins. Perfed metal was laying around - so thats what I used for mock up- undecided on what to go with.

 01-05-2020, 06:28 PM