When you click on links to various merchants on this site and make a purchase, this can result in this site earning a commission. Affiliate programs and affiliations include, but are not limited to, the eBay Partner Network.
I am at the same point on my 1970. I�ve just received the engine harness from Lectric Limited and began pulling my old harness out of the clips.
In my opinion it is easier to work from the top except for connecting the starter, although I disconnected mine from the top. Maybe this will help you not have to move your car.
HI,
Good morning. Just another day in Paradise. Just helped a friend move a car yesterday and we use some lifts/movers he purchased at Harbor Freight. There is one for each wheel and slide them in and a foot peddle lifts the tire and car one wheel at a time and then you just push the car around. Four jacks and a storage dolly for the jacks was around $450.
I really enjoy seeing what you are doing.
Fred
I am at the same point on my 1970. I�ve just received the engine harness from Lectric Limited and began pulling my old harness out of the clips.
In my opinion it is easier to work from the top except for connecting the starter, although I disconnected mine from the top. Maybe this will help you not have to move your car.
James
Thanks. As you'll see below, I did decide to play what I call "car tetris" and put the Corvette on the lift. It makes it so much easier when the car can go up and down as needed!
Originally Posted by Fred Catcott
HI,
Good morning. Just another day in Paradise. Just helped a friend move a car yesterday and we use some lifts/movers he purchased at Harbor Freight. There is one for each wheel and slide them in and a foot peddle lifts the tire and car one wheel at a time and then you just push the car around. Four jacks and a storage dolly for the jacks was around $450.
I really enjoy seeing what you are doing.
Fred
Thanks. I have the poor man's versions of those. Mine don't have the jacks built in to them, so you have to jack the car up yourself and slide them under. In my case, however, it doesn't help because my bay with my lift doesn't have enough room to push the car out of the way - see picture below. Here are my cheapo car dollies: My cheapo car dollies
Today's Activities:
So I started out trying to finish my power window repair. Long story short: Failed.
I tried at first but the spring in the window regulator wasn't exerting enough upward pressure. Then I spun it another 180* to get more tension, but then it was exerting too much upward pressure. In both cases, the window worked, but it didn't go both ways well. Bottom line is my spring must be shot so I need to replace it. So I pulled everything back out of the door again, and will order parts...
...Sigh - I guess I am getting good at pulling it apart and putting it back together! Window work. Since my harness is all disconnected, I powered the window motor with a separate battery.
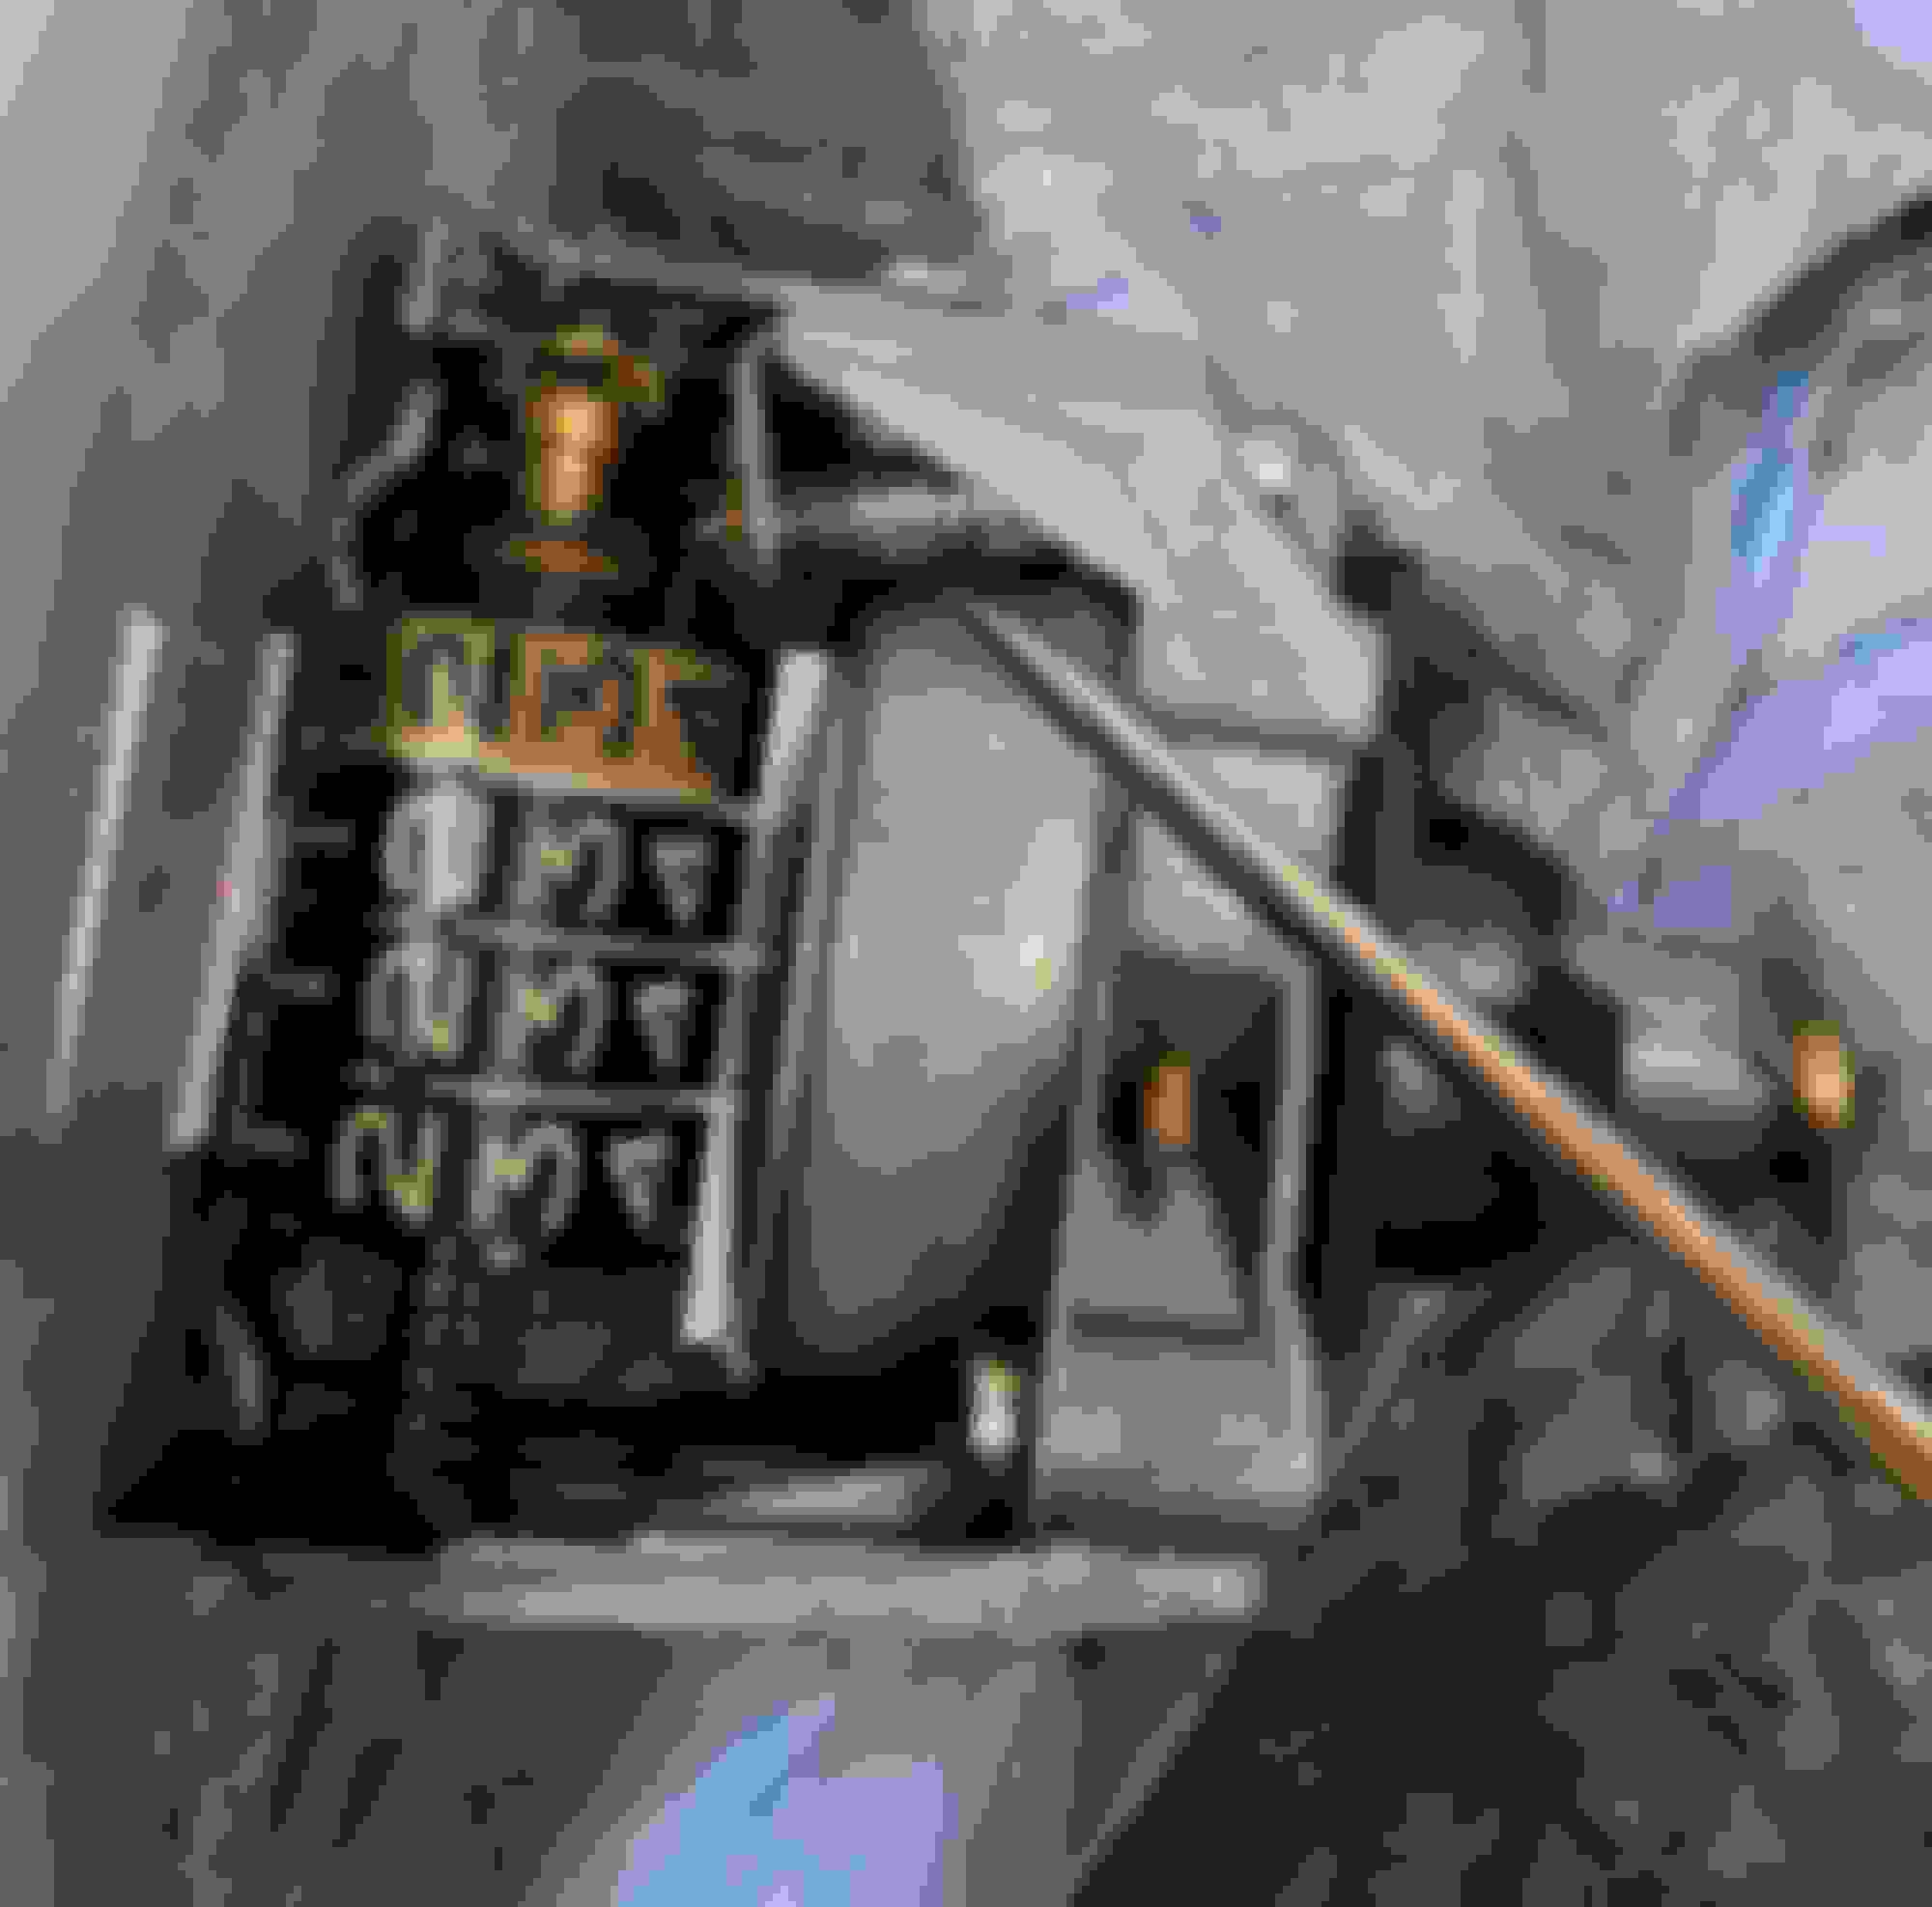
Then I decided to change gears and tackle the engine wiring harness. So I played what I call "car tetris", where I move cars around my yard so I can reconfigure them in my garage. The Corvette doesn't start, so I rolled that out and swung it sideways (my driveway is a hill so it won't easily push back in). Then I pulled the Road Runner off the lift and out. "Car Tetris" in progress!
Below you can see why I have to move a car out in order to put another in - This bay is only wide enough for one car. My work space
But after some work, success! The Corvette is on the lift! Back on the lift!
Being able to easily stand under the car made removal of the bulkhead connector easy. Note in the picture the wonderful cable ties holding wires! It is good this is all going to be cleaned up. Success removing the bulkhead connector!
I ran out of time and wasn't able to fully remove the old harness, but I don't think it will be too challenging at this point.
A quick update: As I stated in my post above, my new engine harness arrived and I had started to pull out the original harness.
Today I got the old wiring harness out and OMG was it ever in bad shape. The fusible link wire had melted and some totally unsafe "repairs" had been grafted into the harness. Bottom line is the $300 I spent on the replacement harness was money well spent! The original was really not reasonably repairable.
Sorry, no interesting pictures of the wires that anyone would really care to see.
Tomorrow I will try to get the new engine wiring harness installed. Once I do that, I will begin to trace these to the under dash wiring and fix what is needed. I know that the neutral safety switch and wiper power wiring was "modified", so I will need to especially trace that carefully. But I will also check other wires to be sure they work as needed. Once that is done, I'll clean up the instrument cluster and reinstall that.
Now, remember, I am not trying to fully restore this car - I just want to get it 100% reliable and working properly. It is just turning out to be much more invasive than I ever expected. On top of that, I haven't even really addressed mechanical issues yet.
I started my project 19 yrs ago and still have a lengthy to do list. When I told my mentor I felt like I was sliding down a slippery slope, he told me to look at it as climbing a mountain to reach the top. Your Daytona Yellow coupe is worthy of your efforts.
I started my project 19 yrs ago and still have a lengthy to do list. When I told my mentor I felt like I was sliding down a slippery slope, he told me to look at it as climbing a mountain to reach the top. Your Daytona Yellow coupe is worthy of your efforts.
Thanks for the encouragement! Mine's not quite the fire breathing big block like yours is, but for my purposes/ plans to have a regular cruiser car, the little mouse motor should hopefully do just fine (I have a 500 cubic inch big block with 675 lb/ft of torque in my Road Runner, so I can get my kicks with that when I need to roast some tires!)
Car Progress
We hosted Thanksgiving and have had family visiting, so I have not had too much time to make progress with the car. However, today I did get what I consider to be a major accomplishment done: I got the new engine wiring harness installed in the car. Luckily, it fit beautifully and that has largely solved custom underhood wiring "upgrades". I also definitively figured out the neutral safety switch wiring circuit. Of note, an assumption I made in earlier posts was wrong, so I figured I would correct that in this post.
In the below picture (arrow pointing to purple wires and plug - this plug is above the brake pedal behind the instrument cluster), I assumed I needed to get a plug and plug into this. However, I was wrong. This plug is for a manual transmission neutral safety switch. It seems that GM made the same wiring harness for either a manual or automatic equipped car. When the car is equipped with an automatic like my car is, this plug is not used. Arrow points to clutch neutral safety switch plug
This red wire I am pointing to went directly to the starter, which is obviously wrong and this circumvents the neutral safety switch wiring. I have now removed this red wire completely. In its place, a purple wire should be connected here. (By the way, this plug connects into the top of the steering column. Ignition switch start wire (should be purple)
The purple wire that needs to fit in the plug shown above needs to have the proper connector. The proper connectors are shown below and have a small barb that sticks out of the back so they click into the plug and do not fall out. Packard/ Delphi female connectors used in the Corvette
Finally, the new purple wire that I add to the connector above needs to connect to the cut purple wire shown below. I will need to peel back the tape, and then I plan to solder the wires together and shrink wrap the solder joint. Finally, I will re-wrap the loom and then hopefully the repair will be almost undetectable. Most importantly, it will be correct and as designed by GM! Cut purple wire that should be connected to ignition switch
Today I got the neutral safety switch circuit working correctly. I first pulled off some of the friction tape that wrapped the wires together. Then I spliced in a short piece of purple wire (I had already connected the proper connector on the other end). Picture below shows the splice after I had heated some shrink wrap to cover the connection. Friction tape removed and new wire spliced in
Then I re-wrapped friction tape back onto the wires to the same spot it was wrapped from the factory, and then I inserted the purple wire in the plug. Wire loom re-wrapped with friction tape and purple wire inserted into the plug.
The only difference now from OEM is the factory purple wire had a white trace/ stripe on it - my replacement piece does not. But overall, a pretty satisfying repair that I also tested all the way through the neutral safety switch. It all works now!!!
There are still a number of electrical repairs and checks to go, however. These are slow, tedious repairs that take time to ring out and try to find what someone did years ago. I realize that the pictures and updates aren't so exciting, but this work will hopefully pay dividends once I get the dash all together and everything electrically works as it should!
I got more wiring checks done, thanks to @robertea and his great wiring diagram. I also managed to verify a couple of optional circuits for the power windows and automatic transmission. I can't say that all wiring checks or issues are behind me, but I'm hoping the major ones have been addressed. The primary one that I know I still need to check is the heater control circuit.
I did also get some cleanup done on the instrument cluster. I decided not to do a restoration of these - just did some cleanup, wiping off lenses and the instrument cluster bezel. It is far from perfect. The bezel has numerous cracks and imperfections, and the chrome around the speedometer and tachometer have some pitting. But they are presentable enough so they will need to do for now.
I need to do more work on the instrument cluster, but then I turned back to my driver's side window. I have had this in and out more times than I can count now. I started getting it back together for (hopefully) the final time. I have a new spring in there and it is has tension on it based on the below listed thread. This seems to be the agreed tension the springs should have. https://www.corvetteforum.com/forums...n-rebuild.html
I ran out of time getting the window fully installed, so it is only partially in place. Hopefully I can finish it next time and report some good news on proper operation!
I am hoping that soon I can get the instrument cluster reinstalled and the driver's side window will be back in; those will be some major accomplishments.
Things have been busy with Thanksgiving and some other priorities. I haven't yet made any real progress with the instrument cluster but I did get the driver's side window installed and working. However, it still needs significant adjustment, so I will need to learn how each window adjustment moves the window so I can get it positioned properly.
Glass and power window motor have now been installed!
I'll take whatever progress I can get! Hopefully there are some good references for window adjustment - I'll do some searches also on the forum here and see what I can find.
Progress is slower than I had hoped, but it is still progress!
Tonight I got back on my wiring system. Two fusible links had burned. One was still holding on, while the other one was totally shot. I read that a good rule of thumb to test a fusible link is to pull on the wire. If it separates it is shot, while if it holds it is probably still OK. For me, one of my wires pulled right off while the other held. But the second one was suspect too, so I replaced the both.
In the picture below, you can see the original fusible links. The metal crimps were how the fusible links were connected to the wires in the harness. Original fusible link wires and connectors
Here are my replacement fusible links. Note that fusible links are different than regular wire - use the proper stuff if you are replacing a fusible link!
Below my replacement piece is the original connector and fusible link wires. I tried to pry off the connector to reuse it, but to no avail. New fusible link above the original setup
I soldered, rather than using a metal crimp. Below is a picture of the new fusible links soldered to the wiring harness. I used heat shrink tubing around each connection. Wires on and heat shrink wrapped
To add some extra protection, I added a second layer of heat shrink tubing around the pair of wires. Secondary heat shrink installed
I realize this fix does not look factory. The spade connector is different, the fusible link wires are different colors (but correct gauge), and the heat shrink tubing does not look original either. So this repair is a functionally correct repair, but certainly not NCRS correct! That's OK with me - I just need this to function properly. Plus, this is pretty well hidden under the fender in the engine compartment, so it won't be super obvious.
Hope the mice didn�t have an appetite for wiring harness where you can�t see a potential risk of arcing.
Nice �69 coupe
Thanks for the kind words - I'm looking forward to eventually being able to take this thing out on the road and having everything work properly!
Luckily, so far, I haven't seen any evidence of mice dining on the wiring harness. I have probably seen a majority of the wiring at this point, and I haven't seen any wires that have been chewed. Luckily, they also did not get into the heater box, which seems to be a desirable place for mice.
I was also concerned that the wiring would be hard and brittle, but it is still pliable and serviceable (except the engine wiring that was replaced). So the main issue has been the "custom wiring" and the short that melted (or nearly melted) all four fusible links. I am hoping that most of the wiring issues are now behind me. The last major wiring function I need to check are the heater/ A/C controls. I don't know yet if they now will work properly or if there are issues there that need to be addressed. Hopefully they will work fine!
Progress is slow with the holidays now, but I hope to get out there some in a couple of days.
I have spent time with family and friends over the holidays, so I haven't had too much time for the Corvette. On top of that, I am SO TIRED of this wiring nonsense. Of course, it's needed, so I have slowly been plowing through it. I energized the system again for the first time in awhile. The good news is the starter and neutral safety switch works just as it should, so a win there! I also tested all the wires related to the wiper system and it looks like I have those issues licked as well.
What was causing me grief is I couldn't seem to get the blower motor to work. I took more stuff apart and tested each of the wires individually and verified that each was sound and wired as expected. So why wasn't it working???
Turns out it was the fan switch. I had tested this switch when I cleaned up my center console and heater controls, and it worked - so I thought. I turns out it had an intermittent issue and it mostly wasn't working. Wiggling the switch and contacts could get it to intermittently make contact - obviously not good for proper operation. The culprit to my blower issues
A replacement switch is $50 (plus expensive shipping on top of that). I figured I had nothing to lose by trying the rip the old switch apart, so that's what I did. Below is the switch as it came apart. You can see how nasty and dirty it was. Inside of switch when I took it apart
I cleaned up the interior of the switch body. After the below picture was taken, I lubed this nylon slider with white lithium grease. Cleaned out internals
I cleaned up the switch contacts and tightened the spring too. Polished all the contacts, tightened the spring and lubed the internal switch.
Finally, I put the switch back together and bent the tabs back to hold it together. Presto! It worked like a charm! The switch moves nicely, and the contacts all work as designed. There is no more intermittent operation, so I stuck it back on the heater control unit and it looks like that is now ready to go. Saved $50 and reused an OEM part - yippee!
When I tested this, my fan came on as it should, and each speed seems to operate as it should (i.e. low, med low, med high, high). I'm not thrilled with how loud my fan is. Hard to describe, but it just doesn't sound smooth. So maybe I need to look up how to remove and check that out. But first I'm going to order fresh bulbs and see if I can't get the instrument cluster finally back together.
I've been doing some boring wiring testing. The good news is that I am not aware of any more wiring issues. I have addressed all the issues I am aware of, so hopefully all the wiring nonsense is behind me.
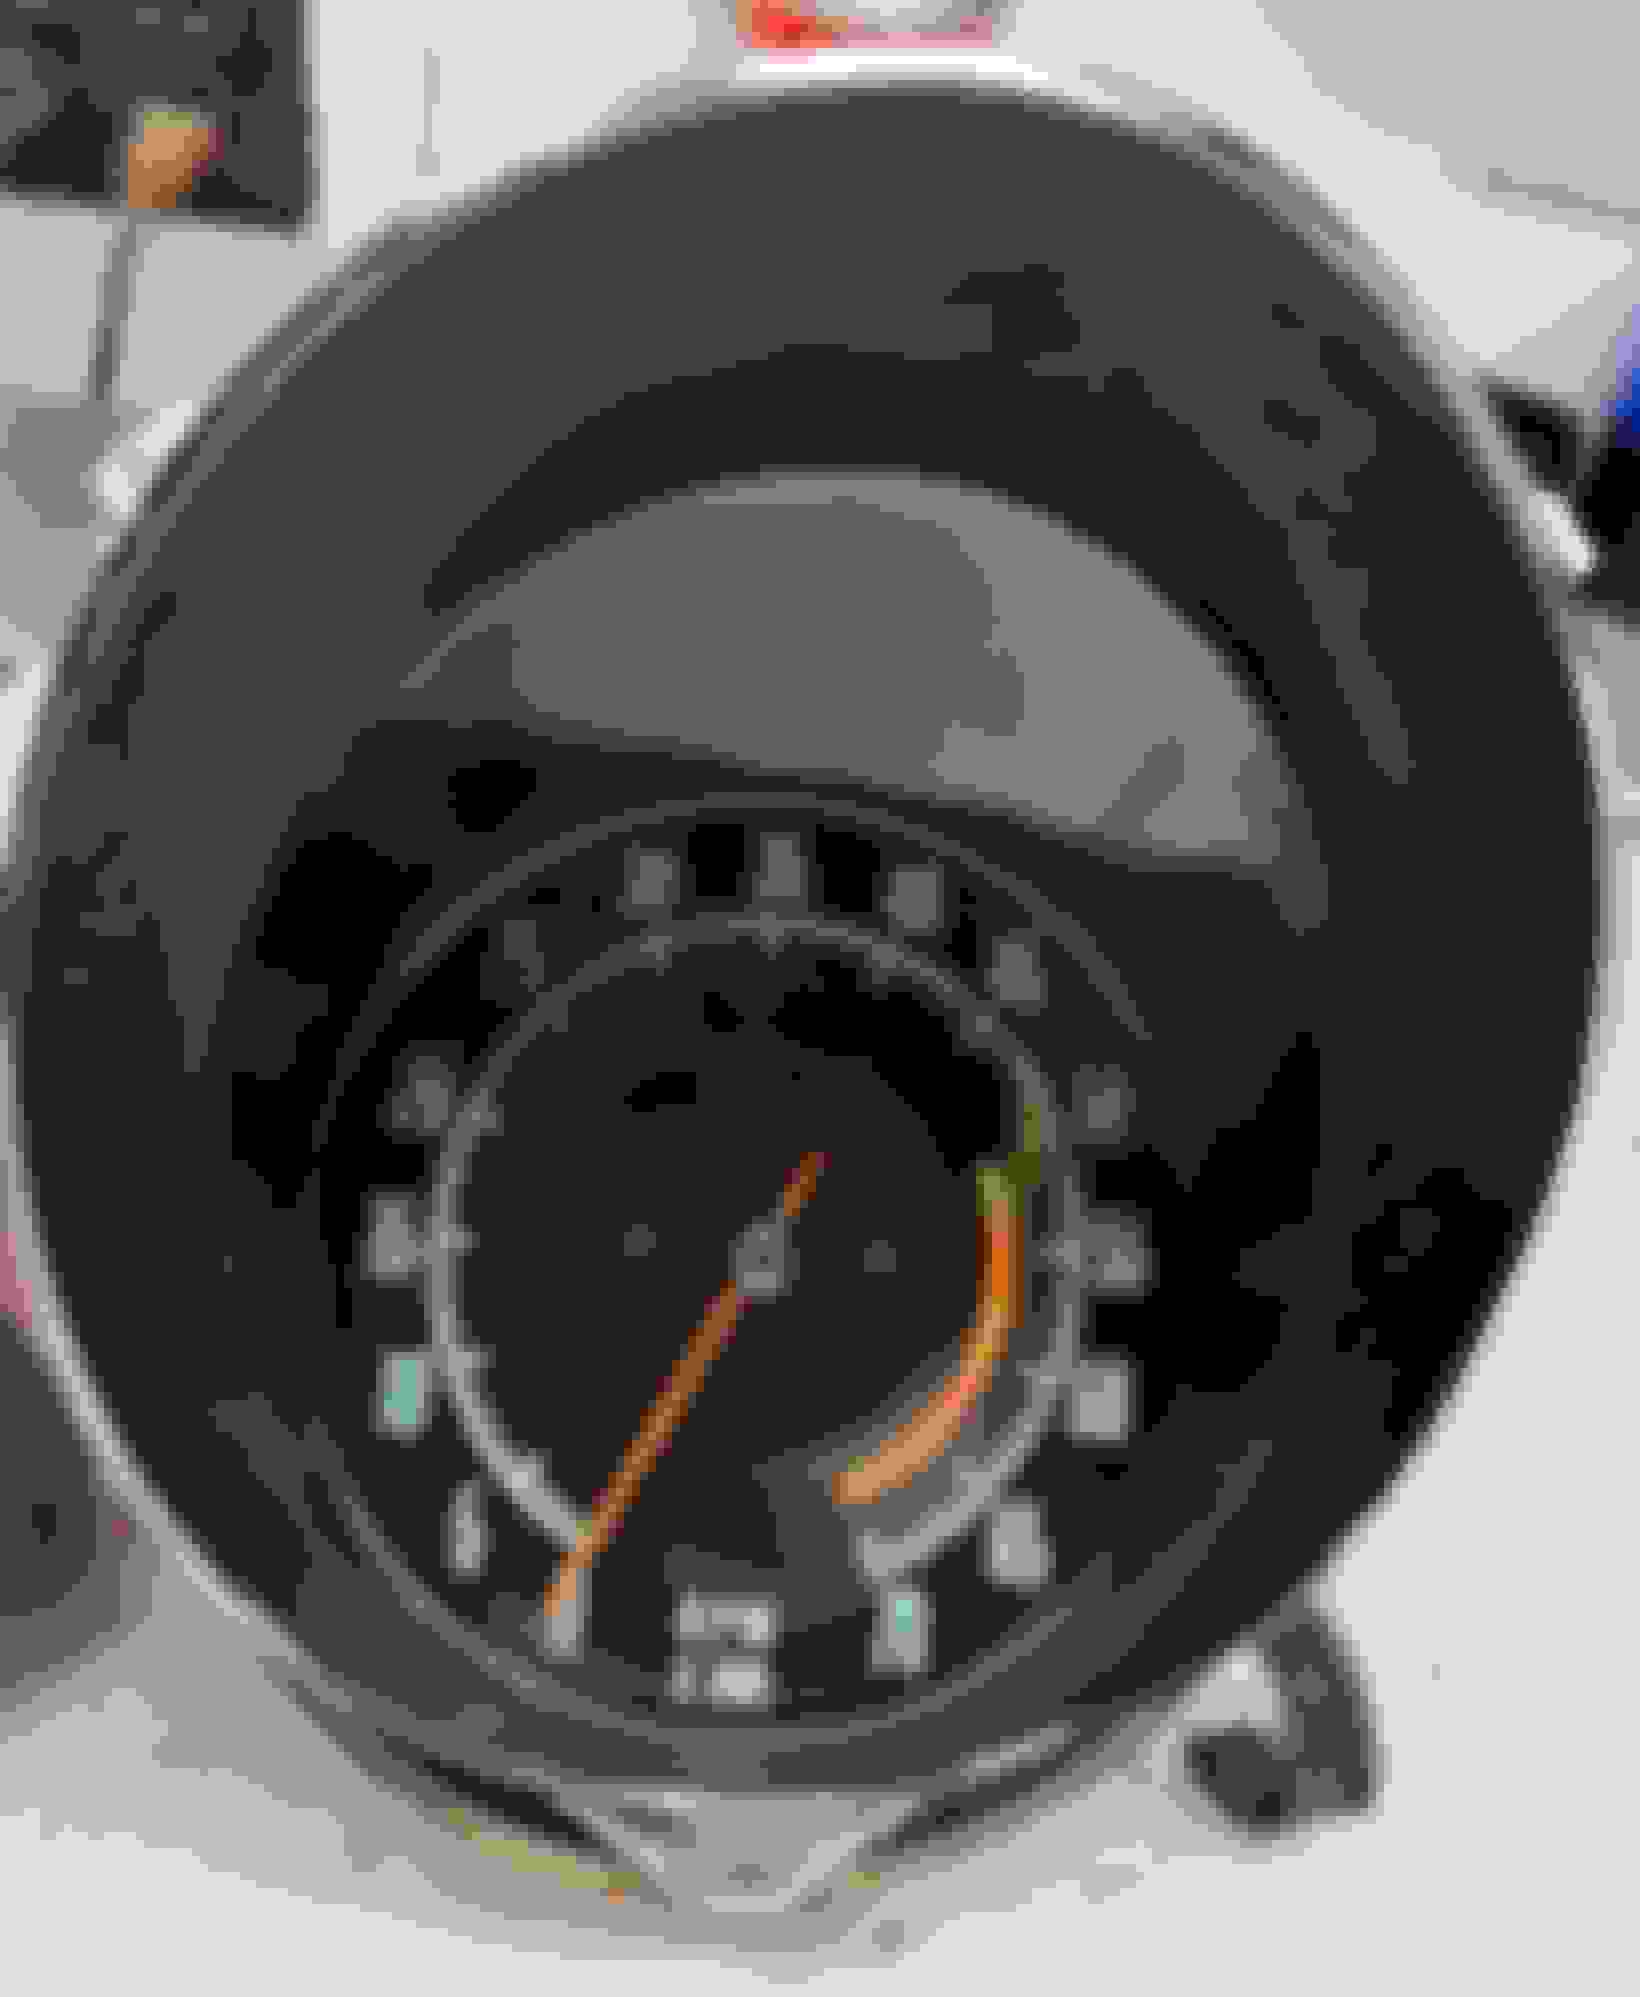
I am preparing to install my instrument cluster, so I checked all the bulbs for operation (and replaced all the bulbs with LEDs to brighten up the instruments). One final thing I had to address was the odometer reset. It just wiggled the numbers, but I was unable to turn and reset them. It turns out that the assembly that allows for the odometer to be reset is held in by a small screw (above the pointer in the picture below). This screw was loose, and thus gears were unable to mesh to reset it. So this was a simple fix. I added a dab of Loctite to avoid this happening again and then sealed everything back up. Pointer shows the odometer reset assembly.
Speaking of things that were loose: There is a plastic piece that holds the red film for the high beam indicator and the left turn signal. This really wasn't held down tightly. My "bubba" fix was to add a rubber O ring around the pins. This stopped it from rattling once assembled. Added small O rings to tighten things up.
So one final mystery before I button up the instrument cluster:
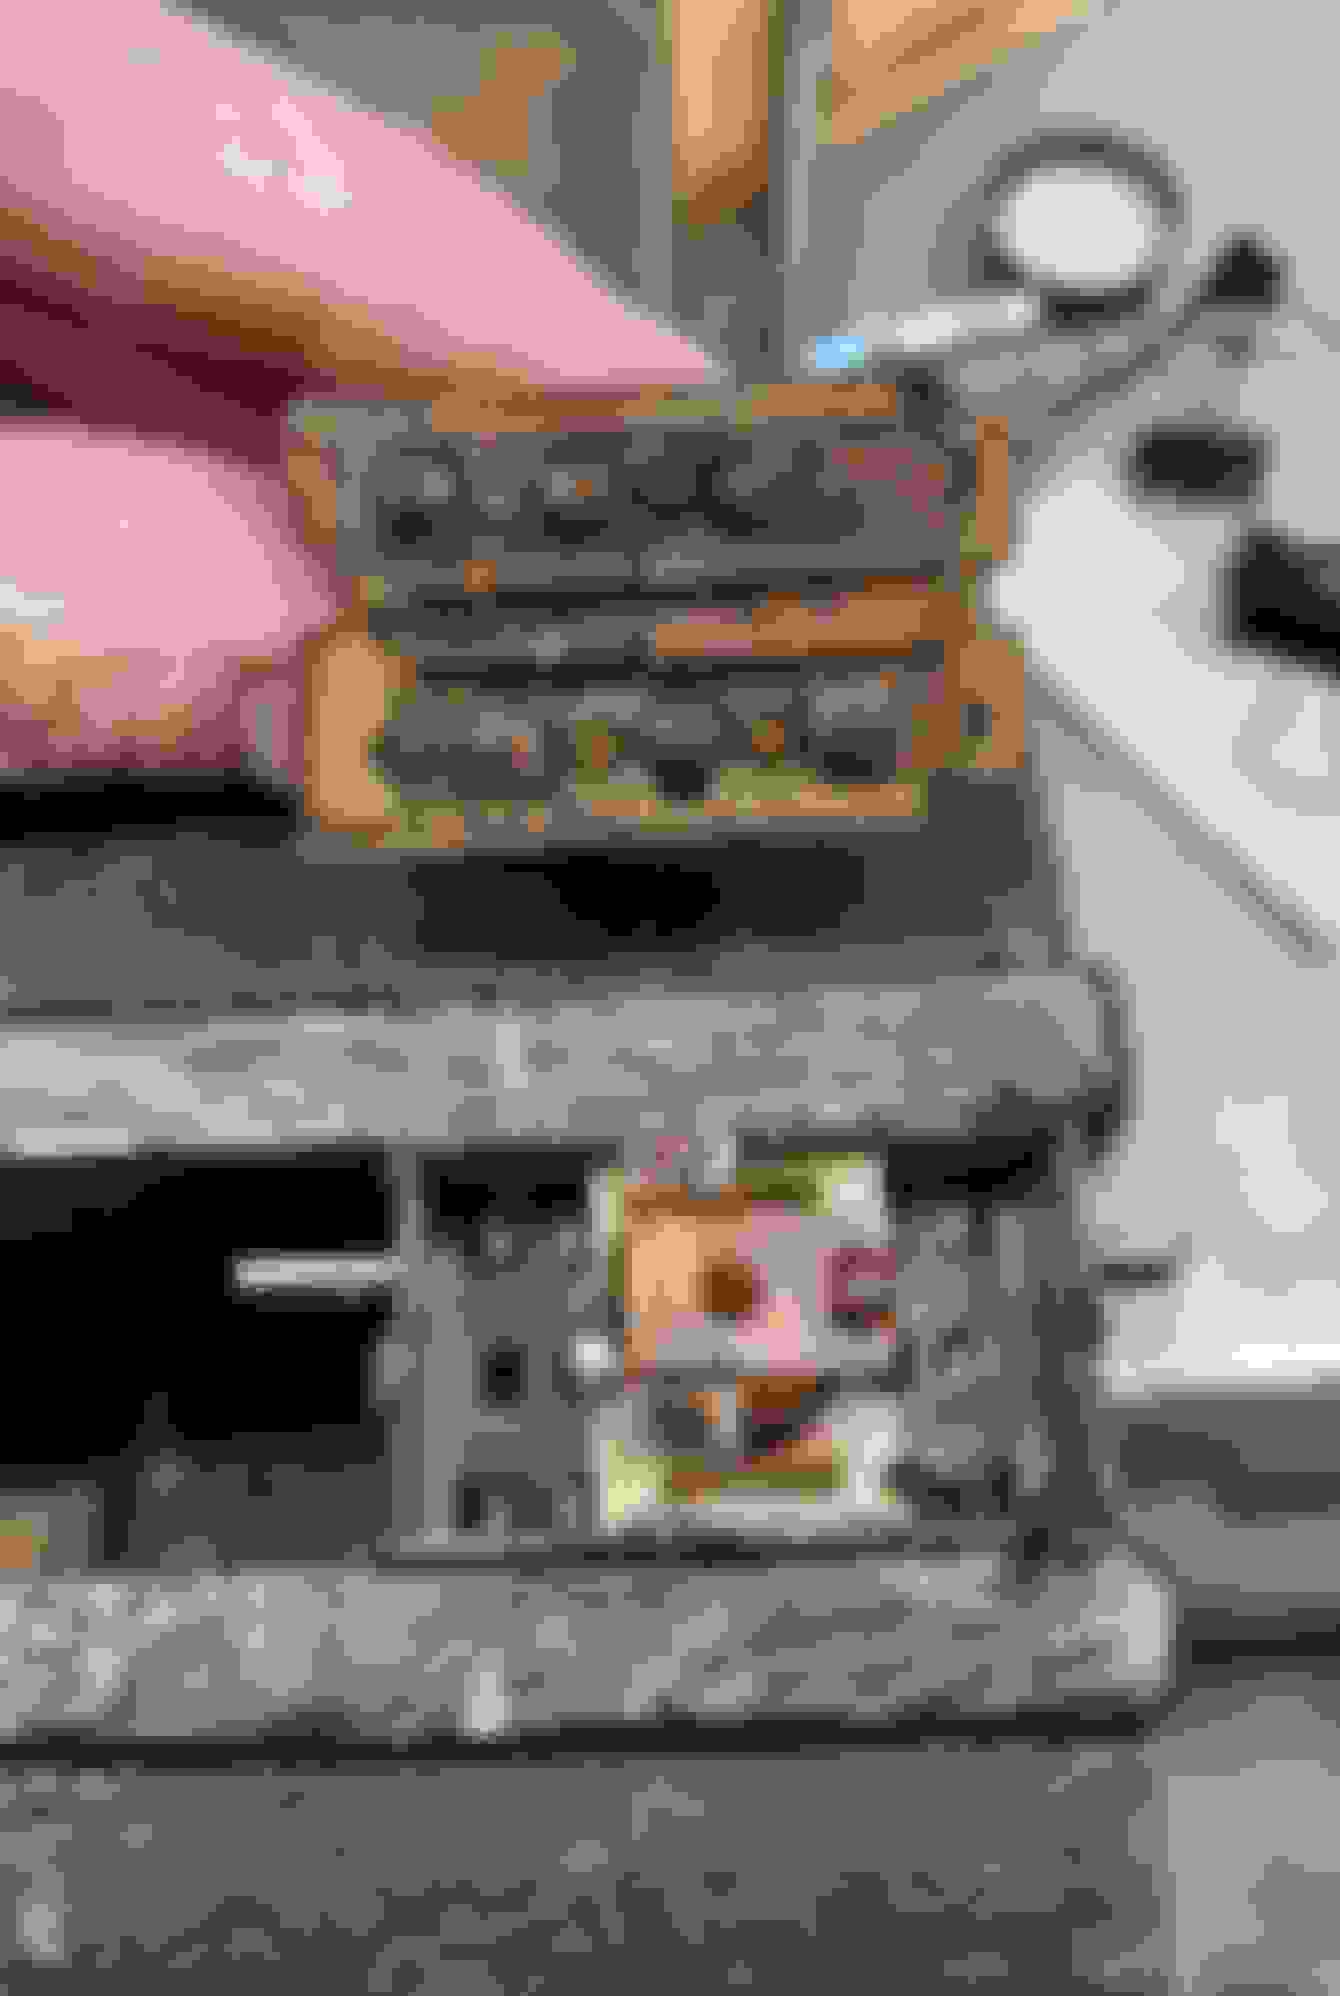
The device below is related to operation of the headlights. What I do not understand is what (if anything) is supposed to be attached to the bottom port? What is this? Is there anything that is supposed to be connected to the side pointing down?
Here is another view of the mystery port. What is this? Is there anything that is supposed to be connected to this port?
This diagram shows the port. The pointer seems to show a plug maybe? Pointer shows the device pictured above.
Closeup view of the diagram with the mystery port. Pointer showing the side of the device. Is this a plug or is it open?
So the bottom line question is: Do I put a plug on this port? Leave it open? Plug something else into it?
I will also pose this question on the general forum to hopefully get some answers. I appreciate the help!
So I got some quick responses on my other thread that set me straight:
(a) This is for the wiper system door, not the headlights (I had it wrong).
(b) The port in question simply has a filter on it. It seems the filter is not readily available, so I'll put something small and custom over it to protect it.
Now I can FINALLY get the instrument cluster reinstalled! (It's a job I am not looking forward to, but it has to be done. I just have to quit my whining and get to it!!! )

 11-17-2023, 08:57 AM