When you click on links to various merchants on this site and make a purchase, this can result in this site earning a commission. Affiliate programs and affiliations include, but are not limited to, the eBay Partner Network.
I know this question has been asked many times.
im replacing the nose on my 74 corvette
I have cleaned all surfaces on the nose and the body areas
I have read about using
Norton products
lord products
SEM products
and Evercoat products
are there any recommendations
I want to do this right the first time
Thanks in advance
I assume that you are bonding a fiberglass or flex glass front bumper onto your 74.
I've done this with my 77 I used a flexglass bumper cover onto the body using West Systems epoxy. I did the following:
1) I removed the headlights and other obsrtuctions.
2) I trial fitted the bumper cover several times for practice (I was working in a Florida summer which greatly speeded up the epoxy's curing time)
3) I used 80 grit to sand the two faces to be bonded.
4) I cut threads of fiberglass cloth into 1/8 to 1/4 inch long pieces.
5) I mixed the epoxy and then added the cut fiberglass pieces
6) I spread the epoxy onto the body surface fairly thickly.
7) I positioned the bumper cover and clamped it into place.
8) I went under the car and bolted the bumper cover in place using the replacement stainless hardware sold for this purpose (each piece is about 3 inches long, with a #10 stud welded at 90 degrees to each end of the piece.
9) After completely curing (several weeks), I ground our the seam between the bumper cover and the body.
10) I filled this seam with fiberglass mat and West Systems epoxy
11) I sanded and repeated this process until the area was smooth and properly contoured, then primed.
Please note that each C3 body was somewhat hand built. It is unlikely that your replacement bumper will fit exactly (this was certainly the case with my flex glass) and the fiberglass & sanding routine will extend onto the body and/or the bumper covger.
I know this question has been asked many times.
im replacing the nose on my 74 corvette
I have cleaned all surfaces on the nose and the body areas
I have read about using
Norton products
lord products
SEM products
and Evercoat products
are there any recommendations
I want to do this right the first time
Thanks in advance
I am installing a complete nose/ front clip
It is an original not aftermarket
Looking for advice on which product has worked out good for others
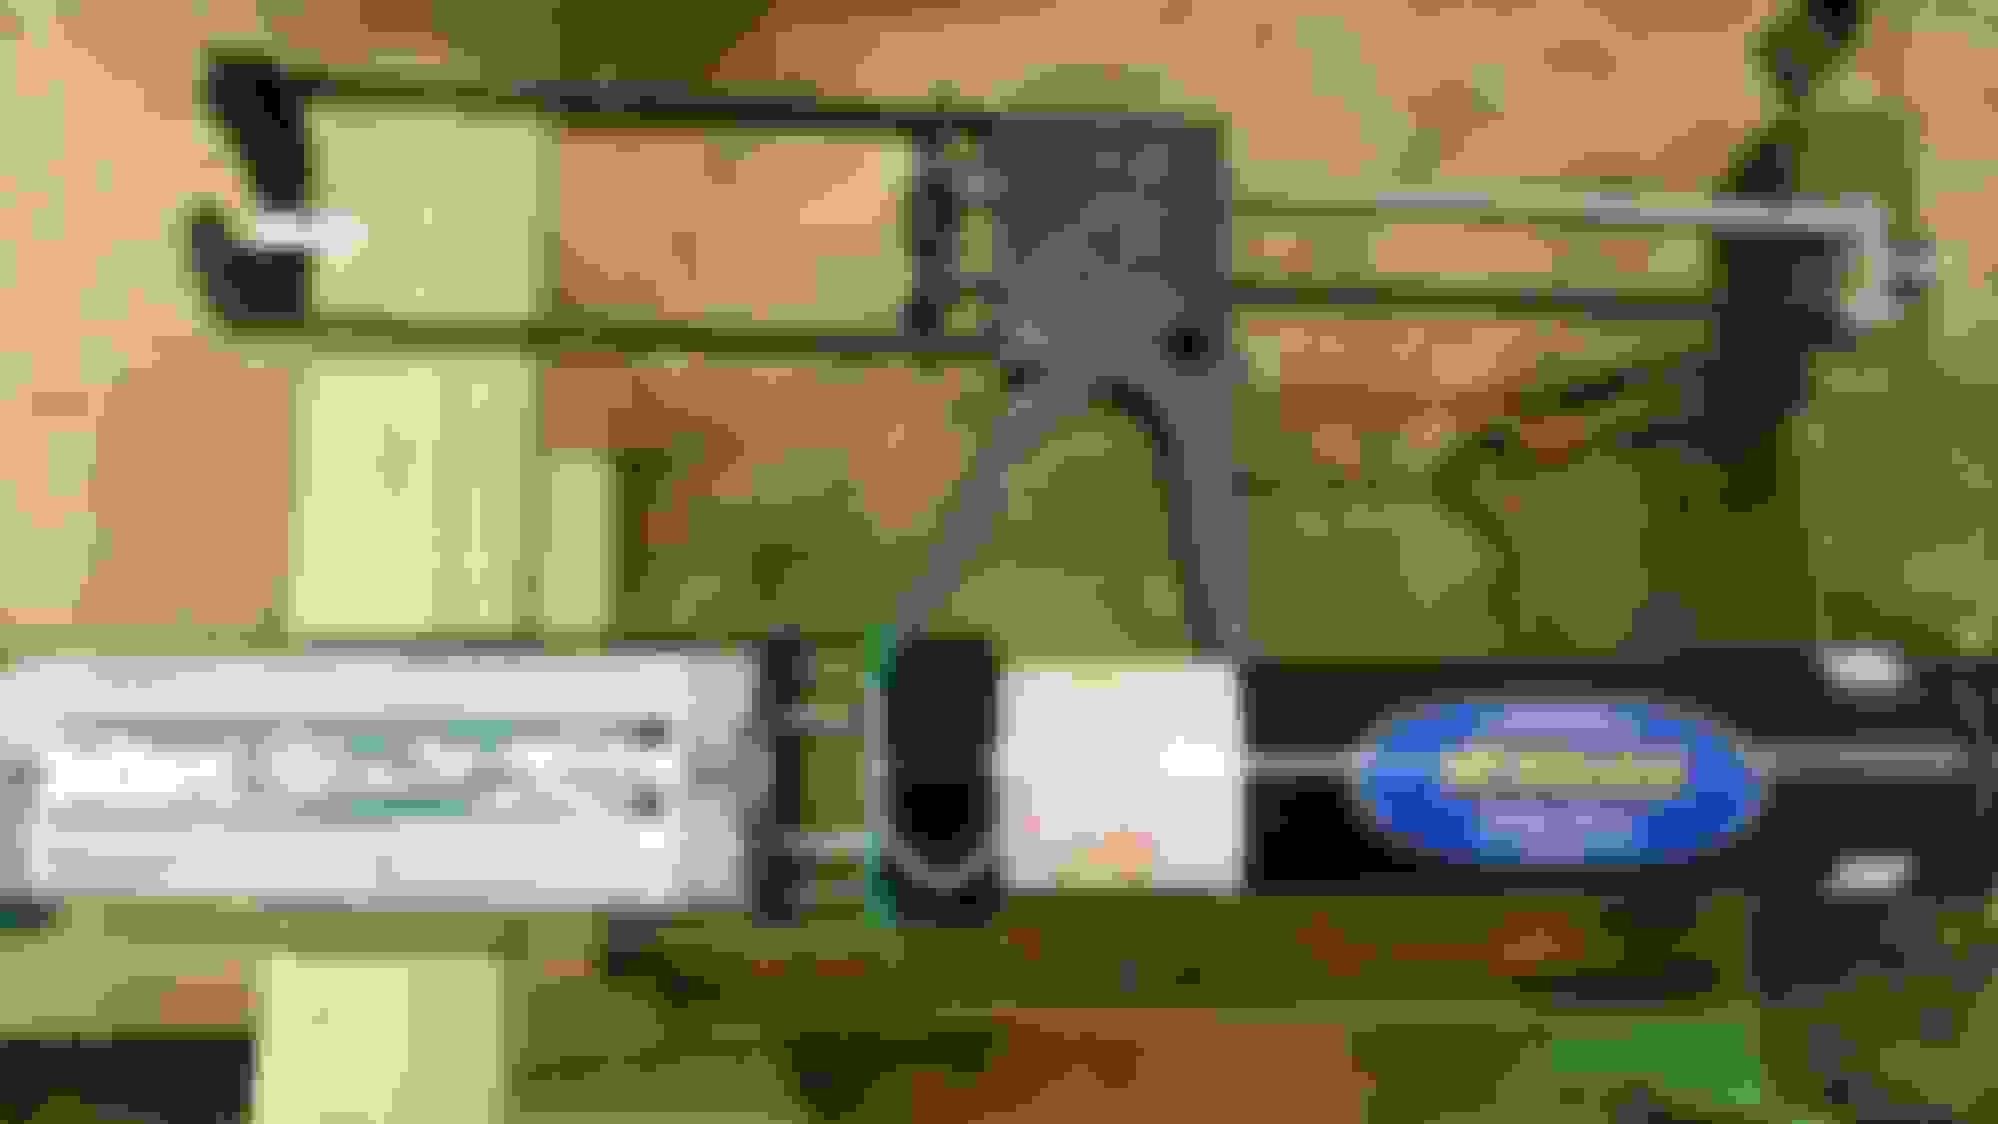
I have used Lord Fusor T21 on all of my front clip installs. Gives you a little time to adjust things before rocking up. With that said there are many to choose that are good. It's all preference. Prepping the bonding areas as well as mocking up the clip for proper fitment is important. Just because it's an original clip doesn't mean it will just fall into place. It's to late to fuss with once you apply the adhesive. I do mine by myself so I purchased a pneumatic gun for speed and ease.
RVZIO
Adhesive with pneumatic gun. Mocking up the clip for final fitment.
Thank you
Sounds good
I figure it will take a couple of fits to make sure the nose and doors are even
I will bolt the radiator support into the nose first so I only have 2 bolts to line up in front
Could you estimate how many tubes I will need to use
Thanks Tom
the rad support is crucial. it locates the nose and the hood. and speaking of the hood, use it in the alignment process. i haven't done one yet, but my thinking is 2 or 3 sheet metal screws in the bonding strip by the firewall once you get the nose aligned. then after adding adhesive, you find the same screw holes and the nose is in the same place, plus the screws will act as clamps. then you have a couple of little holes to fill after.
Thank you
Sounds good
I figure it will take a couple of fits to make sure the nose and doors are even
I will bolt the radiator support into the nose first so I only have 2 bolts to line up in front
Could you estimate how many tubes I will need to use
Thanks Tom
! tube should do it. I got 2 because I did not want to run out in the middle. You should be ok with 1.

 05-15-2019, 07:59 PM