When you click on links to various merchants on this site and make a purchase, this can result in this site earning a commission. Affiliate programs and affiliations include, but are not limited to, the eBay Partner Network.
Mr Picasso, you did a fine job with the vision of putting these in your car, and I am sure you could do a fine job with making fiberglass copies. I would be interested in buying a set if you ever find your self with lots of spare time. Nice work. And painting the bezels, let me say that Picasso is a true artist!!!
Thank you very much! I really appreciate the compliment from you, as well as from everyone else.
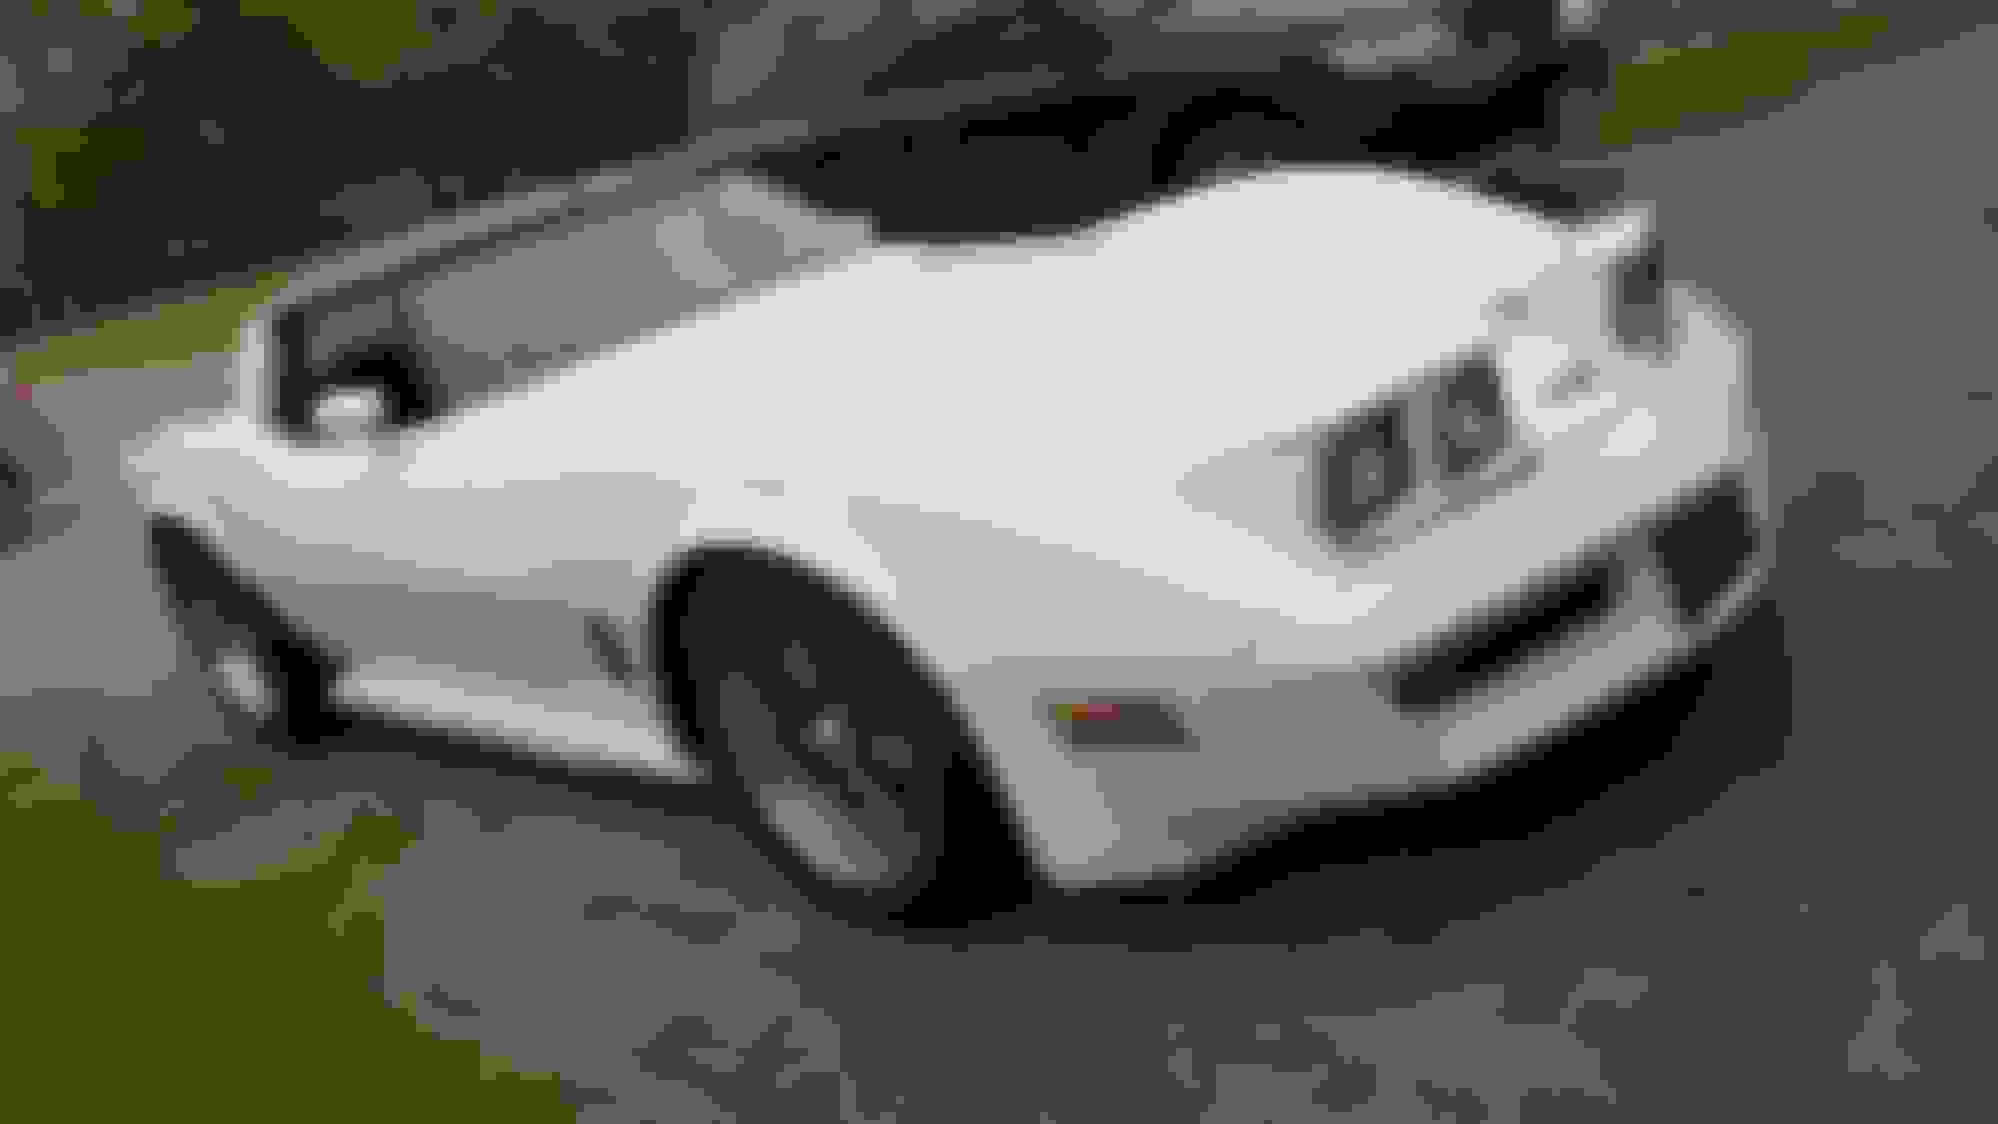
I grew up in the 60's-70's - Corvette always was my dream car....so when I retired in February, I finally bought one.
Within a week of getting it, saw the bezels for sale.......hesitated because didn't want to alter the original design and essence of the Corvette - but had seen these before and loved the look....
So I got them with the plan if I didn't like it I would change them back. I'm so glad it turned out well, and that all those years as a painter paid off....lol I used to do the faux finish fancy painting
at a local casino, that's where I earned the nickname "Picasso". :-)
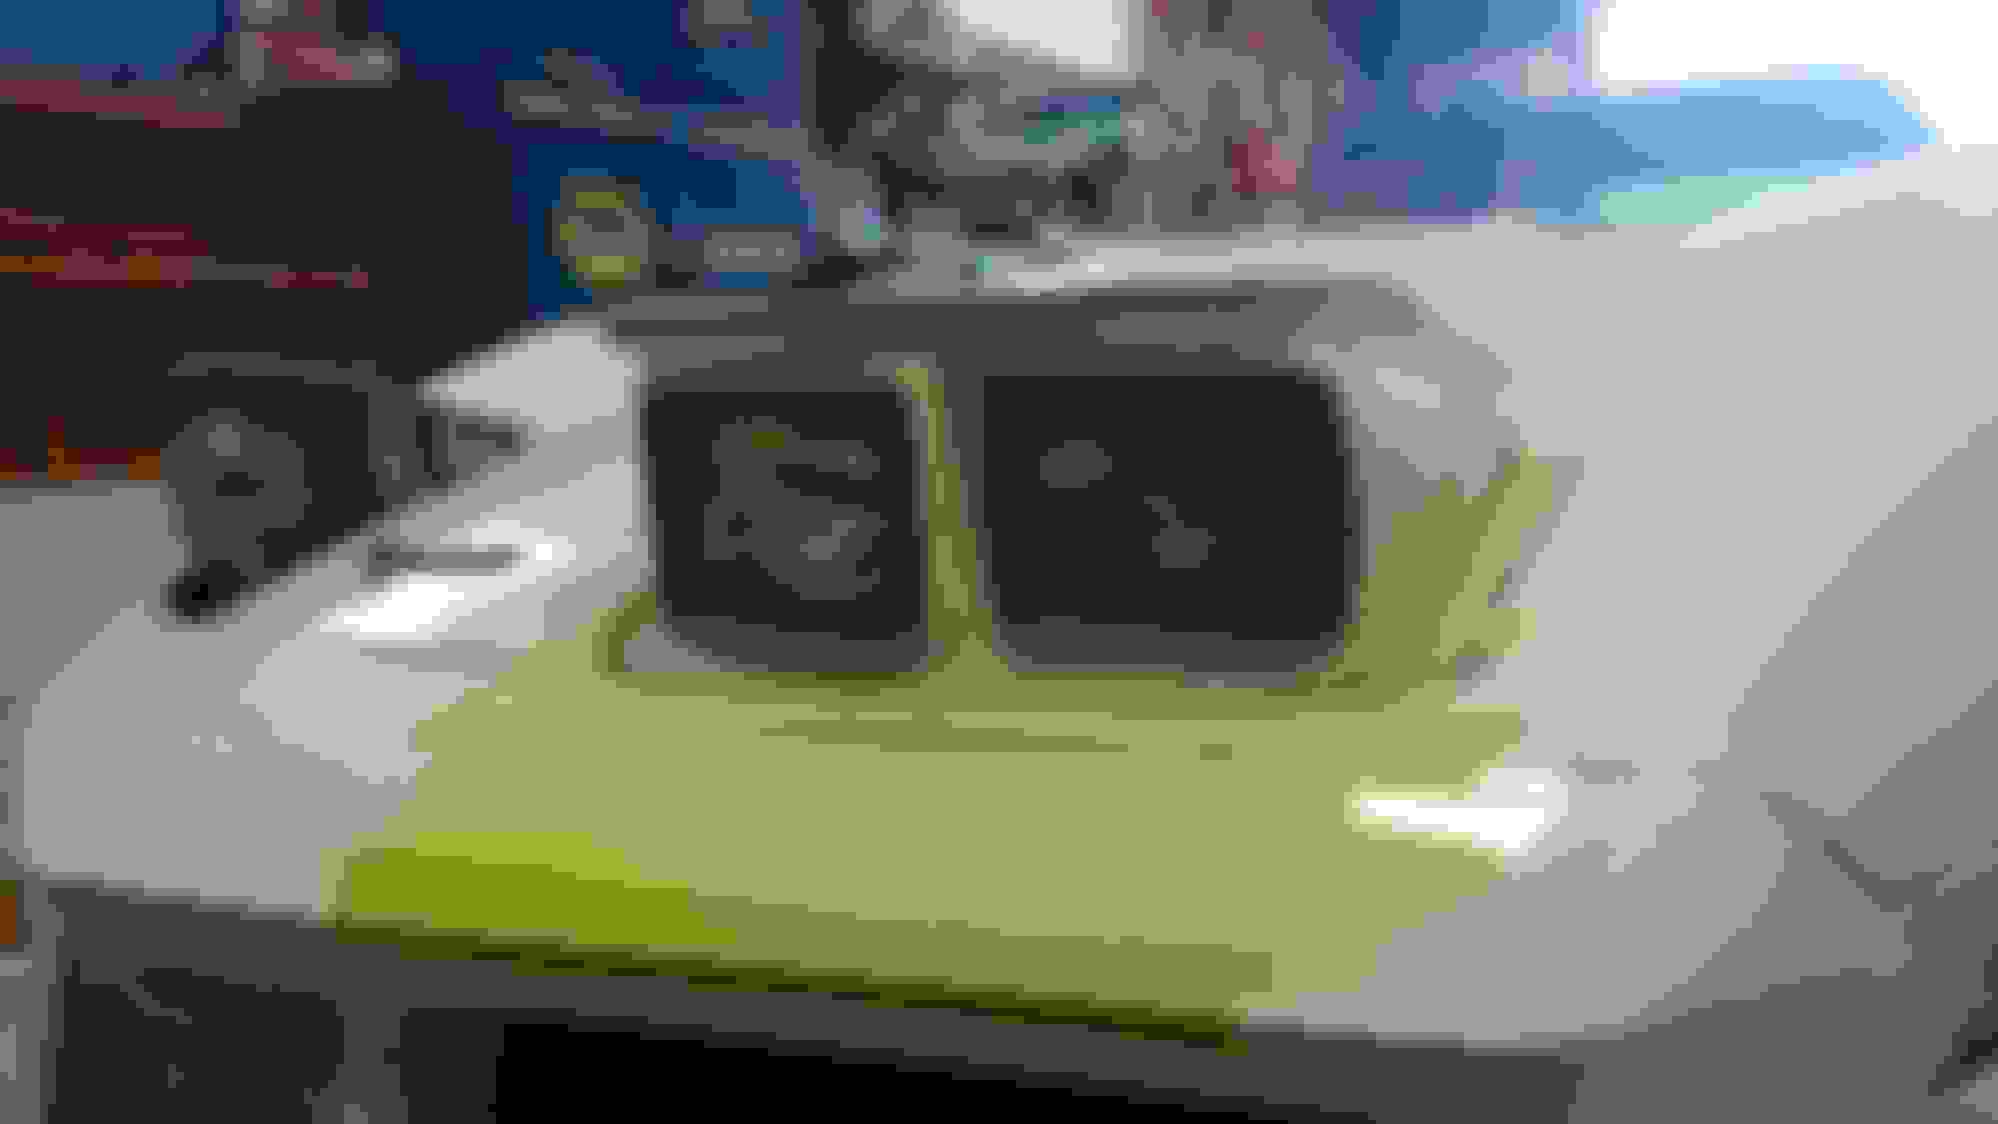
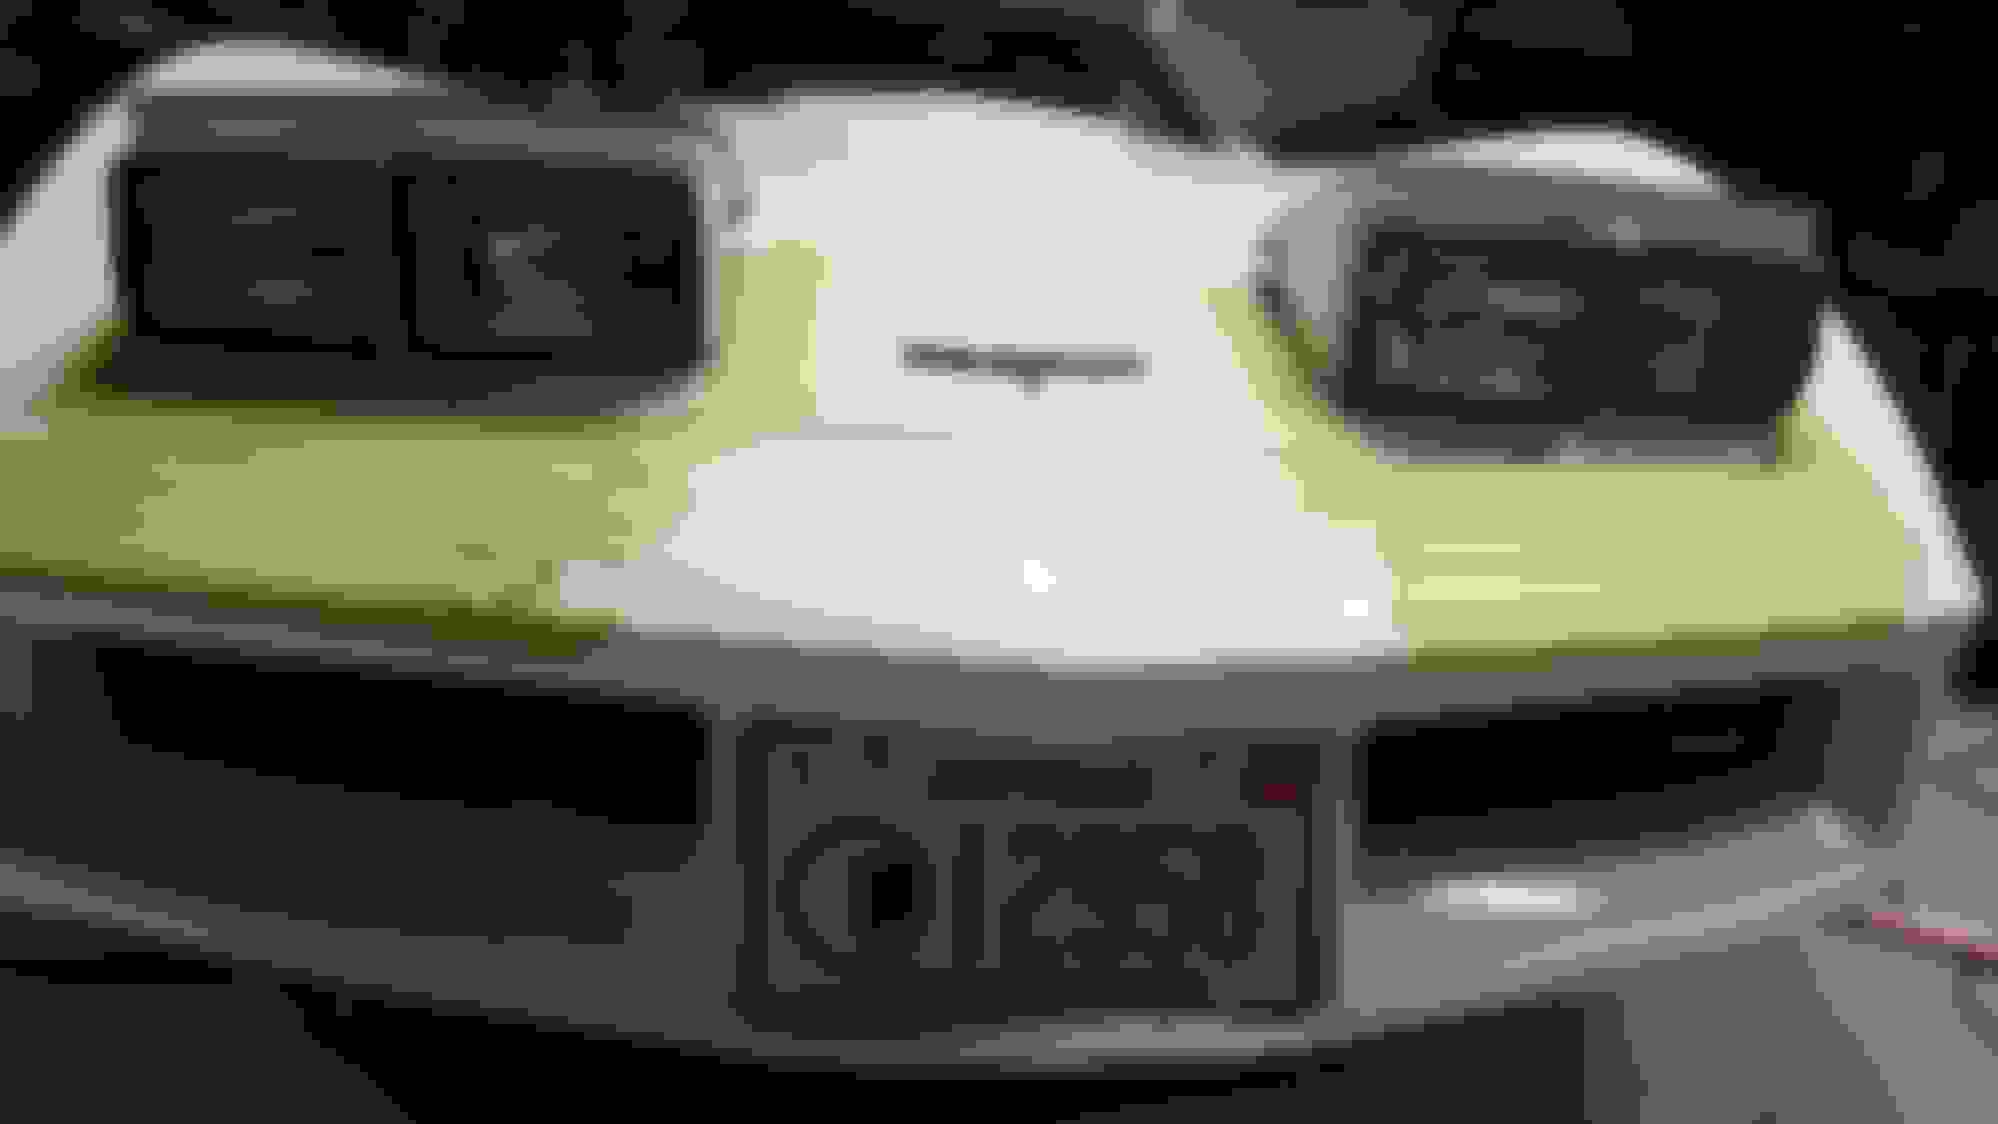
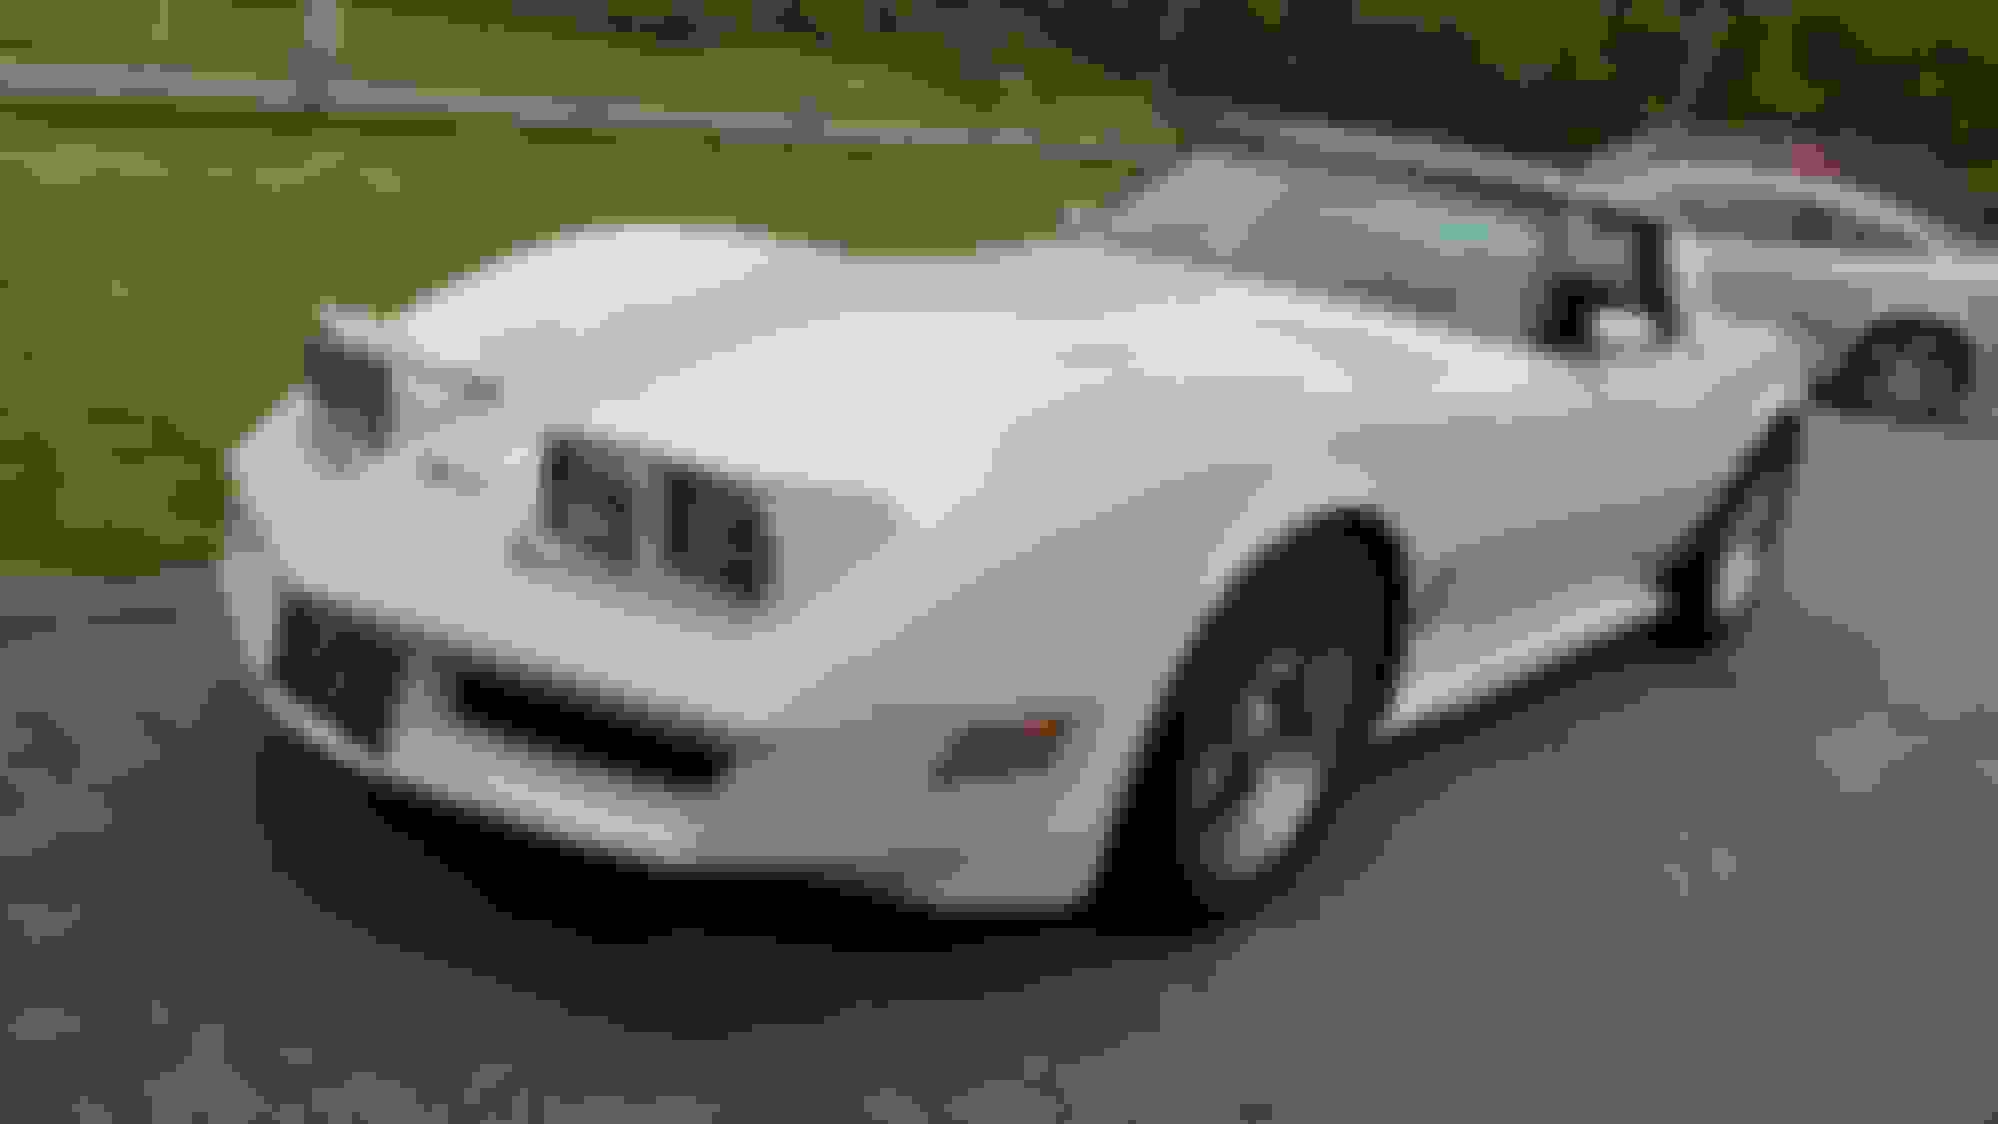
Just wanted to show off how it went, many thanks to Go Vette Go for the bezels, I did the rest.
I'm doing this install now. How big did you have to enlarge the holes behind the lights to fit the new buckets? I have a 2.5" hole saw but it looks like I might need a 3" also in the directions it looks like it only needs to go about 2 1/4" but maybe my buckets are different
Edit: i figured it out, I had to cut my buckets down. I found some pictures online of what they should look like.
If you can show any pictures of your install it would be great, there's a lot more work involved than I thought. I'm also having an issue with the adjuster spring, wee you able to use the original spring, or did you use a different one?
I took a break for lunch and went back to it and got everything working
The bezels definitely will need some massaging but I knew that before I bought them
Hi! Sorry I didn't take any pictures as I was installing them - I knew I should have!
I used a rasp bit in my grinder - drill worked fine but got hot.It ate that aluminum up easily. I tested and ground some, tested and ground the holes to fit where they needed it.
The headlights almost seemed a little loose, but the bezels hold them nice and tight.
Careful grinding the bezels to fit, a little at a time and test fit! Worth it in the end.
Originally Posted by qwank
I'm doing this install now. How big did you have to enlarge the holes behind the lights to fit the new buckets? I have a 2.5" hole saw but it looks like I might need a 3" also in the directions it looks like it only needs to go about 2 1/4" but maybe my buckets are different
Edit: i figured it out, I had to cut my buckets down. I found some pictures online of what they should look like.
If you can show any pictures of your install it would be great, there's a lot more work involved than I thought. I'm also having an issue with the adjuster spring, wee you able to use the original spring, or did you use a different one?
I ended up screwing a piece of wood to the housing and used a hole saw, every thing on the left side is done, but the outside headlight adjuster is really close when closing, and with the bezel on it hits the body, gonna have to rework the bezel, but it's still going to be very close
I did what Picasso also did. Used a grinder and a file. I felt that the circle would put it too close, as you are finding out. I also agree the the bezel itself will help hold it in place. I used the 3 bearing adjuster bolts on each side to move the headlight cover away from the body ( where your tape is). Managed to get the gaps sort of OK! But I had an advantage, my car hasn't seen new paint for about 20 years, so I wasn't worried about messing it up. I PM'd you about the springs etc. Looking good.
Some ways to tweak it inward more - slot the outside adjuster mounting holes and/or bend the tabs so they point inward a little, forcing the bucket to the inside.
On the other side of that bucket, flatten the bucket where it touches against the pivot bolt mount that you cut off. Even grind a little of the "point " where the pivot mount hits the bucket.
Also, on the outer part of the bucket (high and low beam) - where the adjuster sits, the bracket around it can be ground away a bit for more clearance to the bezel.
get that back hole as big as you can to get the headlights back as far as you can for the most clearance. You may have to grind more of the stubs from the original adjuster mounts so they don't hit..
Every little bit counts, even then it's close, but mine haven't rubbed yet.
I started on the right side tonight, got the tabs cut and ground down and cut the holes out. It will be way easy to cut out the backs of the buckets at work tomorrow, so I'll do that and probably finish up tomorrow night. I still can't get that left side bezel to stop hitting the body, it almost seems like it's bowed out too much.
This used to be a desirable change, as the rectangular halogen bulbs were much brighter. However, today we have bright LED bulbs that are round and will fit our existing buckets with minor modification. The LED's also take a lot less power to operate. eBay sells tons of these things in 4-bulb sets for about $100.
The rectangular bulbs still look cool and are much brighter, but the LED's do not require you to come up with new bezels.
Is this what you are talking about or just the actual bulbs?
This used to be a desirable change, as the rectangular halogen bulbs were much brighter. However, today we have bright LED bulbs that are round and will fit our existing buckets with minor modification. The LED's also take a lot less power to operate. eBay sells tons of these things in 4-bulb sets for about $100.
The rectangular bulbs still look cool and are much brighter, but the LED's do not require you to come up with new bezels.
Once I get these installed and set up, I'll be installing a set of Hella H4 semi sealed beams, and a new relay harness. I should be plenty bight then. I may also do 4 low beam /4 high beam set up
Both bezels hit on the outside edge when I try to manually close the lights. I'm not sure how to correct this without fiberglass work to the bezels.
The lights themselves don't seem to sit as well as the other setups I've seen on here. I know the newer headlight assemblies are different compared to the older c3s, not sure if the kit was designed to work with the stock '81 assemblies, they just don't seem right.
At least I can drive with the bezels off for now, so I can go to the car shows this weekend, and figure out the bezel issue later
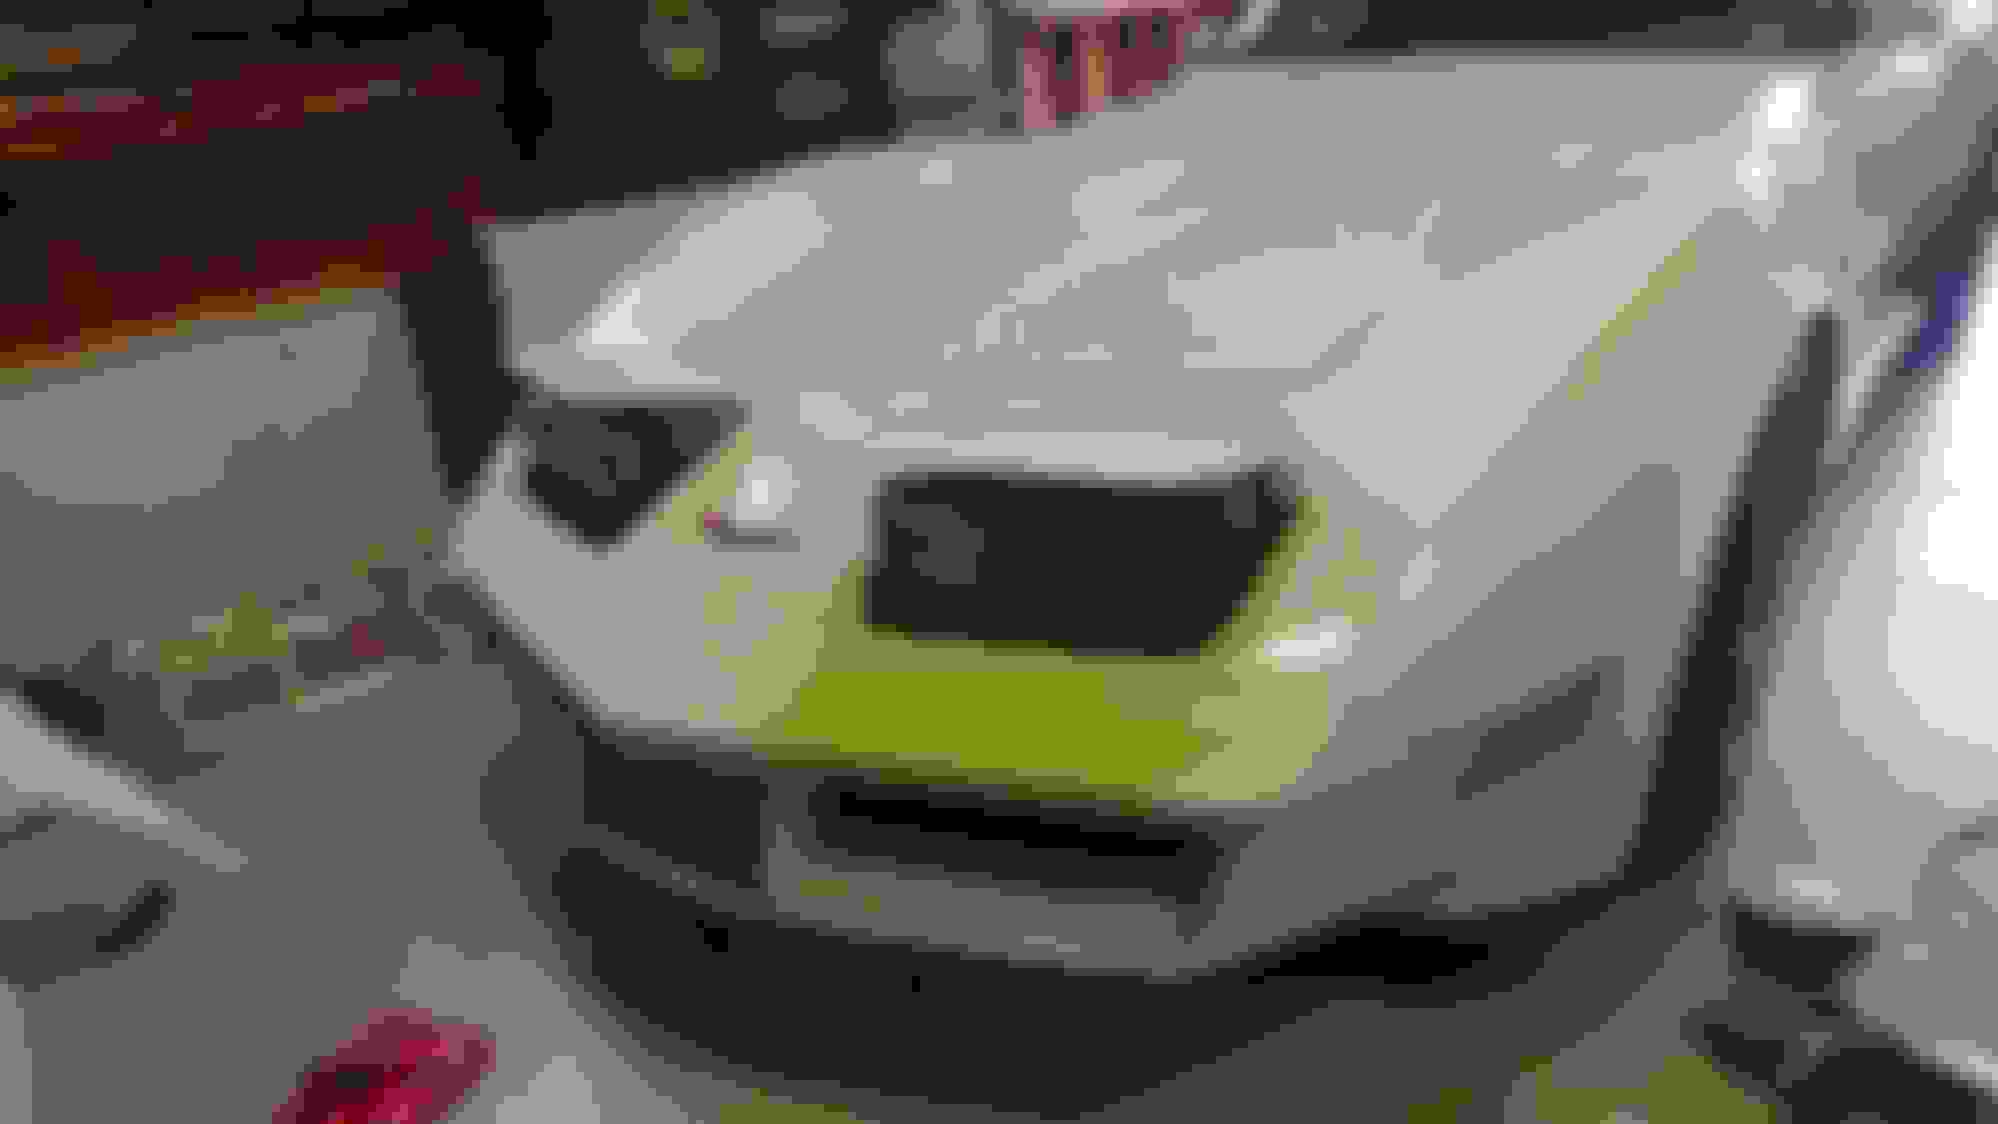
I used your pics to show you some things that should work - I had to do these to mine. My bezels are plastic, if that matters I don't know.
Man, I need to revisit this project. I still haven't gotten my bezels to fit. Good thing the lights only come up at night and no one can really see them. I'd like to get my hands on a set of the plastic bezels though, and see how they fit compared to the fiberglass
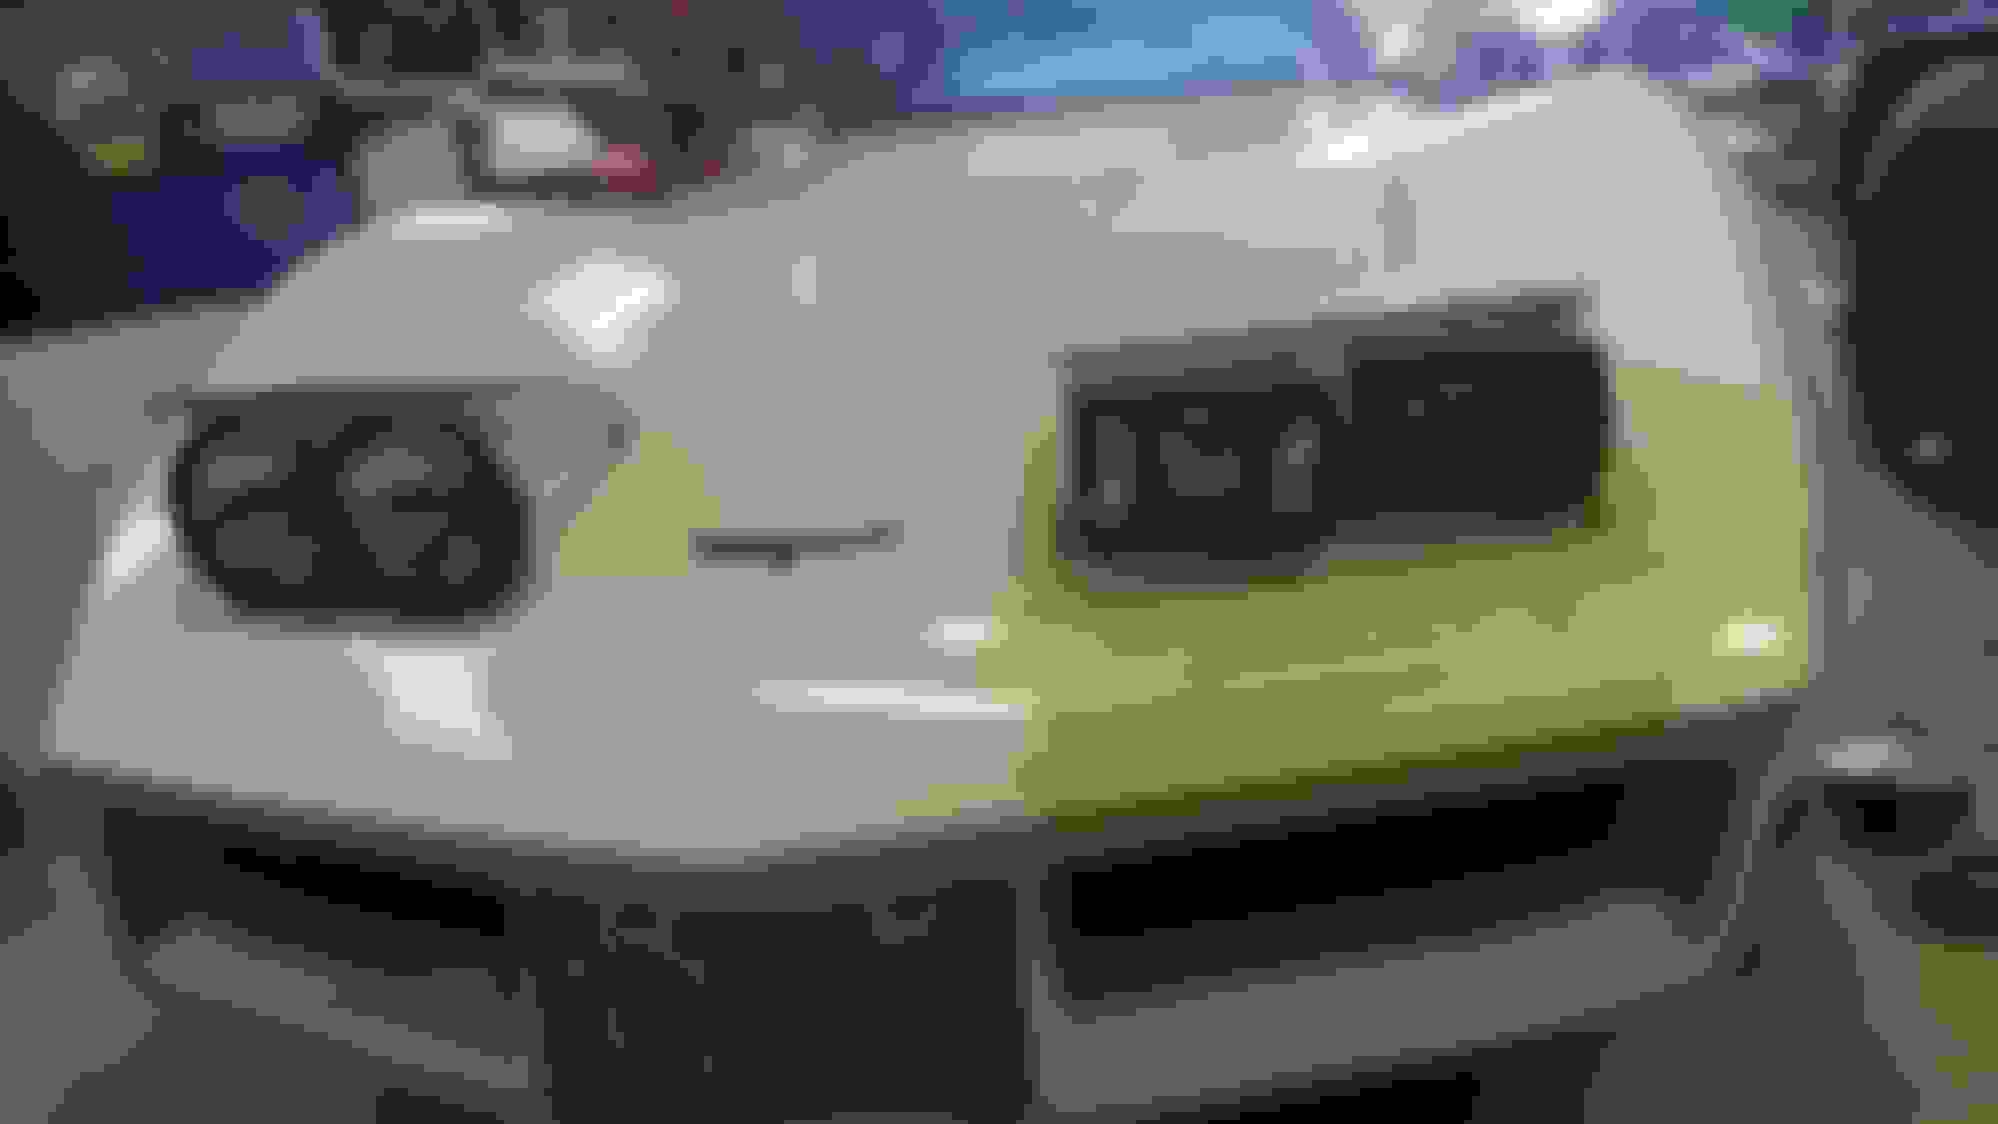
Was finally able to get around to fitting my bezels. I had to tweak the outer lights a little thanks to Picasso's tips, and do a little grinding on the headlights
Hopefully have them painted by end of this week
Large gap between the bezel and header though compared to OEM

 05-20-2019, 10:02 PM