
A New Year, A New Rear
 01-12-2013, 08:01 AM
#1
Instructor

Thread Starter

Back when I bought this car the PO told me that the rear would need to be reworked sometime in the future as he had not done this yet. What started as a simple brake rebuild (see here), lead to a discussion on differential rebuilds and plenty of other questions.
SO long story short, I pulled out the rear, a bit prematurely probably, but none the less. I called Mike and talked with him numerous times about all of my options. He was a great help with getting all of the parts off the car and with general vette knowledge (Thanks Mike!).
For the beter part of a year the car has sat on jack stands in the garage, .....until now.
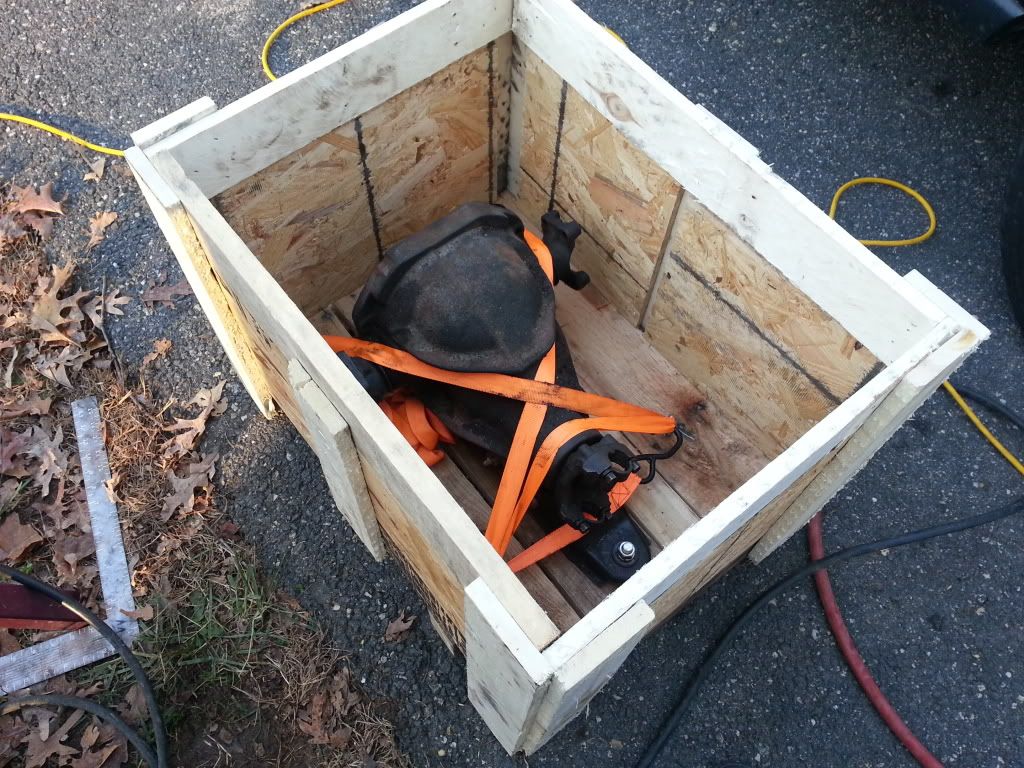
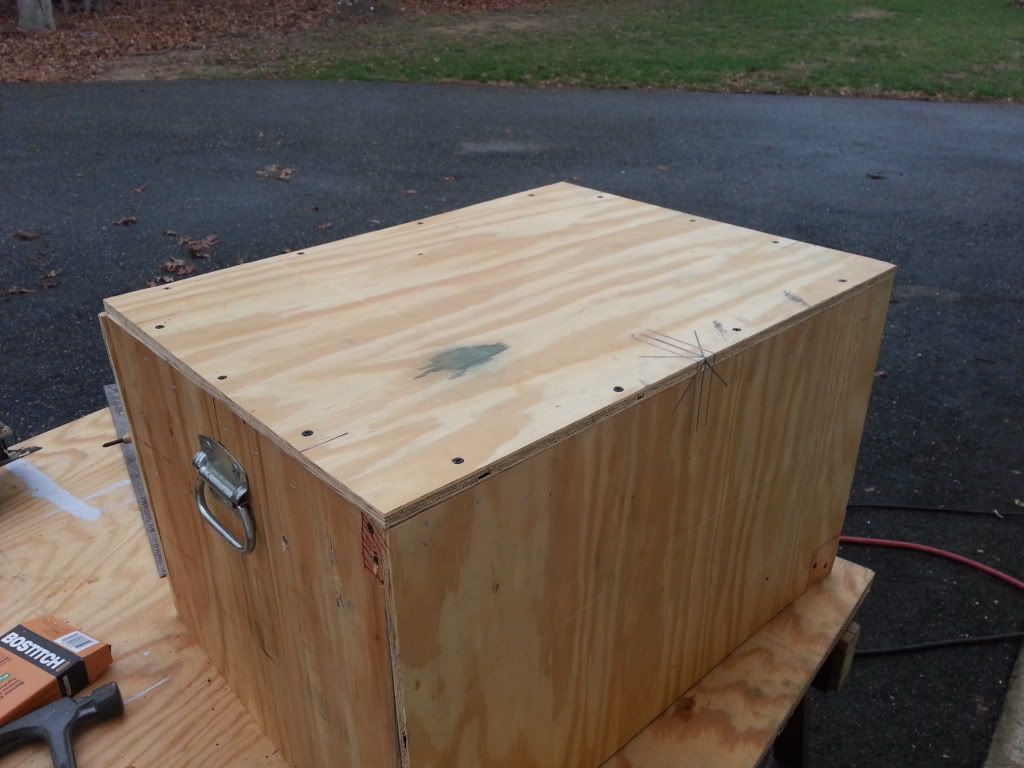
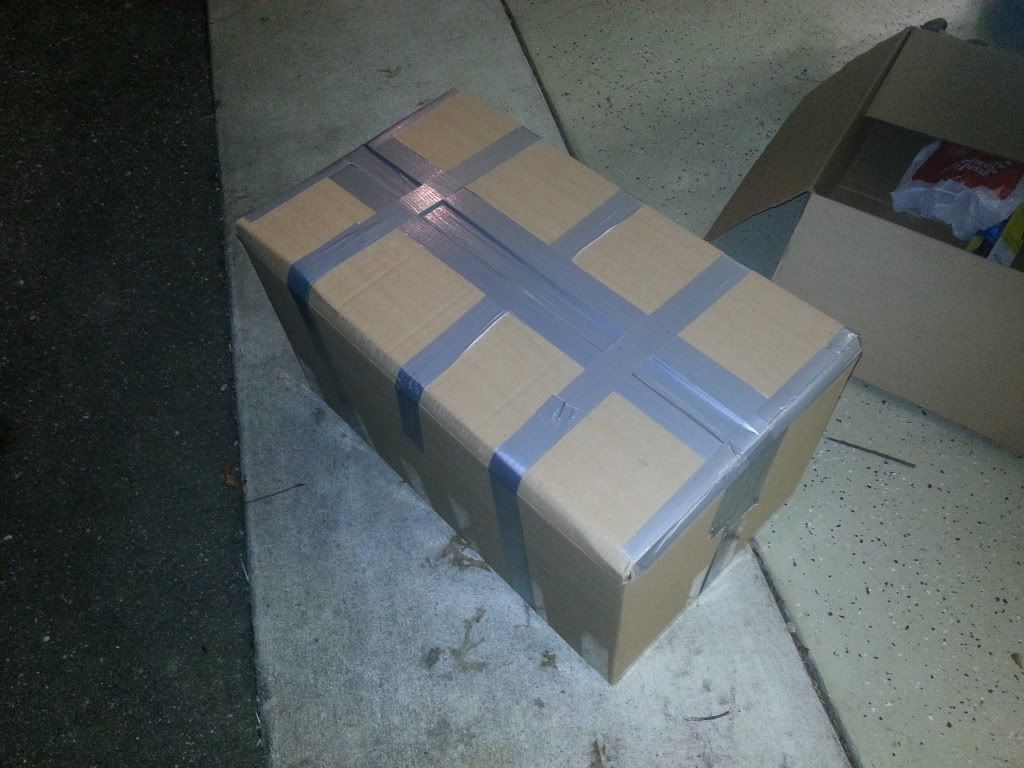
Just before Christmas I crated up the differential and boxed up the two trailing arms and sent them on their way to Texas.
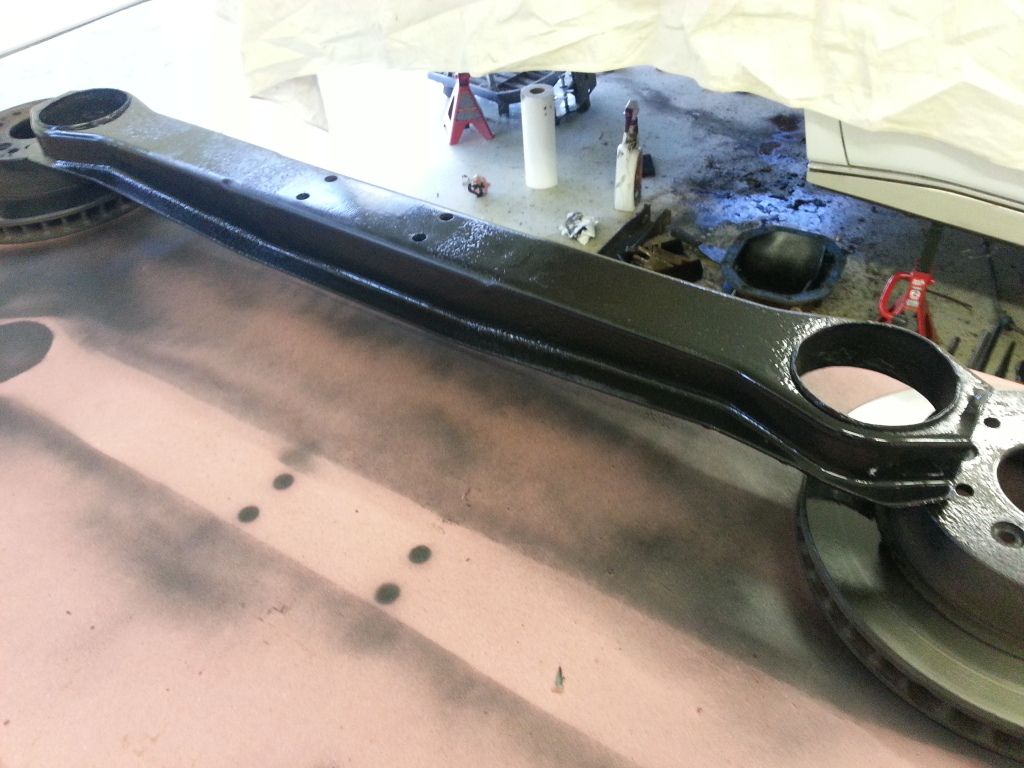
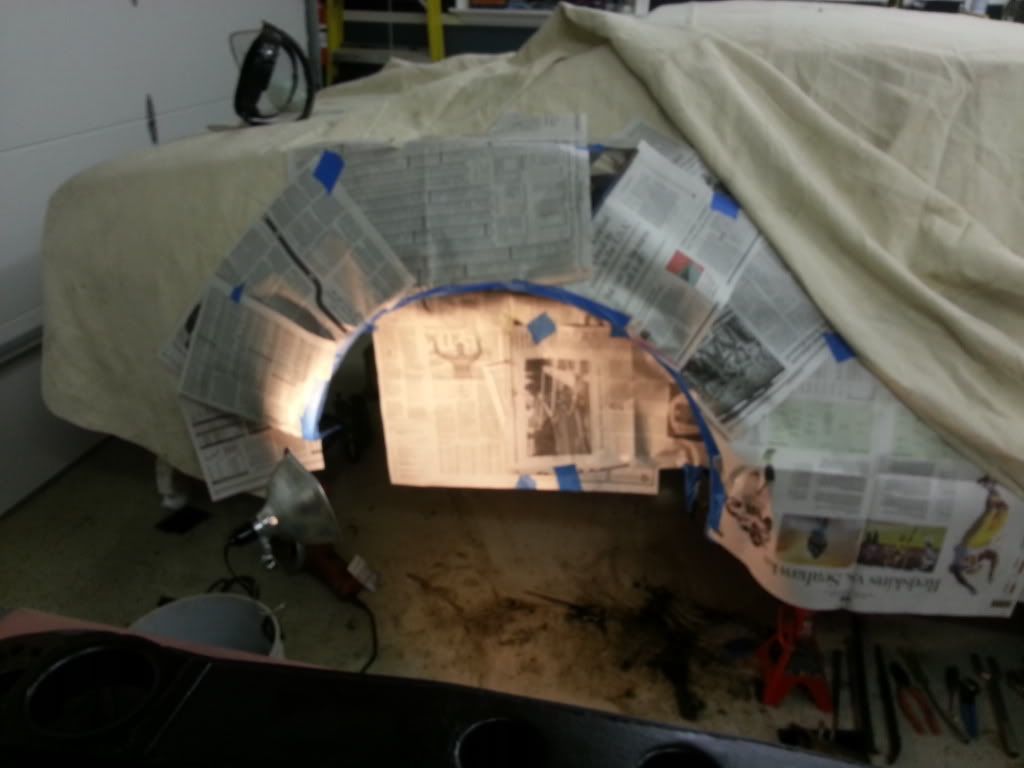
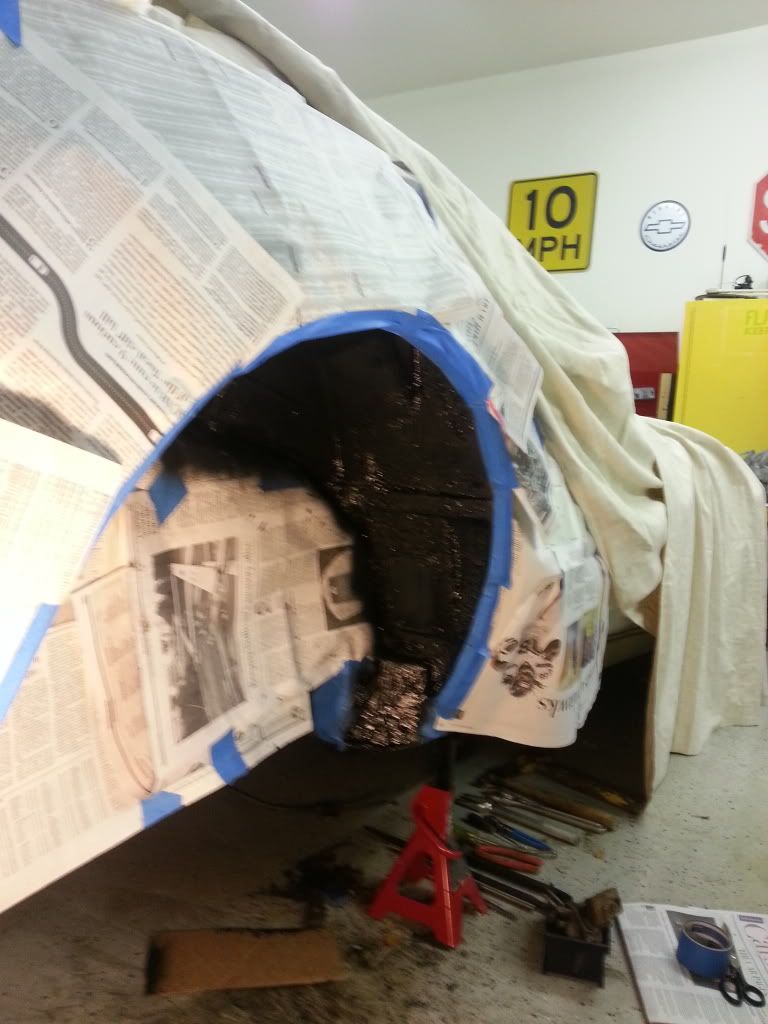
I also began degreasing the entire rear of the car, I plan on painting all of the chassis components with Extreme Chassis Black.
I am going to sand blast some more parts today and hopefully get them painted as well, something like this:
QUESTION: DO you think that I should paint the fiberglass around and above the differential (the batt box and glove and jack storage)?????? Does anyone have a pic of them painted?
Thats all for now, I should have some more pics after today!
SO long story short, I pulled out the rear, a bit prematurely probably, but none the less. I called Mike and talked with him numerous times about all of my options. He was a great help with getting all of the parts off the car and with general vette knowledge (Thanks Mike!).
For the beter part of a year the car has sat on jack stands in the garage,
.....until now.Just before Christmas I crated up the differential and boxed up the two trailing arms and sent them on their way to Texas.
I also began degreasing the entire rear of the car, I plan on painting all of the chassis components with Extreme Chassis Black.
I am going to sand blast some more parts today and hopefully get them painted as well, something like this:
QUESTION: DO you think that I should paint the fiberglass around and above the differential (the batt box and glove and jack storage)?????? Does anyone have a pic of them painted?
Thats all for now, I should have some more pics after today!
 01-12-2013, 08:04 AM
#2
Le Mans Master


I believe those parts stayed bare fiberglass. If so, I'd leave them. JMO, but I can't stand seeing an engine compartment, or under car where it looks like someone just set off a black paint bomb and EVERYTHING got painted black. I like some contrast.
01-12-2013, 08:30 AM
#3
Instructor
Thread Starter
01-12-2013, 09:14 AM
#4
Melting Slicks

i painted mine which turned out to be a nice background for everything.

01-12-2013, 10:27 AM
#5
Instructor
Thread Starter
 01-12-2013, 07:37 PM
#6
Instructor
Thread Starter
Update:
I did a little sand blasting on the parts that I didn't send out to Mike. Found out that my compressor was not powerful enough to run a pot blaster, so I need to find another way to get the parts blasted......
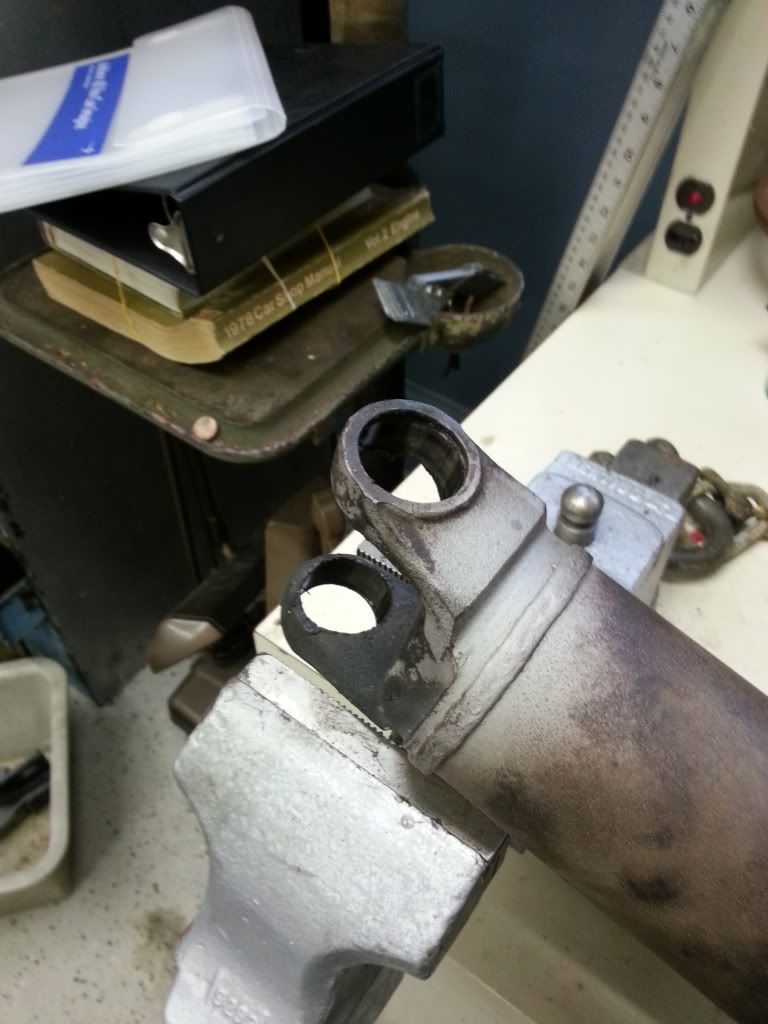
Anyways, I took the U-Joints out of the diff-side of the trailing arms, but I couldn't get them out of the spindle side....any tips to get these out? It looks like the diff side was replaced at some point but the spindle side looks much older.....
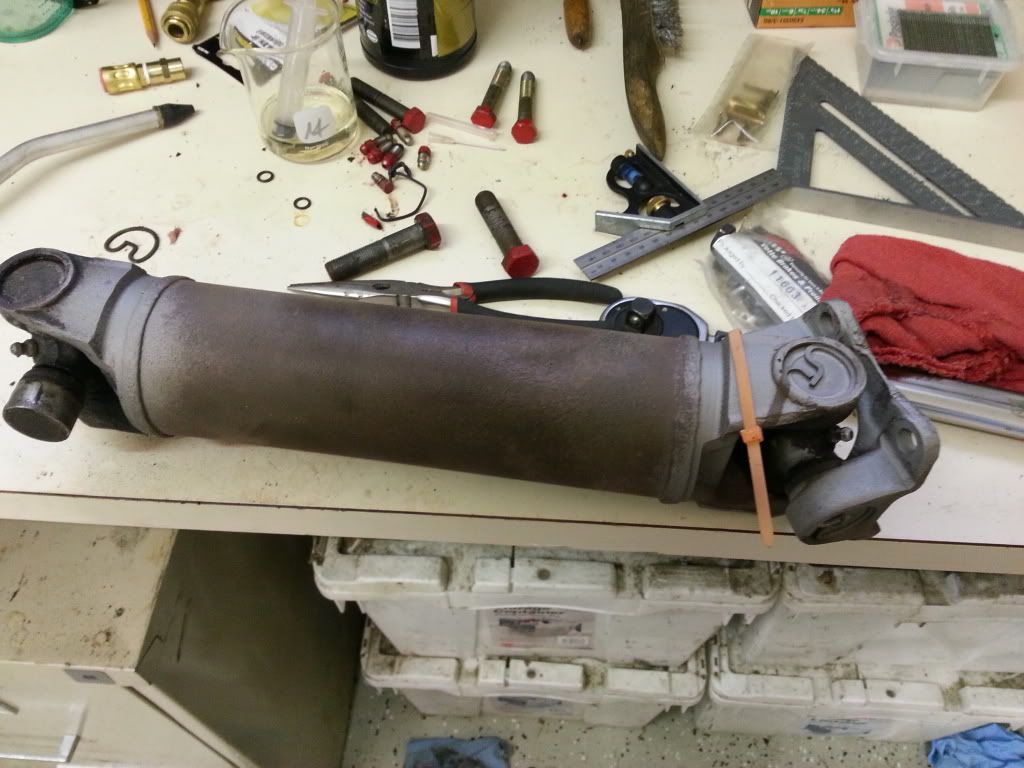
Here is how I got the joints out, if anyone is interested:


I also undercoated the passenger side wheel well today....pics later.
QUESTION:
1. What is the safest way to remove the ujoint from the spinde side of the half shaft?
2. I need to blast the half shafts and drive shaft, but since i removed the ujoints, do I need to tape off this area? I assume the answer is yes, and I hope that the best answer is to leave the joints in while blasting......
I did a little sand blasting on the parts that I didn't send out to Mike. Found out that my compressor was not powerful enough to run a pot blaster, so I need to find another way to get the parts blasted......
Anyways, I took the U-Joints out of the diff-side of the trailing arms, but I couldn't get them out of the spindle side....any tips to get these out? It looks like the diff side was replaced at some point but the spindle side looks much older.....
Here is how I got the joints out, if anyone is interested:
I also undercoated the passenger side wheel well today....pics later.
QUESTION:
1. What is the safest way to remove the ujoint from the spinde side of the half shaft?
2. I need to blast the half shafts and drive shaft, but since i removed the ujoints, do I need to tape off this area? I assume the answer is yes, and I hope that the best answer is to leave the joints in while blasting......
 01-13-2013, 08:16 AM
#8
Instructor
Thread Starter
Update:
QUESTION:
1. What is the safest way to remove the ujoint from the spinde side of the half shaft?
2. I need to blast the half shafts and drive shaft, but since i removed the ujoints, do I need to tape off this area? I assume the answer is yes, and I hope that the best answer is to leave the joints in while blasting......


 01-13-2013, 01:02 PM
#11
Instructor
Thread Starter
Car had 3.36 in it......was going to put the same back in.
I talked to Mike for a long while about gearing options, and I think with the motor plans that I have (is not that much), 3.36 should be good. I gave some thought to 3.55, but I am not swapping the trans out anytime soon so higher ratio didn't really make sense.....
I talked to Mike for a long while about gearing options, and I think with the motor plans that I have (is not that much), 3.36 should be good. I gave some thought to 3.55, but I am not swapping the trans out anytime soon so higher ratio didn't really make sense.....
01-13-2013, 05:47 PM
#13
Instructor
Thread Starter
Hope that helps......
01-13-2013, 08:00 PM
#14
Instructor
Thread Starter
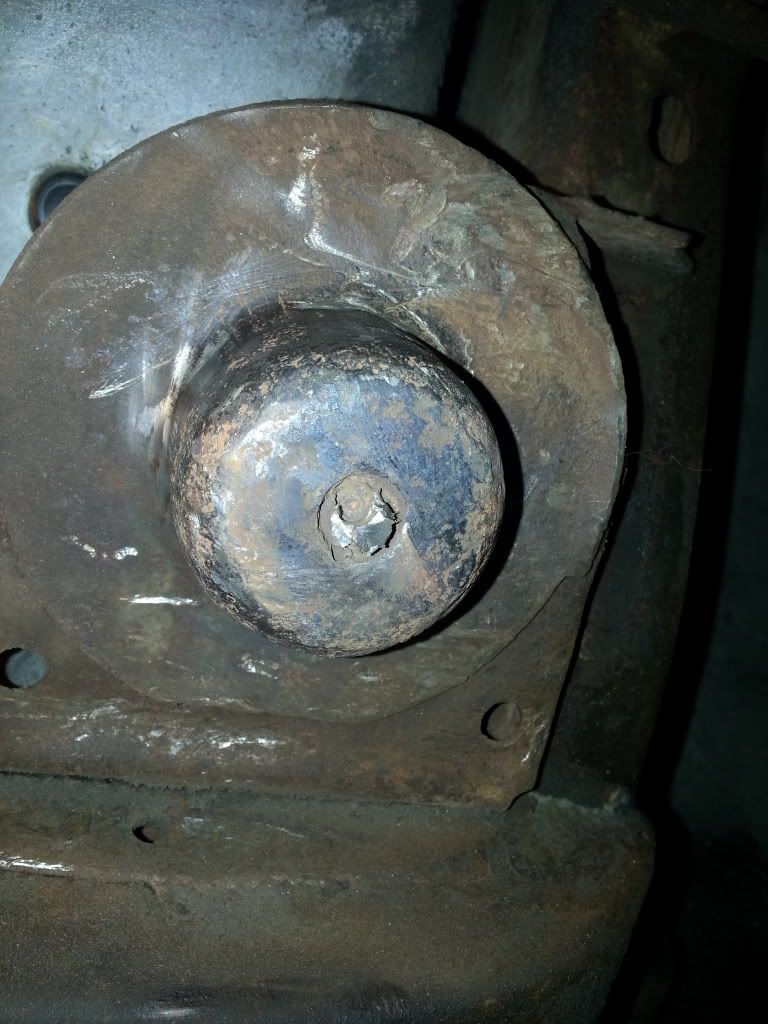
Okay, so I have run into a problem and could really use some advice. When I was taking out the rear cross member (nearly a year ago  ) I sheared off the driver side bolt
  . On top of that the car side mount is atrocious looking:
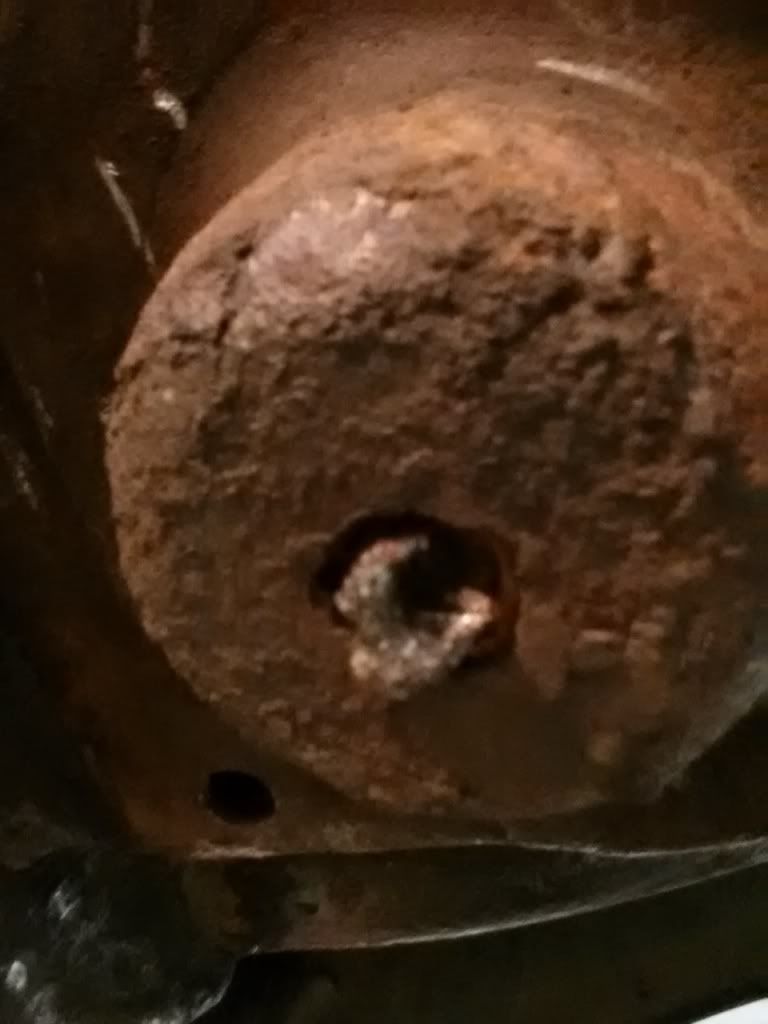
I hit it with a die grinder and a fine sand paper pad, now it looks like this:

QUESTION:
Any thoughts on how to drill out the bolt that is broke off? I gound t down a little, but I think my helper from awhile back tried to drill it out and failed......
.
) I sheared off the driver side bolt . On top of that the car side mount is atrocious looking:I hit it with a die grinder and a fine sand paper pad, now it looks like this:
QUESTION:
Any thoughts on how to drill out the bolt that is broke off? I gound t down a little, but I think my helper from awhile back tried to drill it out and failed......
.
01-13-2013, 09:29 PM
#15
Instructor
Thread Starter
01-14-2013, 09:43 AM
#16


You need to be quite careful when pressing the U joint out of the spindle flange. The flange is very easy to bend. Bolt a backing plate to the flange before you remove the U joint.
Look at the Eckler's 88-0373-1.
Look at the Eckler's 88-0373-1.
01-14-2013, 11:18 AM
#17
Instructor
Thread Starter
I think I have heard it is okay to leave the spindle side attached to press the joint out, but alas those are in Texas.......
 02-16-2013, 05:00 PM
#19
Instructor
Thread Starter
Update:
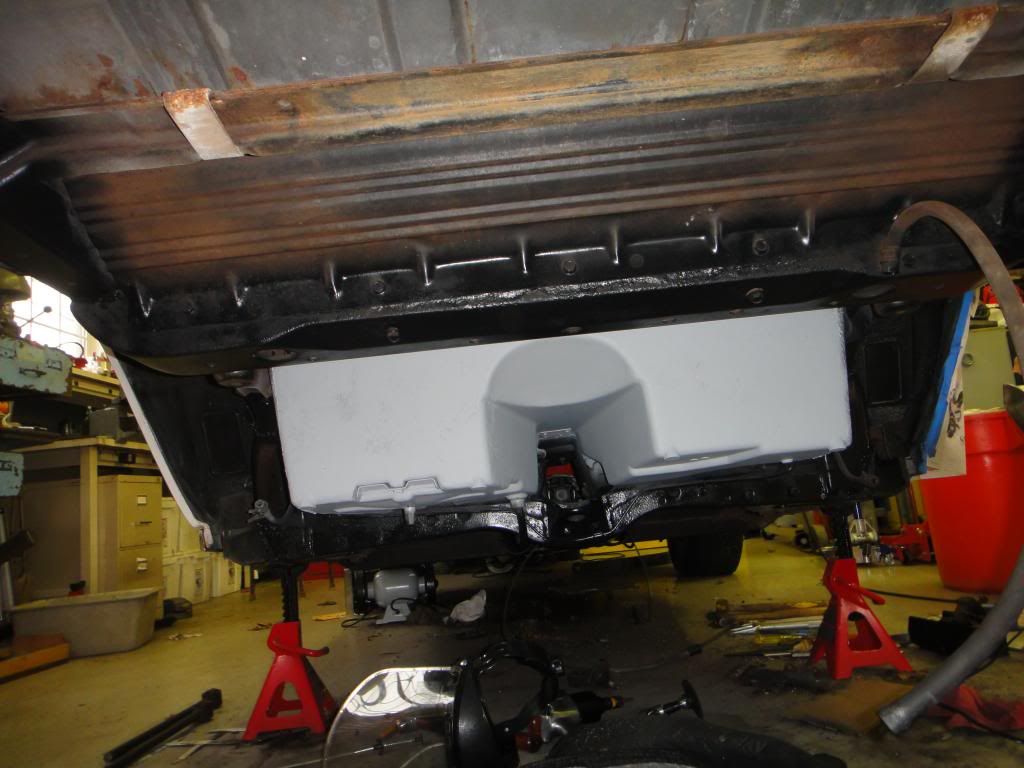
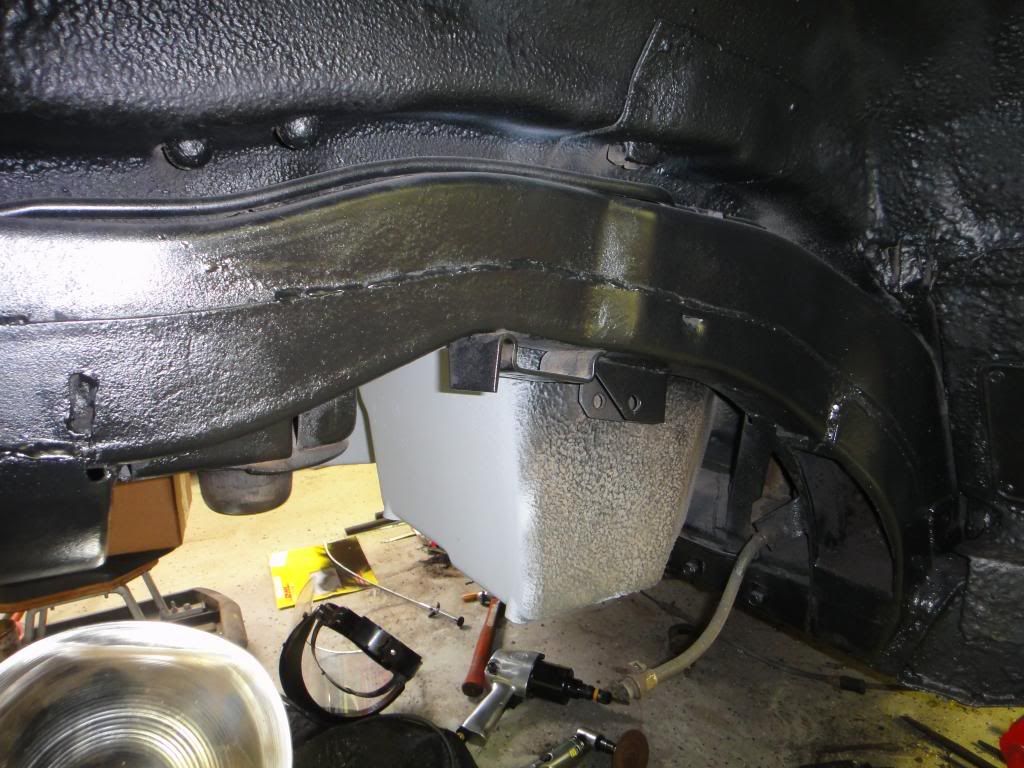
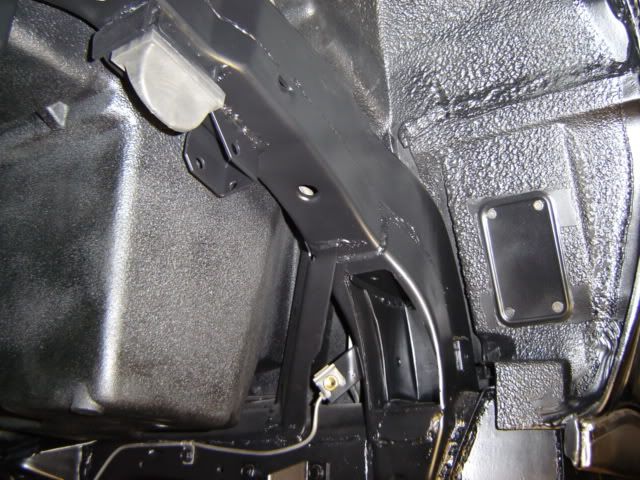
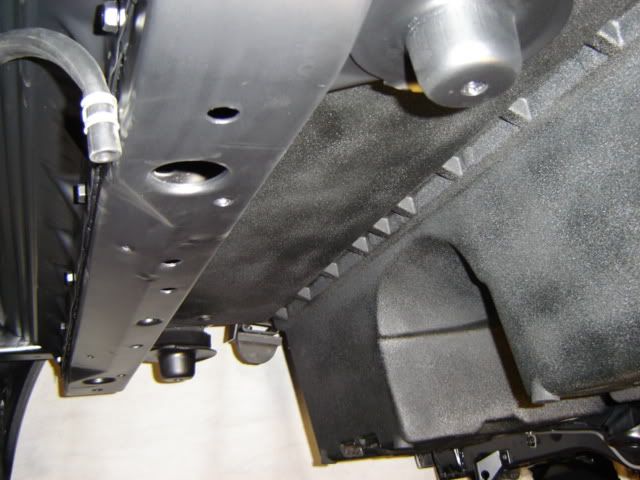
Mike is working on the differential (should have it back by the end of February!)! In the meanwhile, I have been working on the rest of the rear, trying to make sure I am ready to go when I get the trailing arms and diff back from Mike.
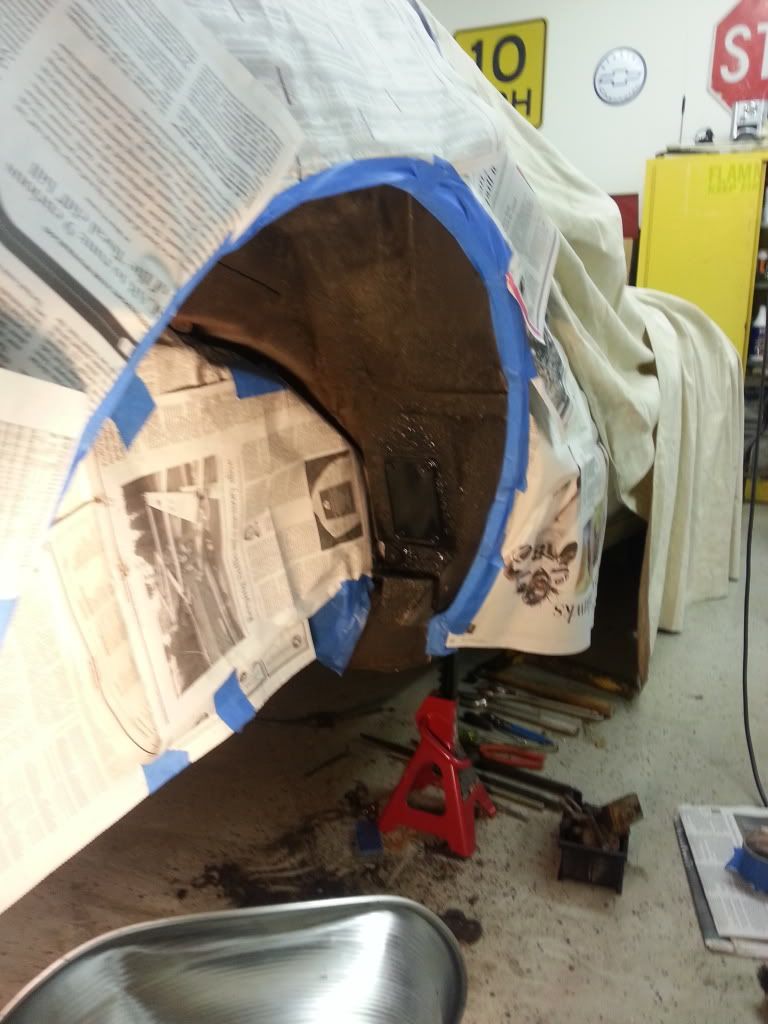
Here is how the rear looks as of today:
I was able to get the stuck u joints pressed out of the half shafts today as well!
But I still have this problem to deal with:
Anyone got any good thoughts about this?
I also bought some components to make my own adjustable strut rods:

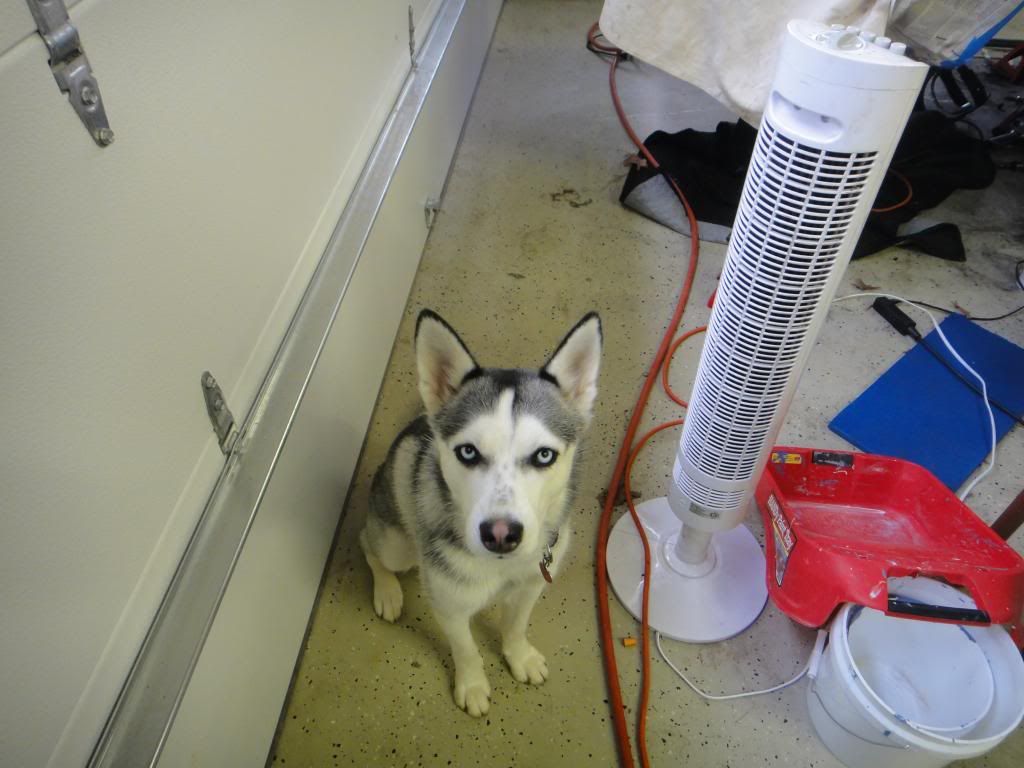
I had a little help from a friend today too......
What does everyone think? I am planning on painting the battery/glove box tubs a very dark gray, that color is just a primer.....
.
Mike is working on the differential (should have it back by the end of February!)! In the meanwhile, I have been working on the rest of the rear, trying to make sure I am ready to go when I get the trailing arms and diff back from Mike.
Here is how the rear looks as of today:
I was able to get the stuck u joints pressed out of the half shafts today as well!
But I still have this problem to deal with:
Anyone got any good thoughts about this?
I also bought some components to make my own adjustable strut rods:
I had a little help from a friend today too......
What does everyone think? I am planning on painting the battery/glove box tubs a very dark gray, that color is just a primer.....
.
02-16-2013, 06:19 PM
#20
I think you have a cute puppy! Also, ask MIKE about the bolt. He is your best resource, mike...
Mine below... Tracdogg2 taught me also.
Mine below... Tracdogg2 taught me also.
Last edited by mds3013; 02-16-2013 at 06:25 PM.