When you click on links to various merchants on this site and make a purchase, this can result in this site earning a commission. Affiliate programs and affiliations include, but are not limited to, the eBay Partner Network.
One headlamp was a little lazy (worked fine but a little slower, especially going down)
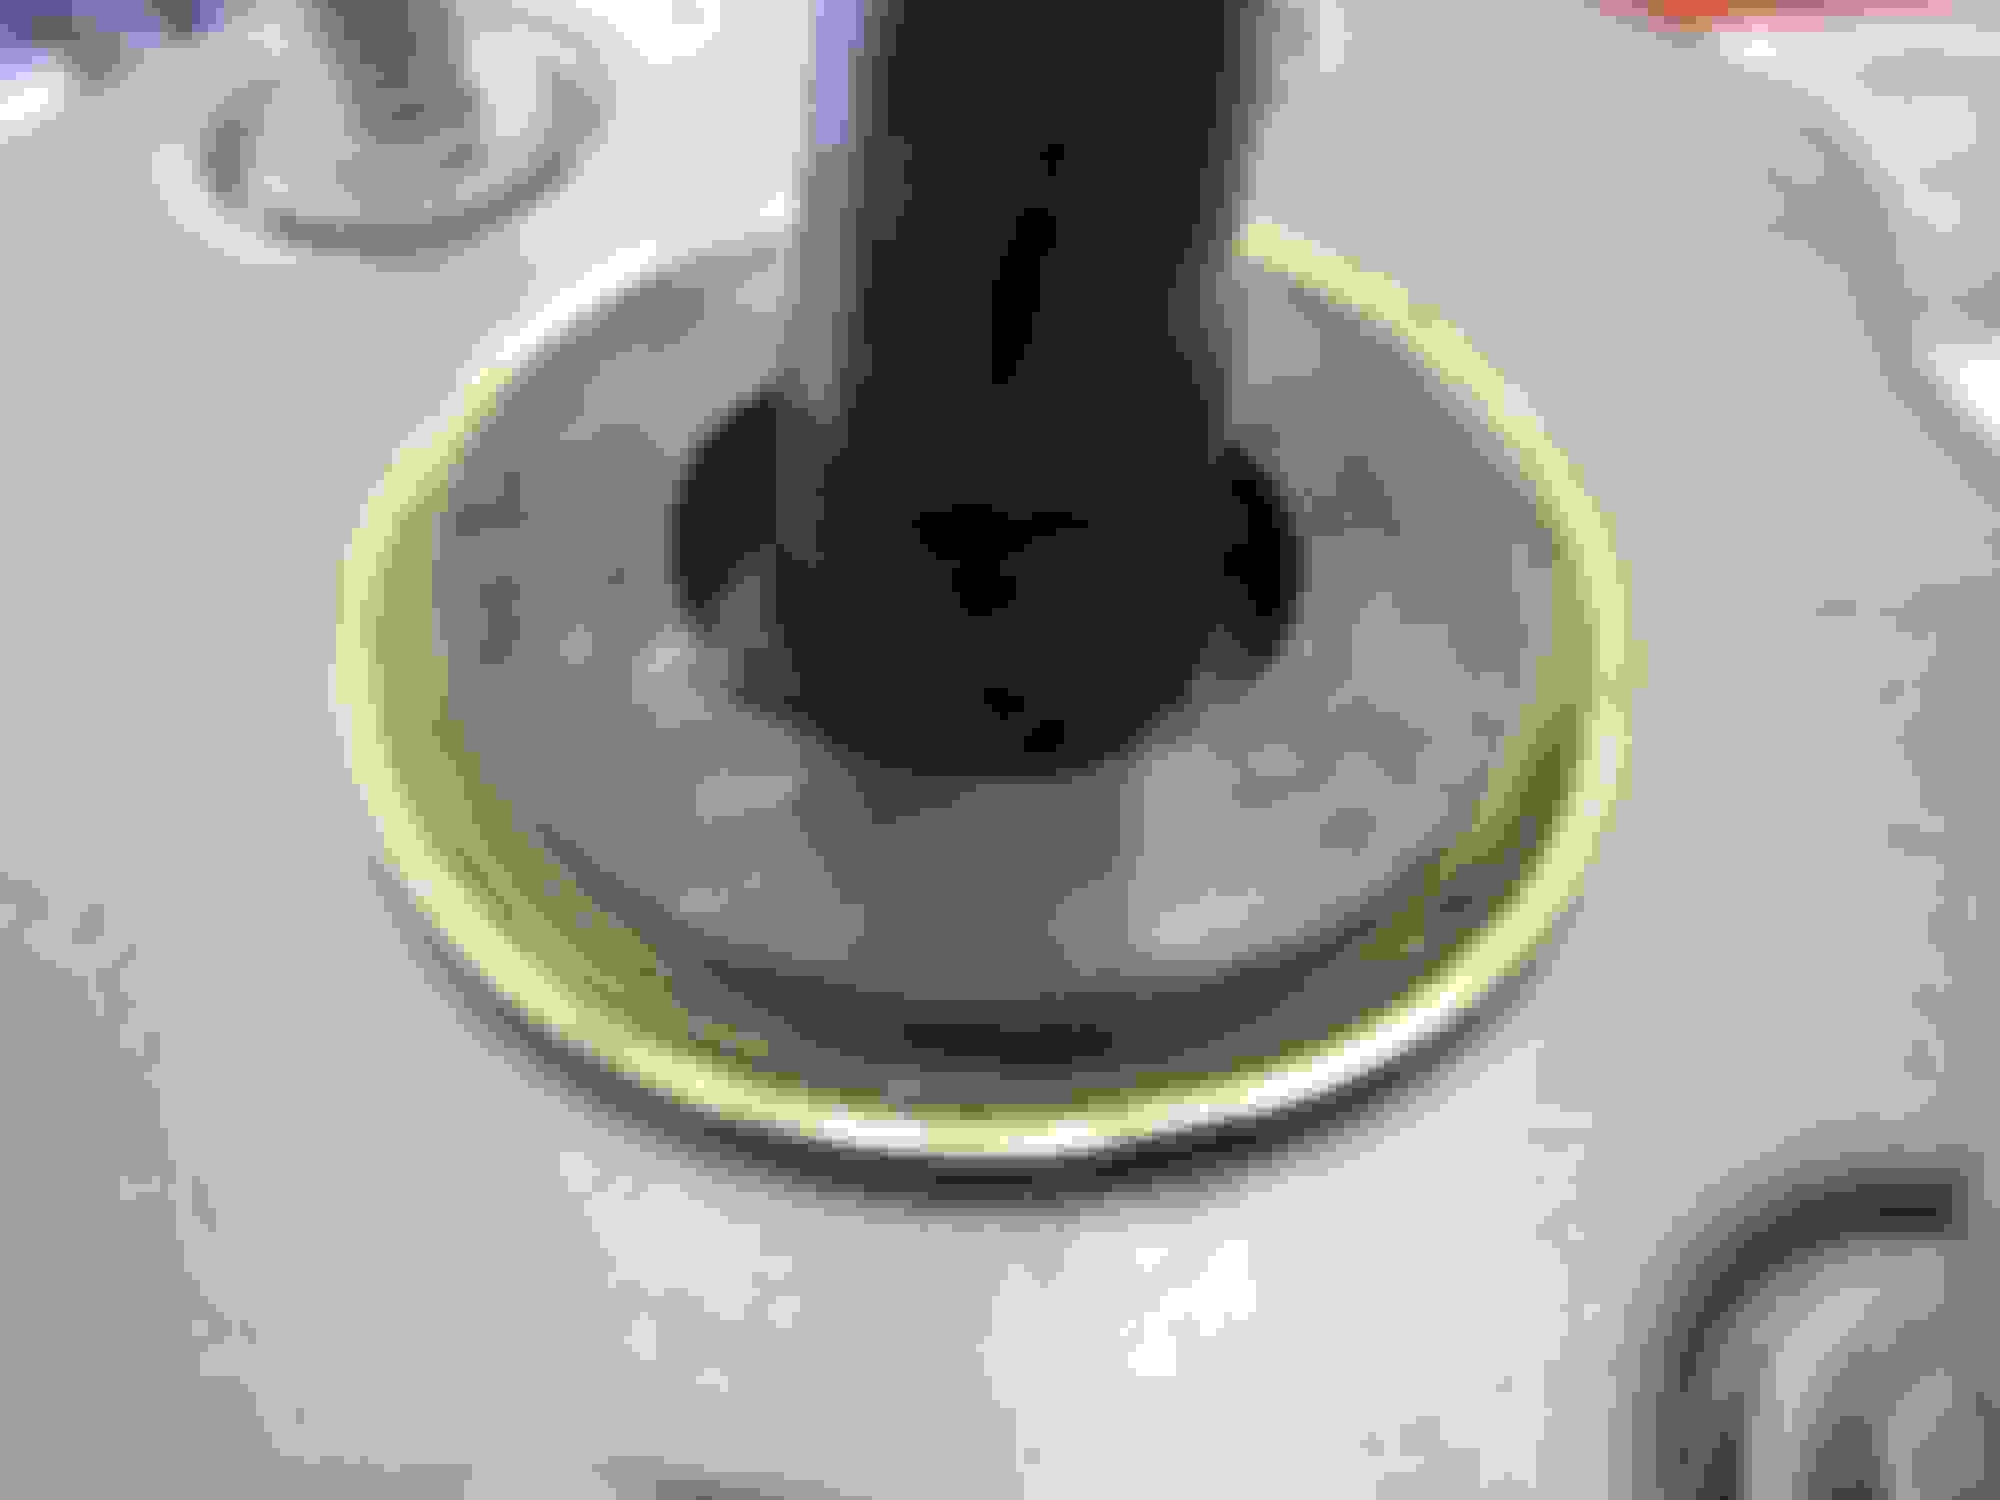
While everything is apart I figured I'd have a look and sure enough the shaft seal was leaking. I could block off the front (straight) port and still pull the rod out with some drag. Blocking the rear port (90 deg one) would prevent any movement.
The dust boot on both actuators were cracked and needed to be replaced so I bought the complete kit with new seals, retaining ring and dust boots.
The dust boot just pulls off.
The retaining ring is held on by three metal tabs bent over onto the actuator housing.
Open any two and then it will lift and slide off easily.
A very thin blade flat screwdriver that can be snuck under the tab and twisted to straighten them out. If your worried about the plating/paint, a piece of masking tape down first will protect the can.
I thought the seal was just leaking a little around the shaft, apparently I was mistaken
You can also see the new seal is a little thinner at the top.
I coated the new seal with a liberal spray of 303 protectant to help slide it onto the shaft and still needed to actually "thread" it on until it was past the threaded portion.
Once down in place it slides into the can easily, especially with the 303 still wet.
The shaft has a small groove on it that the end of the seal locates into, this makes it fold inwards rather than trying to slide on the shaft.
The retainer ring seems to be identical to the old one except the corners have slightly larger radii (not as sharp) (picture is at an angle so it looks smaller but they are the same diameters)
Pre-bend the tabs down 90 deg to make it easier to fold them when in place
A set of small needle-nose works perfect for folding them all the way in.
The dust boot would appear to be way to small to fit
But again, a liberal coating of 303 to allow everything to slide around and some pushing and turning and it goes on nicely. Do not use any kind of tool other than maybe a popsickle stick, the boot is quite thin and soft and I would expect it would tear fairly easy.
First one took maybe 15 minutes, second one took about 5 Okay, maybe add a little more time if they are still on the car
Simple, quick job anyone should be able to tackle if their lights are leaking and the lines are ok. Just putting it out there for reference
Mooser
Last edited by Mooser; 11-24-2017 at 10:54 PM.
Reason: fix photobucket mess
just did this on my 82 as well. Driver side went fine, but after a week, the damn retaining ring popped off on the pass side actuator, which allowed the seal to be pulled off with the shaft moving out (lights up). Turns out the one of the retaining ring tabs broke off/were weak. I went ahead a jb welded the ring on there. I figured the seals lasted 30 years, if the ones I just put one there last only 15 yrs, I can afford to toss the old one out and just buy a whole need actuator assembly
Isn't there a diaphram inside and if so, were you able to see or check it?
Yes the main diaphragm is barely visible through the hole when the seal is out (using a small mag-lite)
Trying to push the rod in while holding the rear tube (90 deg one) closed will tell you if there is a problem with the main diaphragm (pulling it out will too but it's harder) If it moves, there must be a leak.
If that diaphragm is torn the only way to fix it would be to un-crimp the can halves and try to replace it.
Although possible, I'd say that's not a repairable part although you could maybe goop a tear or small hole up as a fix.
In the ~4 years I had my '72 with the operating lights, I replaced the witches hats above, twice per side.....found the first set was junk, replaced in '95, with the clamp rings, lasted about 1.5 years or less....rubber tore up as shown above....
so on the second set, I tossed the clamp rings, put RTV black from Permatex around the groove and sealed them down nicely, same with a little dab around the shaft, neck, then I wrapped that shaft seal rubber with the smallest tie wrap I could find to stop the splitting....
they were still intact maybe 4 years later when I sold the canisters,
a damn Florida deer darted out and took out both headlights in '98 so they worked fine at that point....

 03-30-2013, 08:59 PM