
Ripped Crossmember Frame UPDATE
 03-11-2013, 12:02 PM
#1
Advanced

Thread Starter
Member Since: Dec 2012
Posts: 55
Likes: 0
Received 0 Likes
on
0 Posts
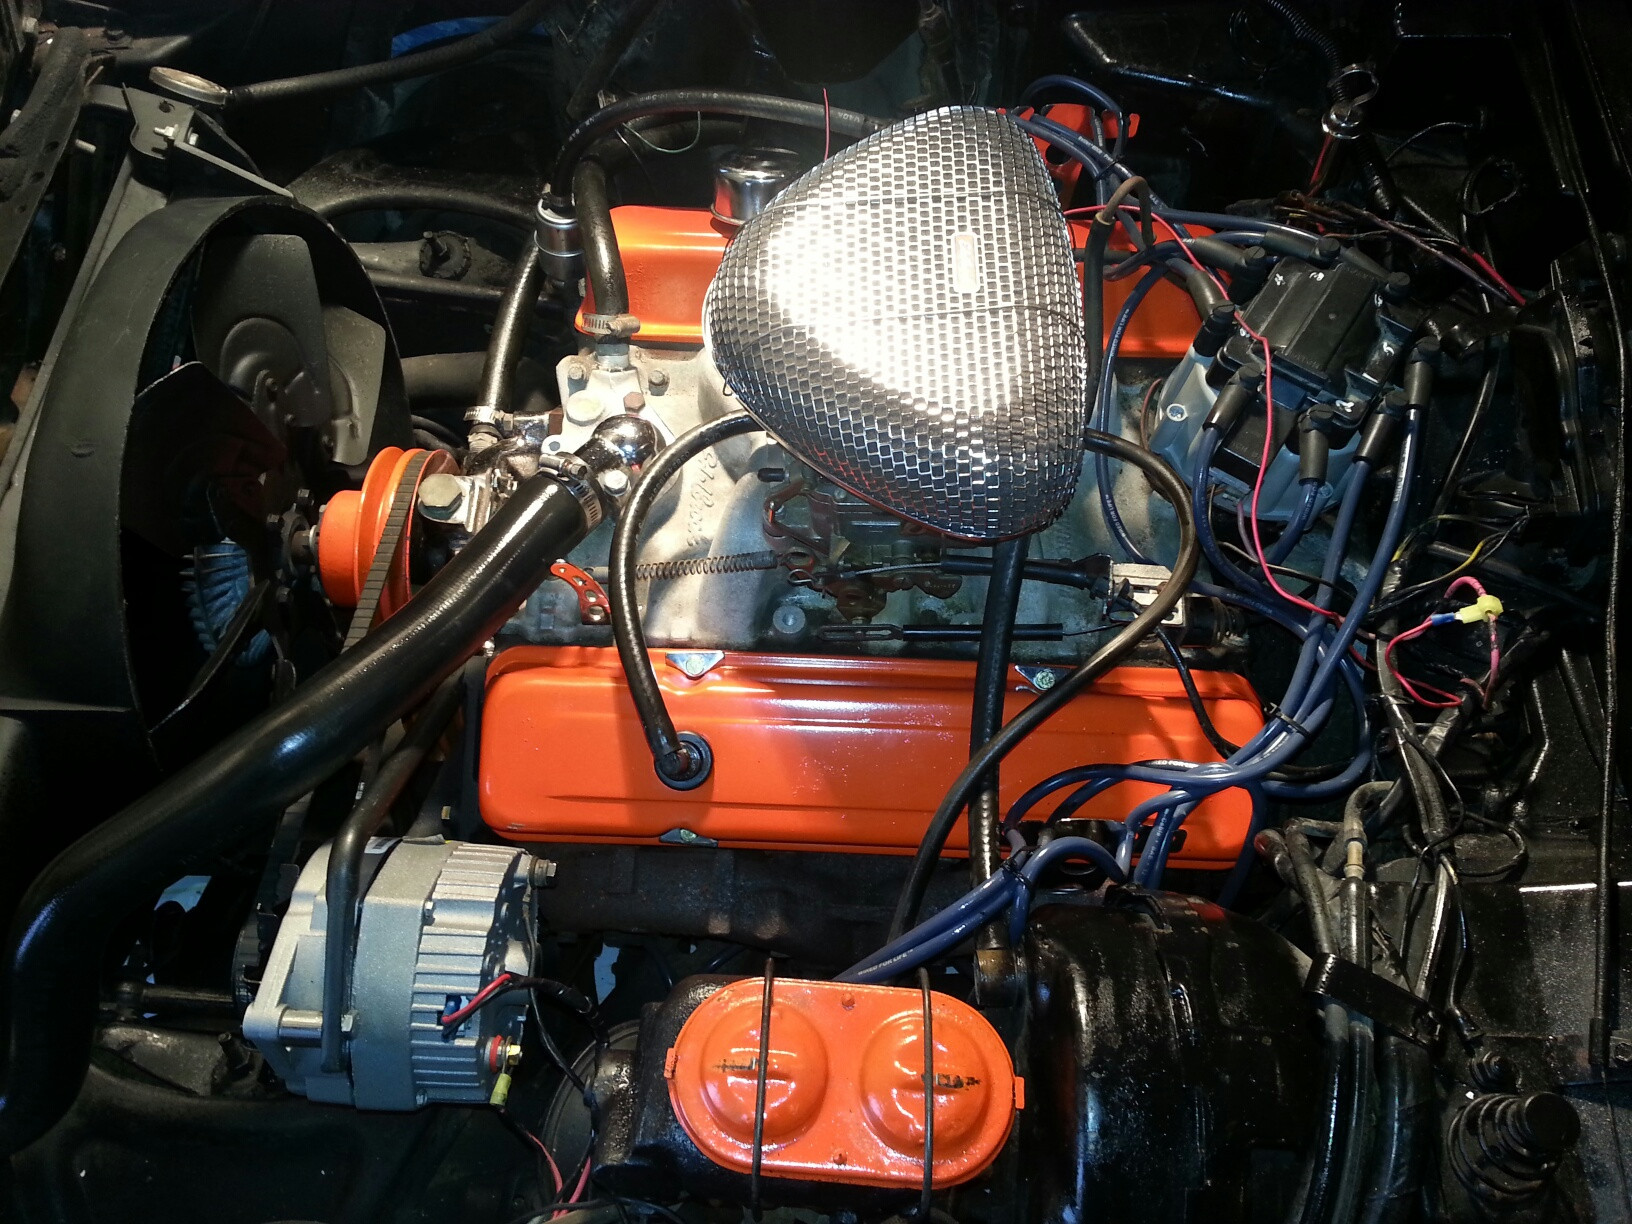
Thanks to this forum and the great guys and gals providing me tons of solid council and encouragement, I've got this 77 Stingray back on the road (for the most part). What started as a search for a power steering leak source led to discovery of a ripped frame/lower A arm support that nearly sunk my hopes. Disassembled everything, had a good friend with great welding skills come over to help and she's good as new (almost--a little seepage from back corner of drivers side rocker cover--new gasket I imagine; and that old radiator didn't like all the jostling so she's leaking pretty good--haven't sourced that leak yet). I took the time to blast off the rust and repaint everything and it's night and day. A few pics and many thanks for all the help/encouragement.
Where we started back in December:
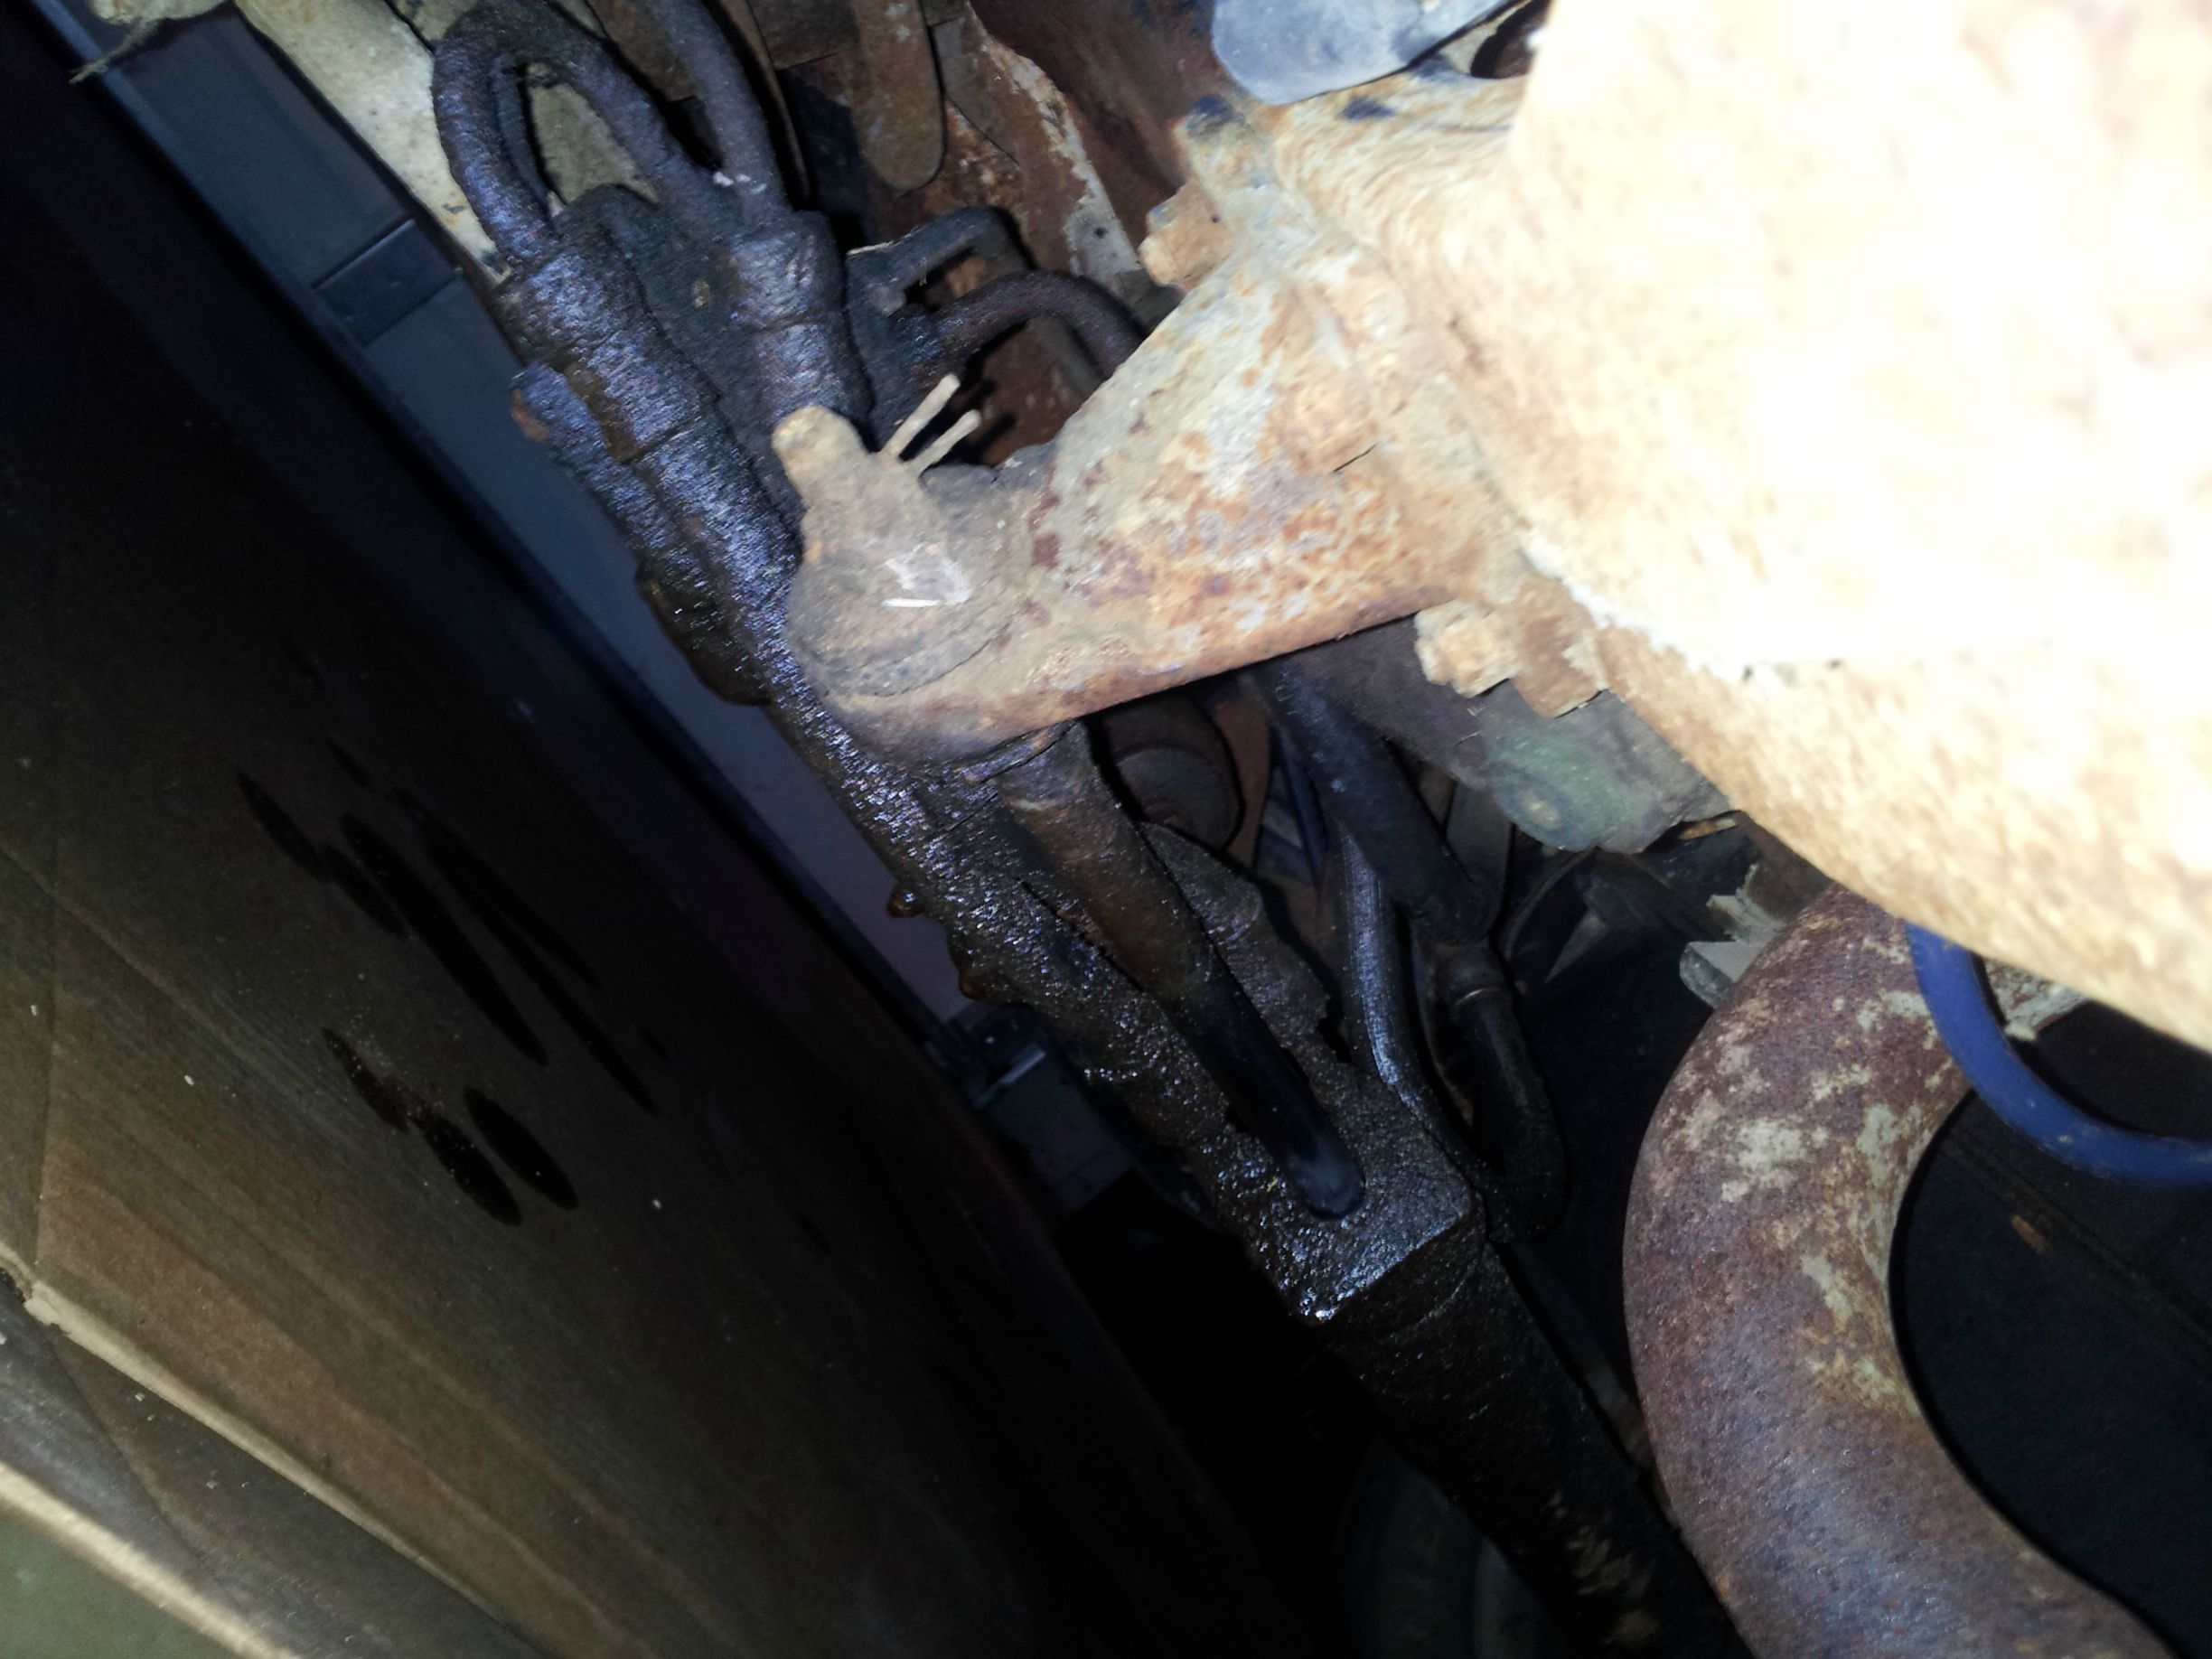
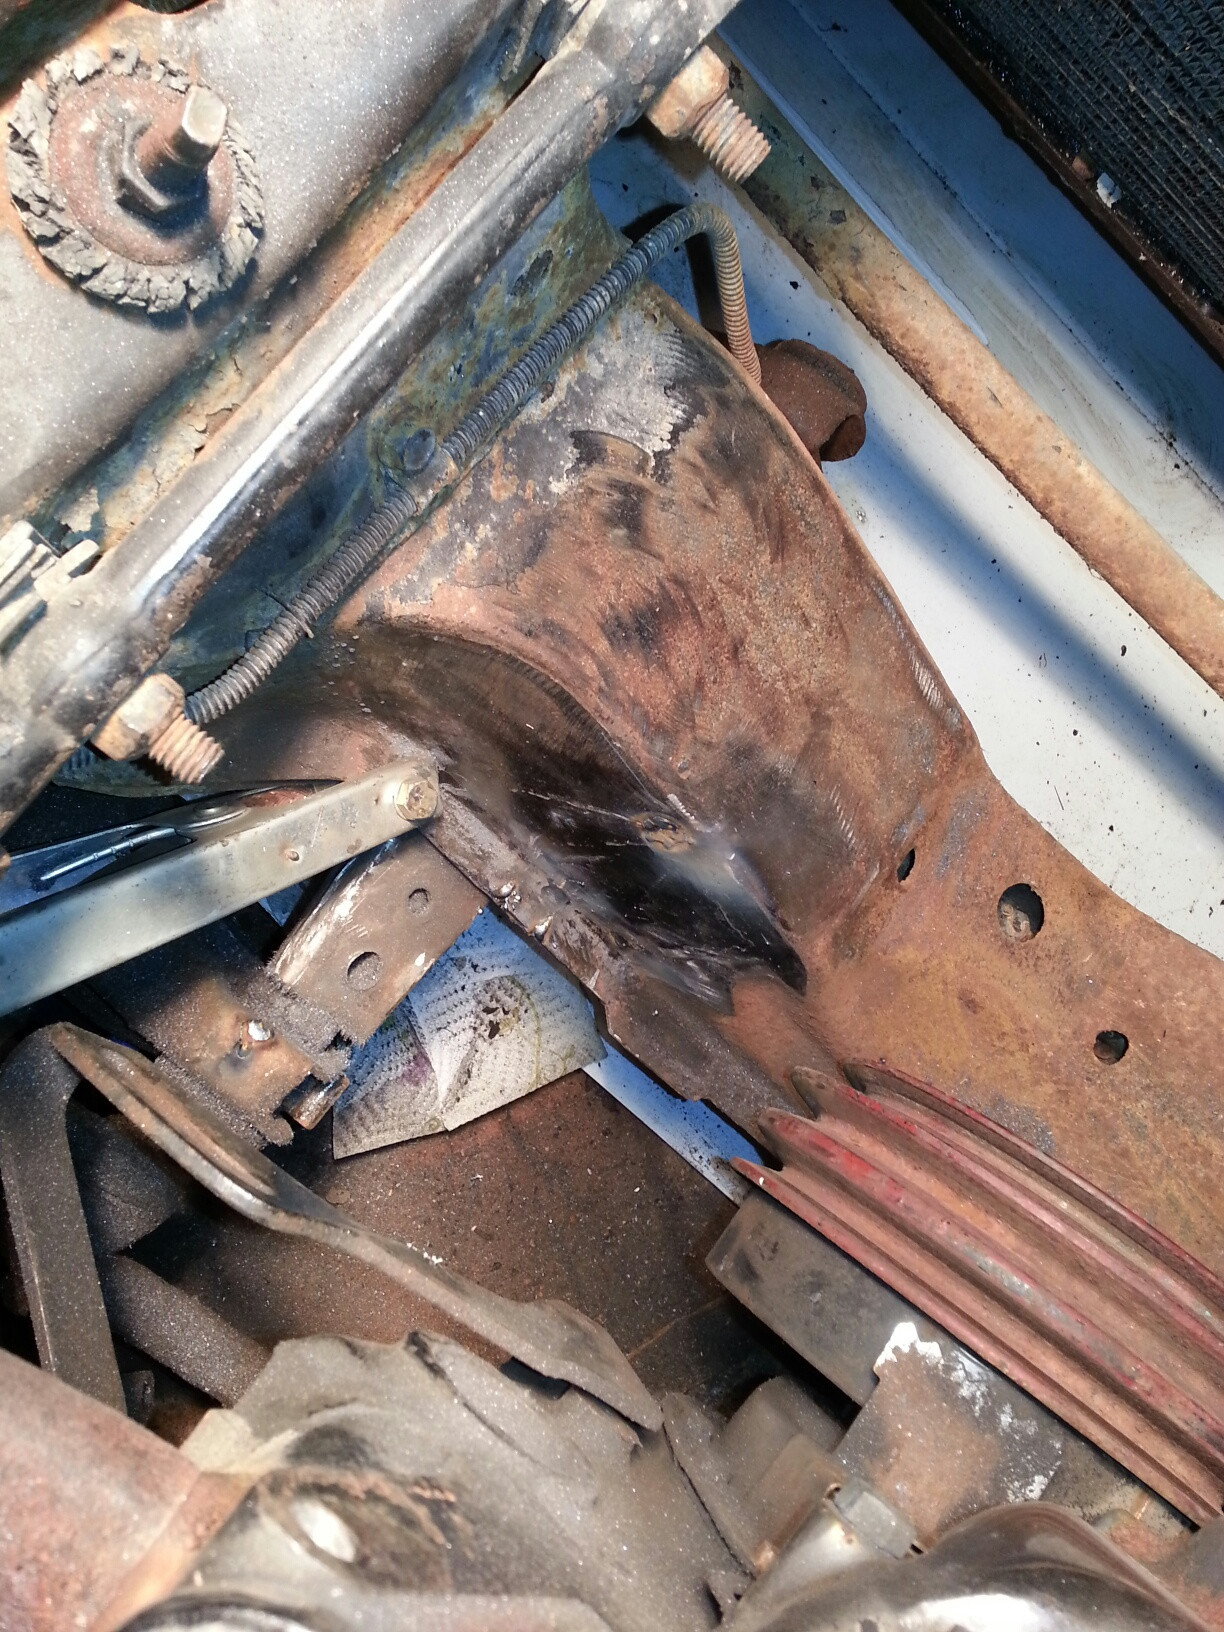
Ripped Crossmember/Lower Support
Surface Rust galore:

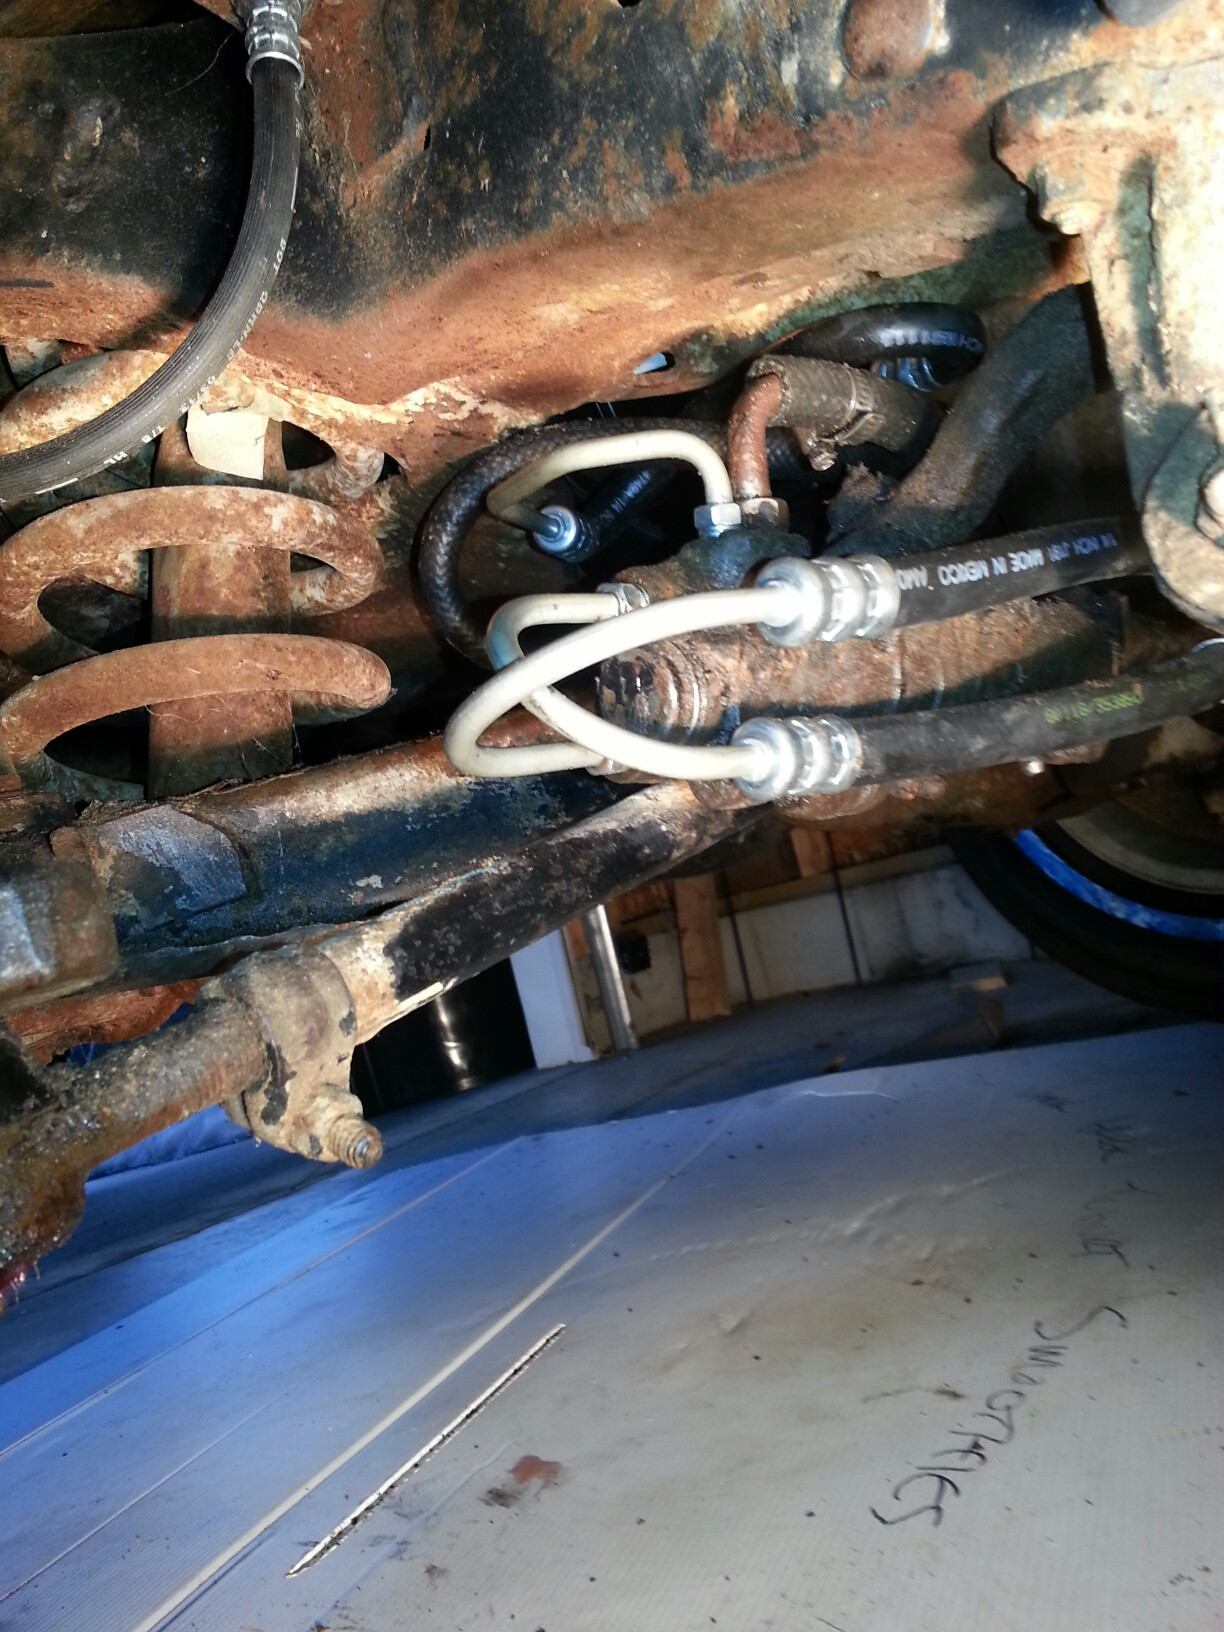
Original PS lines
Today:
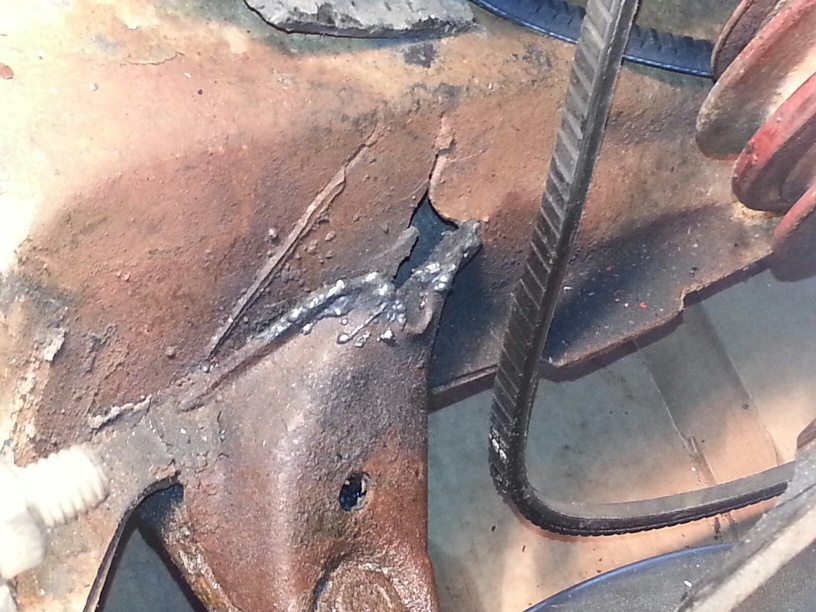
New Weld
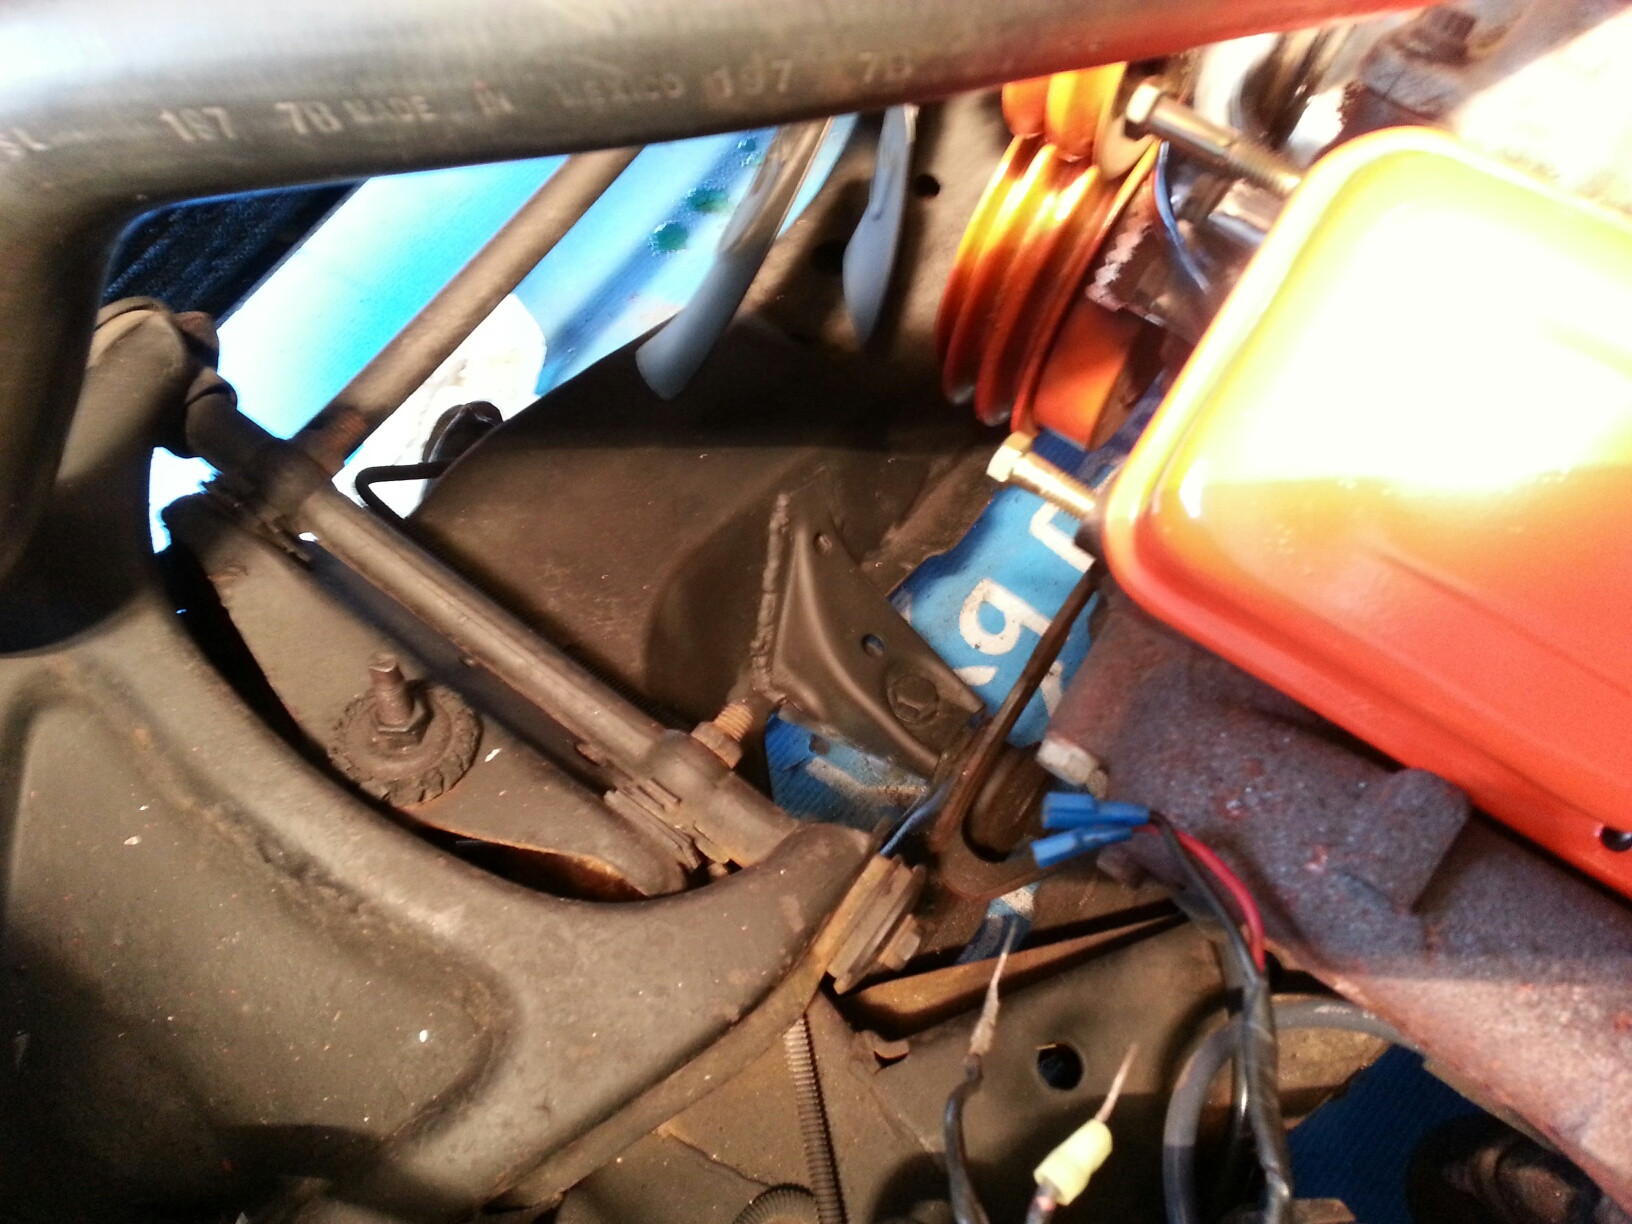
Surface rust cleaned/painted
New PS lines:
Plenty left to do on underbody surface rust, but that's what March-April will be about. By June, I hope to be cruising pretty clean!
Where we started back in December:
Ripped Crossmember/Lower Support
Surface Rust galore:
Original PS lines
Today:
New Weld
Surface rust cleaned/painted
New PS lines:
Plenty left to do on underbody surface rust, but that's what March-April will be about. By June, I hope to be cruising pretty clean!


 03-13-2013, 04:30 PM
#6
Racer
Looks great, I am getting ready to do this on mine as well. Where you going to add any gussets to the rear mount portion. Did you replace the hole mount from under the cross member as well? Your weld job looks great, where you able to make the repair with the motor in the car? I installed a BBC in my 72 so I ended up pulling the new motor with only 60 miles on it? Hind sight is 20/20 I guess.
Good Job
Good Job
 03-13-2013, 11:16 PM
#8
Melting Slicks


Looks nice and clean compared to what it was. Good work.
May I suggest that when you replace the front shocks, don't tighten the top nut as much as the last person did. I don't think I've ever seen a shock bushing squeezed so flat.
May I suggest that when you replace the front shocks, don't tighten the top nut as much as the last person did. I don't think I've ever seen a shock bushing squeezed so flat.
03-14-2013, 10:29 AM
#9
Advanced
Thread Starter
Member Since: Dec 2012
Posts: 55
Likes: 0
Received 0 Likes
on
0 Posts
Ducci/Boston--
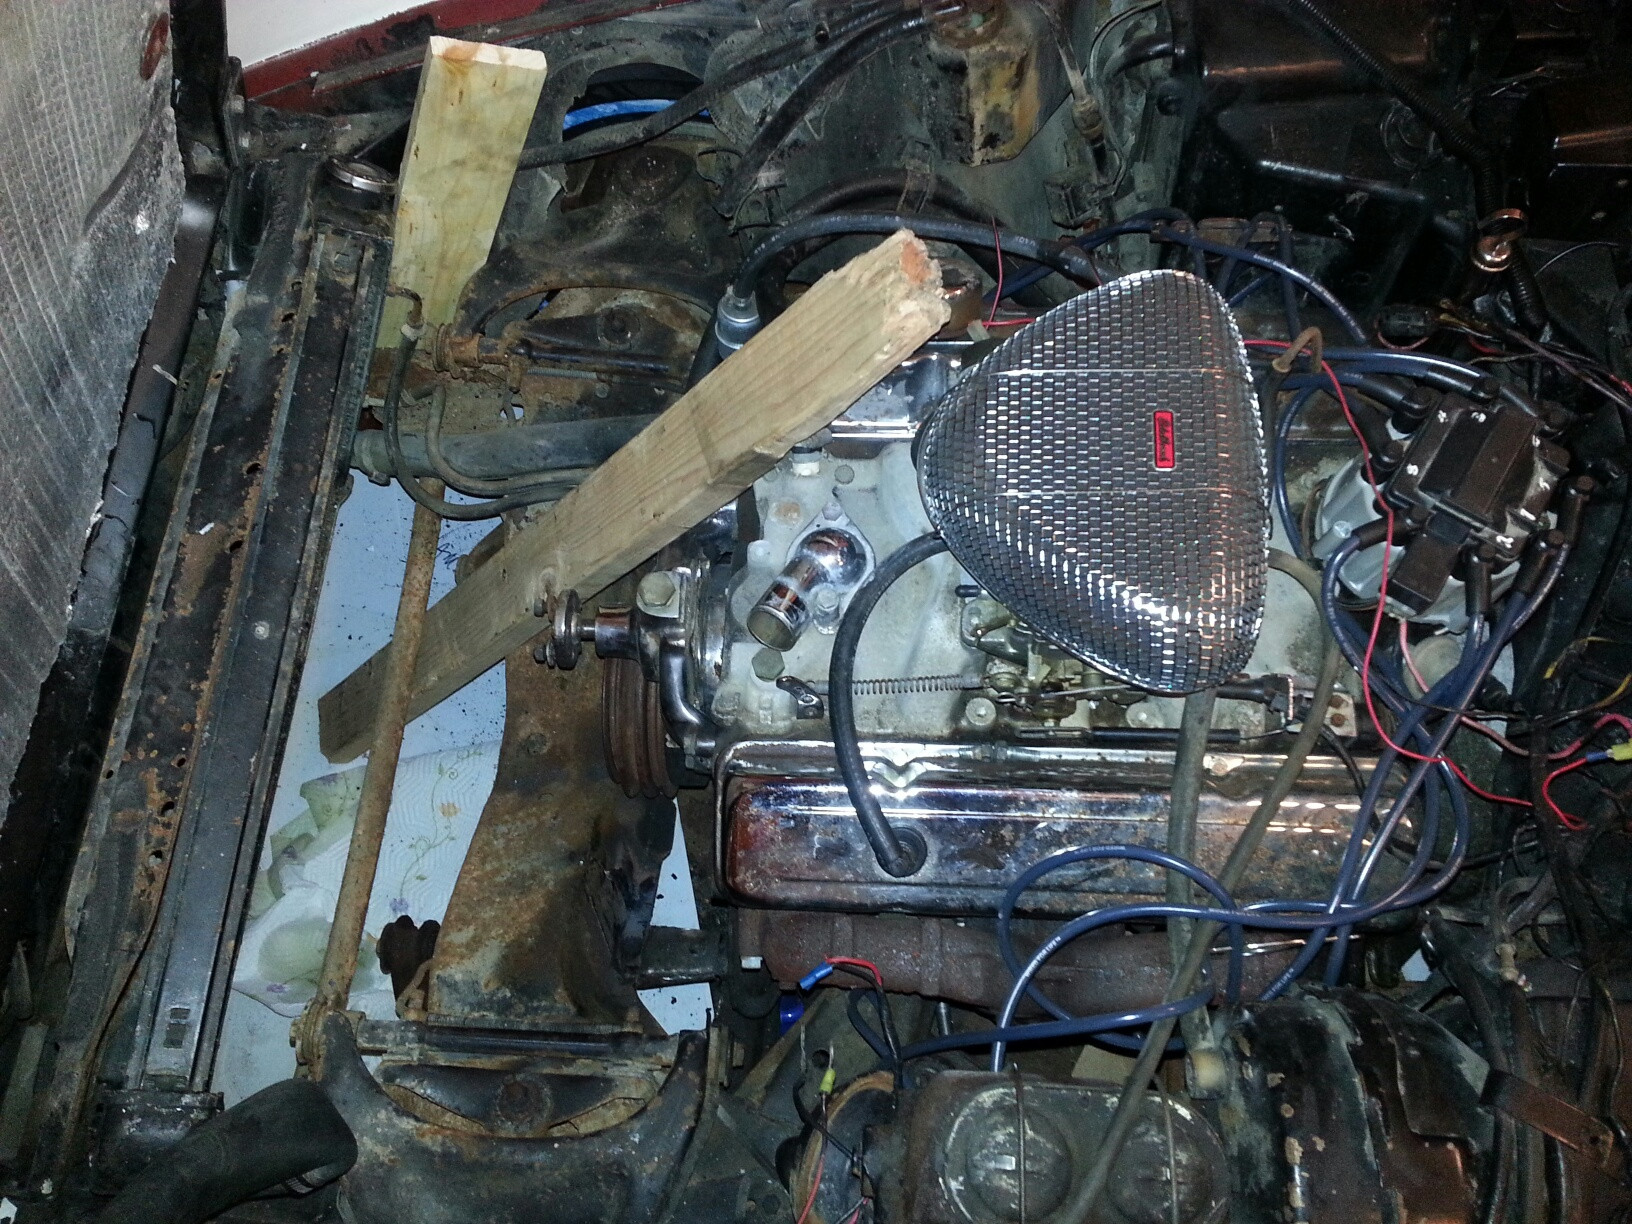
I didn't remove the motor; simply pulled Power Steering, distributor, brackets, fan, shroud and upper radiator hose. The hole mount that goes along the bottom of the crossmember was in good shape, so we simply cut off the ripped piece, ground down the sides and heated/pounded the crossmember back into shape (see picture #2). from there, we cut out the ripped area of the crossmember and welded in a new piece, ground that down, etc. NOTE: we didn't simply get it flat and try to weld that tear; started with fresh.
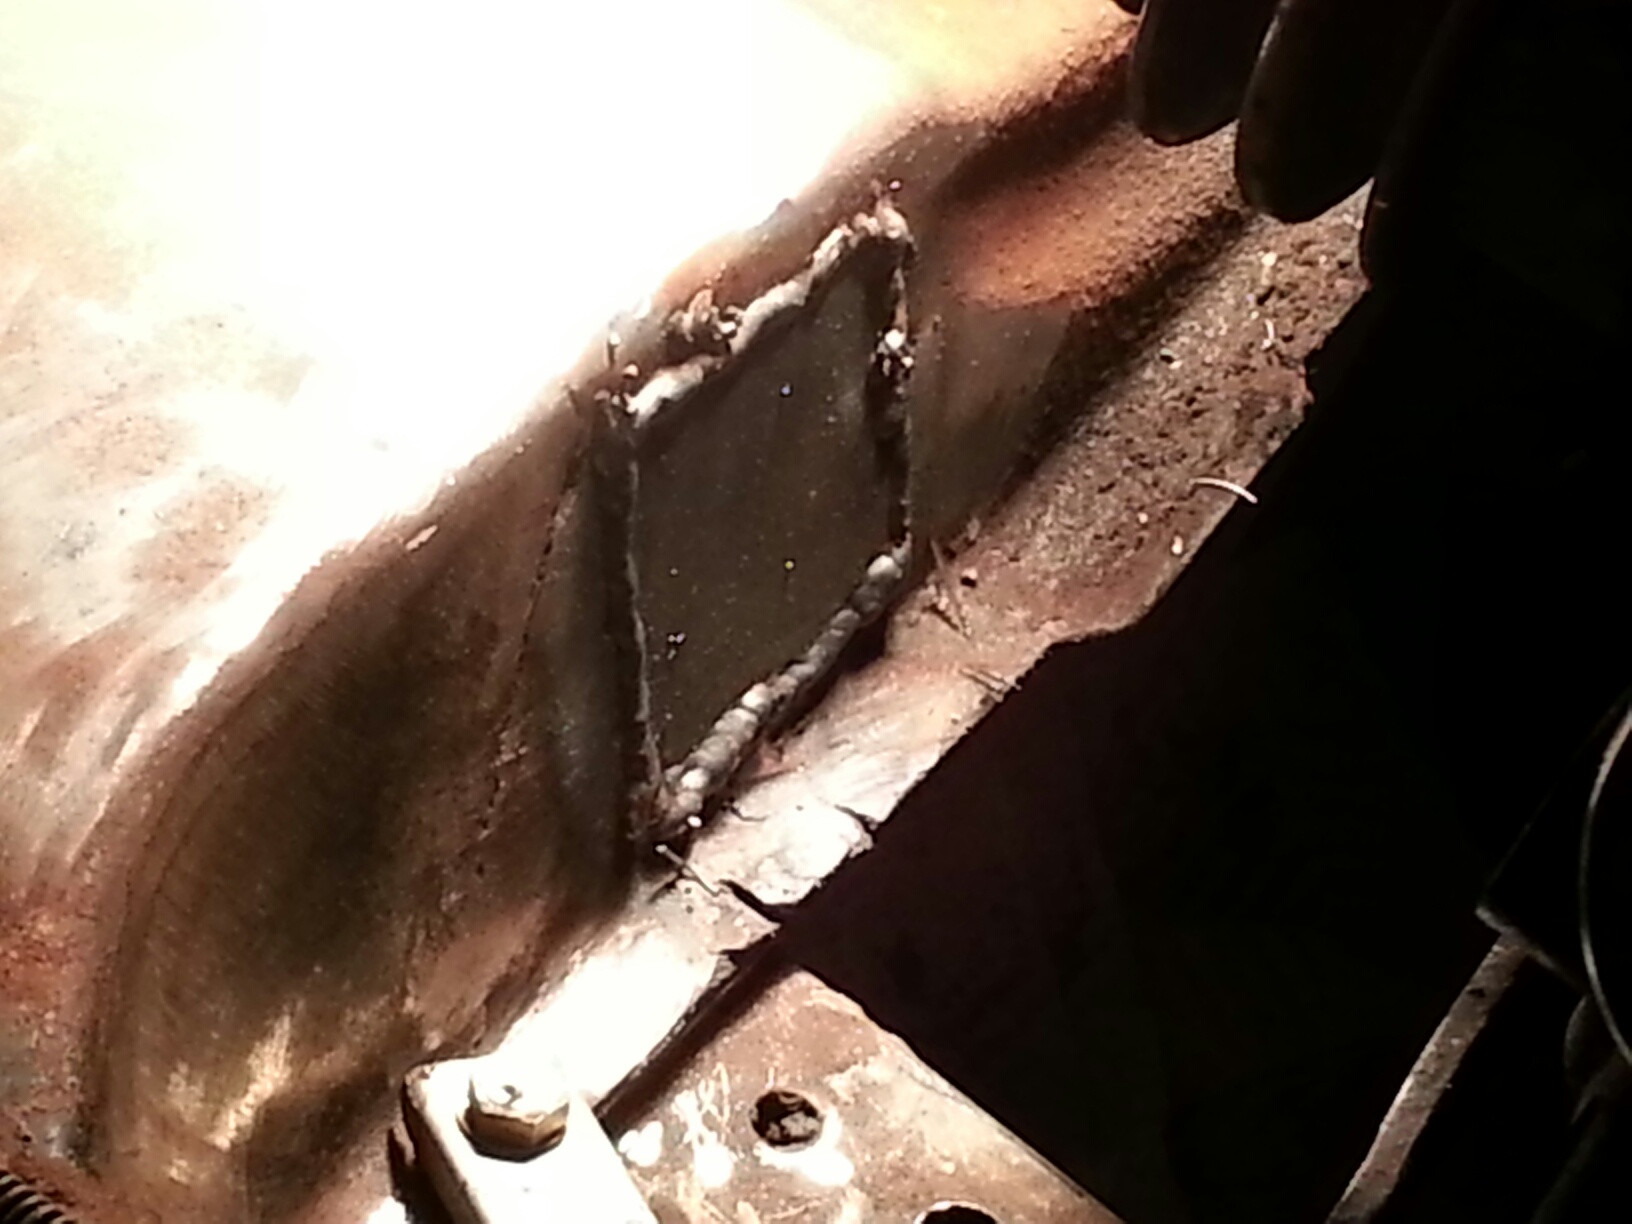
I ordered a new piece from here: https://www.paragoncorvette.com/p-35...pport-kit.aspx
And everything went back together very cleanly and she goes straight down the road again!
One thing to note: we didn't end up removing/disassembling the A arm and all its components; we simply used gravity to our advantage with a small jack stand placed directly under that A arm (you can see it peeking through in the second photo. That did the trick to hold everything in place and to help push things back into place. It did slip a little to the side, but nothing a pair of big 8" clamps couldn't solve. Pushed the bolt through and welded the side points at that point. Pulled the old bolt, replaced with new and good to go.
I didn't remove the motor; simply pulled Power Steering, distributor, brackets, fan, shroud and upper radiator hose. The hole mount that goes along the bottom of the crossmember was in good shape, so we simply cut off the ripped piece, ground down the sides and heated/pounded the crossmember back into shape (see picture #2). from there, we cut out the ripped area of the crossmember and welded in a new piece, ground that down, etc. NOTE: we didn't simply get it flat and try to weld that tear; started with fresh.
I ordered a new piece from here: https://www.paragoncorvette.com/p-35...pport-kit.aspx
And everything went back together very cleanly and she goes straight down the road again!
One thing to note: we didn't end up removing/disassembling the A arm and all its components; we simply used gravity to our advantage with a small jack stand placed directly under that A arm (you can see it peeking through in the second photo. That did the trick to hold everything in place and to help push things back into place. It did slip a little to the side, but nothing a pair of big 8" clamps couldn't solve. Pushed the bolt through and welded the side points at that point. Pulled the old bolt, replaced with new and good to go.