
1971 Journey


 09-15-2017, 10:25 PM
#963
Melting Slicks

Thread Starter

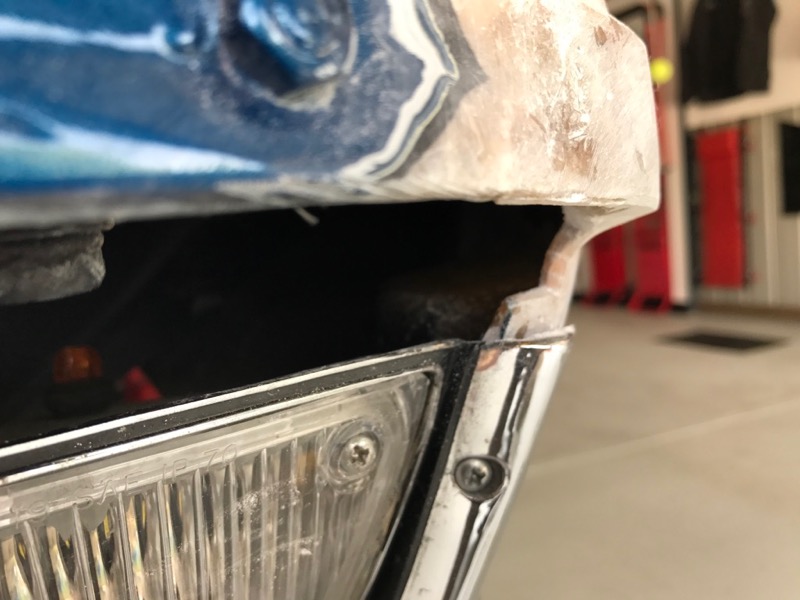
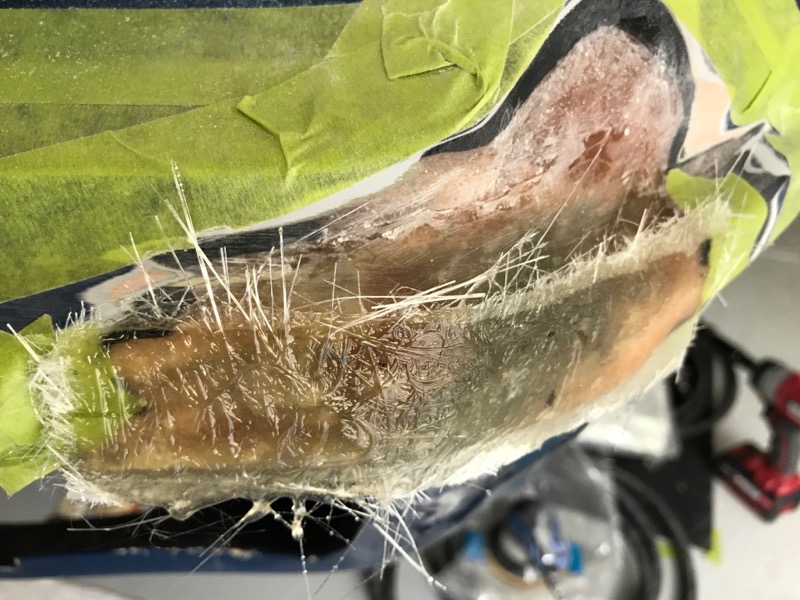
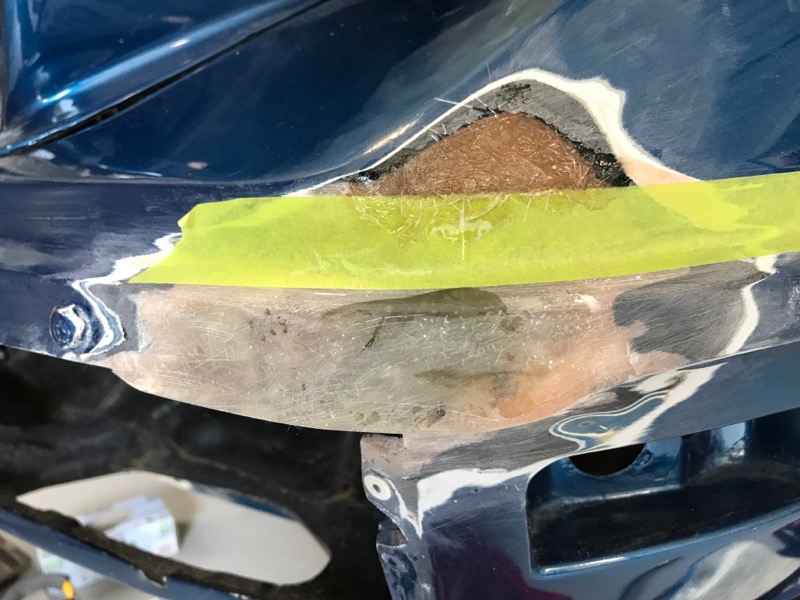
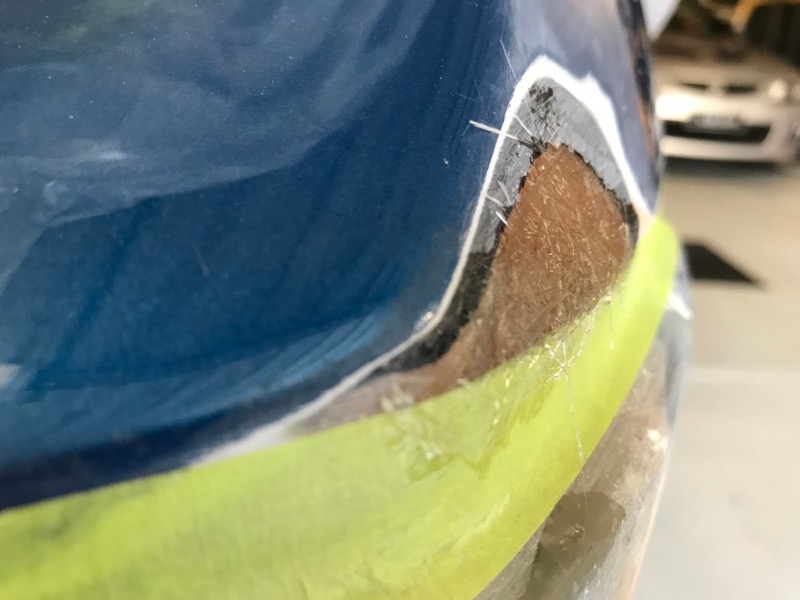
A bit more Progress.
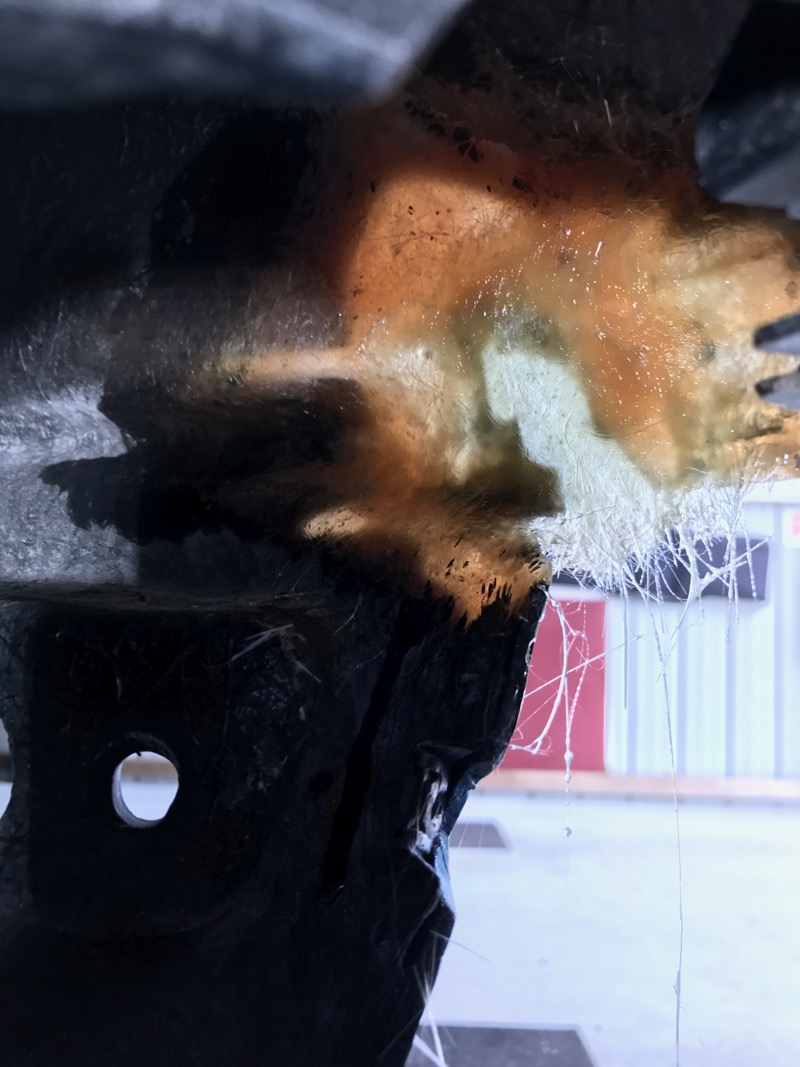
There was a hairline crack on the apron join so i ground it all out and glassed it up. Unfortunate looking shape but .....
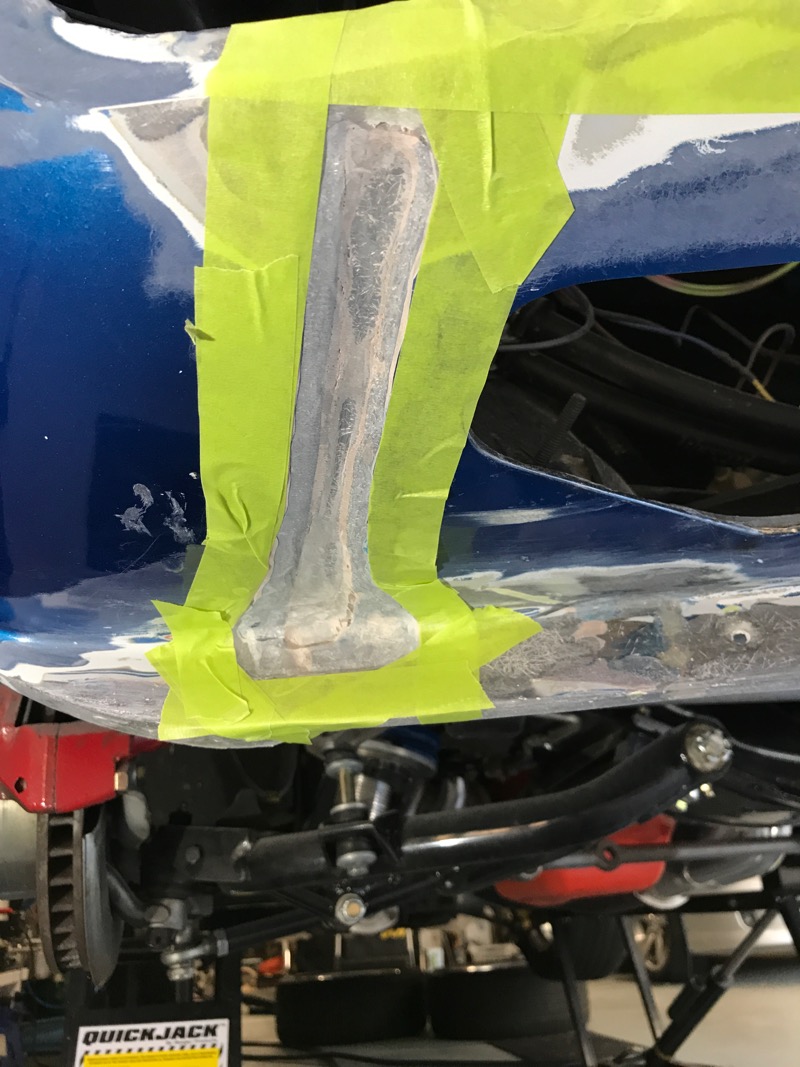
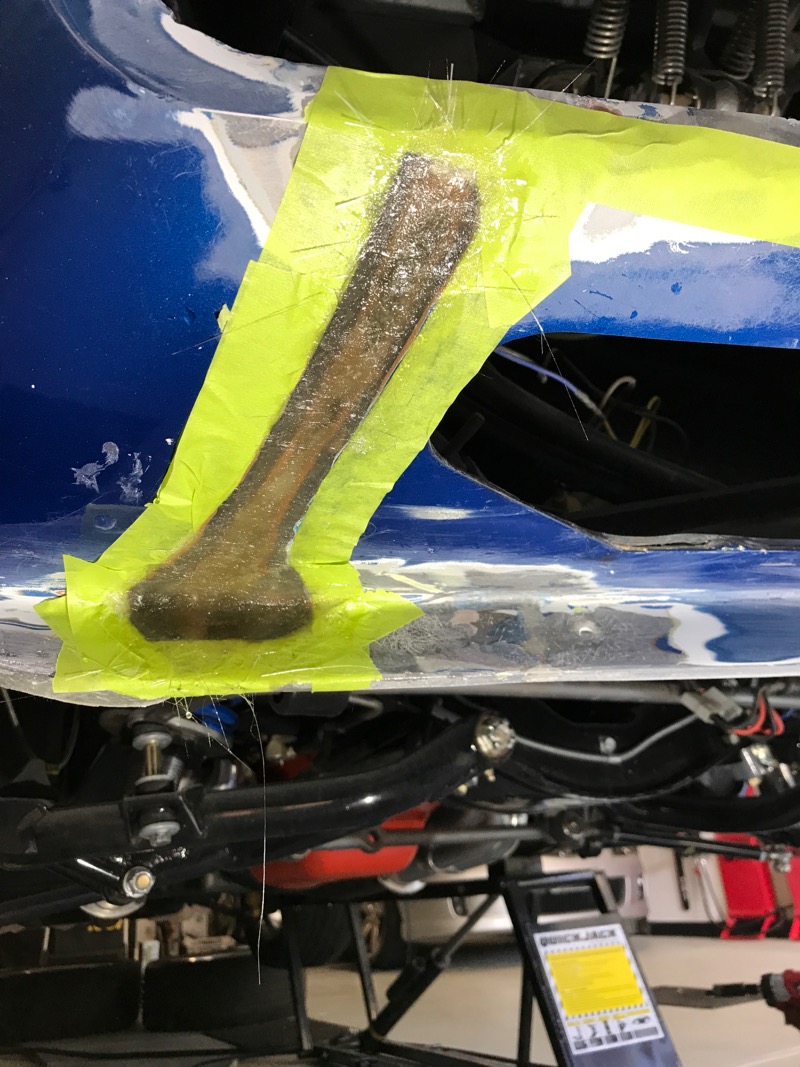
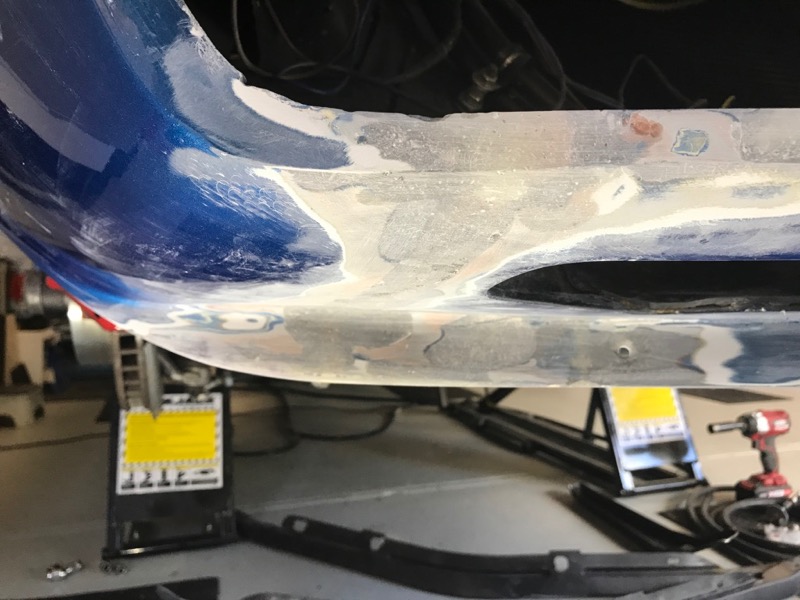
A little body filler and this should be fairly good.
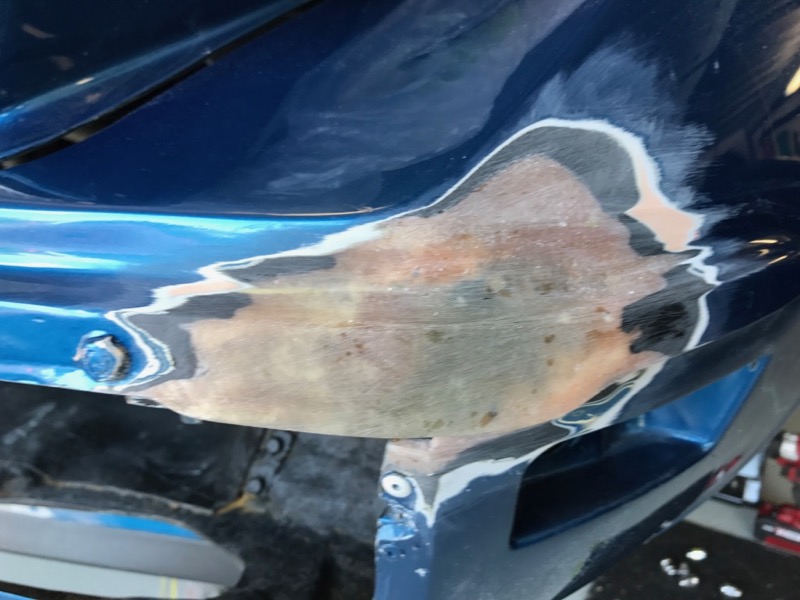
Time to work on the front corner. as well
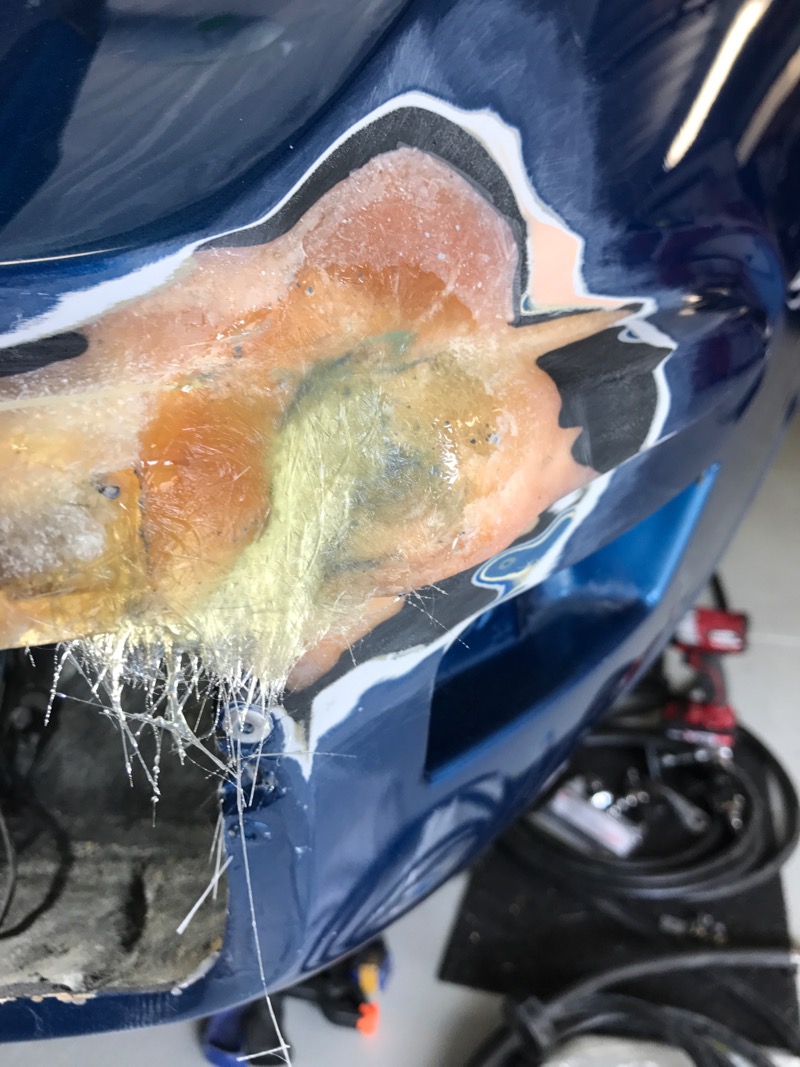
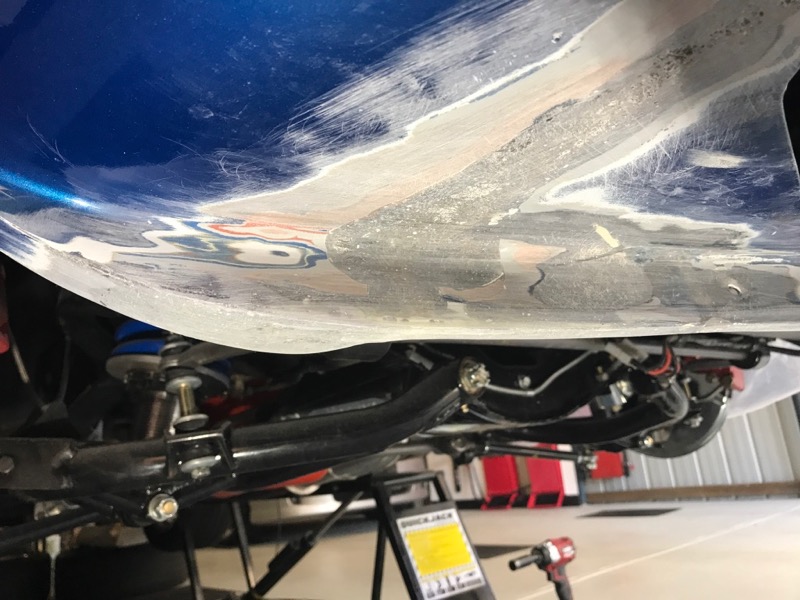
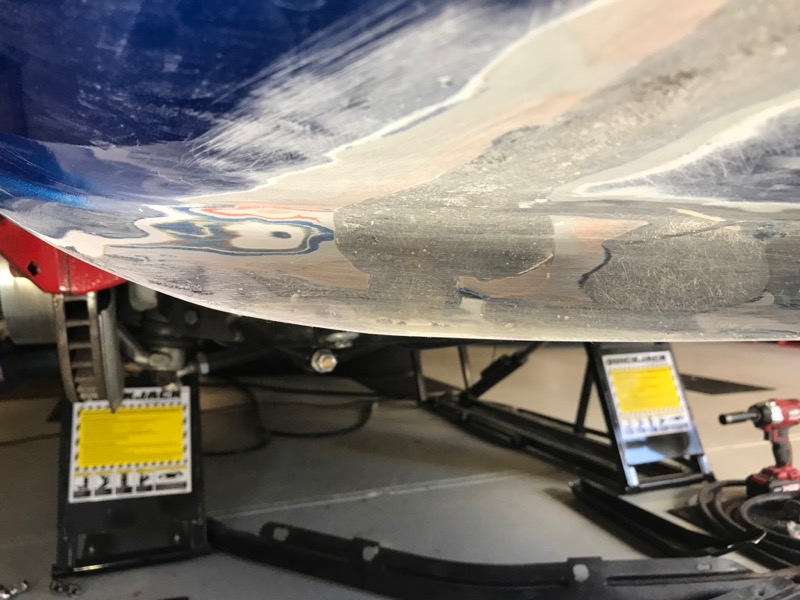
Glass has been laid up in multiple layers in seperate goes, ground down between each one to get the shape. Probably 5 to get to this shape
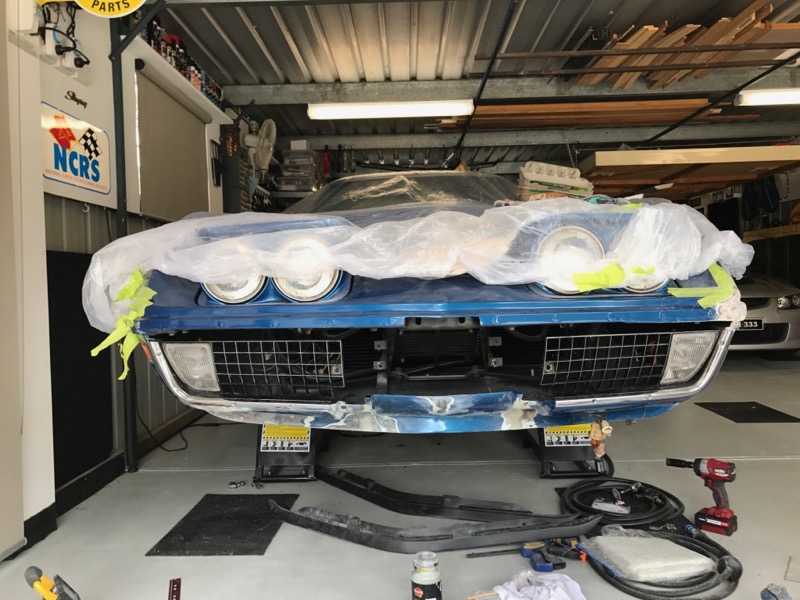
Grills fitted to see if its close.
One more layer to get the outer edge at same level as old glass. then I will work on the area above.
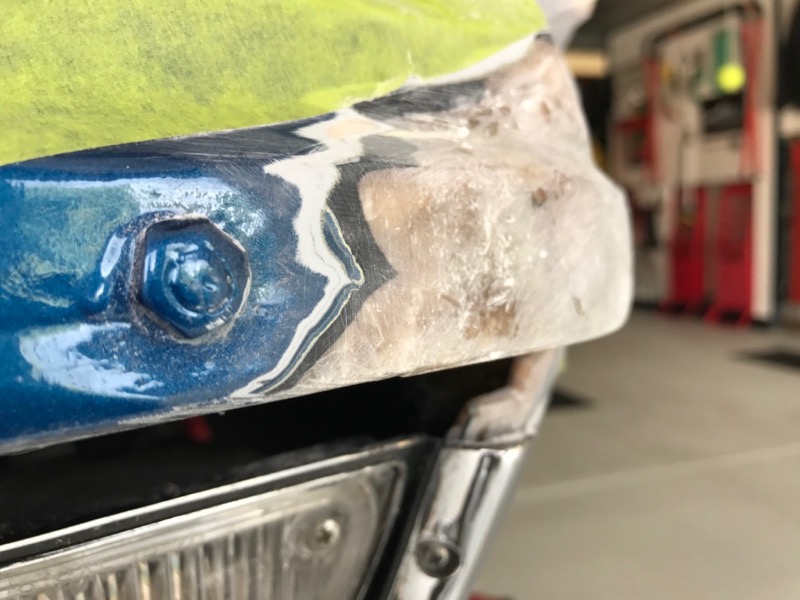
Amazingly bad job done on this corner at some time in its life, but in 46 years there had to be some mishaps. Front spoiler was in so many pieces all joined badly.
There was a hairline crack on the apron join so i ground it all out and glassed it up. Unfortunate looking shape but .....
A little body filler and this should be fairly good.
Time to work on the front corner. as well
Glass has been laid up in multiple layers in seperate goes, ground down between each one to get the shape. Probably 5 to get to this shape
Grills fitted to see if its close.
One more layer to get the outer edge at same level as old glass. then I will work on the area above.
Amazingly bad job done on this corner at some time in its life, but in 46 years there had to be some mishaps. Front spoiler was in so many pieces all joined badly.
Last edited by CraigH; 04-10-2023 at 05:30 AM.

 09-16-2017, 08:46 AM
#965


Really nice work in progress on some tough areas. Always a surprise when removing paint on these cars or fixing damage and seeing what pops up.
Very nice

RVZIO
Very nice
RVZIO
09-16-2017, 05:40 PM
#966
Melting Slicks
Thread Starter
Thanks guys, yes fiberglass is strong but it fractures or cracks from the stress it gets put under in years of use.
And paint certainly hides a lot of sins.
And paint certainly hides a lot of sins.
09-17-2017, 09:54 AM
#967
Team Owner

Member Since: Sep 2006
Location: Westminster Maryland
Posts: 30,173
Likes: 0
Received 2,878 Likes
on
2,515 Posts

Hi Craig,
Your photos show a lot of work!
I see you're test fitting the grills…. have you, or will you test fit the plastic spoiler extension?… and then the bumper guards/bumper?
Now's the time to do that. Extra work but worth it.
Regards,
Alan
Your photos show a lot of work!
I see you're test fitting the grills…. have you, or will you test fit the plastic spoiler extension?… and then the bumper guards/bumper?
Now's the time to do that. Extra work but worth it.
Regards,
Alan
Last edited by Alan 71; 09-17-2017 at 09:59 AM.
09-17-2017, 08:47 PM
#968
Melting Slicks
Thread Starter
As for black plastic chin spoiler it has been on and off more times than I care to mention
On the passenger side I added some extra glass to flatten out the bottom edge more before it curves up and change the curve slightly.
The current black spoilers all have that strange curve near the end that does not fit that well.
I did not want to fully add that curve to the chin fibreglass as i thought it may look odd.
Still more work needed.
Last edited by CraigH; 04-10-2023 at 05:29 AM.
09-21-2017, 02:52 AM
#969
Melting Slicks
Thread Starter
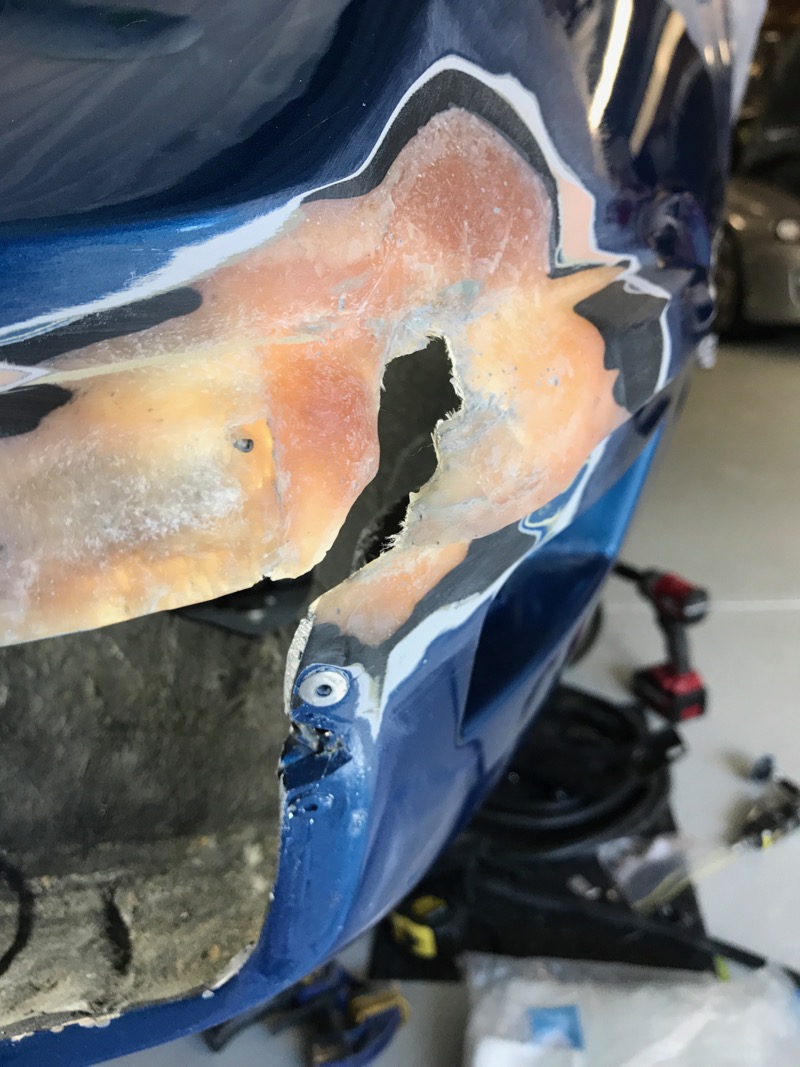
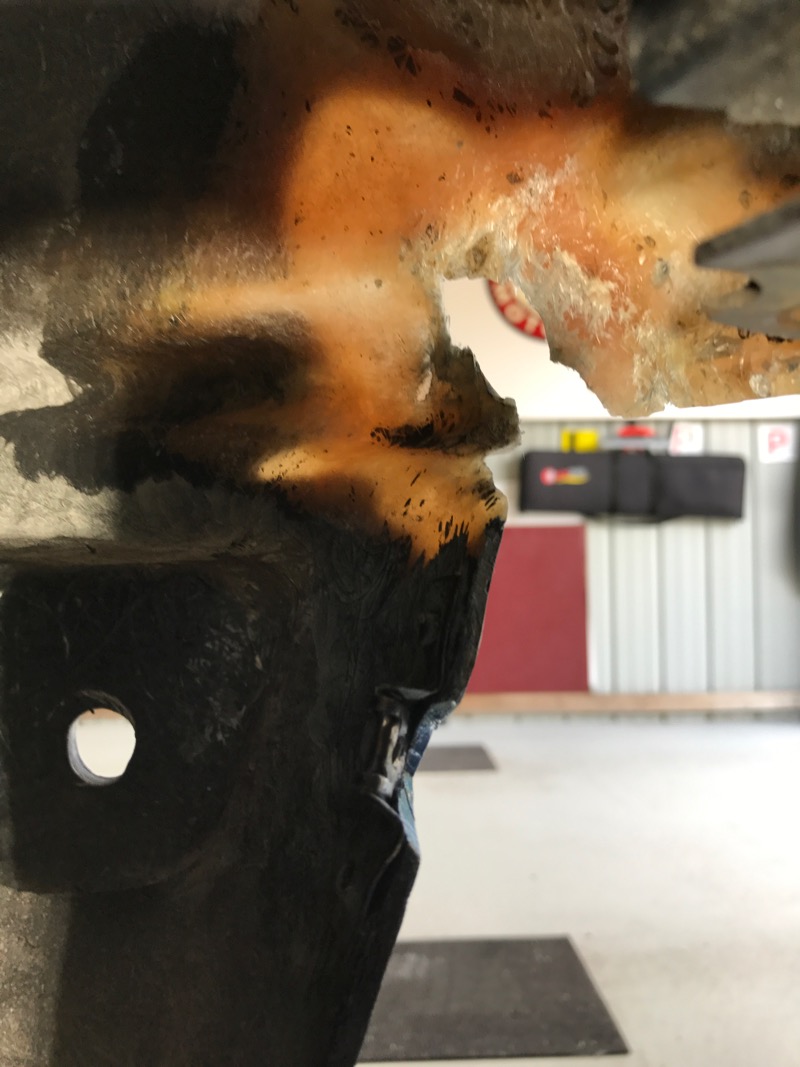
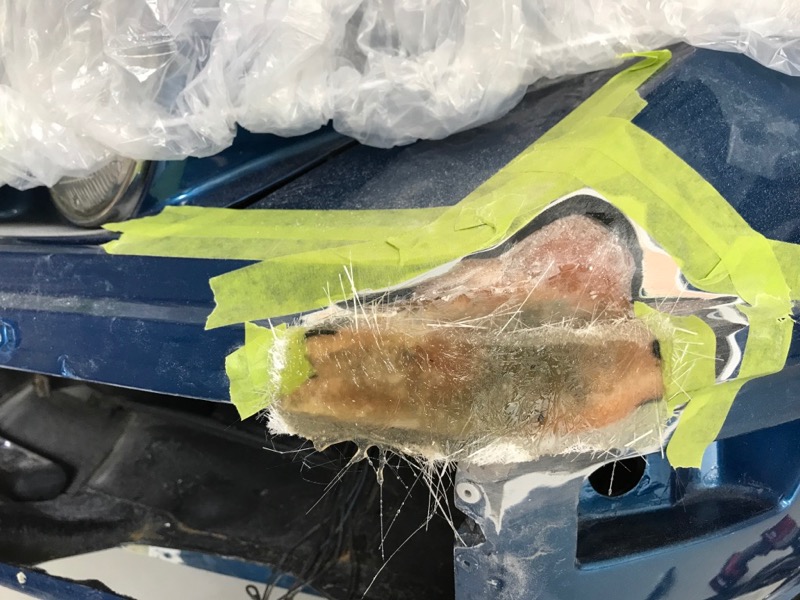
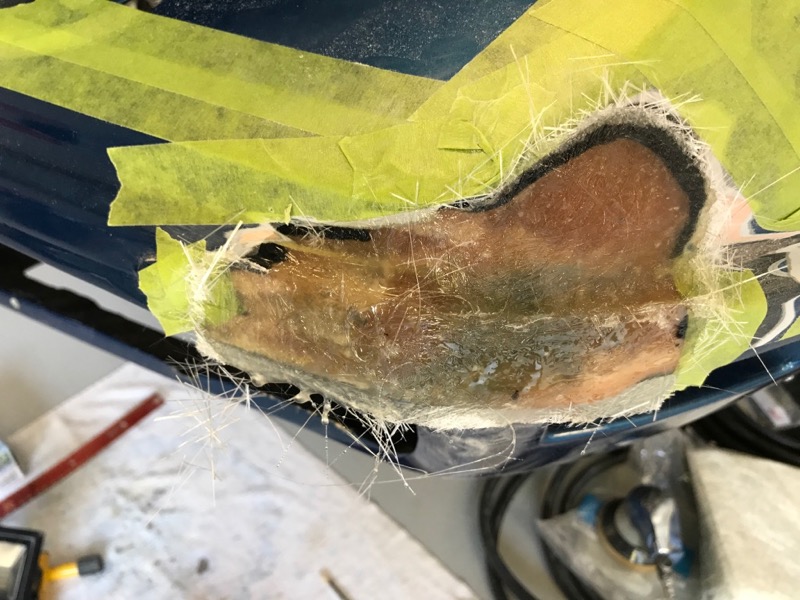
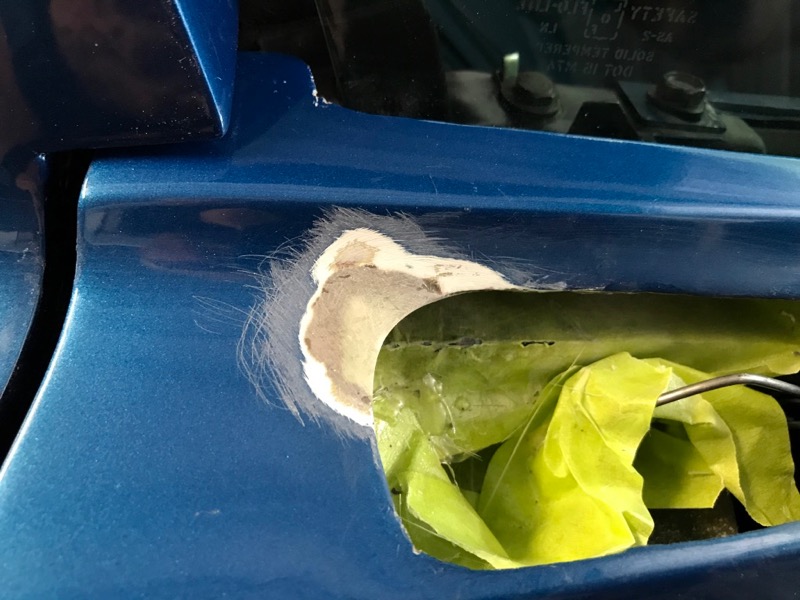
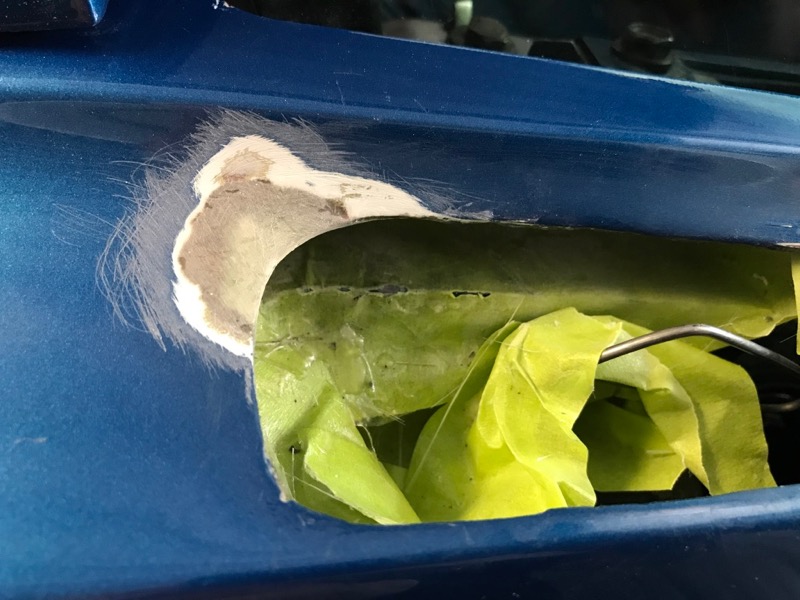
Worked on the damaged area of door around the handle.
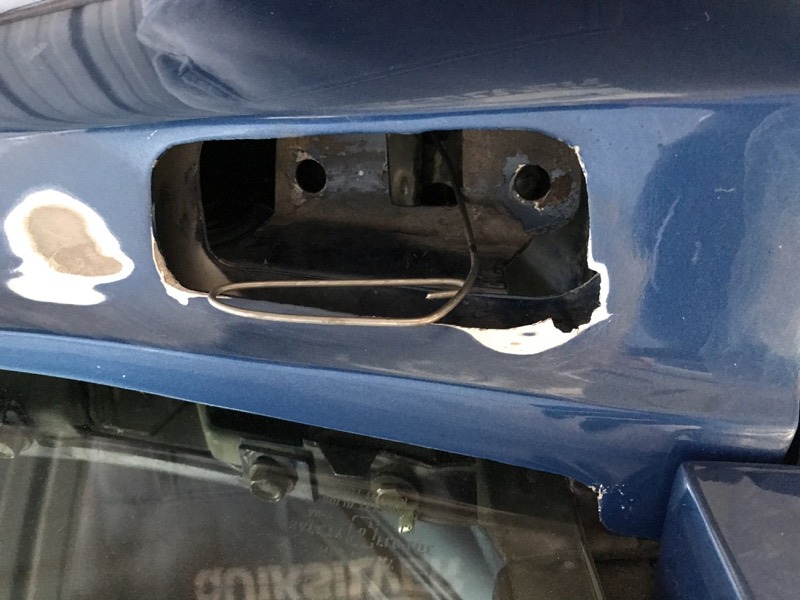
Ground down under side and did one layer of glass.
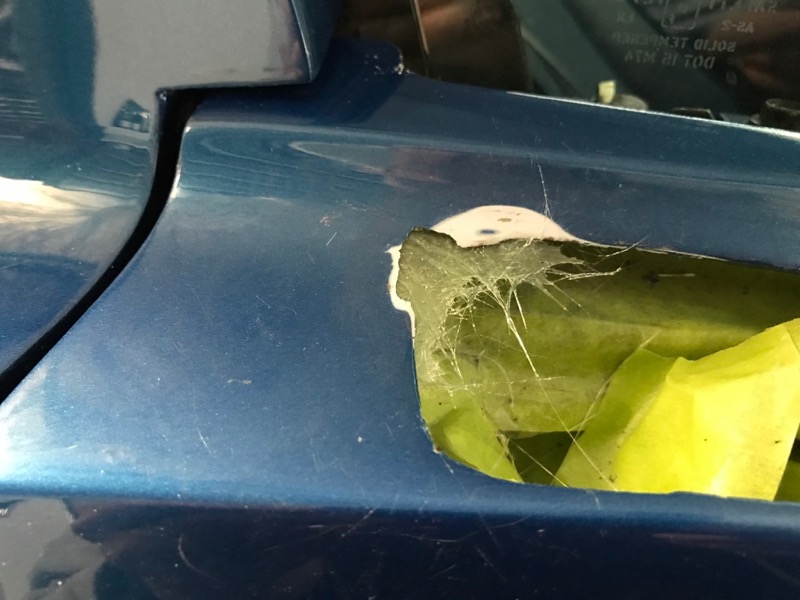
Once dry ground down the topside and then laid glass on top.
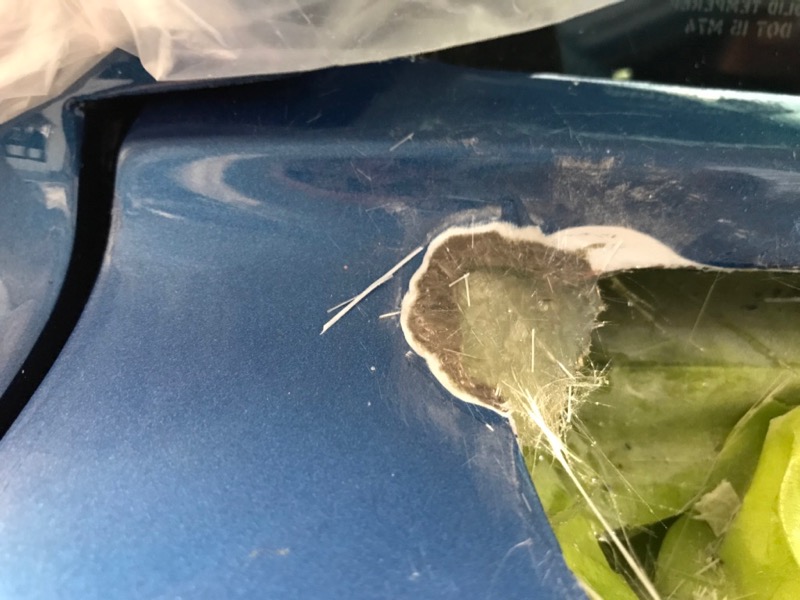
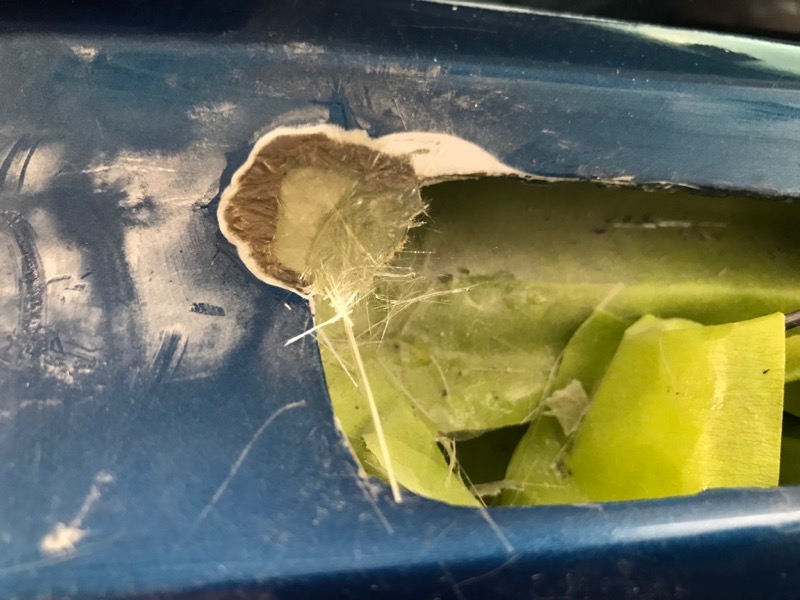
And another layer under side as well.
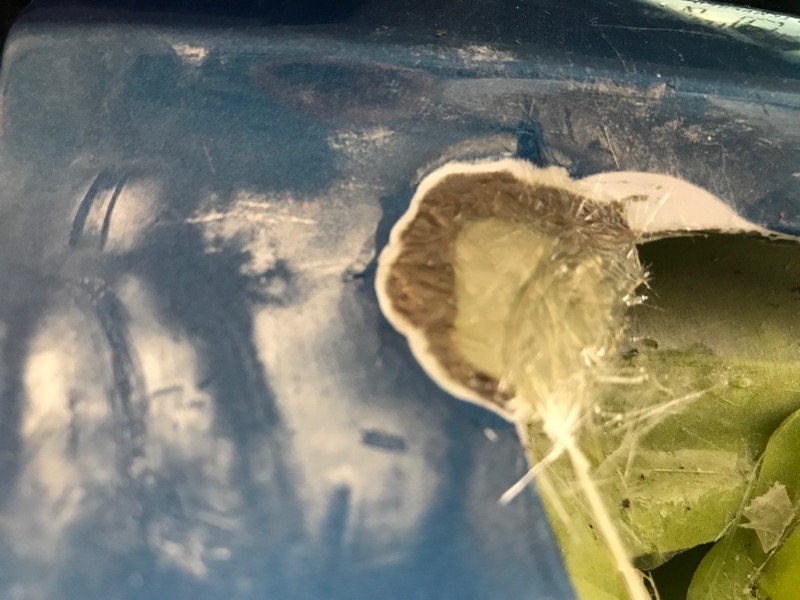
Once all dried I will add some FiberTech filler on the underside as well to ensure it is well supported.
Ground down under side and did one layer of glass.
Once dry ground down the topside and then laid glass on top.
And another layer under side as well.
Once all dried I will add some FiberTech filler on the underside as well to ensure it is well supported.
Last edited by CraigH; 04-10-2023 at 05:29 AM.
09-21-2017, 02:59 AM
#970
Melting Slicks
Thread Starter
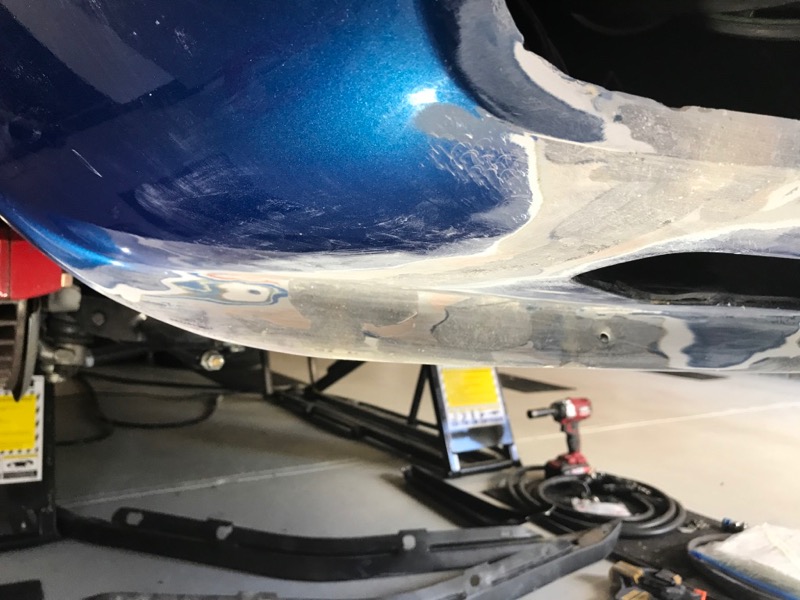
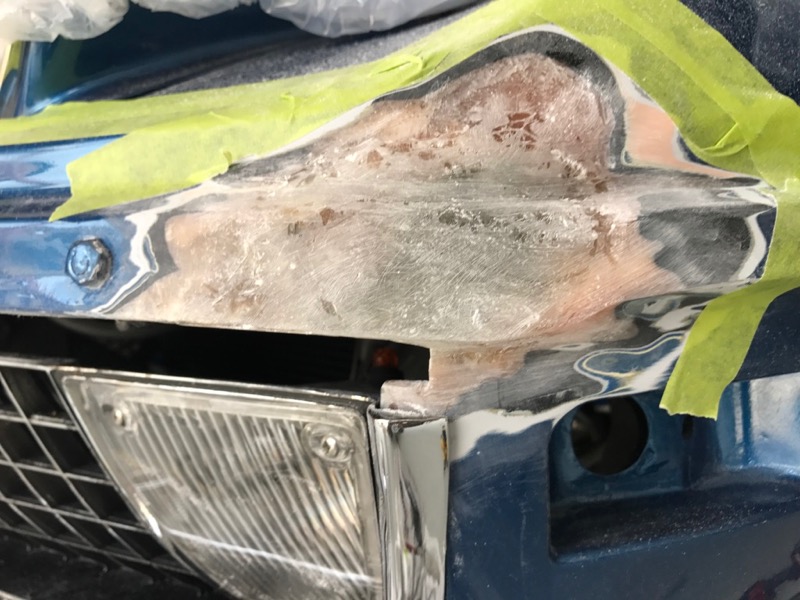
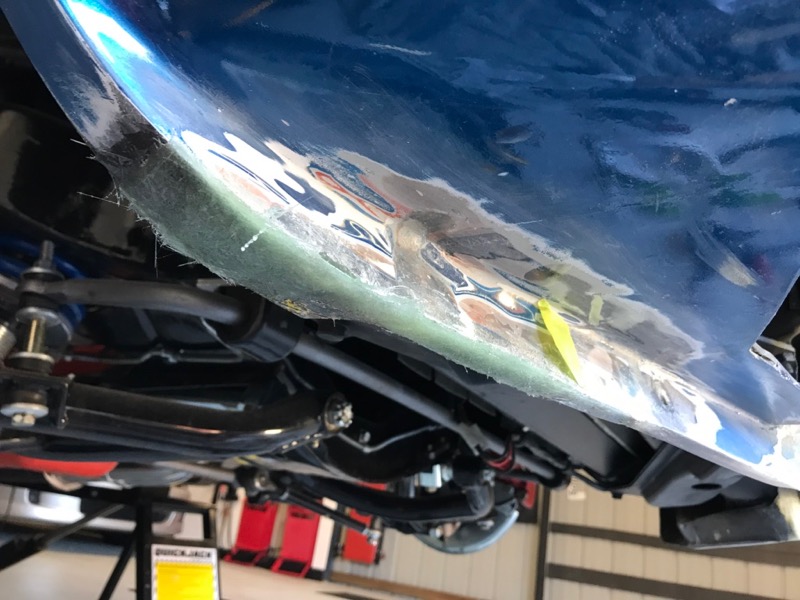
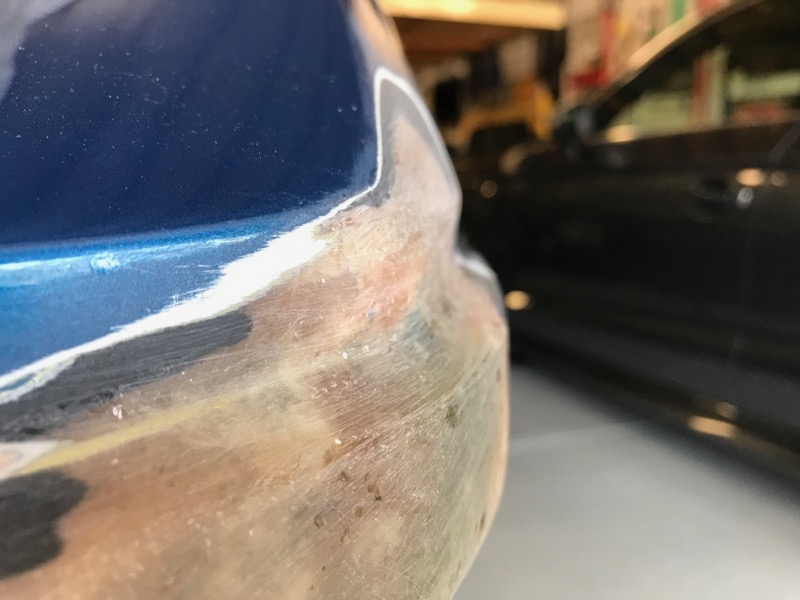
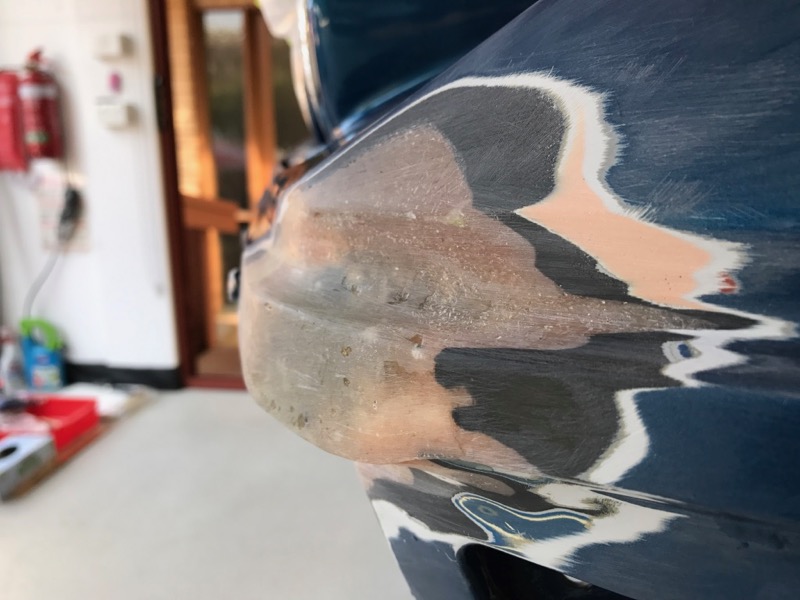
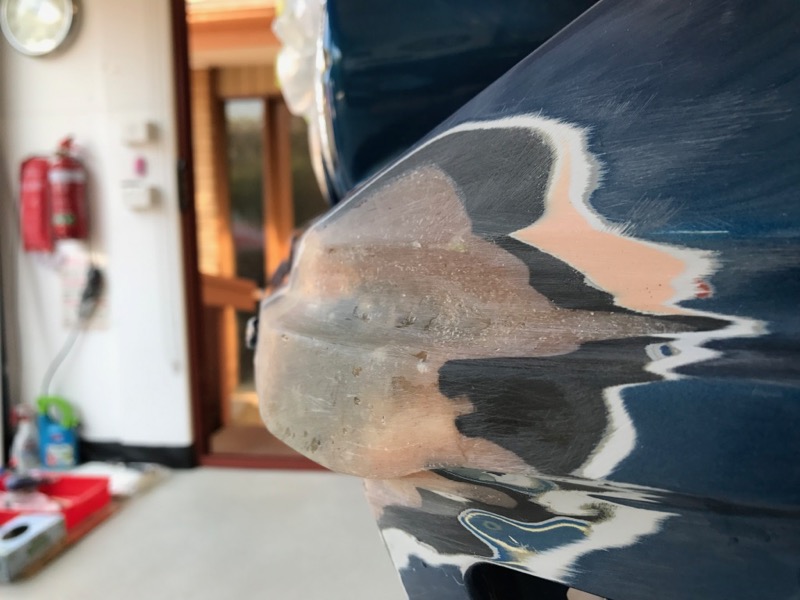
Some more shaping on the front corner.
After some sanding
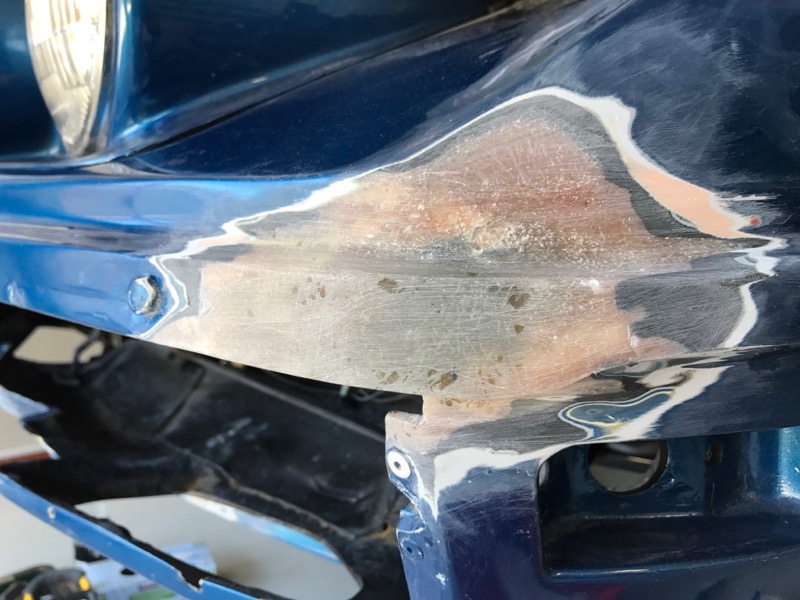
Now to build up the contour shape a bit better.
After some sanding
Now to build up the contour shape a bit better.
Last edited by CraigH; 04-10-2023 at 05:29 AM.
09-21-2017, 06:37 AM
#971
Enjoy tuning in to see your progress. Not enjoying the fact of all the damage. Like your approach to each fix. Are you layering the fiberglass or using a thicker product. Just curious. Keep up the great work!
RVZIO
RVZIO
09-21-2017, 06:46 AM
#972
Melting Slicks
Thread Starter
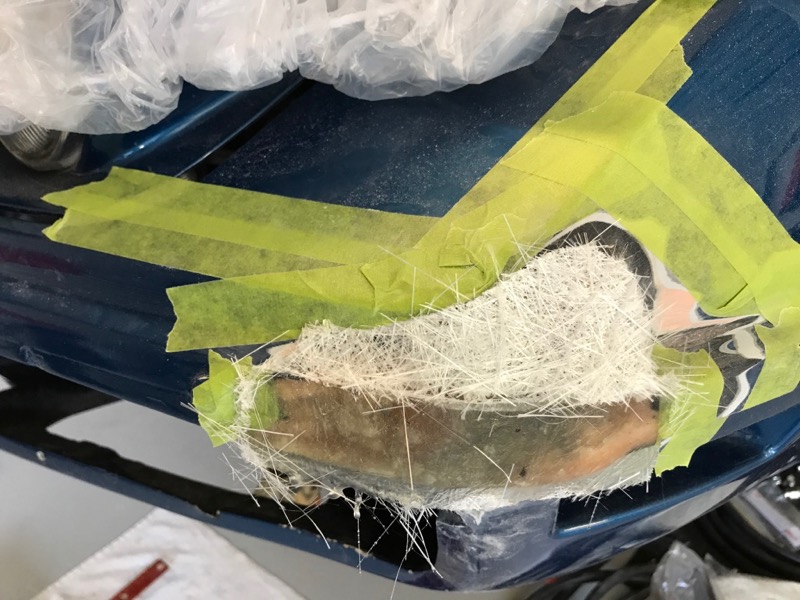
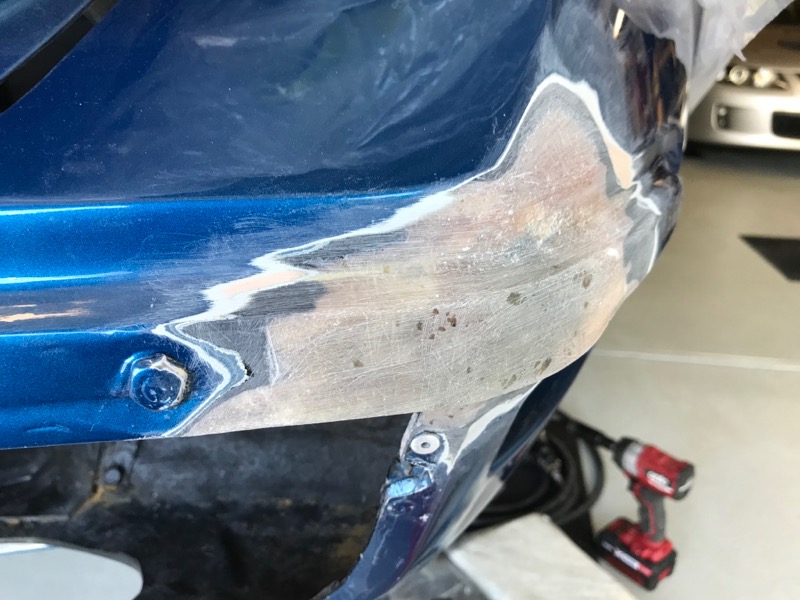
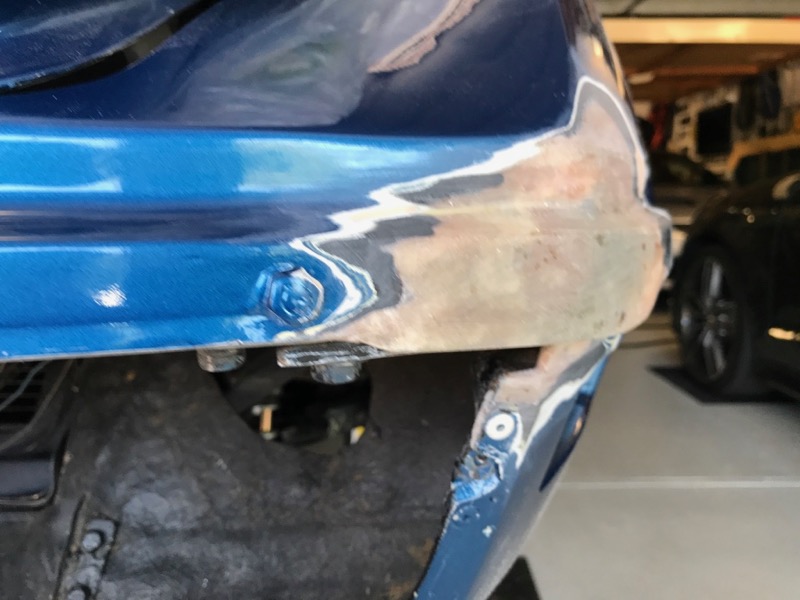
Grinding between to get a better base to grip.
Slow process but much easier to control than trying to lay up heaps of layers at once.
09-21-2017, 09:12 AM
#973
Team Owner
Member Since: Sep 2006
Location: Westminster Maryland
Posts: 30,173
Likes: 0
Received 2,878 Likes
on
2,515 Posts
Hi Craig,
I'm wondering if you're trying to keep the actual fiberglass repair areas too 'contained'?
When I see the repairs that the body person that I know does, I'm generally surprised how big they've become because of 'tapering' the repair into the surrounding fiberglass in layers.
Perhaps because of the precise places you're working, how you're proceeding is fine.
???
This might be something that someone like DUB could speak too.
Regards,
Alan
09-21-2017, 12:20 PM
#974
Instructor


You are doing a great job with your fiberglass repair work! I have a possible dumb question, when you are done with your fiberglass repairs will you be re-painting the entire car?
09-21-2017, 05:24 PM
#975
Melting Slicks
Thread Starter
As I move to the next stage of repair with filler etc they will certainly grow but I am trying to contain them somewhat as we will be trying to handle the painting with minimum number of panels being fully resprayed.
We may end up spraying back to the dooors and blending in them but time will tell. It's amazing how well we can blend blend to body lines etc.
If it was a full respray I would be less concerned with containment of repairs
Most body shops are driven by minimising time on each job and it is certainly easier to spread the area out using power tools, long blocks etc.
You can loose all your profit in the repair work by trying to contain when it's cheaper to just spread it and paint the entire panel etc.
Precision is not always on their mind and sadly the amount of body filler can be excessive, as I have found as I removed paint etc.
Most of what I have done has also been in contained areas due to curves etc.
In some cases I am block sanding with extremely small blocks and wasting heaps of time but I am not in a real hurry :-)
Once I hand it over to my painter I hope to get some shots that will show how far he spreads them out.
Last edited by CraigH; 09-21-2017 at 05:30 PM.
09-21-2017, 05:25 PM
#976
I am laying it up with no more than a few layers at a time. Using 2 grades of mat, one is much firmer and holds its shape better for spanning gaps.
Grinding between to get a better base to grip.
Slow process but much easier to control than trying to lay up heaps of layers at once.
Grinding between to get a better base to grip.
Slow process but much easier to control than trying to lay up heaps of layers at once.

 09-23-2017, 02:03 AM
#978
Melting Slicks
Thread Starter
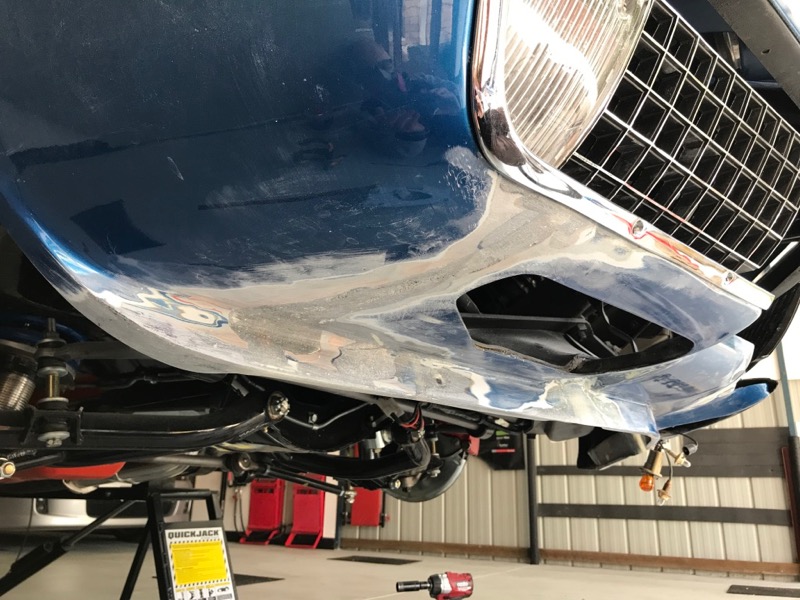
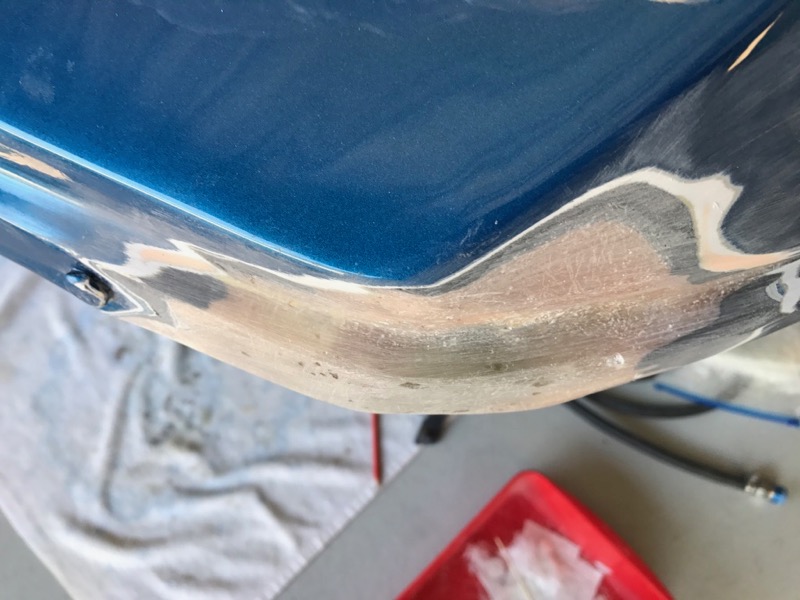
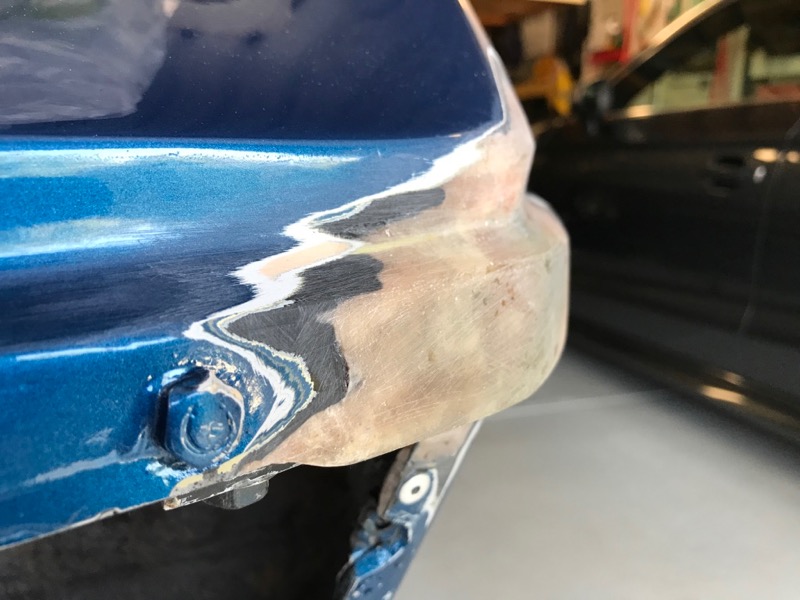
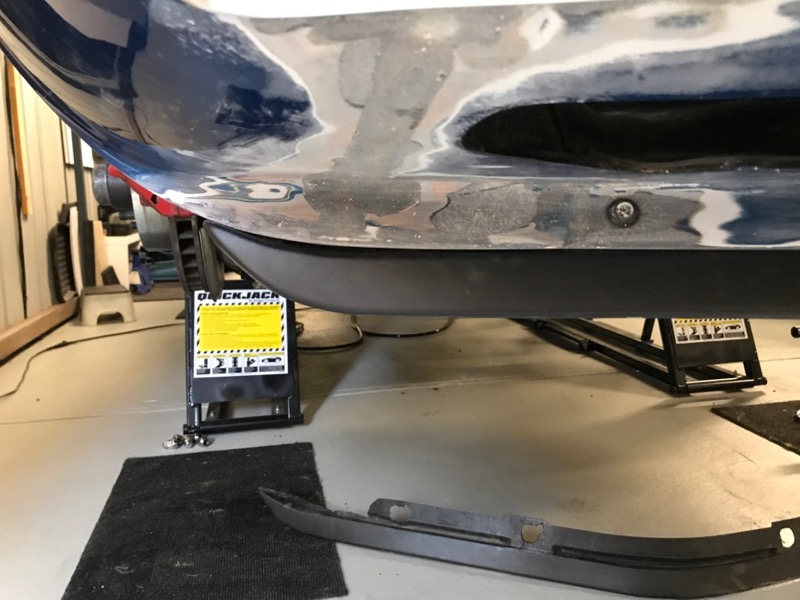
Front corner shaped as good as I can in glass. May need a little filler to finish off.
My son Mat is going to help he with trial fitting the new bumper tomorrow so i may need to modify it a bit, lets hope not.
My son Mat is going to help he with trial fitting the new bumper tomorrow so i may need to modify it a bit, lets hope not.
Last edited by CraigH; 04-10-2023 at 05:28 AM.
09-23-2017, 02:08 AM
#979
Melting Slicks
Thread Starter
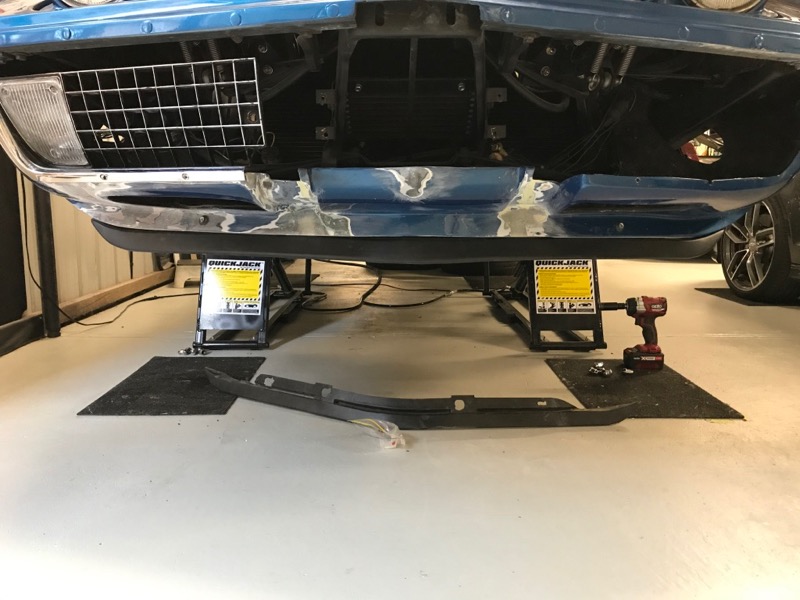
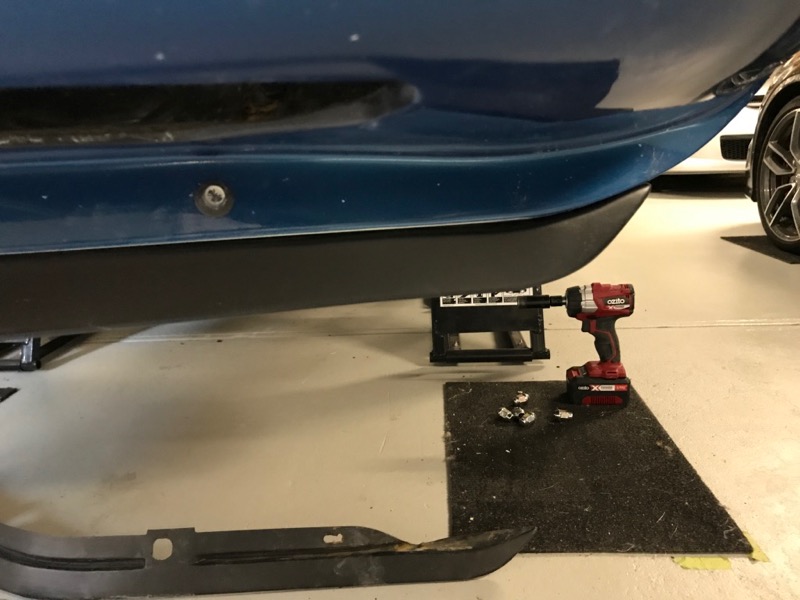
Spoiler mocked up. Only held with the two bolts at present no end bolts but seems to fit fairly well.
The strange reverse curves at the end are not that bad and i can compensate a bit with an aluminium bracket that pushes it closer to chin fiberglass.
The strange reverse curves at the end are not that bad and i can compensate a bit with an aluminium bracket that pushes it closer to chin fiberglass.
Last edited by CraigH; 04-10-2023 at 05:28 AM.

