When you click on links to various merchants on this site and make a purchase, this can result in this site earning a commission. Affiliate programs and affiliations include, but are not limited to, the eBay Partner Network.
Love the look of those Global West arms.......
I have QA-1's new coilovers for the C3 sitting in my parts room just waiting for the body to come off the frame.
Just have to find the coin to get the GW arms......
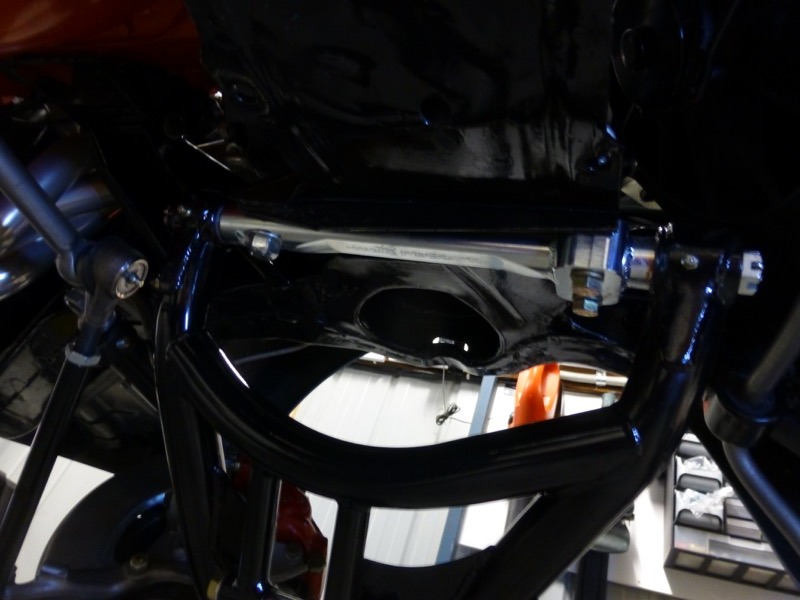
Added 3 x 1/8" spaces rear and 2 x 1/8" front as a start.
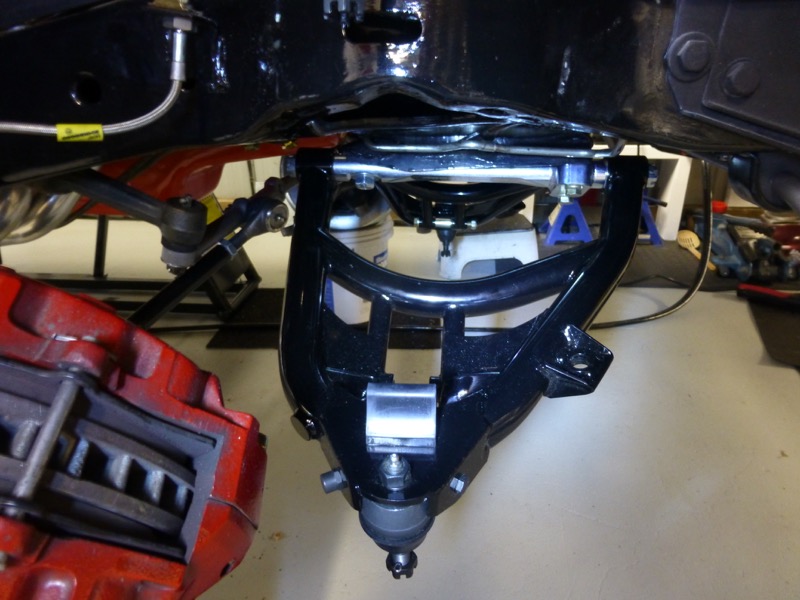
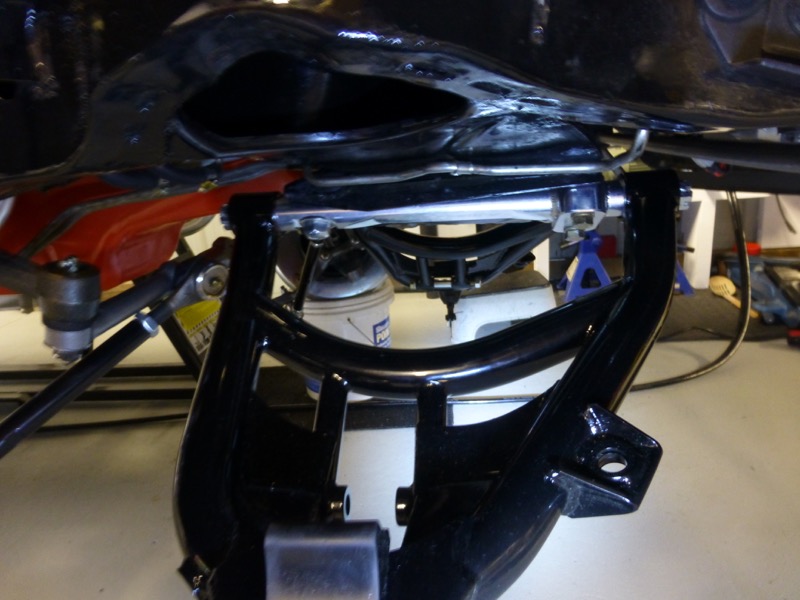
Not sure how much caster the Global West arms will have by default but want to dial at least 6 or more so we will see how it goes.
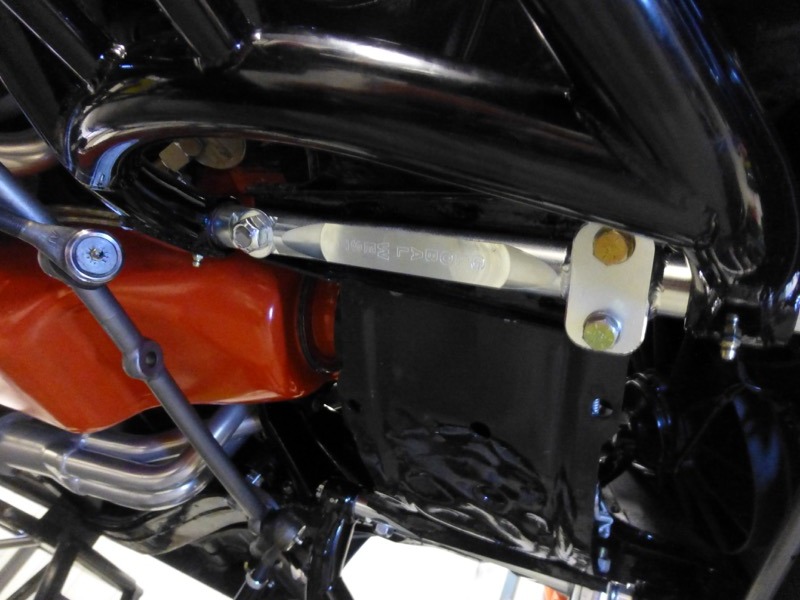
The passenger side was a tight fit and the arms rub the rubber covers a little more than I like, so i will cut about 5mm off each side of the fibreglass to allow more play.
Probably not a real big issue but its an easy fix.
Strange thing is the passenger side inner fender is original while the drivers side has been replaced at some time and has no problems.
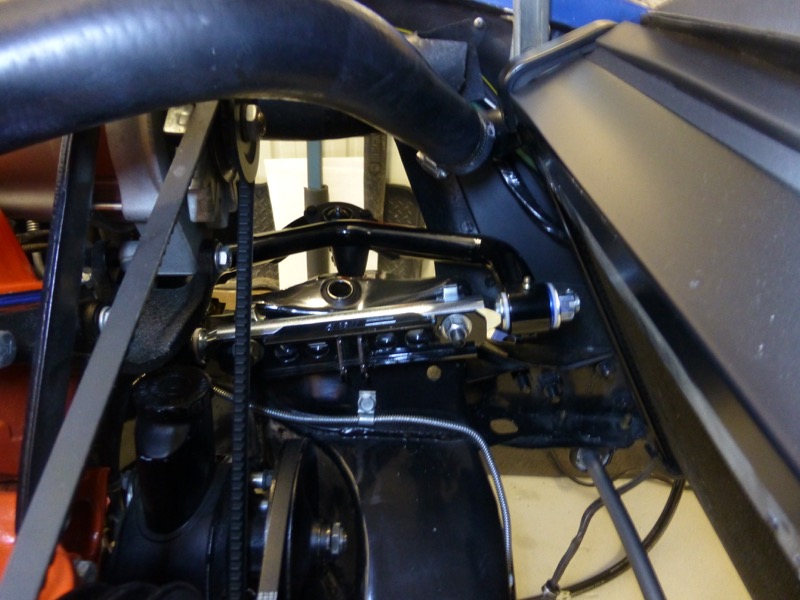
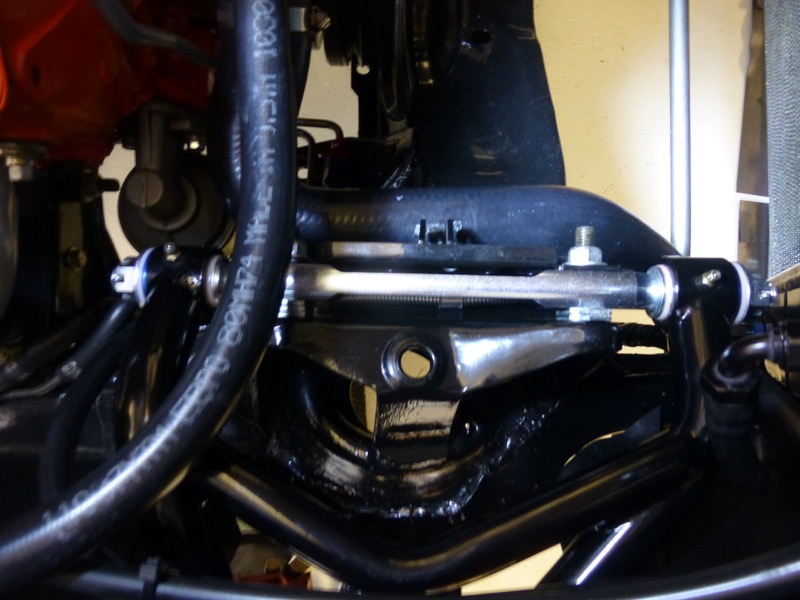
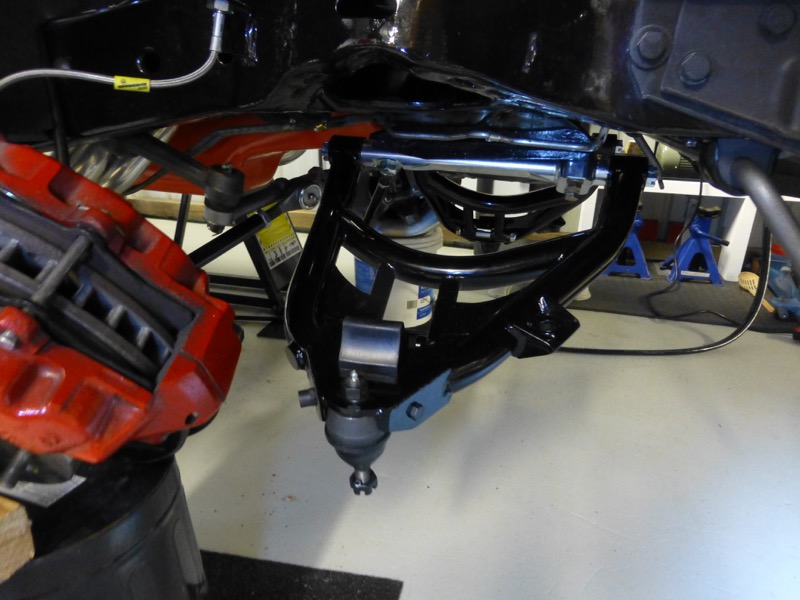
One thing about these arms is they just glide up and down with no binding at all. The Global West Del-a-Lum bushes are certainly smooth and not a single noise.
Only thing I changed was replacing one of the thick washers on the larger bolt with a thinner version so i could get the nut 100% engaged.
Just like the uppers they just glide beautifully with no bind at all.
Now I just need to wait for my replacement urethane bushes for the top of the QA1 Shocks. They are sitting in California ready to ship once a few more items turn up at my shipping agent.
Once I have this all done I hope to move on to replacing my trailing arms with some kit I have sitting ready.
Dan Dorsett @Vansteel was very helpful and provided a set of their offset trailing arms with Johnny joints.
Brian Bair & Lyne @ Bairs fixed me up with an great set of rebuilt complete rear spindles. They have reverse studs so they can be mounted to the arms easily with all the brakes etc already fitted.
Cant wait to move on to that project.
Great progress and really good pics.
I also got a great deal and assistance from Dan @ Vansteel on the rear trailing arms.
Did you get their new coil over version?
That is what I bought.
I'll be interested to see the rear setup with the Bair spindle. I am not even close to that project but am always gathering info and parts.
Wish you continued success with your project.
Dennis (Bman)
Thanks Dennis.
The Vansteel rear coilers are certainly impressive but I got the standard ones as i have a new glass rear VB&P spring sitting here as well.
Hi Craig,
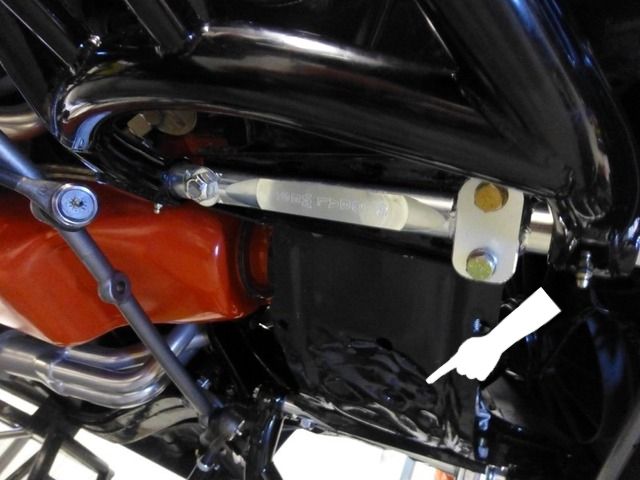
Yes there is a tool that someone developed that you slip INSIDE the front crossmember through an opening available when the a-arms are off.
It's actually a type of jack.
People have had various degrees of success with it.
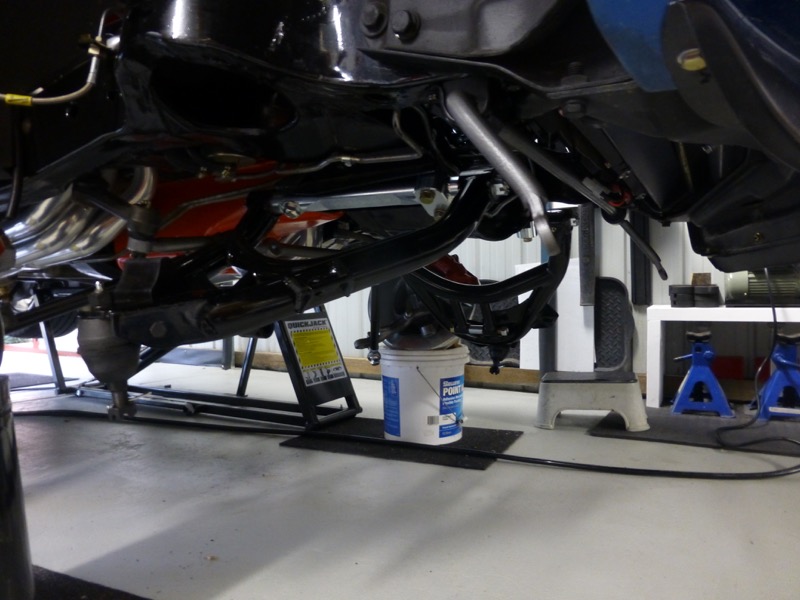
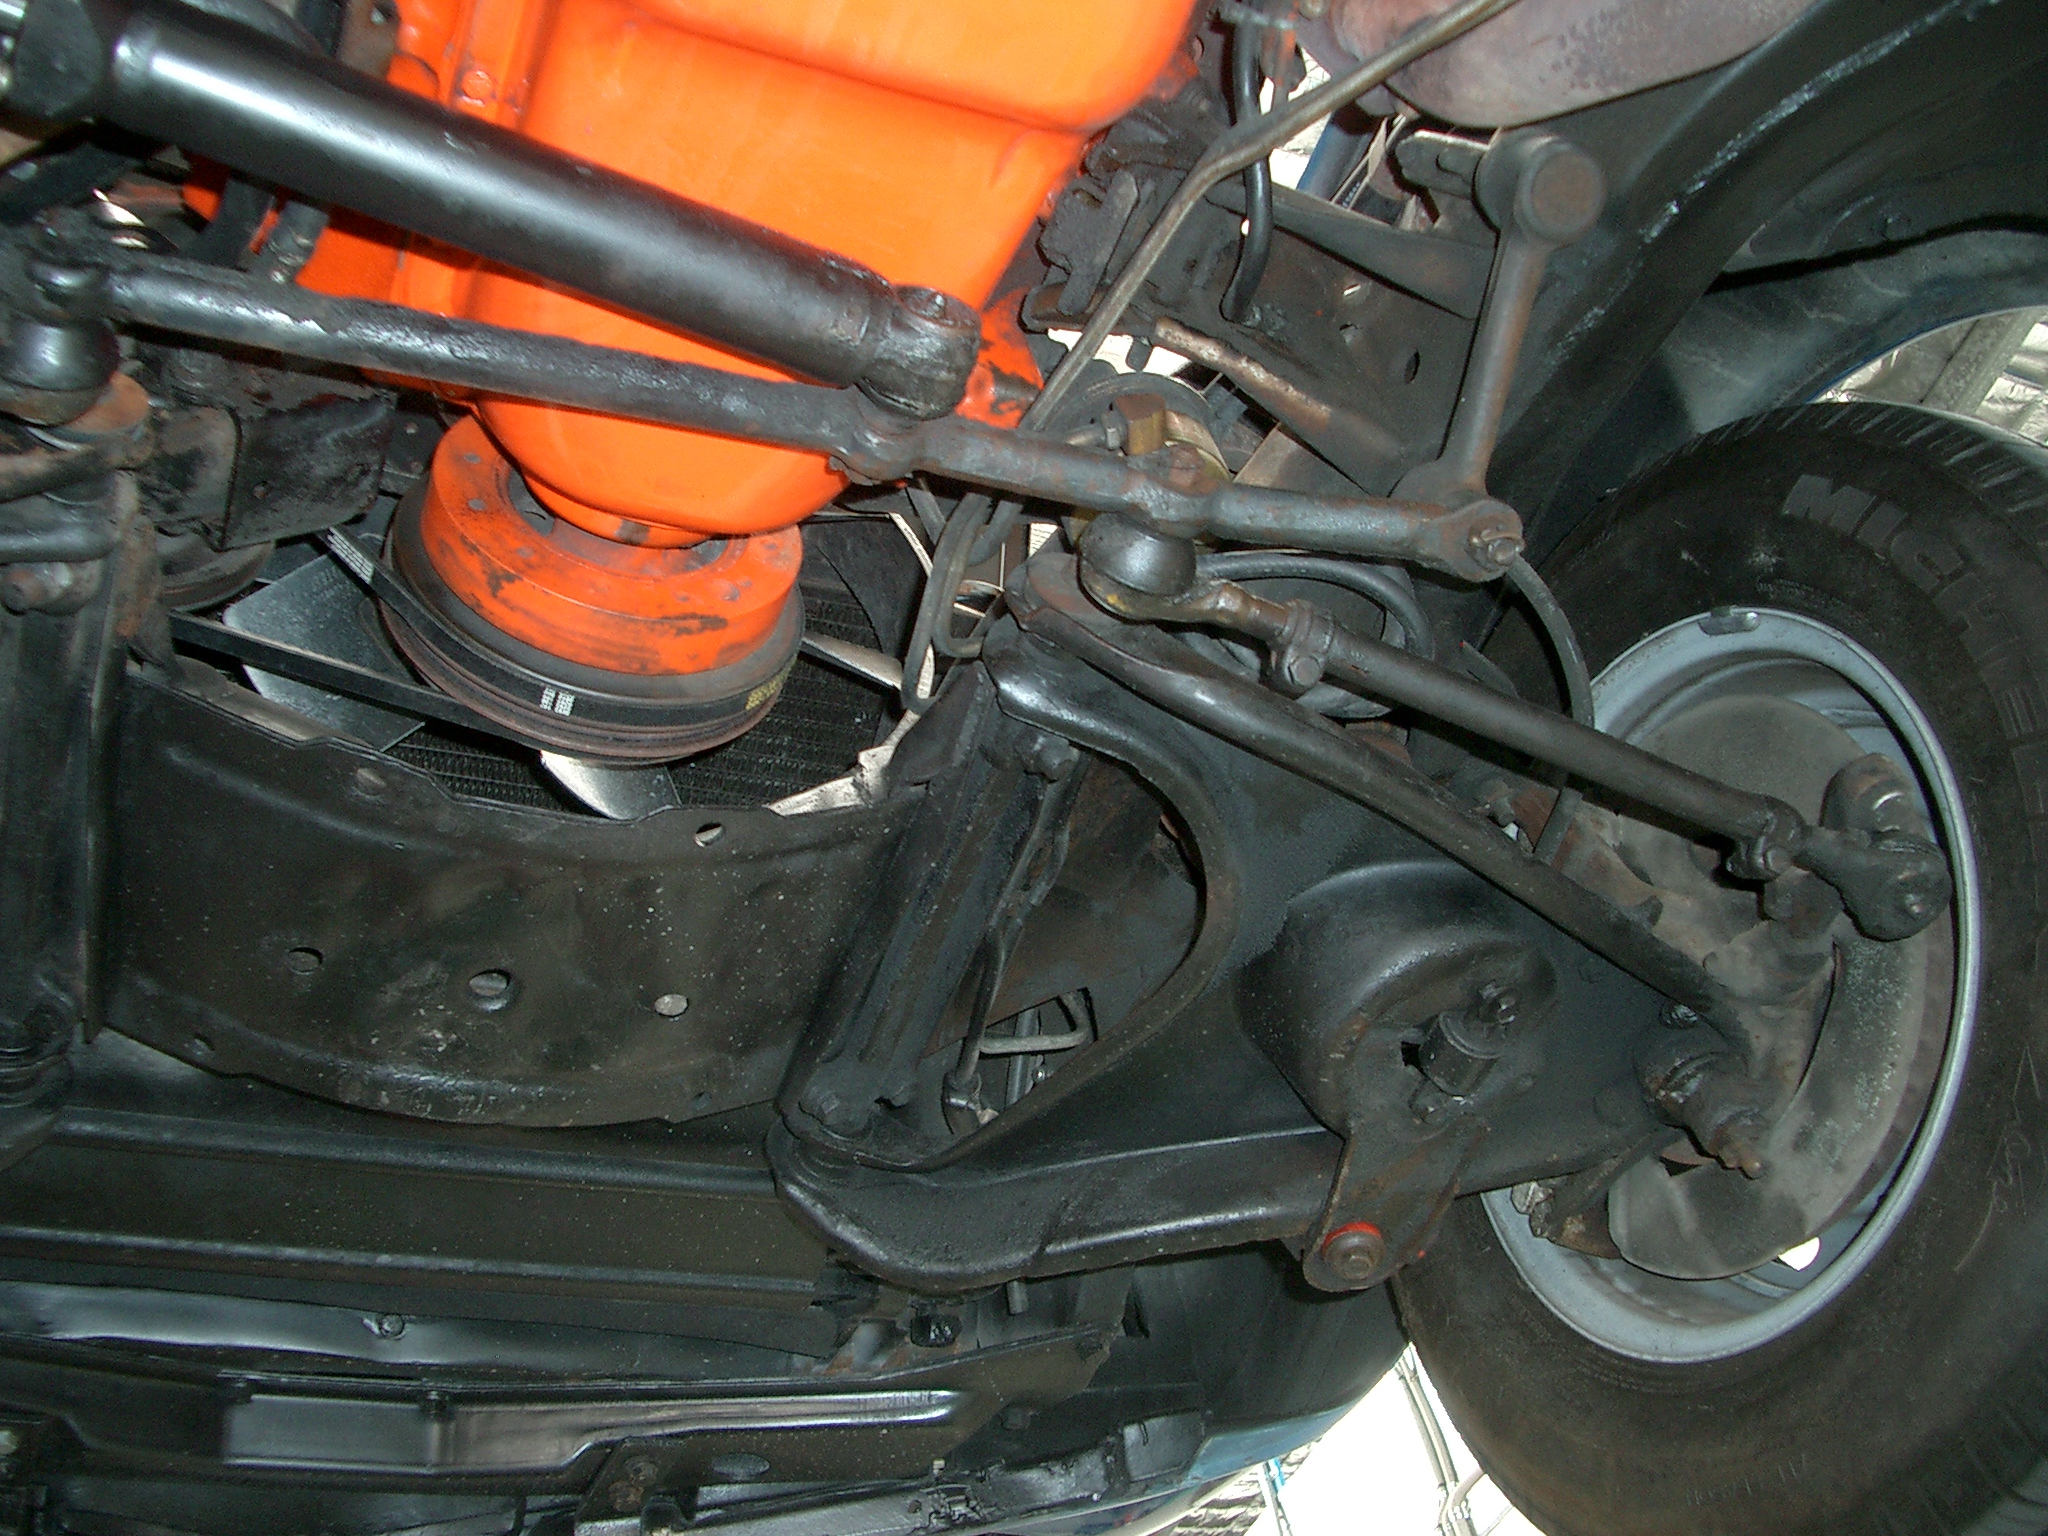
From the first class appearance of the underside of your car I don't think this is anything you want to consider any time soon!
I asked really because I want you to realize I actually LOOK at your pictures!! They're always a pleasure to see!
Regards,
Alan
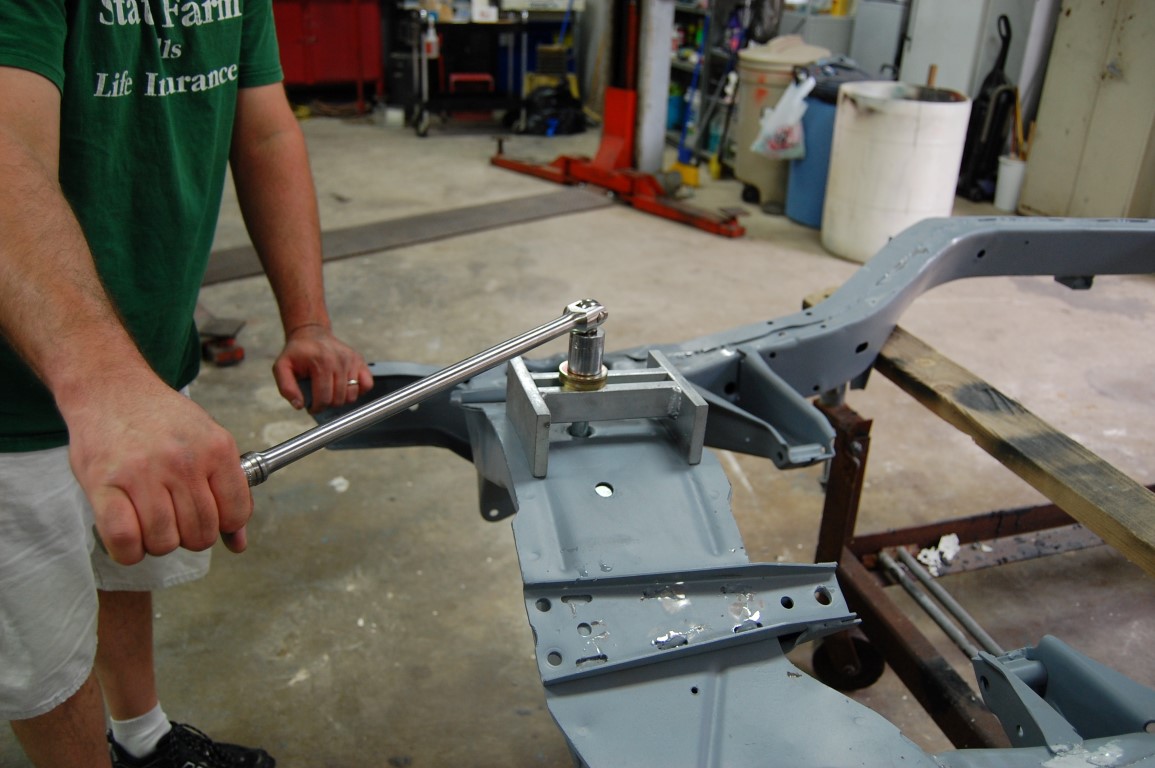
Here you go. You might get lucky and another member here will read this thread and offer to lend you the tool....I've never tried, but I understand Autozone lends tools, might give them a try?
http://www.ebay.com/itm/like/112073128814?lpid=82&chn=ps&ul_noapp=true
Here you go. You might get lucky and another member here will read this thread and offer to lend you the tool....I've never tried, but I understand Autozone lends tools, might give them a try? Corvette Cross Member Repair Tool | eBay
Thanks War Bonnet
Yes thats the one I saw previously. I looked it up and you need to insert a plate into the cross member then you just pull it back.
Hi Craig,
Yes there is a tool that someone developed that you slip INSIDE the front crossmember through an opening available when the a-arms are off.
It's actually a type of jack.
People have had various degrees of success with it.
From the first class appearance of the underside of your car I don't think this is anything you want to consider any time soon!
I asked really because I want you to realize I actually LOOK at your pictures!! They're always a pleasure to see!
Regards,
Alan
Thanks Alan
I always appreciate feedback and given you know every nut and bolt of a 71 better than most yours is always welcome.
And I have certainly referenced more than my fair share of your photos to help me along the way :-)
Now I just need to wait for my replacement urethane bushes for the top of the QA1 Shocks. They are sitting in California ready to ship once a few more items turn up at my shipping agent.
Coming along very nicely Craig
The story of our lives, waiting on parts to arrive
Thanks Brad, yes we are always waiting for something to arrive.. :-)
When I saw you had posted i thought ....Ah who "down under" would be likely to have the "Frame Dent Removal Tool"
Would be you or some of the NCRS guys like Murray Forman etc.
Sorry can't help you there Craig.
I did think about it many years ago when I was doing my frame but figured with a mono leaf front suspension the cross member is partially covered anyway.

 07-31-2016, 07:50 PM