
1971 Journey
 02-11-2016, 03:11 AM
#841
Melting Slicks

Thread Starter


3/8"-16 is what is needed
I went with 4" Grade 5
3/8"-16�Neck: Wd. 0.39"
4" Full 25 93604A685 11.15
4 1/2" Full 25 93604A687 13.15
5" Full 25 93604A689 14.44
5 1/2" Full 10 93604A691 6.31
6" Full 10 93604A693 7.01
6 1/2" Partial to Full 10 93604A695 7.33
Yes the US online vendors like
http://www.mcmaster.com/# and http://www.boltdepot.com
certainly have a great selection, something we don't always have access to locally here.
 03-22-2016, 06:24 AM
#842
Melting Slicks
Thread Starter
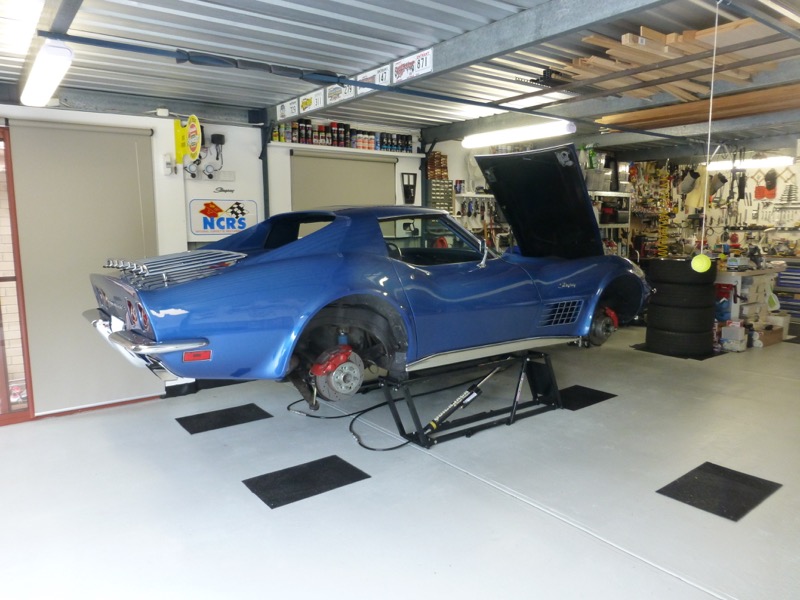
So finally got back to working on the Vette.
I got both grade 5 and 8 carriage end bolts while in the US recently
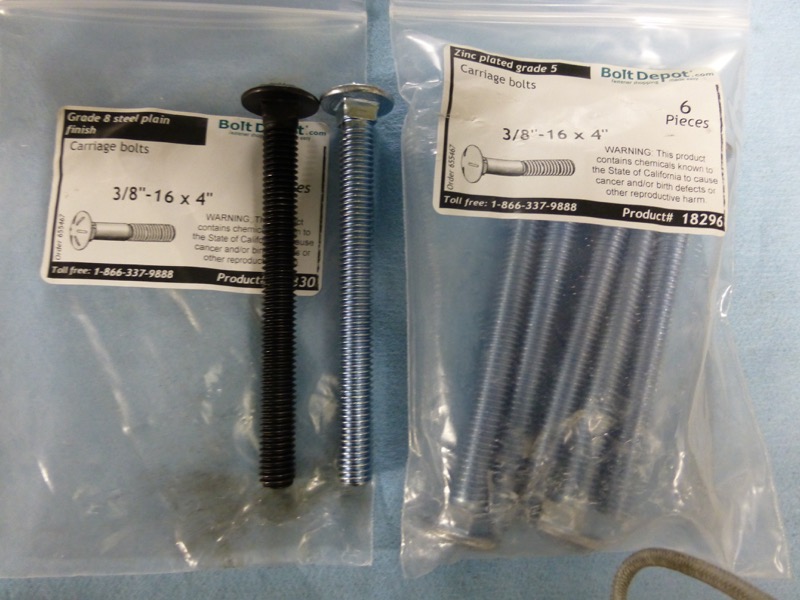
Decided to use the grade 8 bolts and fitted the replacement Borgeson box. No chance of tires catching on these.
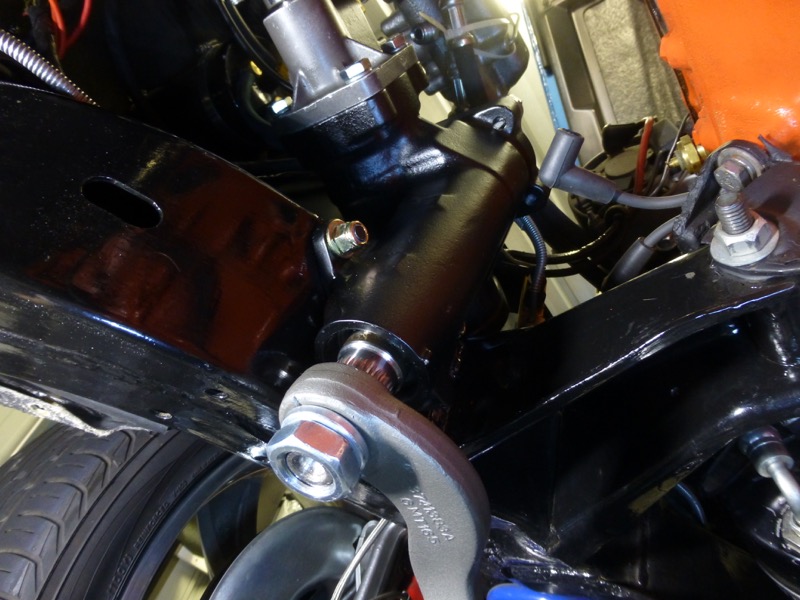
All bolted up and both tierods even and wheels pointing forward now :-)
Took it for a drive , with a very rough toe setting, and it was great.
Nice feel on center that i did not have before.
Cant wait to get it aligned properly.
Again a big thanks to Borgeson and AussieJohn for swapping out my box that was so far out of warranty. Great after sales support guys.
I got both grade 5 and 8 carriage end bolts while in the US recently
Decided to use the grade 8 bolts and fitted the replacement Borgeson box. No chance of tires catching on these.
All bolted up and both tierods even and wheels pointing forward now :-)
Took it for a drive , with a very rough toe setting, and it was great.
Nice feel on center that i did not have before.
Cant wait to get it aligned properly.
Again a big thanks to Borgeson and AussieJohn for swapping out my box that was so far out of warranty. Great after sales support guys.
Last edited by CraigH; 04-10-2023 at 05:17 AM.
03-22-2016, 06:27 AM
#843
Melting Slicks
Thread Starter
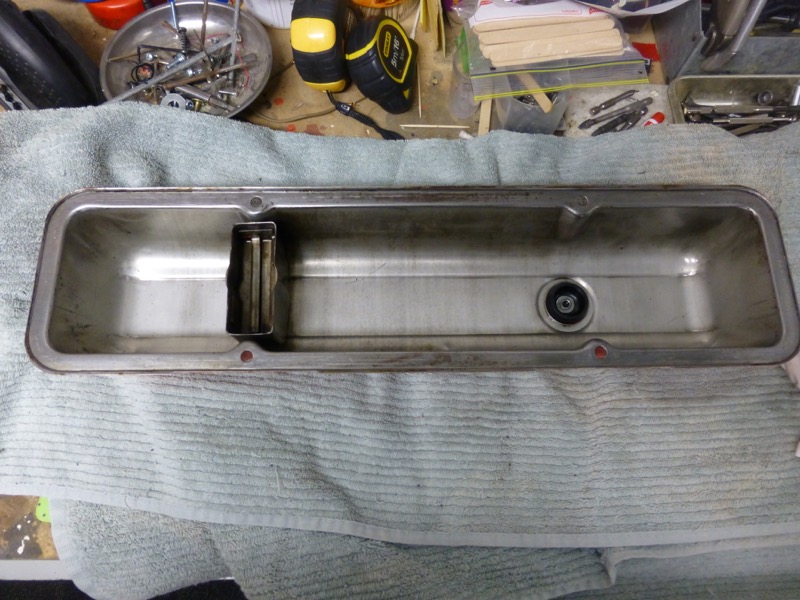
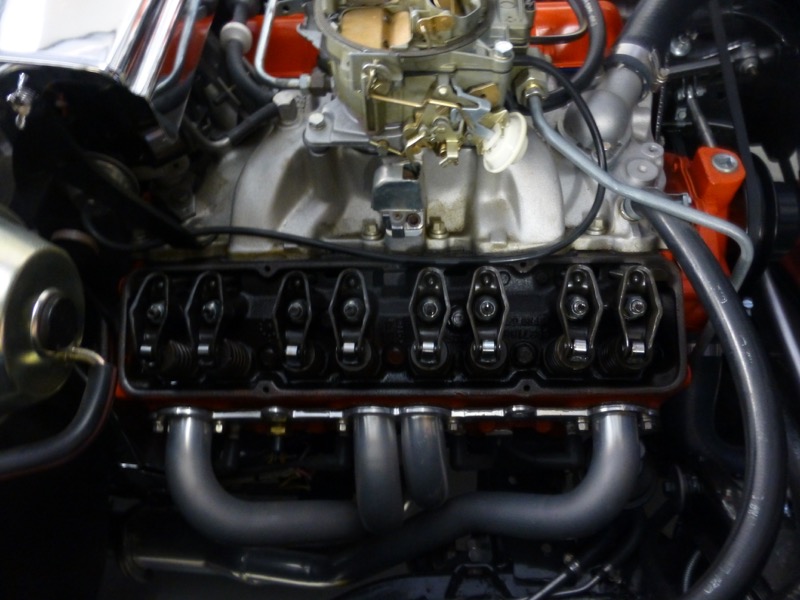
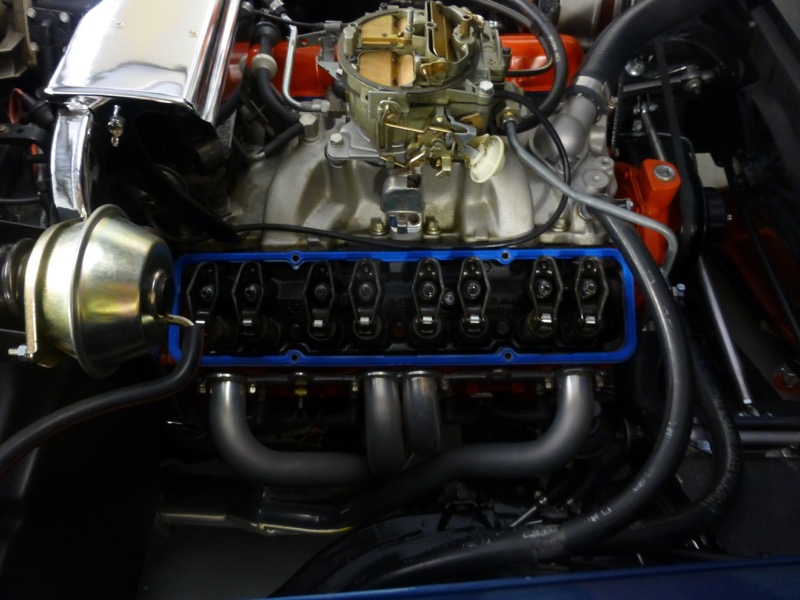
While i was at it I replaced the valve cover cork gaskets with better rubber ones. Had a pesky leak in rear corner.
Last edited by CraigH; 04-10-2023 at 05:17 AM.
 03-22-2016, 05:45 PM
#845
Melting Slicks
Thread Starter
Thanks, the bolts at 4" have just under 2 mm thread extension past the nut once fully torqued.
I would have thought that as long as the nut is fully engaged to the thread it should be ok.
Hope so anyway :-)
I would have thought that as long as the nut is fully engaged to the thread it should be ok.
Hope so anyway :-)
03-23-2016, 01:58 AM
#848
Melting Slicks
Where did you get your carriage bolts? I need 4 1/2 inch bolts of 3/8 preferably with fine thread of either grade 8 or grade 5. Several places have told me that what I want doesn't exist!
03-23-2016, 02:00 AM
#849
Melting Slicks
Just saw the post above. Don't know how I missed that. I will check them out!

 04-02-2016, 09:08 PM
#851
Melting Slicks
Thread Starter
Put the Vette on the aligner after all the work and was fairly close. Toe was marginal but after adjusting it I have about 3.2mm at front. Was after lots of caster and i only have stock a-arms so happy with what I have...but a little too much camber and caster on the left front compared to right so will remove 1 thin shim from both front and back bolts on left. Toe at back was good on Right but when I got home i swapped a small shim from inner to outer on the rear left to add more toe in and even it up. Other than that drives very nicely now. Good to have a shop that will let me put it up on the aligner and check it out after i do mods .... Lets me go away and adjust and bring back later to check again. Means i learn heaps and costs me nothing other than time... :-)
Last edited by CraigH; 04-10-2023 at 05:16 AM.
04-02-2016, 09:12 PM
#852
Melting Slicks
Thread Starter
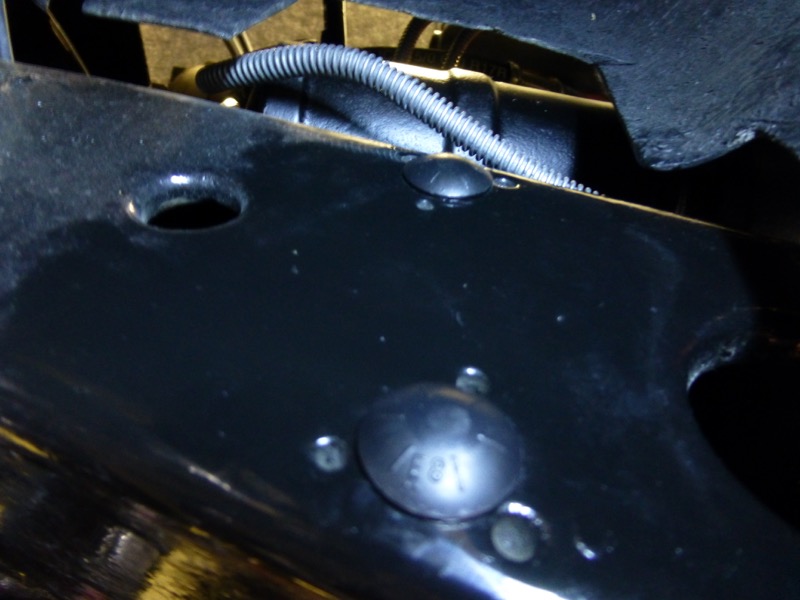
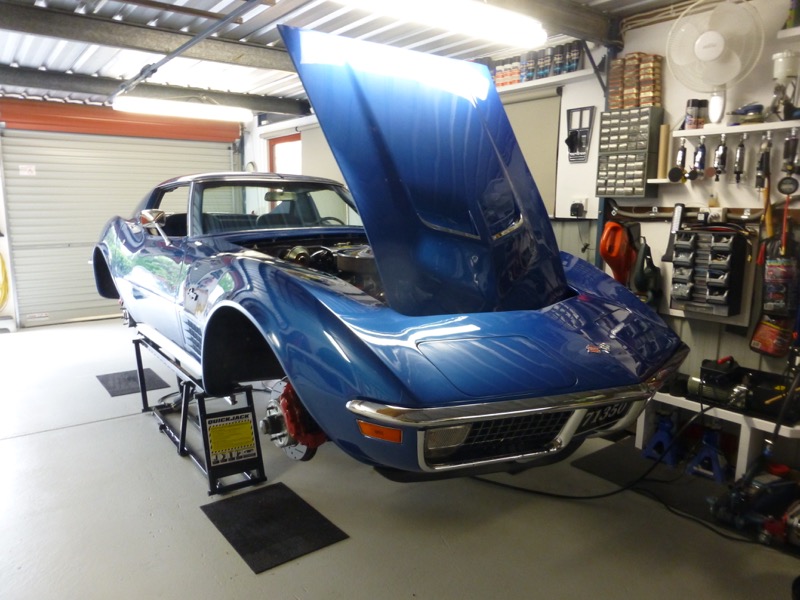
Was reading some threads re the radiator support and rust and I had already replaced mine earlier but decided to revisit it and add a couple of drain homes on the bottom to let any trapped water out.
Was amazed how easy it is to get water into into it through all the seams etc when washing the car etc.
After drilling the holes I sprayed it with a mix of fish oil and tar through the various gaps top and bottom to protect it as much as I can.
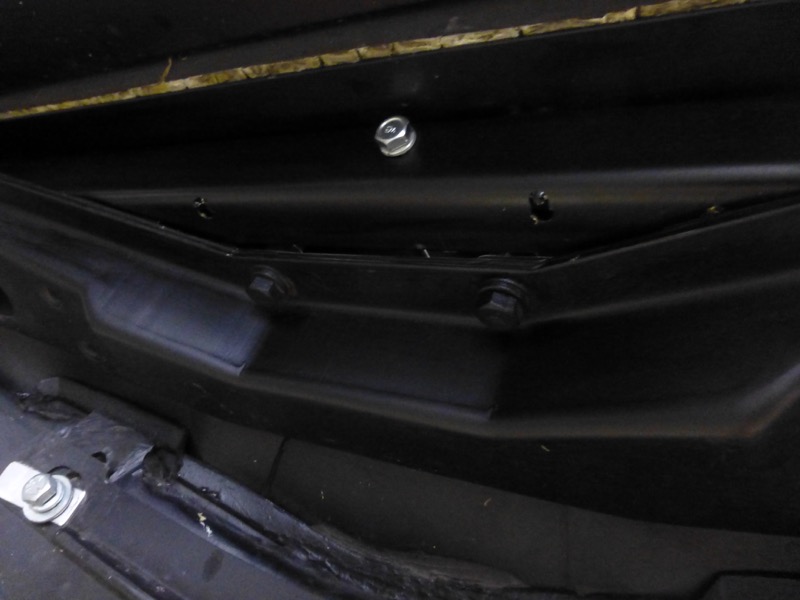
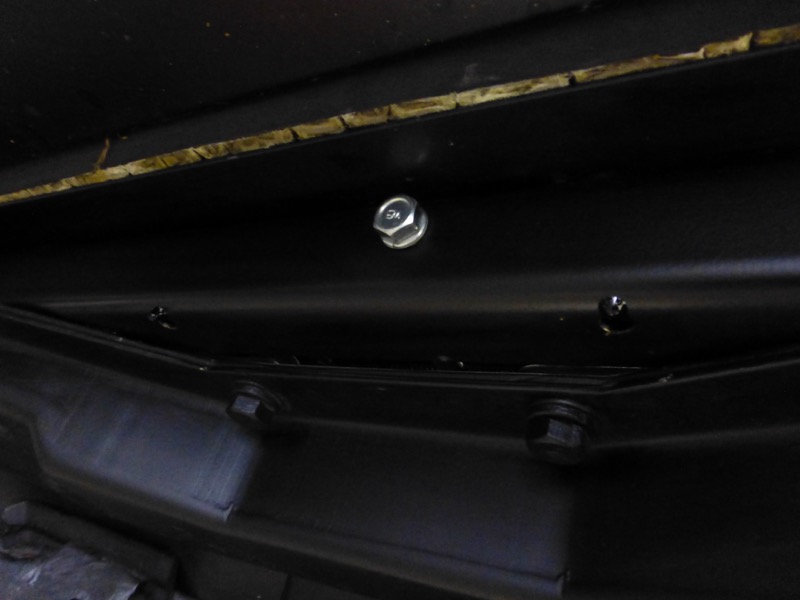
Mix is still dripping out the holes when i took these.
Was amazed how easy it is to get water into into it through all the seams etc when washing the car etc.
After drilling the holes I sprayed it with a mix of fish oil and tar through the various gaps top and bottom to protect it as much as I can.
Mix is still dripping out the holes when i took these.
Last edited by CraigH; 04-10-2023 at 05:16 AM.
The following 2 users liked this post by CraigH:
BLUE1972 (04-04-2016),
Metalhead140 (04-03-2016)
04-04-2016, 09:20 AM
#854
Race Director

Same here on my 72 only issue was 3" of rust on the center , bottom of the core support - no other rust on the car.
I agree, should have drilled drain holes and sent it out to be dipped.
But it did last 44 years and 1 month. So I guess I change it again when I'm 108....
I agree, should have drilled drain holes and sent it out to be dipped.
But it did last 44 years and 1 month. So I guess I change it again when I'm 108....
Last edited by BLUE1972; 04-04-2016 at 09:21 AM.
04-13-2016, 04:21 AM
#855
Instructor

A bit of a clean up of the T-Top stainless.
Bigger marks 800 wet and dry then 1200 then 2000.
1200 then 2000 for the remainder followed by 000 steel wool with metal polish.


Looking at it under a flouro is probably showing too many small scratches so will see what daylight looks like before doing some more.
But overall fairly happy with it.
Bigger marks 800 wet and dry then 1200 then 2000.
1200 then 2000 for the remainder followed by 000 steel wool with metal polish.
Looking at it under a flouro is probably showing too many small scratches so will see what daylight looks like before doing some more.
But overall fairly happy with it.
Have already replaced the rubber on the end mouldings.
Thanks in advance
Pete
04-13-2016, 08:46 AM
#856
Melting Slicks
Thread Starter
Hey Craig, do you have any shots of refitting the chrome T-Bar, basically I'm trying to decide whether I need to add a cult strip to the front edge when i refit it, the manual does not show any cult and I cannot remember it being sticky to remove, what did you do?
Have already replaced the rubber on the end mouldings.
Thanks in advance
Pete
Have already replaced the rubber on the end mouldings.
Thanks in advance
Pete
I removed the pillar stainless but not the top stainless so dont have any pictures to show of that.
I had a link to a great site where it covered windscreen removal and all trim but just checked and site is not there any more.
The following users liked this post:
mysticpete (04-13-2016)
04-13-2016, 07:48 PM
#857
Instructor

 04-17-2016, 05:02 AM
#859
Melting Slicks
Thread Starter
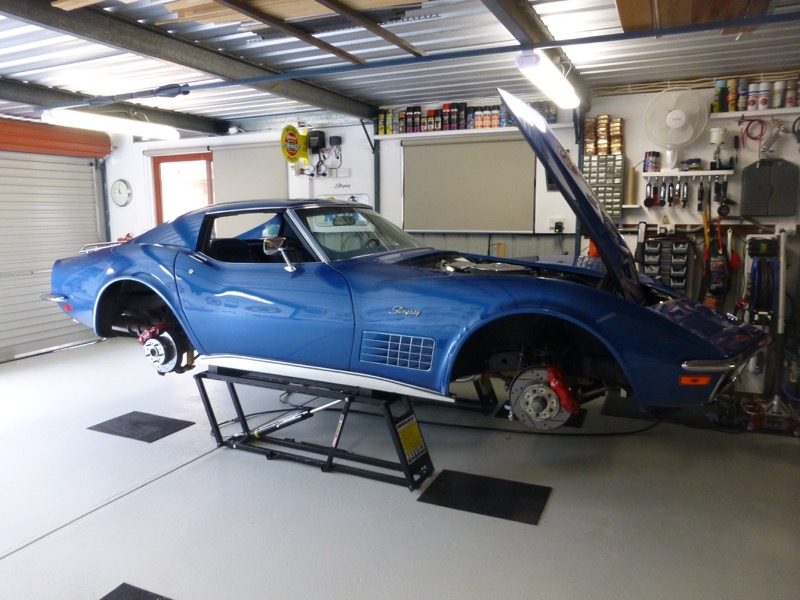
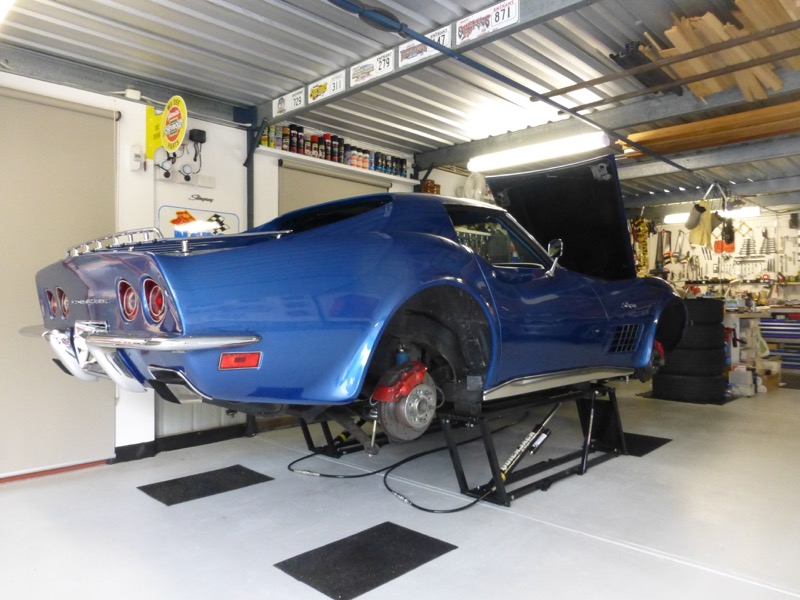
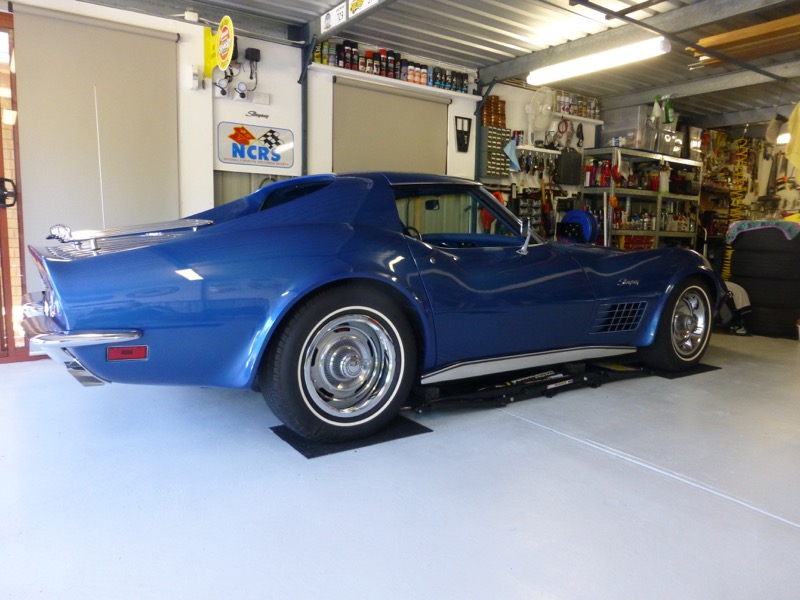
Still working to remove any tramline effect in the Vette so I did some testing with the 15" wheel set rather than 18"s.
Latest suspension and alignment settings are a huge improvement but i want to try and get it with no tramline at all.
The 15's do not exhibit the problem.
Next steps I will
Latest suspension and alignment settings are a huge improvement but i want to try and get it with no tramline at all.
The 15's do not exhibit the problem.
Next steps I will
- add Global West upper control arms so i can push the caster beyond 4-5 degrees while keeping camber in reasonable bounds
- try swapping the front tyres down to 235/45/18 from 245/45/18
Last edited by CraigH; 04-10-2023 at 05:16 AM.
04-27-2016, 06:05 AM
#860
Melting Slicks
Thread Starter
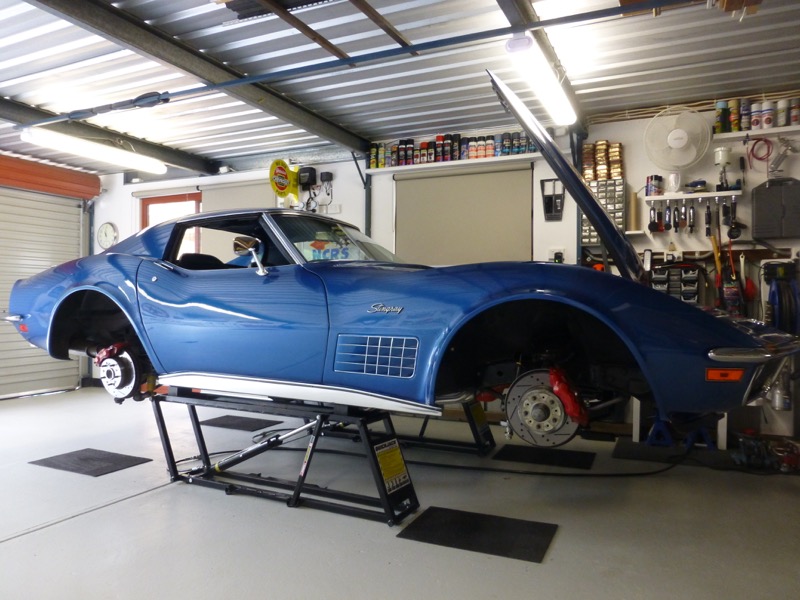
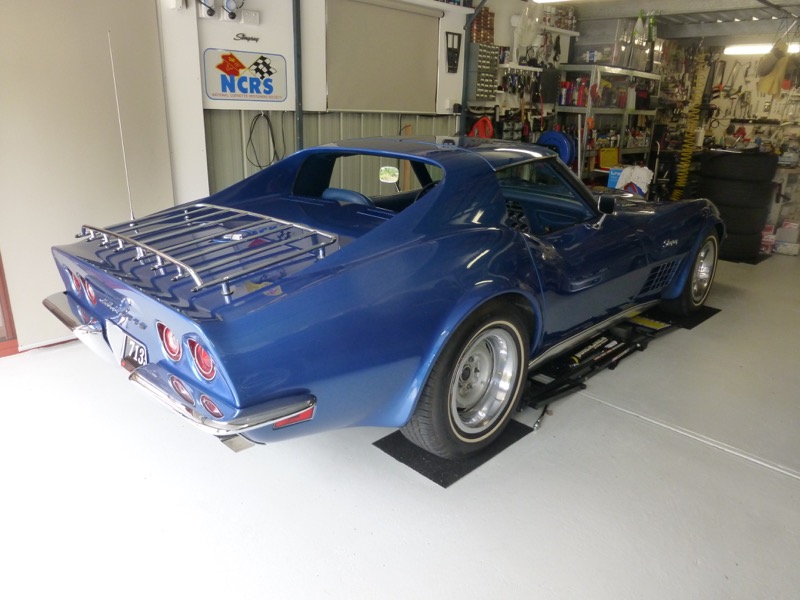
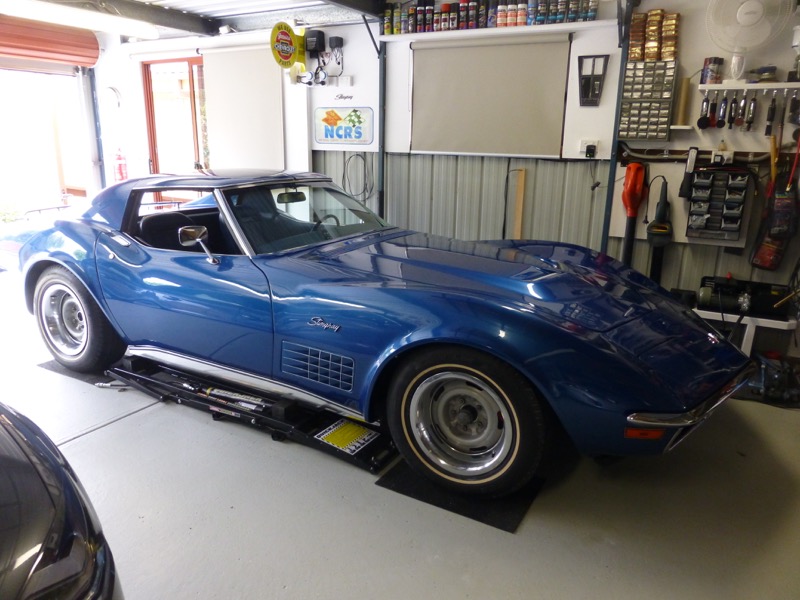
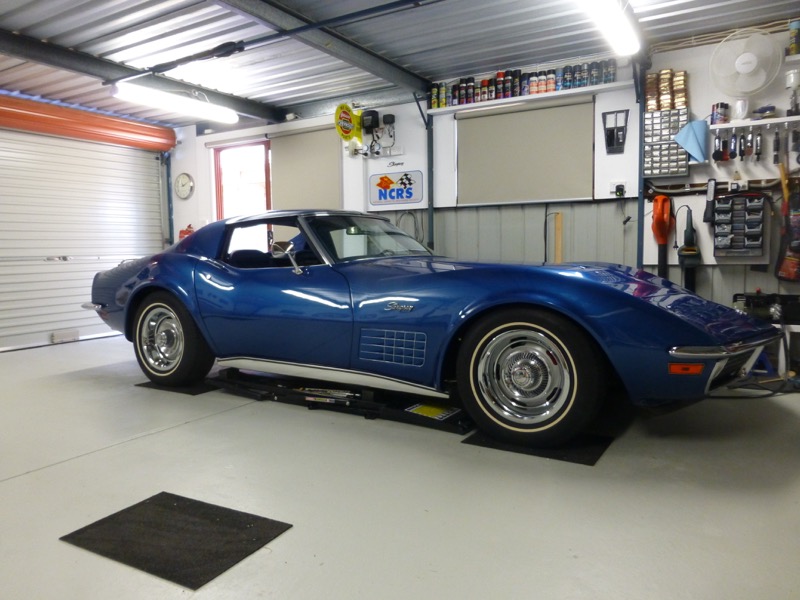
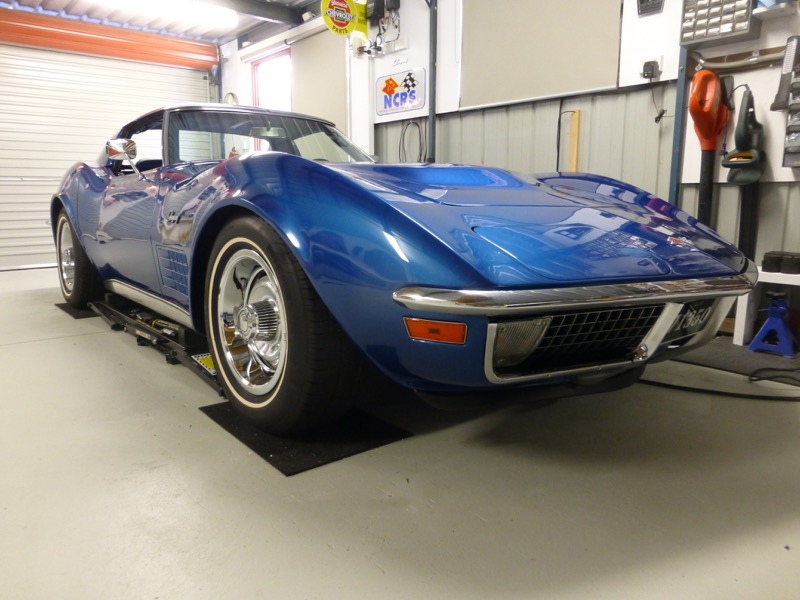
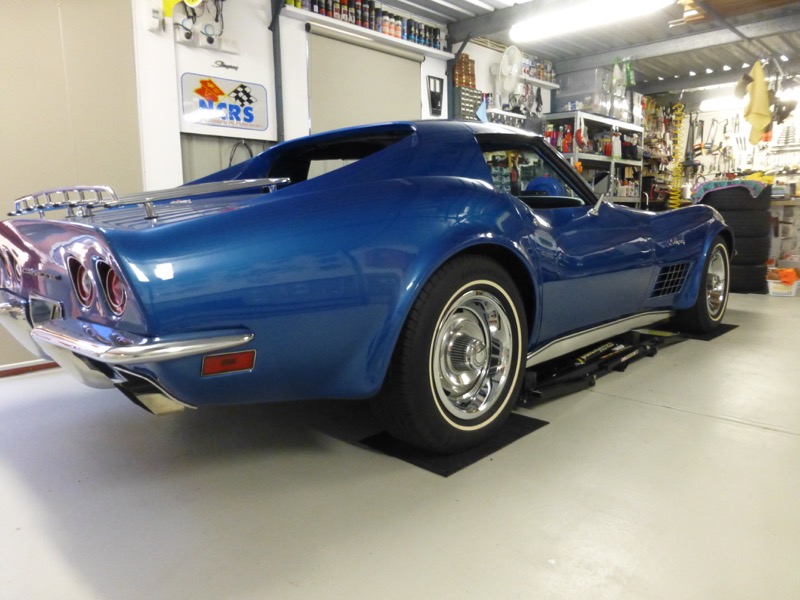
Cleaned up the stock rims and fitted new rings etc.
Nice stock look for a while till I put the 18's back on again.
Nice stock look for a while till I put the 18's back on again.
Last edited by CraigH; 04-10-2023 at 05:15 AM.
The following users liked this post:
Ren� K. (05-01-2016)