
1971 Journey


 02-24-2013, 10:46 PM
#542
Melting Slicks

Thread Starter

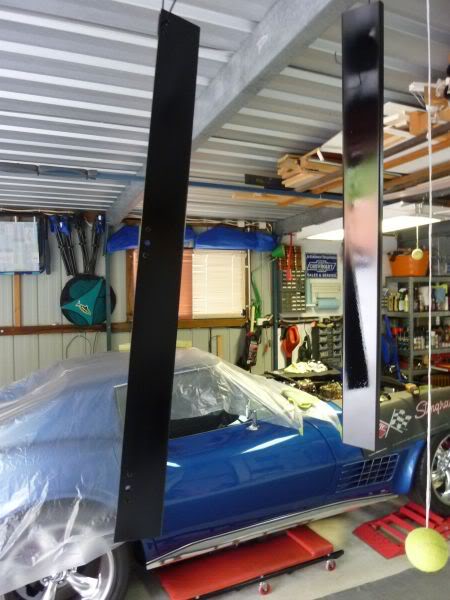
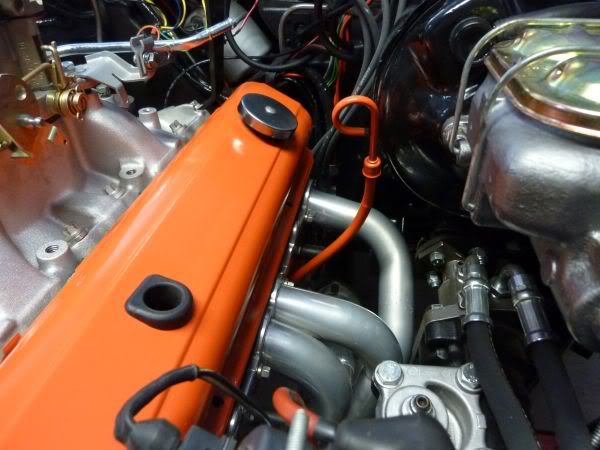
Getting close.....
Tomorrow I should get the cooling system finished, charcoal canister in then connect battery and be almost ready to fire it up. :-)
Tomorrow I should get the cooling system finished, charcoal canister in then connect battery and be almost ready to fire it up. :-)
Last edited by CraigH; 04-10-2023 at 04:35 AM.
 02-24-2013, 10:55 PM
#548
Melting Slicks
Thread Starter
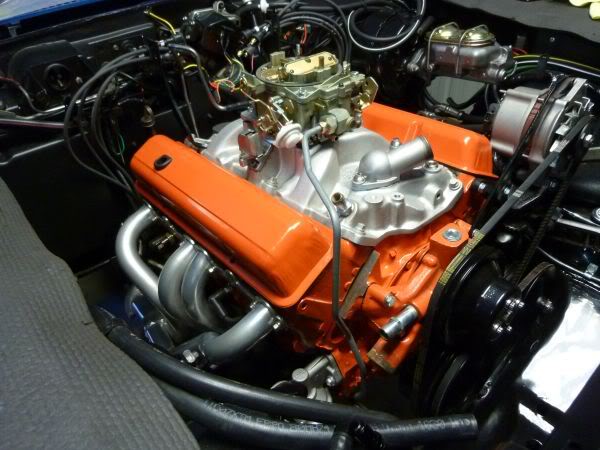
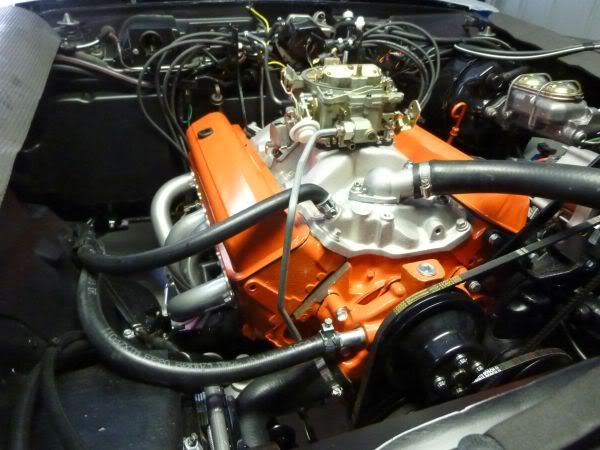
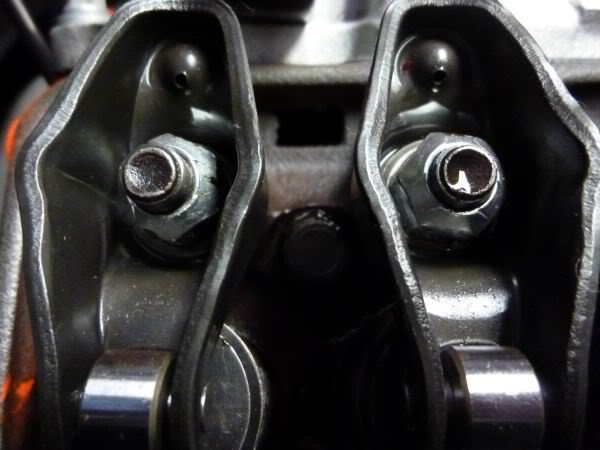
Ran up the oil pump with the battery drill
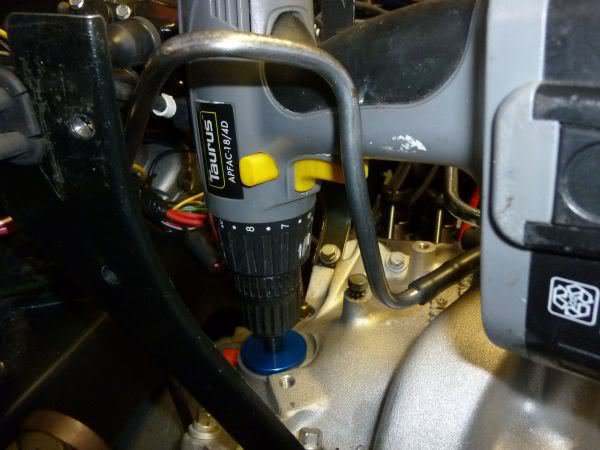
Till I had oil up through every push rod.
Then started it up.
Had way too little advance so it took a couple of goes.
Till I had oil up through every push rod.
Then started it up.
Had way too little advance so it took a couple of goes.
Last edited by CraigH; 04-10-2023 at 04:34 AM.

 02-24-2013, 10:56 PM
#550
Melting Slicks
Thread Starter
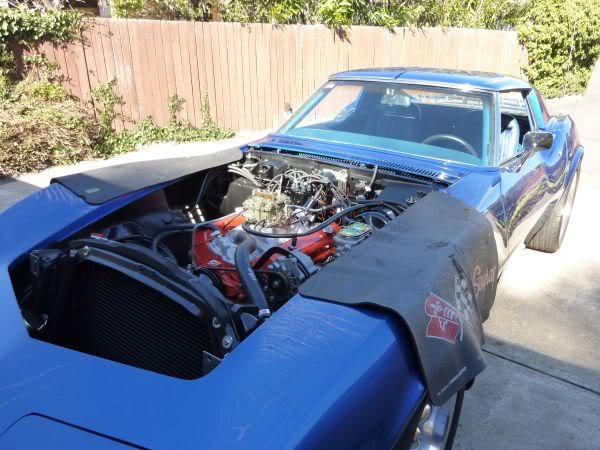
Glued weatherstrip back on hood and temporarily refitted hood and latches etc.
Will pull latches again and paint them etc before final assembly.
Want to have it drive-able for next Sunday at Wakefield Park so can drive down and watch the Corvette track day.
Will pull latches again and paint them etc before final assembly.
Want to have it drive-able for next Sunday at Wakefield Park so can drive down and watch the Corvette track day.
Last edited by CraigH; 04-10-2023 at 04:34 AM.
02-24-2013, 10:57 PM
#551
Melting Slicks
Thread Starter
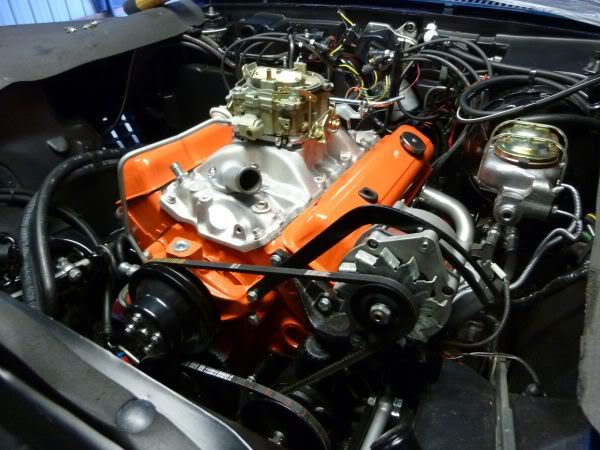
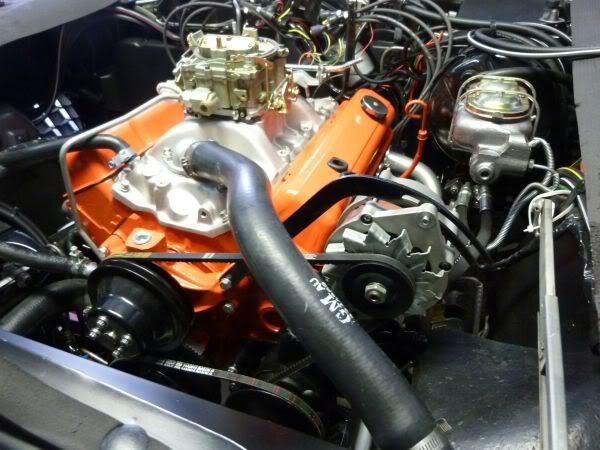
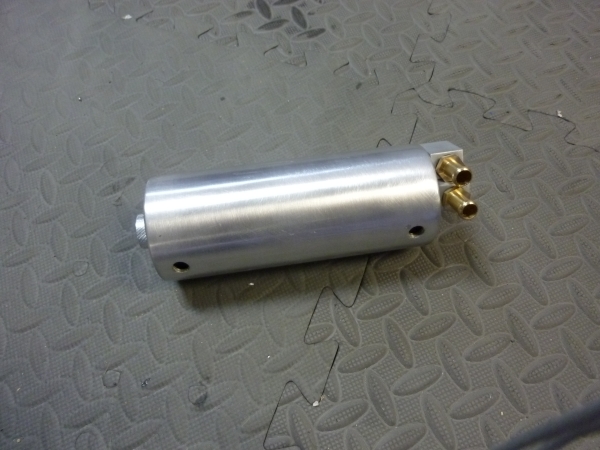
Wanted quicker way to replace belts and tension them properly.
Alternator is not an issue but power steering is hard to pull out as you cant pull the can part.
So I cut a couple of aluminum tube sections and bolted them to the front of the pump.
Now adjusting is a quick job without fear of damage as you have a leverage point.
Alternator is not an issue but power steering is hard to pull out as you cant pull the can part.
So I cut a couple of aluminum tube sections and bolted them to the front of the pump.
Now adjusting is a quick job without fear of damage as you have a leverage point.
Last edited by CraigH; 04-10-2023 at 04:34 AM.
02-25-2013, 06:08 AM
#552
Melting Slicks
Thread Starter
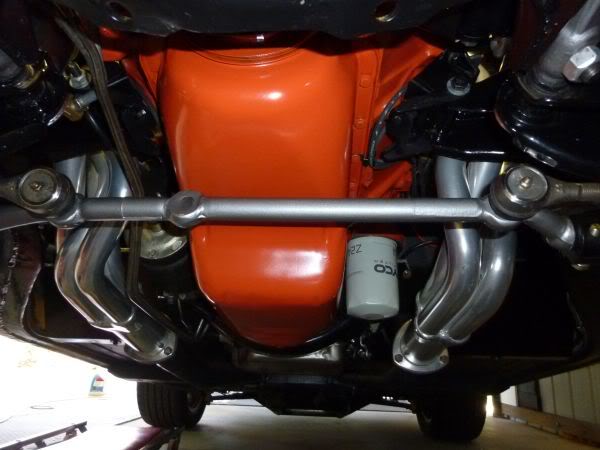
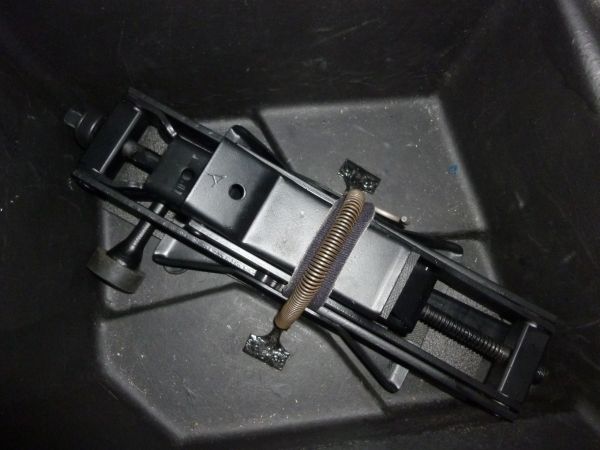
Jack has been given first coat of black enamel.
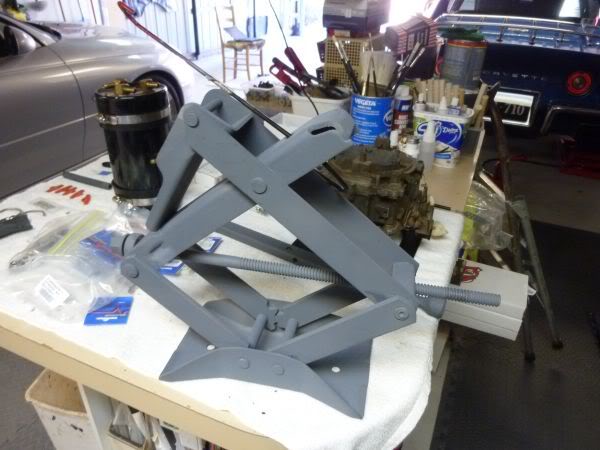
Pain to do as there are so many overlapping parts. Need to coat it then juck it up and do again etc.
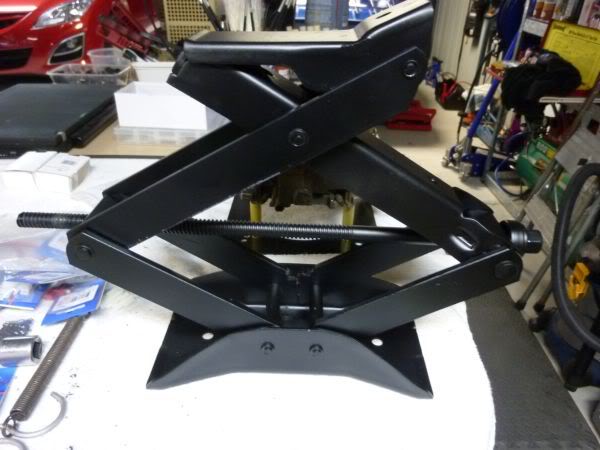
Pain to do as there are so many overlapping parts. Need to coat it then juck it up and do again etc.
Last edited by CraigH; 04-10-2023 at 04:34 AM.
02-25-2013, 06:08 AM
#553
Melting Slicks
Thread Starter
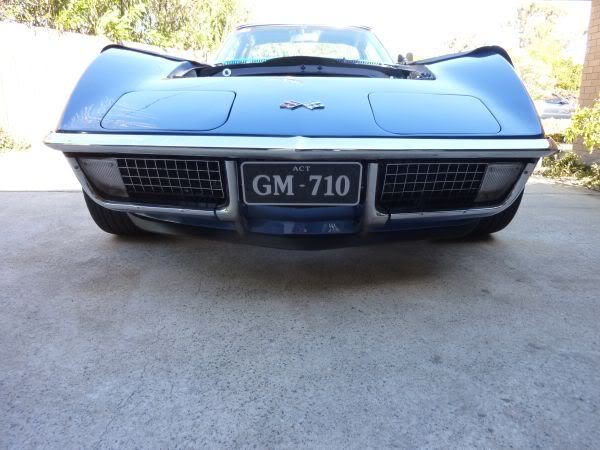
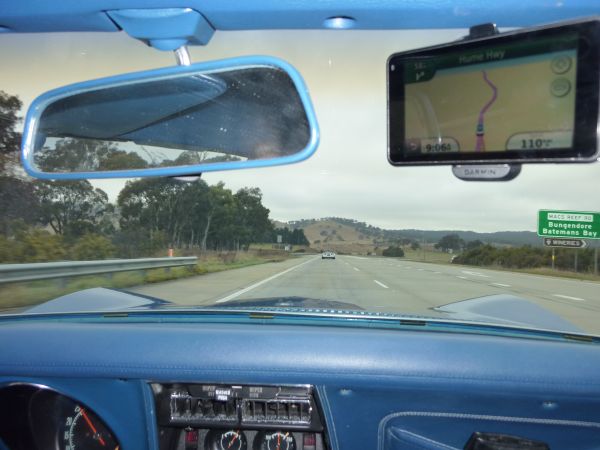
Got all the vacuum systems operating again, lights wipers etc so roadworthy now.
If the weather is good will be taking it down to Goulburn to watch the LeadFoot Challenge this Sunday.
Looks like about 20 vettes from Canberra, NSW and Victoria will battle it out.
If the weather is good will be taking it down to Goulburn to watch the LeadFoot Challenge this Sunday.
Looks like about 20 vettes from Canberra, NSW and Victoria will battle it out.
 02-25-2013, 06:09 AM
#555
Melting Slicks
Thread Starter
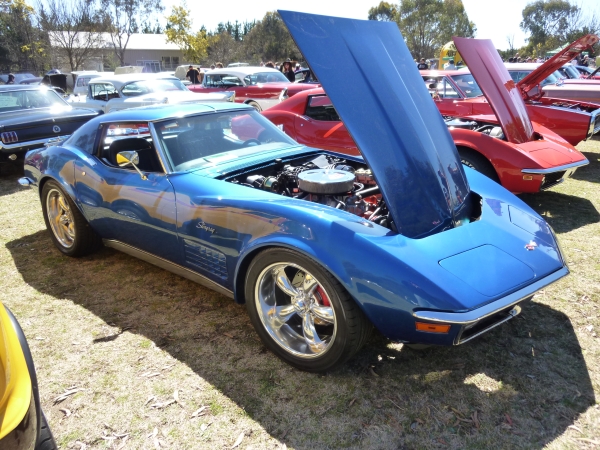
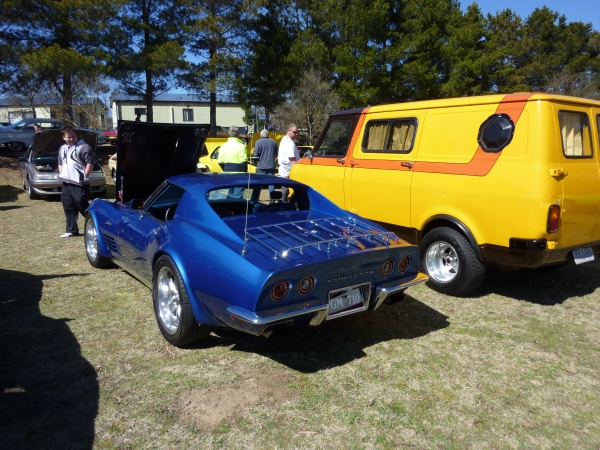
We went to Wakefield Park Raceway in Goulburn today,
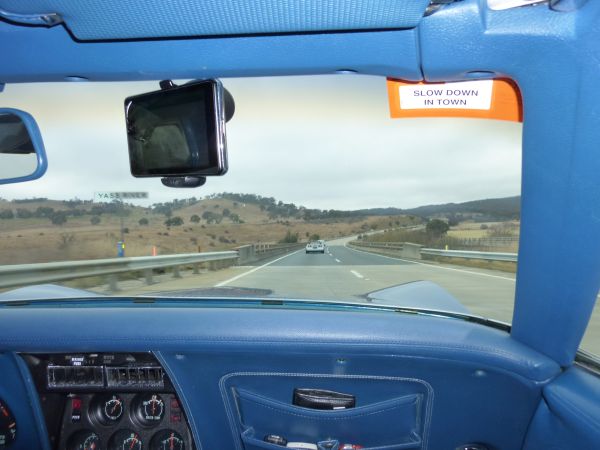
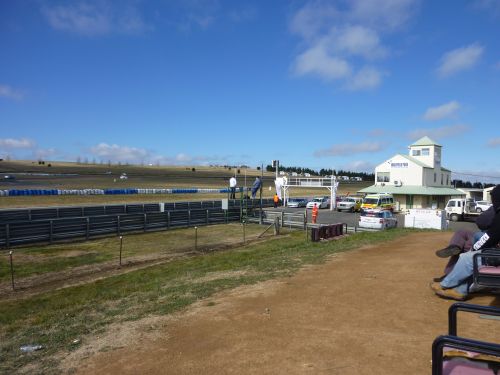
Was a track day for the HSV club and Corvette clubs.
Lots of interesting Vettes and cars in general.
Was not an entrant but they let us do a few laps that was great.
Was a track day for the HSV club and Corvette clubs.
Lots of interesting Vettes and cars in general.
Was not an entrant but they let us do a few laps that was great.
Last edited by CraigH; 04-10-2023 at 10:48 PM.
02-25-2013, 06:09 AM
#556
Melting Slicks
Thread Starter
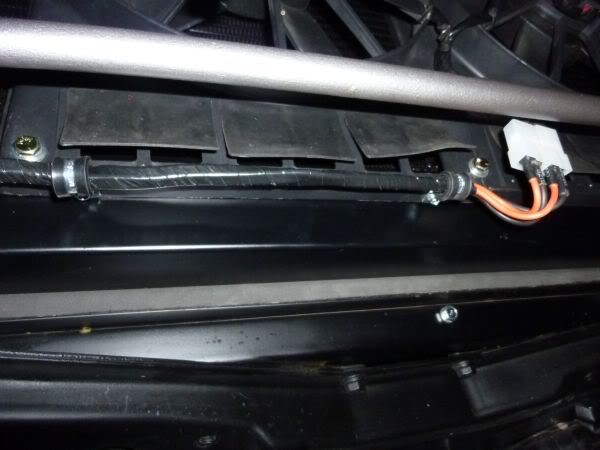
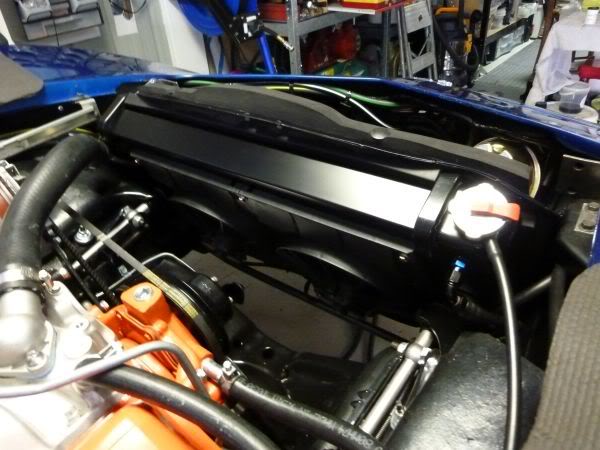
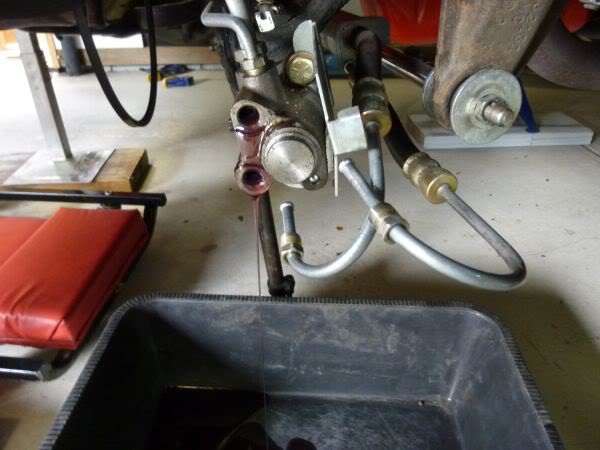
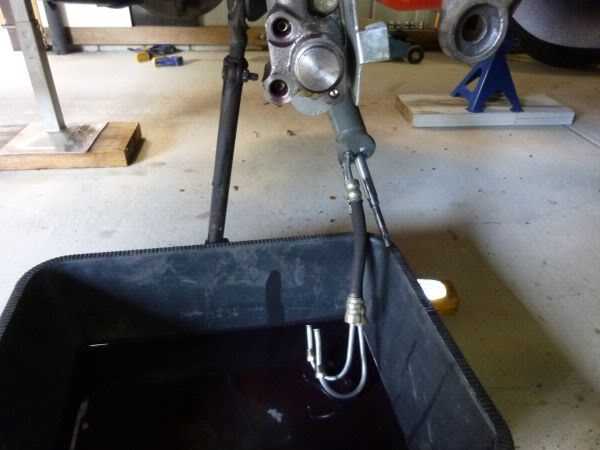
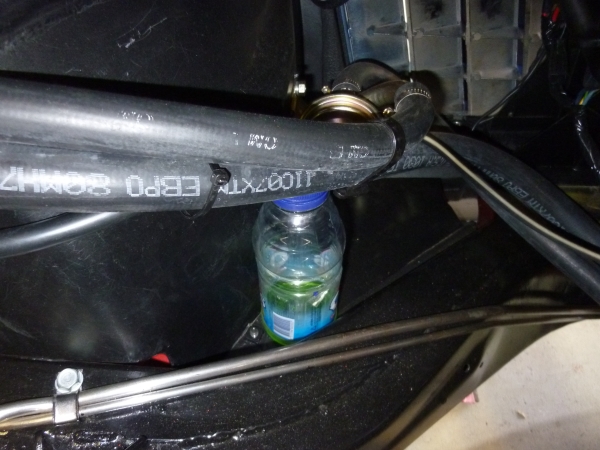
The radiator in my vette does not have an overflow catch can and has a tube that drops to the ground as per design.
This requires you to leave a few inches at the top of the radiator for expansion.
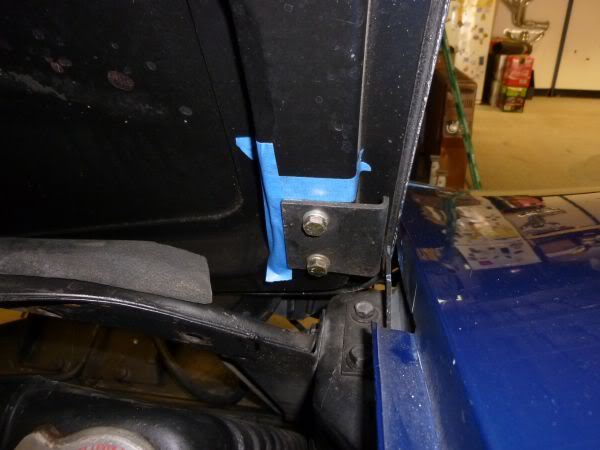
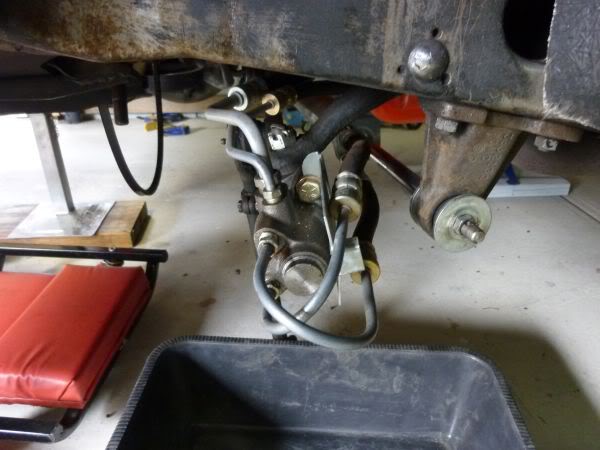
Decided to play around with either filling it to full and putting a recovery can on it or at least a catch can to stop the coolant drips getting all over things.
Started with a drink bottle to see how much comes out and pick a usable location.
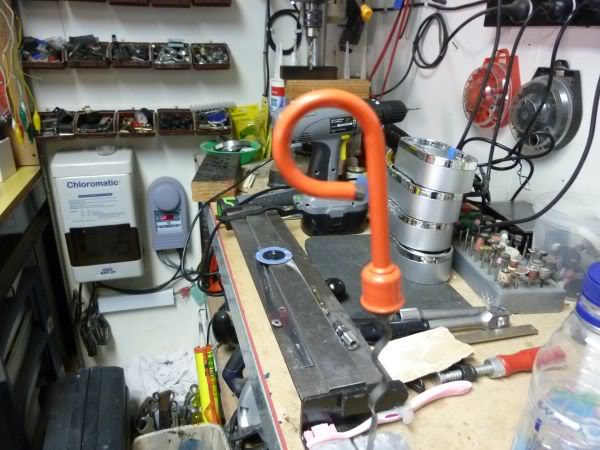
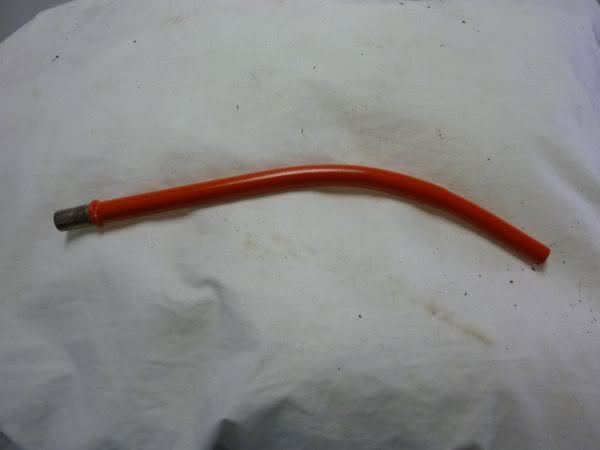
Found on ebay a cheap ($30 from HongKong) aluminum can.
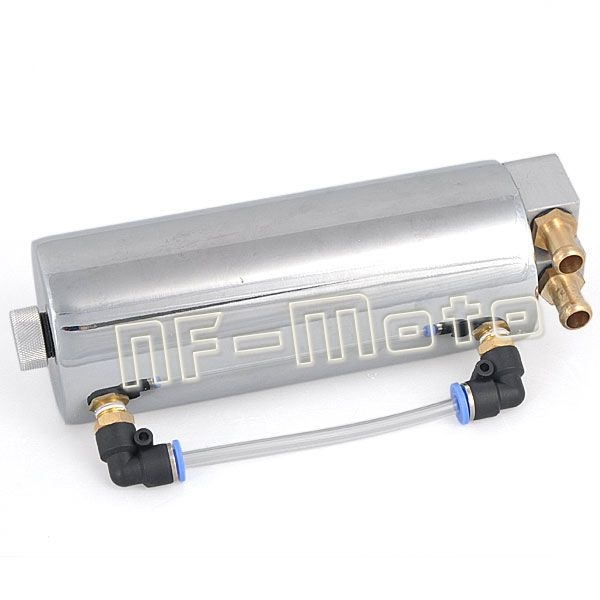
When it turned up it was chromed which I did not like, but luckily it was also cheap chrome and I got it all off in 5 minutes.
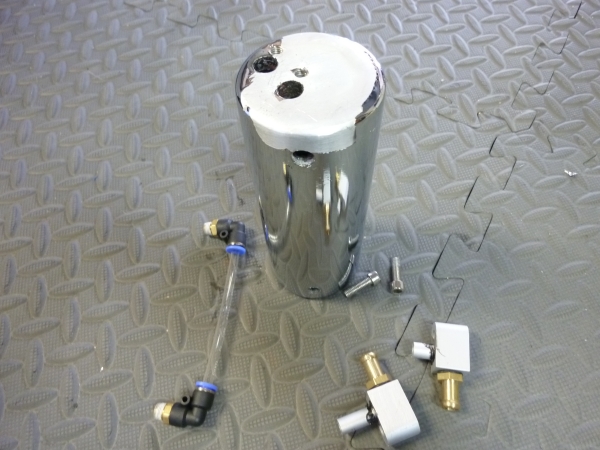
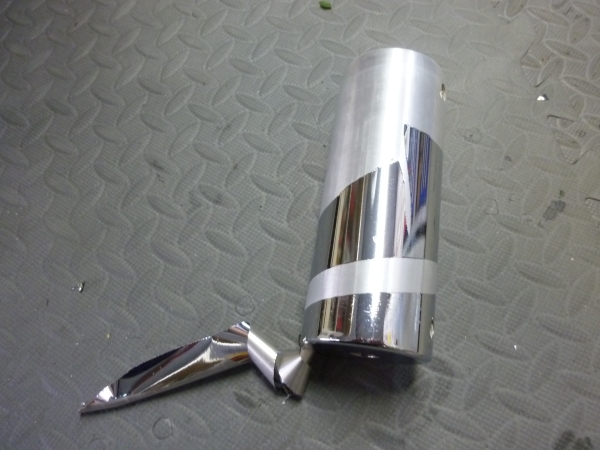
All cleaned up and now I just need to make some brackets and then test filling it all the way.
This requires you to leave a few inches at the top of the radiator for expansion.
Decided to play around with either filling it to full and putting a recovery can on it or at least a catch can to stop the coolant drips getting all over things.
Started with a drink bottle to see how much comes out and pick a usable location.
Found on ebay a cheap ($30 from HongKong) aluminum can.
When it turned up it was chromed which I did not like, but luckily it was also cheap chrome and I got it all off in 5 minutes.
All cleaned up and now I just need to make some brackets and then test filling it all the way.
Last edited by CraigH; 04-10-2023 at 04:33 AM.
02-25-2013, 06:10 AM
#557
Melting Slicks
Thread Starter
A couple of deliveries this morning.
Some parts from Zip for a few more projects and some stereo gear.
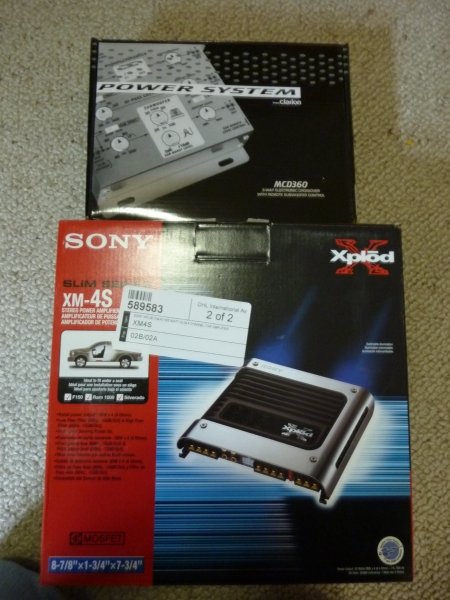
Amp the same as Glen (StLeon) to go under the seat 50w x 4
Electronic Crossover to a split the 1 set of RCA's I have from the deck with 2 high pass and 1 low pass filter to allow for the front speaker sets and possible subwoofer. (Got to plan ahead)
Some parts from Zip for a few more projects and some stereo gear.
Amp the same as Glen (StLeon) to go under the seat 50w x 4
Electronic Crossover to a split the 1 set of RCA's I have from the deck with 2 high pass and 1 low pass filter to allow for the front speaker sets and possible subwoofer. (Got to plan ahead)
Last edited by CraigH; 04-10-2023 at 04:33 AM.
02-25-2013, 06:10 AM
#558
Melting Slicks
Thread Starter
Parcel from Willcox arrived today.
Have been testing the replacement stereo with a CD interface I picked up to connect the iPod
The interface makes the iPod emulate the 6 stack CD.
Works ok and music quality is good but lacking in ipod control.
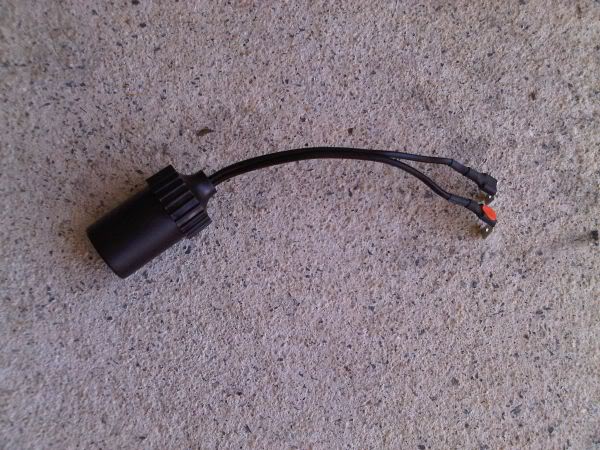
Was worth a play.
Have been testing the replacement stereo with a CD interface I picked up to connect the iPod
The interface makes the iPod emulate the 6 stack CD.
Works ok and music quality is good but lacking in ipod control.
Was worth a play.
Last edited by CraigH; 04-10-2023 at 04:32 AM.

 02-25-2013, 06:42 AM
#560
Melting Slicks
Thread Starter
September 2012
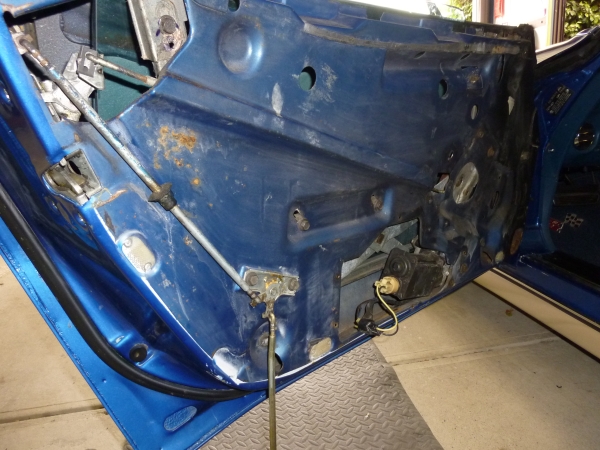
Saw that Willcox had an extra discount so decided to get some new door panels but first I wanted to check if I could refurbish the existing ones as they had a few cracks.
So I pulled the drivers panels off and found it was a reproduction anyway so I decided to just order 2 new ones.
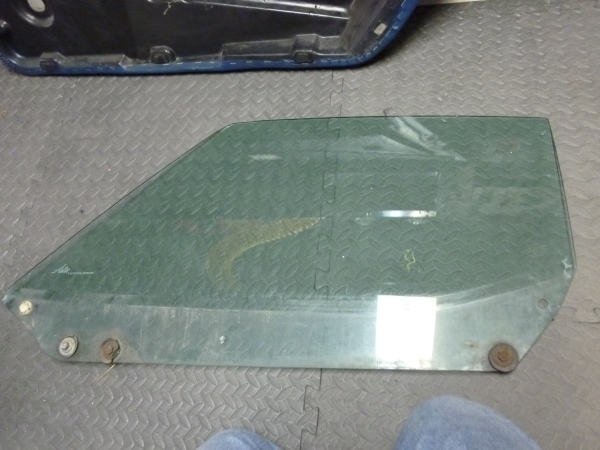
While I was there I had a look why the glass did not go up fully and one thing led to another and I ended up stripping the door of all hardware, glass etc.
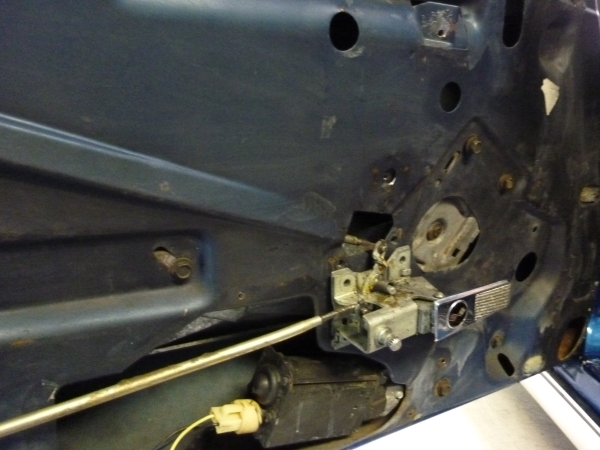
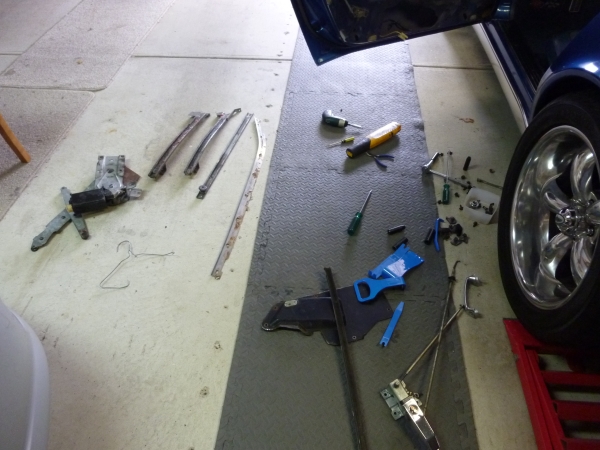
Cleaned up the mechanisms
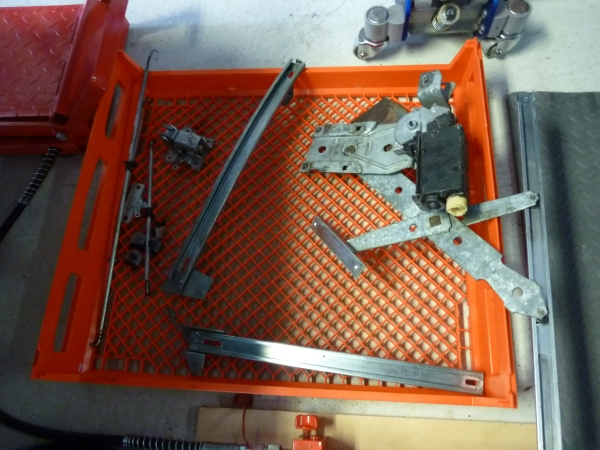
Too much flex in existing regulators so will order two new ones.
Only took 40 minutes to strip it all out, lets see how long it takes to put it back :-)
Saw that Willcox had an extra discount so decided to get some new door panels but first I wanted to check if I could refurbish the existing ones as they had a few cracks.
So I pulled the drivers panels off and found it was a reproduction anyway so I decided to just order 2 new ones.
While I was there I had a look why the glass did not go up fully and one thing led to another and I ended up stripping the door of all hardware, glass etc.
Cleaned up the mechanisms
Too much flex in existing regulators so will order two new ones.
Only took 40 minutes to strip it all out, lets see how long it takes to put it back :-)
Last edited by CraigH; 04-10-2023 at 04:32 AM.