
1971 Journey
 02-24-2013, 01:09 AM
#481
Melting Slicks

Thread Starter


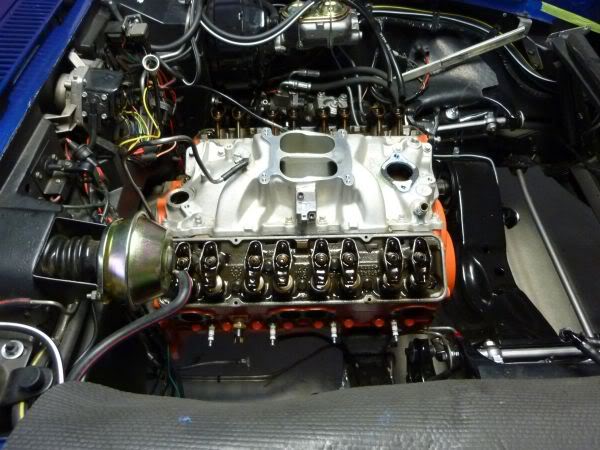
Went and had a look at my heads that are part way through rebuild.
Type 186 Later hi-perf or “fuelie” heads, some 186 (‘69 & later) & all 492 have accessory bolt holes; 1.94/1.50 or 2.02/1.60 valves; 64cc chambers.
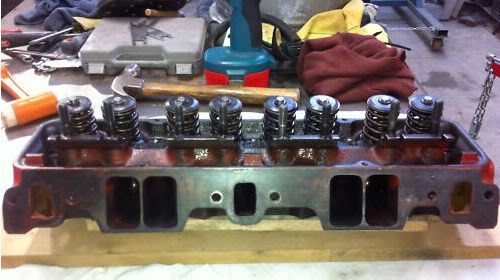
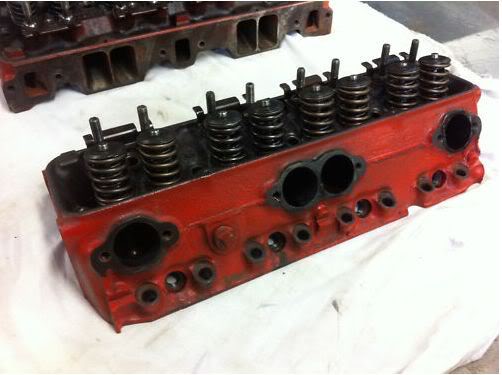
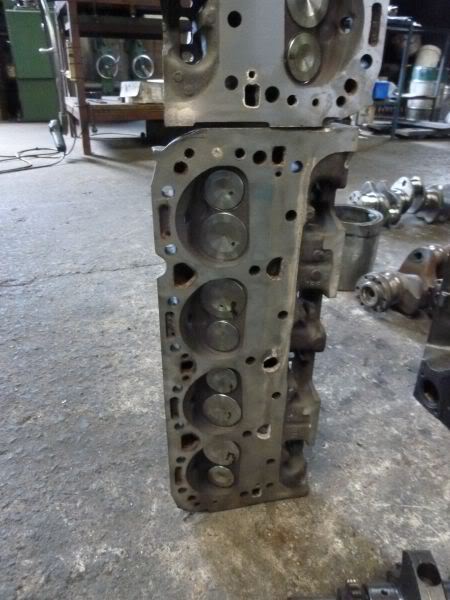
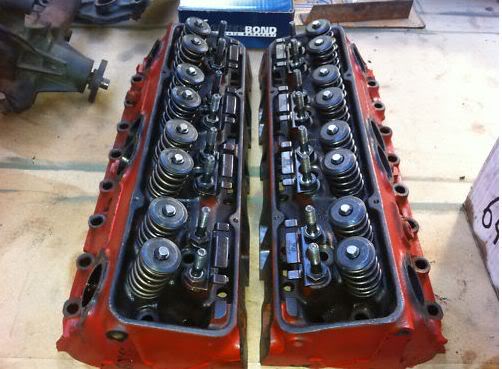
They cleaned up real nice, new valves etc etc.
Will strip the engine of its accessories, exhaust etc in next few months and get the block pulled and the full engine build can start. :-)
Type 186 Later hi-perf or “fuelie” heads, some 186 (‘69 & later) & all 492 have accessory bolt holes; 1.94/1.50 or 2.02/1.60 valves; 64cc chambers.
They cleaned up real nice, new valves etc etc.
Will strip the engine of its accessories, exhaust etc in next few months and get the block pulled and the full engine build can start. :-)
Last edited by CraigH; 04-10-2023 at 04:26 AM.
 02-24-2013, 06:51 PM
#482
Melting Slicks
Thread Starter
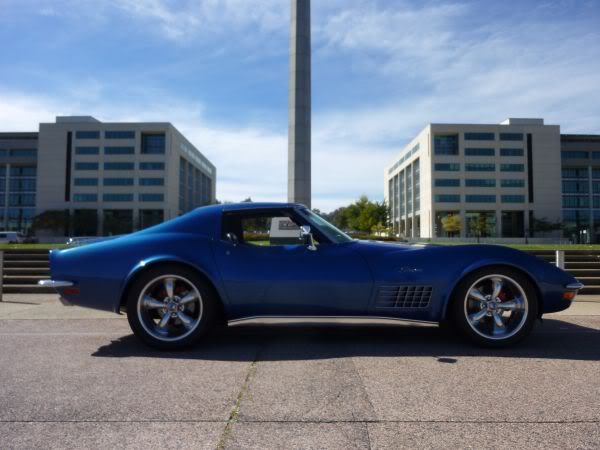
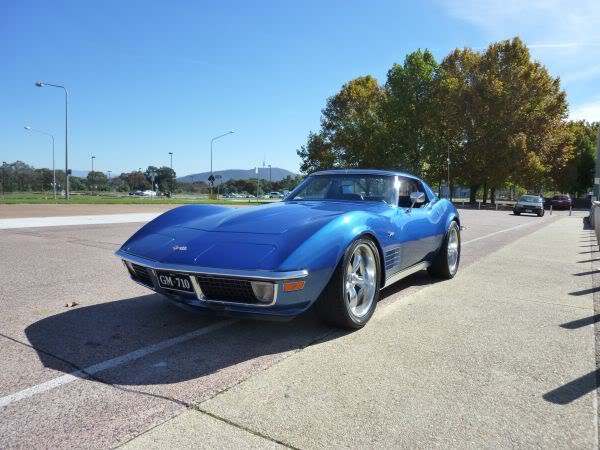
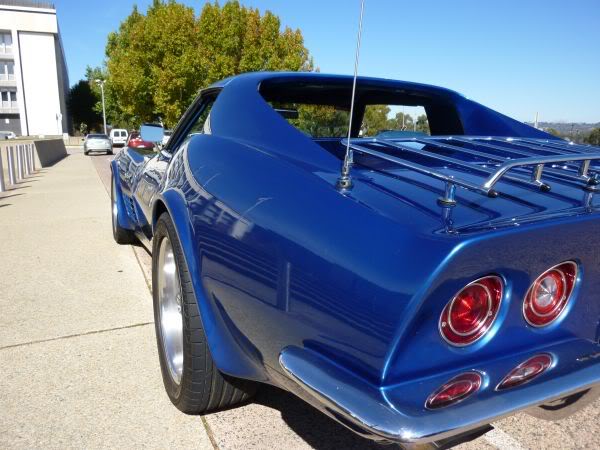
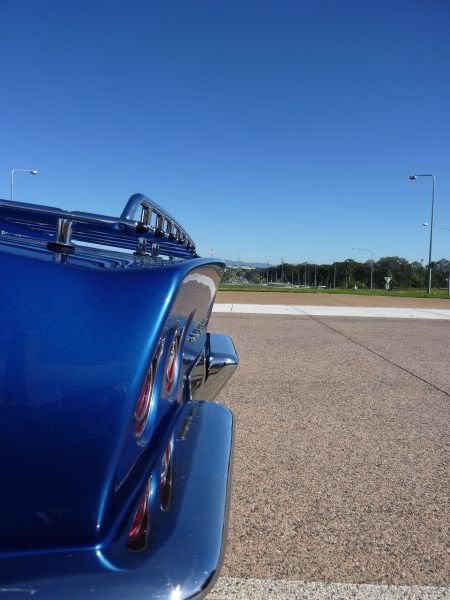
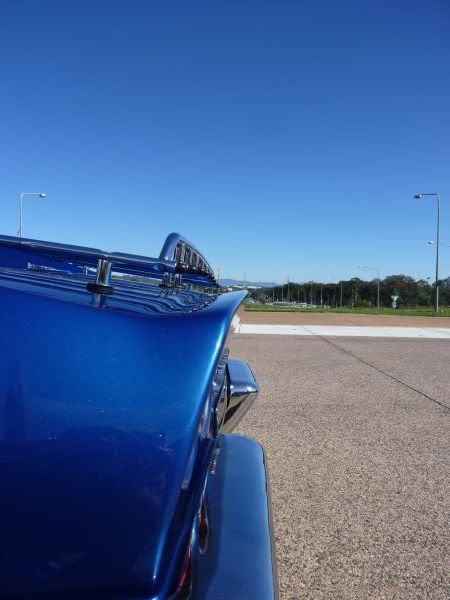
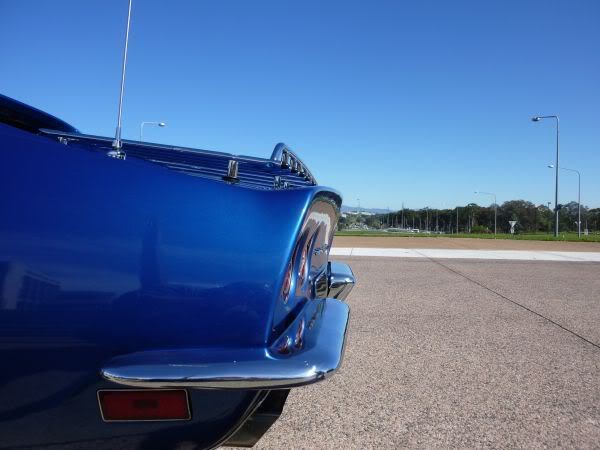
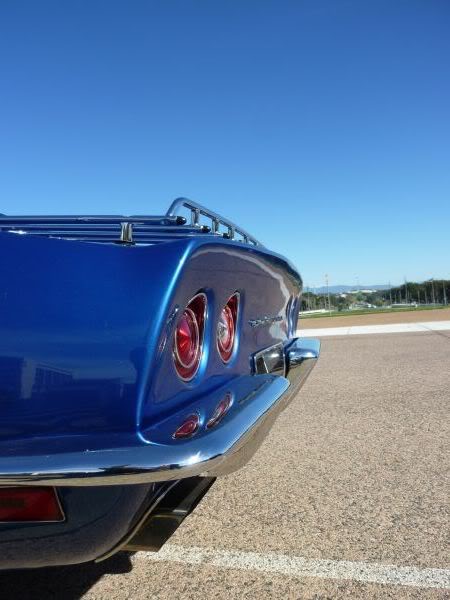
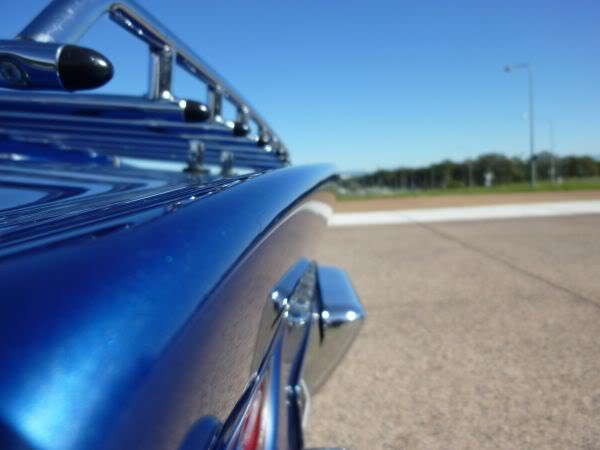
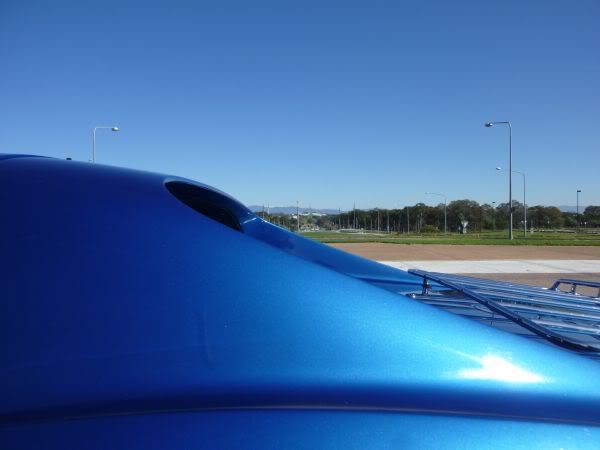
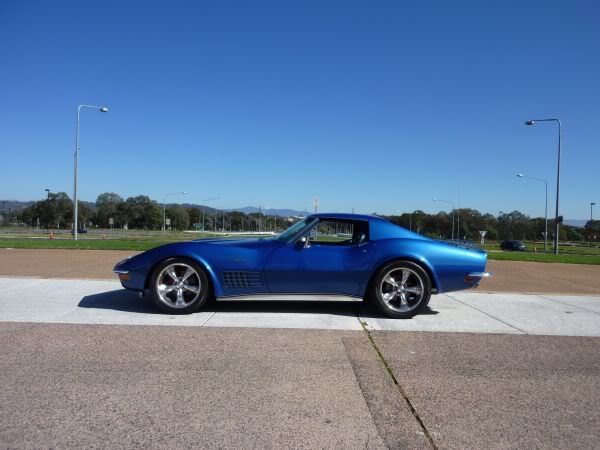
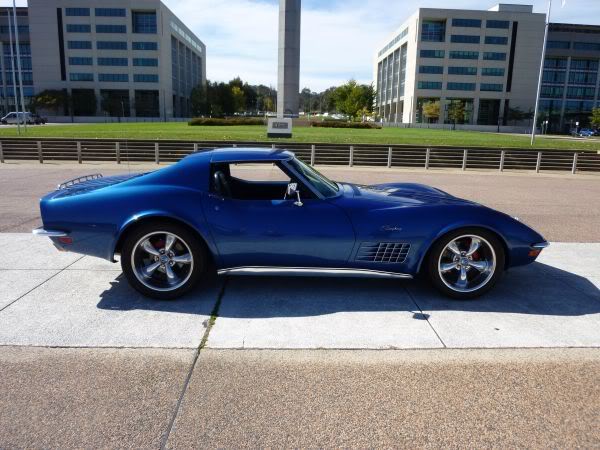
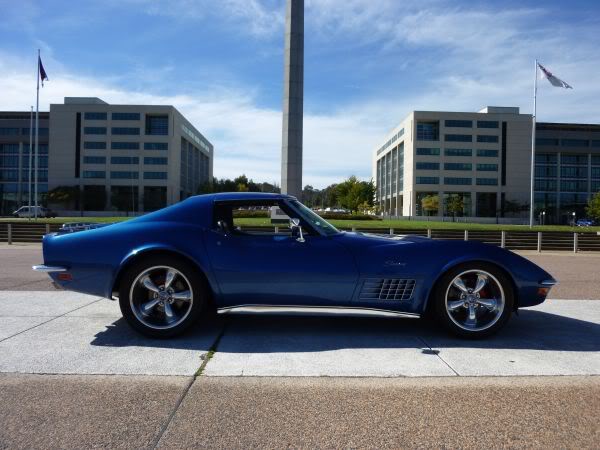
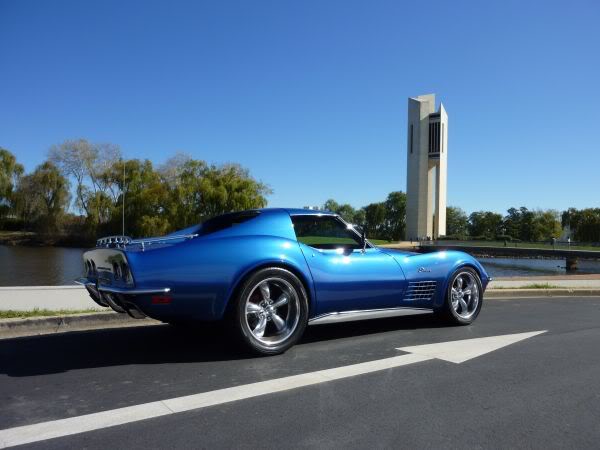
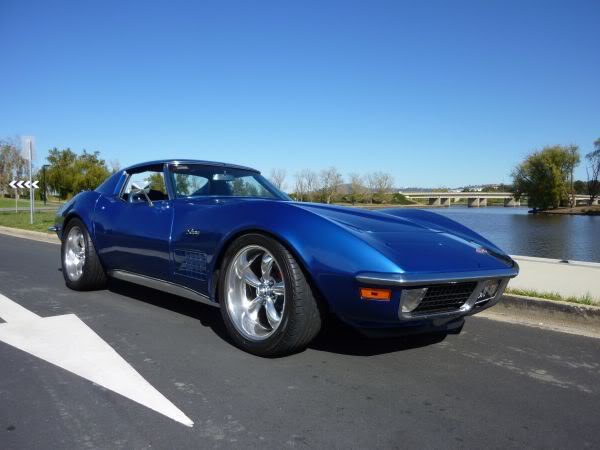
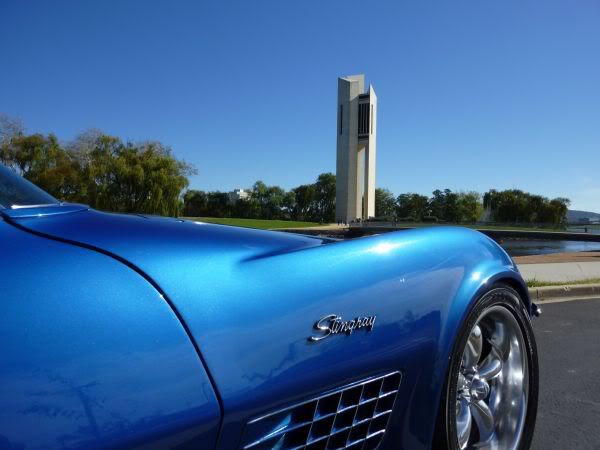
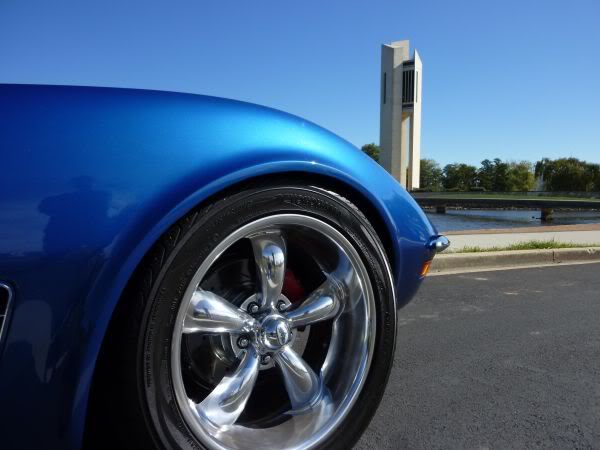
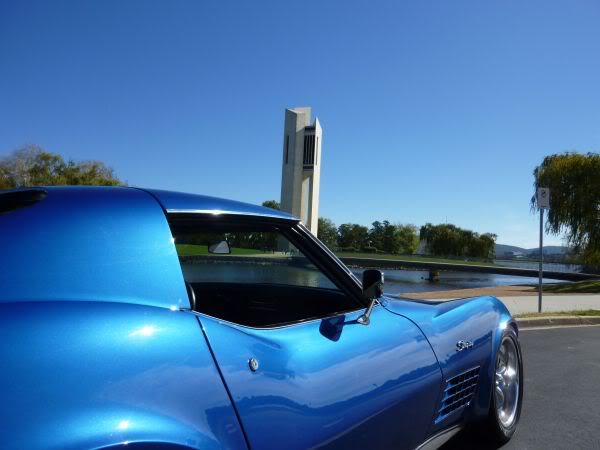
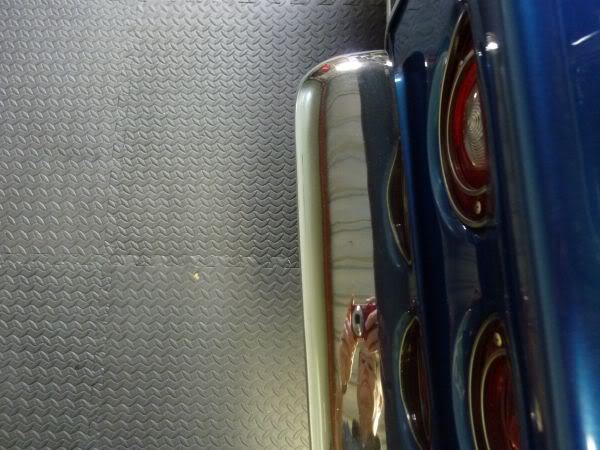
Was in Brisbane last 2 days and got a distant look at a nice early vette.
Not been able to get to much done on mine so this will have to tide me over :-)
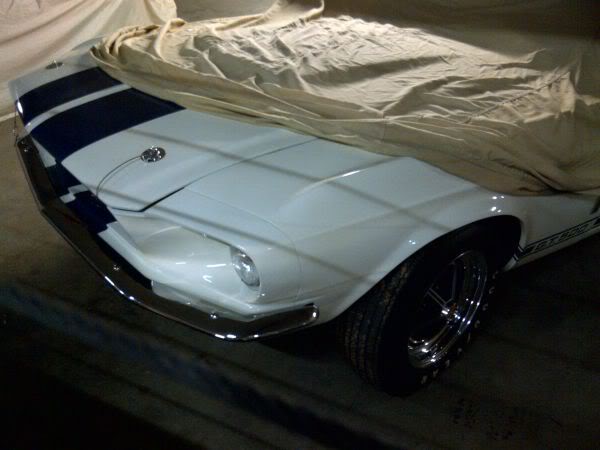
Part of a nice personal collection

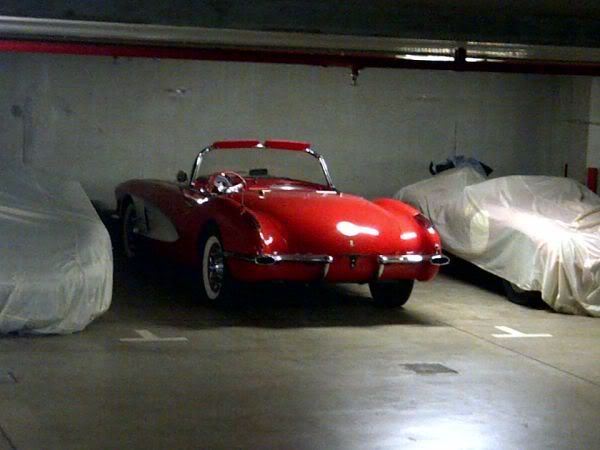

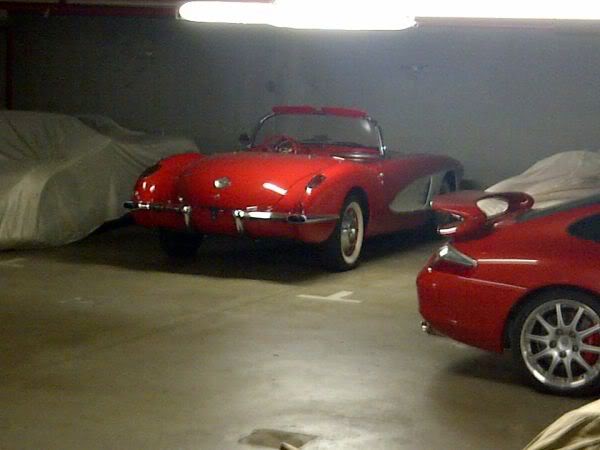
Lot of other nice cars there as well
Not been able to get to much done on mine so this will have to tide me over :-)
Part of a nice personal collection
Lot of other nice cars there as well
Last edited by CraigH; 04-10-2023 at 04:26 AM.
02-24-2013, 06:51 PM
#483
Melting Slicks
Thread Starter
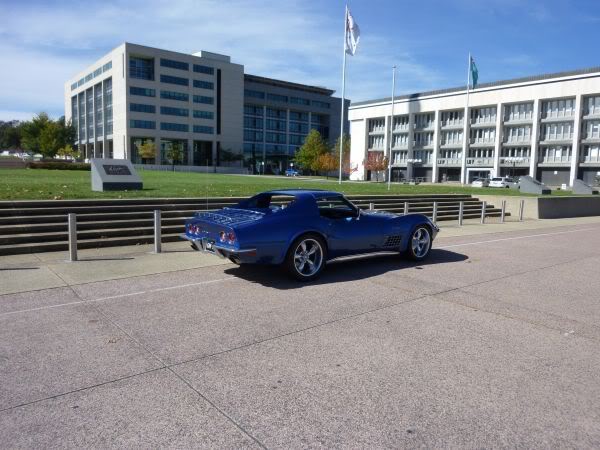
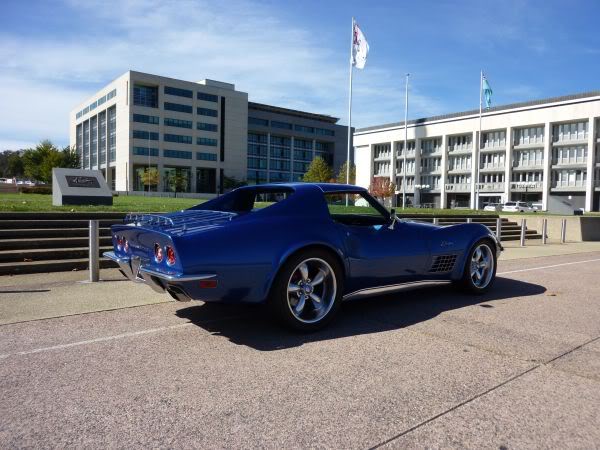
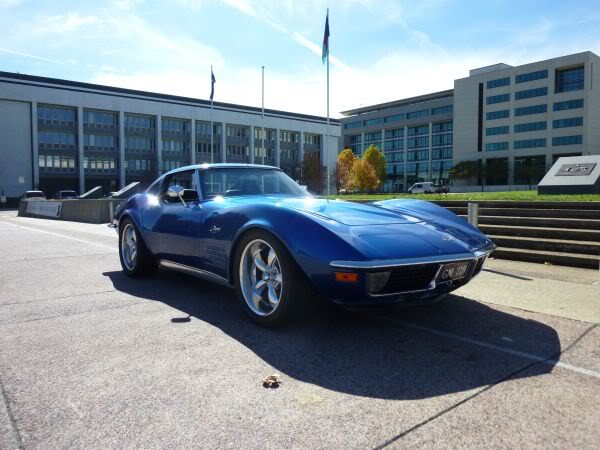
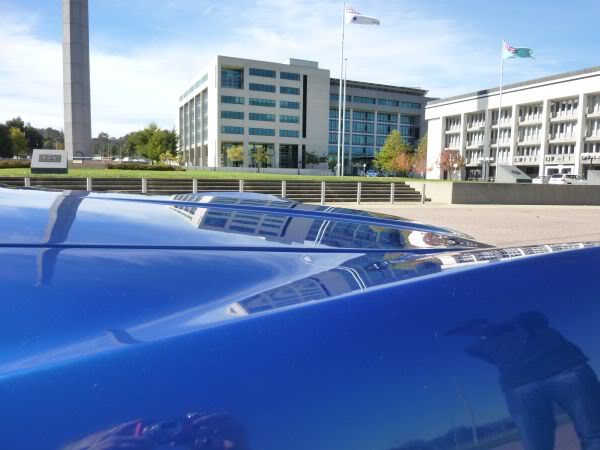
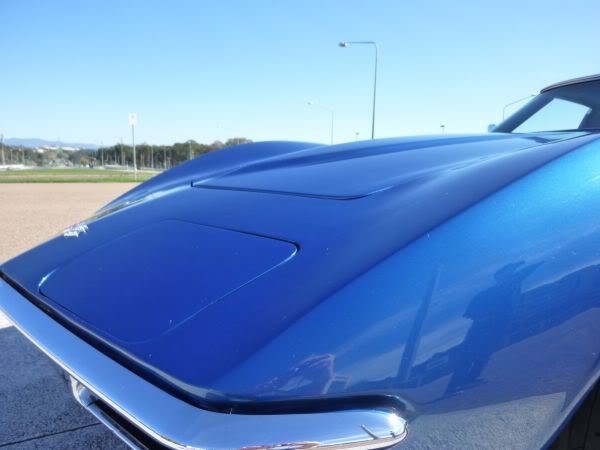
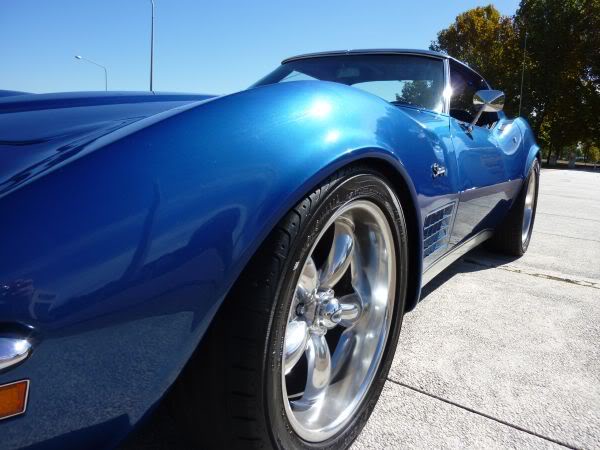
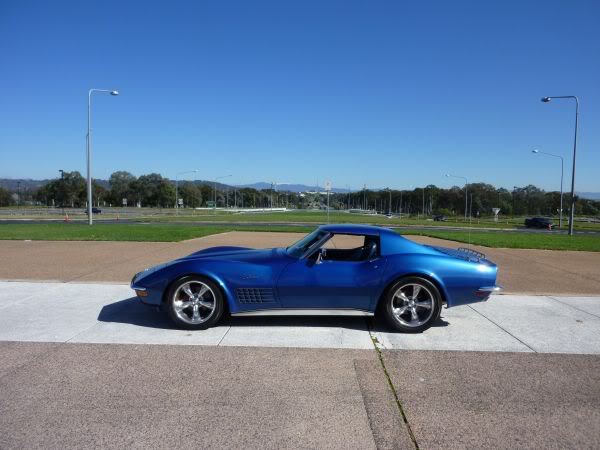
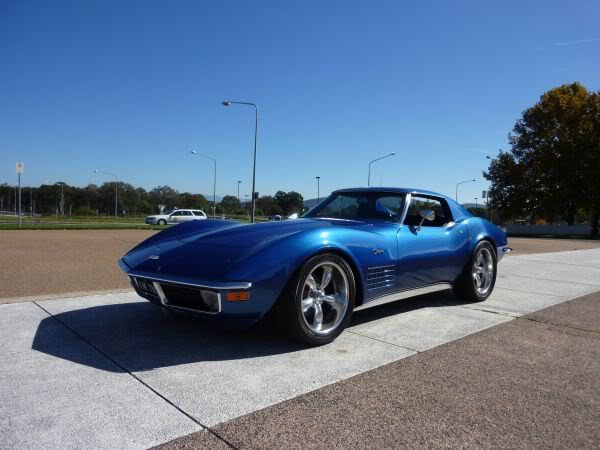
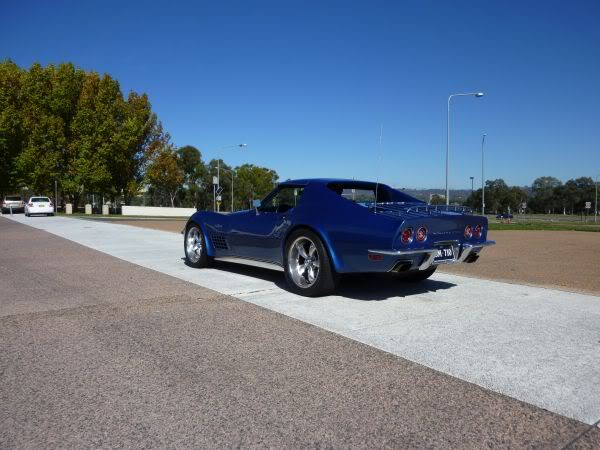
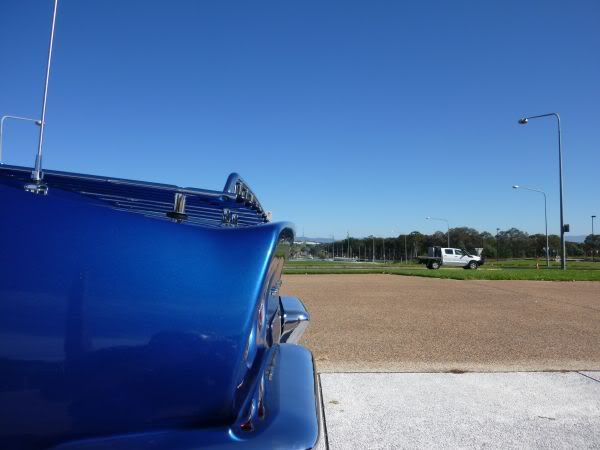
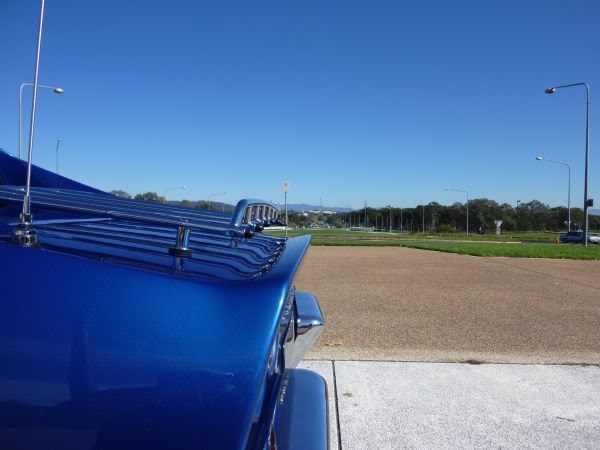
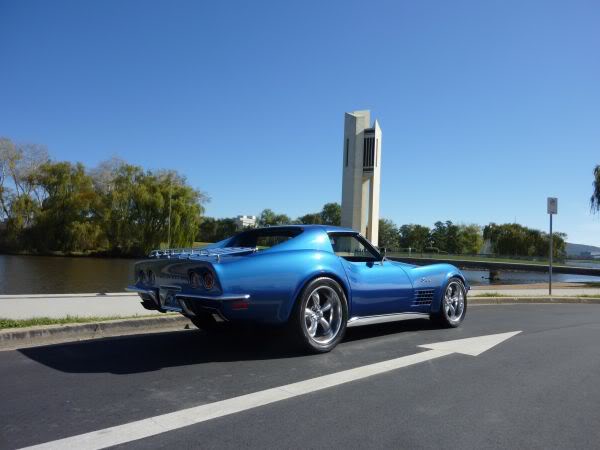
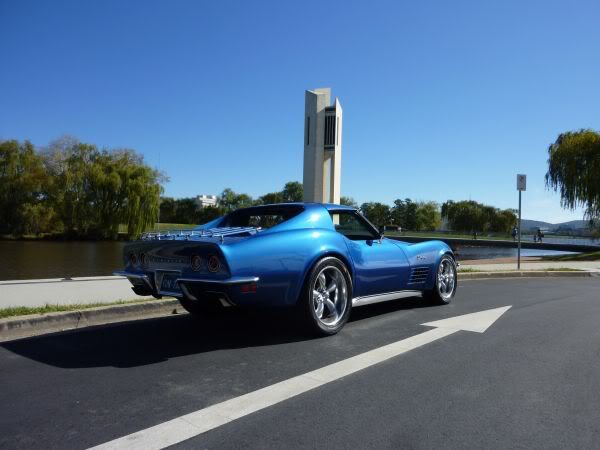
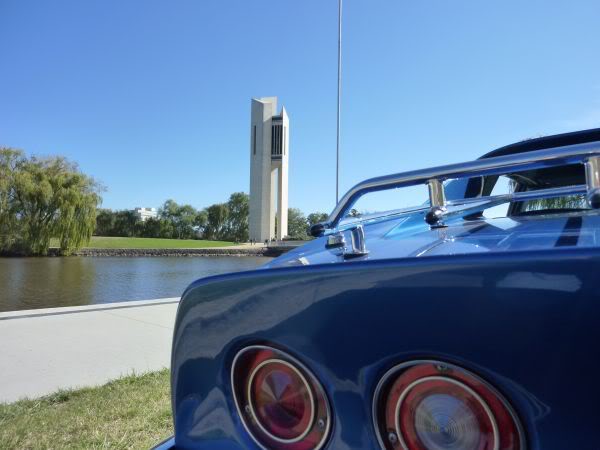
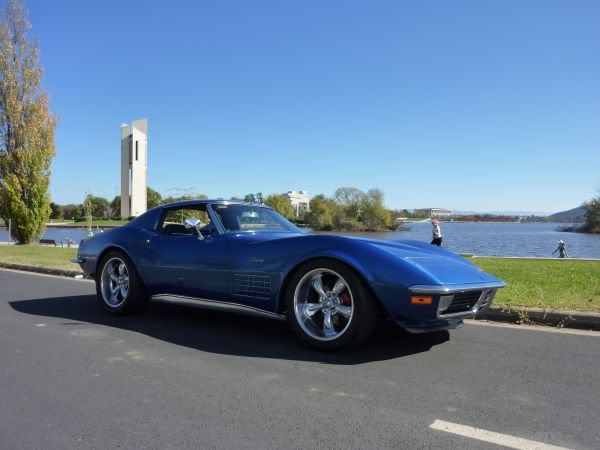
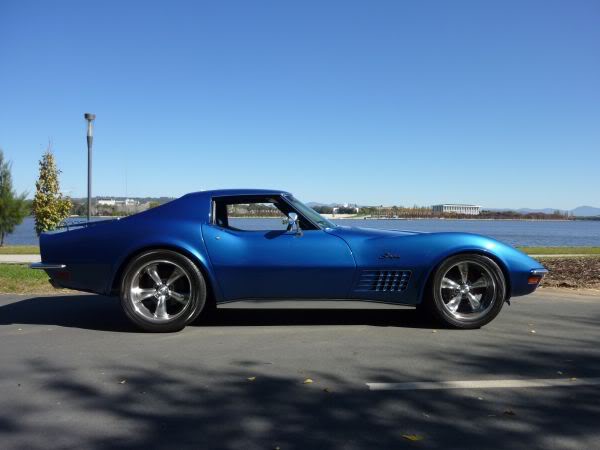
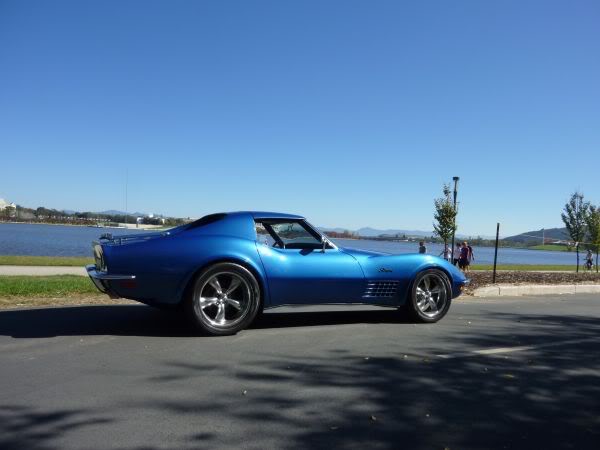
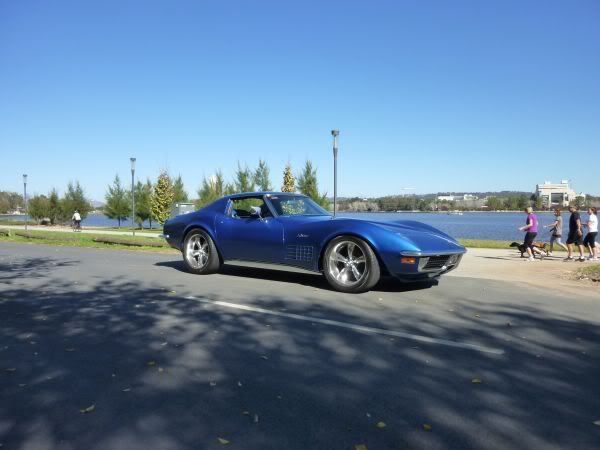
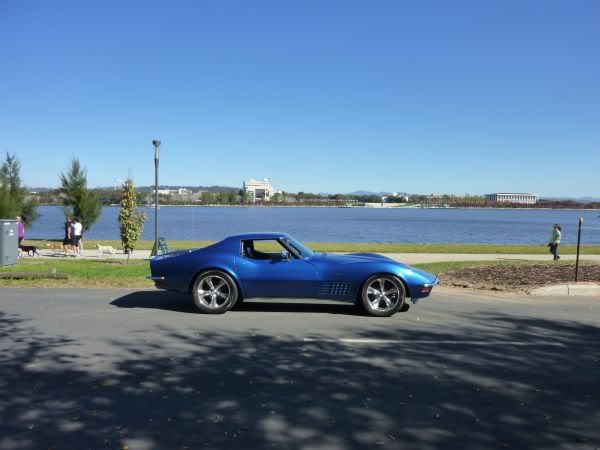
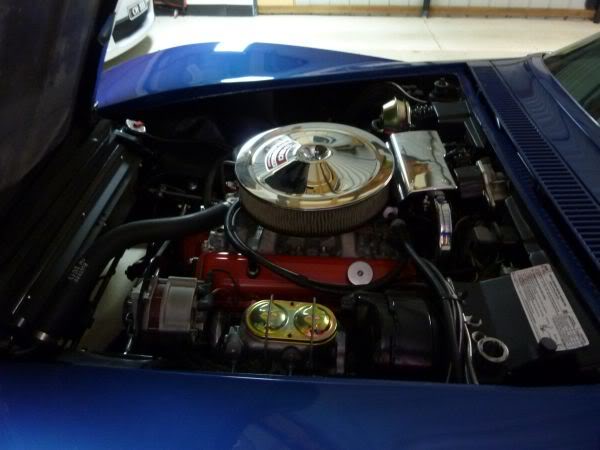
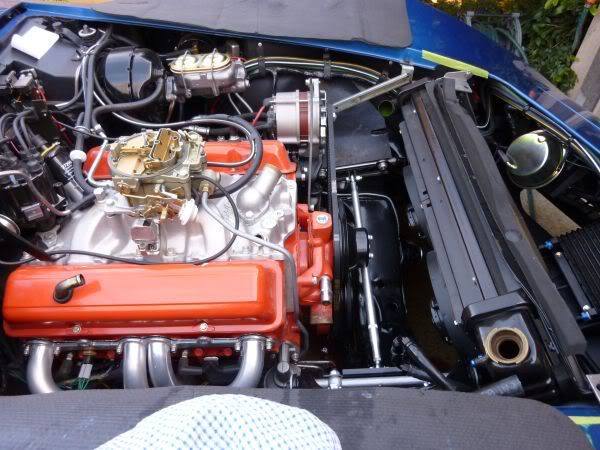
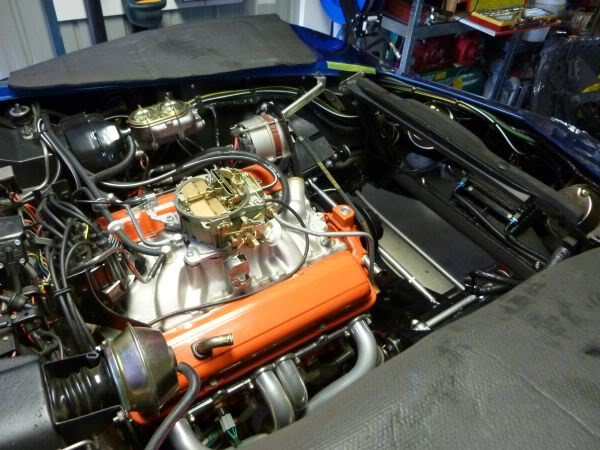
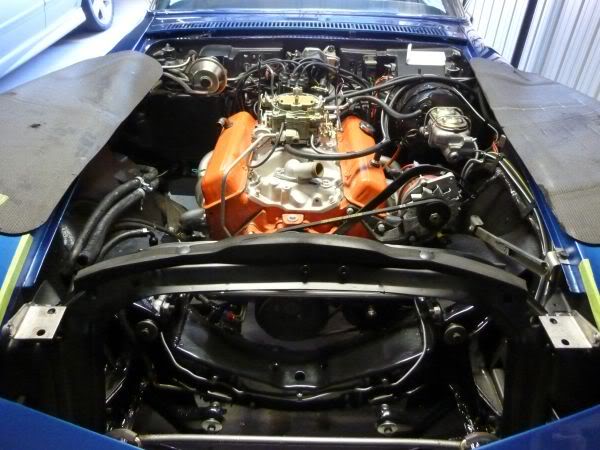
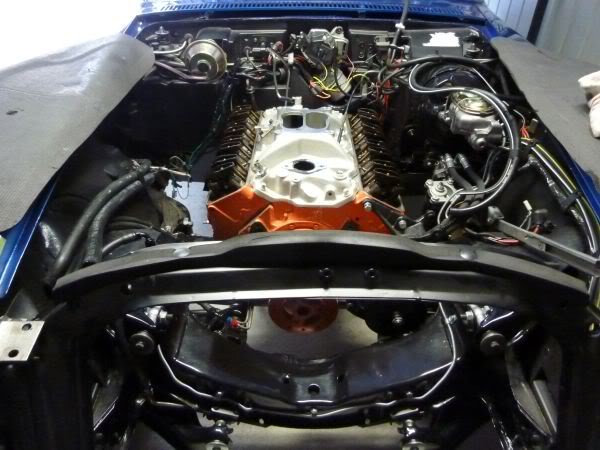
I took a few shots today before I start stripping the engine down.
Should have done it earlier in the day as the shadow is not good on some of them.


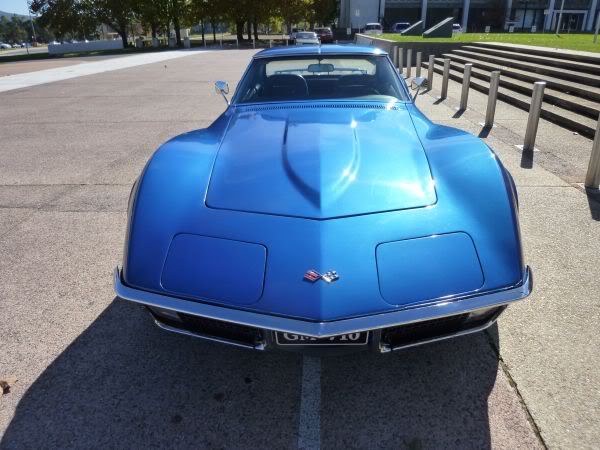
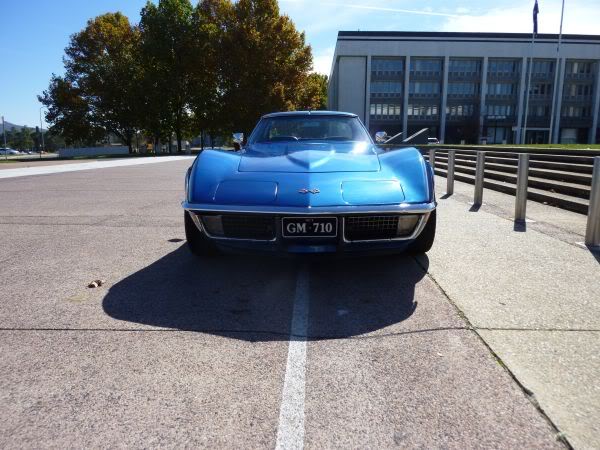
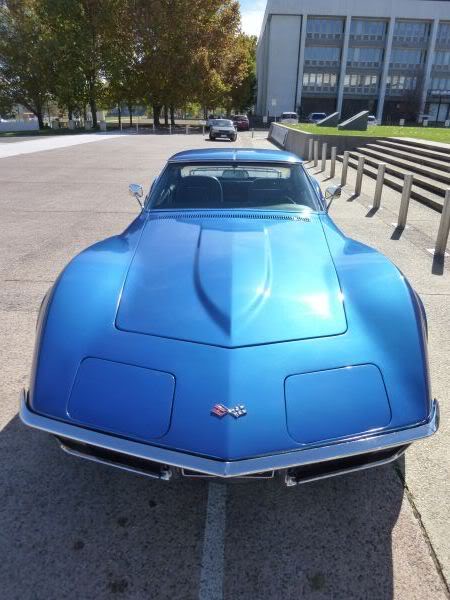
Should have done it earlier in the day as the shadow is not good on some of them.
Last edited by CraigH; 04-10-2023 at 04:24 AM.


 02-24-2013, 06:54 PM
#486
Melting Slicks
Thread Starter
Getting the transmission Dipstick in and out has always been a pain so I modified the ignition shield.
Using a nibbler then a sanding drum I took about 10mm out of it around the dipstick and blended it back.
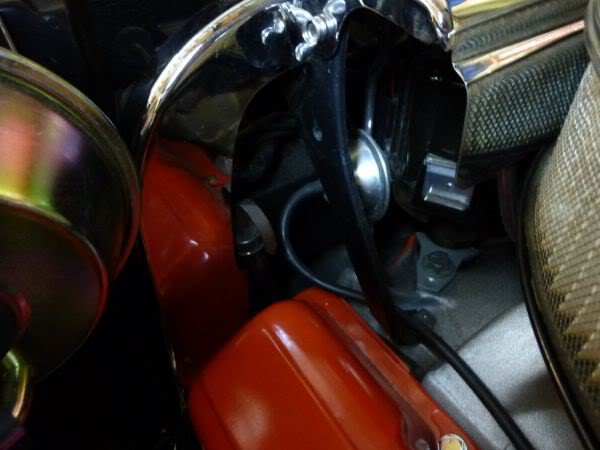
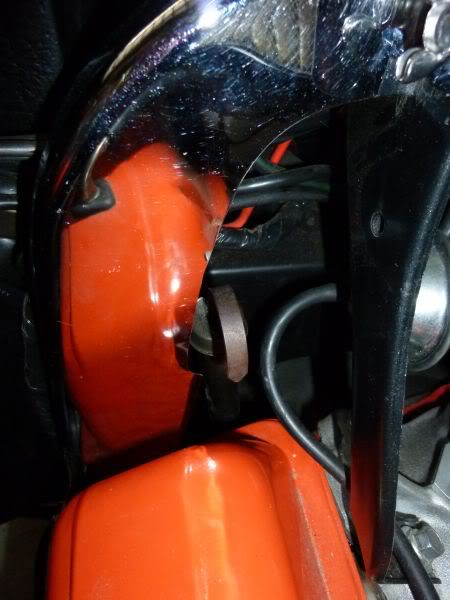
Using a nibbler then a sanding drum I took about 10mm out of it around the dipstick and blended it back.
Last edited by CraigH; 04-10-2023 at 04:24 AM.
02-24-2013, 06:55 PM
#487
Melting Slicks
Thread Starter
Had a little time so i thought I would check out the vacuum tank I got last year.
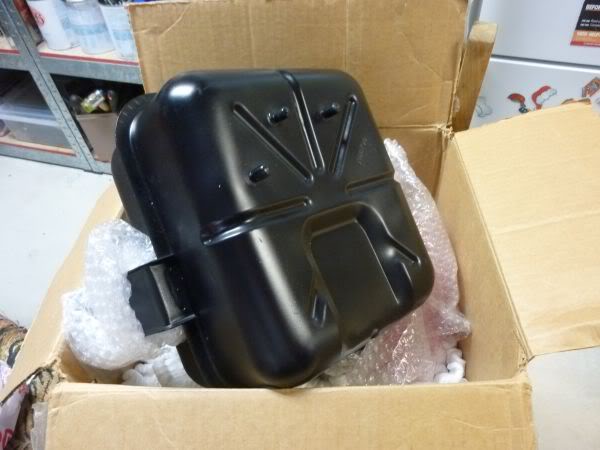
Was meant to be fully restored - Yeah :-)
Seemed to hold vacuum sort of ok but not good enough
So I had a close look at it and noticed there was some bog in a few spots.
Ground it all out and found at least 2 cracks filled with bog rather than welded up.
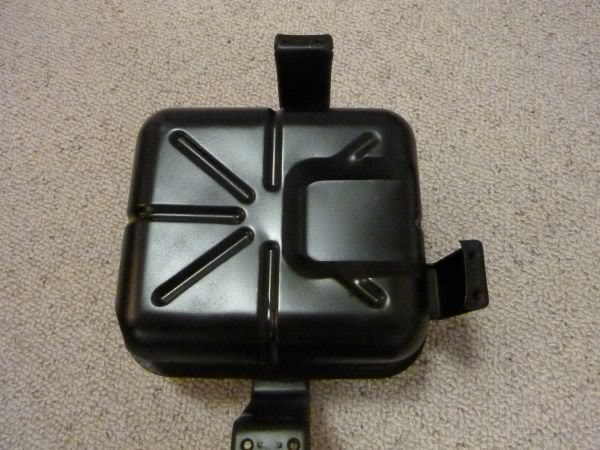
Dropped it off at my media blaster to get stripped and he will braise up the cracks and we will start again.
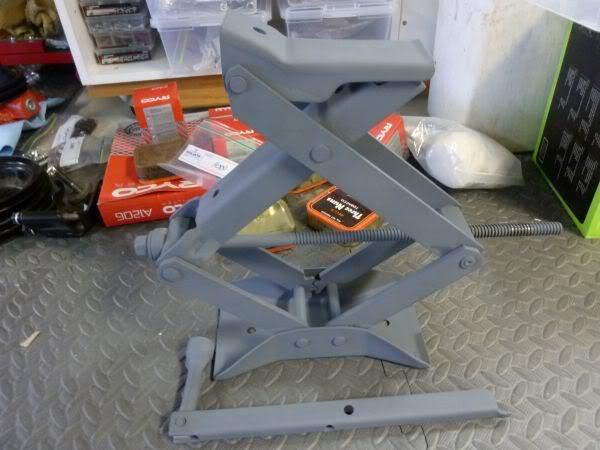
Also dropped off the jack to get blasted so i can paint it again.
Was meant to be fully restored - Yeah :-)
Seemed to hold vacuum sort of ok but not good enough
So I had a close look at it and noticed there was some bog in a few spots.
Ground it all out and found at least 2 cracks filled with bog rather than welded up.
Dropped it off at my media blaster to get stripped and he will braise up the cracks and we will start again.
Also dropped off the jack to get blasted so i can paint it again.
Last edited by CraigH; 04-10-2023 at 04:24 AM.
02-24-2013, 06:55 PM
#488
Melting Slicks
Thread Starter
I was going to paint my garage floor but ended up picking up some anti fatigue flooring from Costco.
Was like playing with Lego - which I enjoy :-)

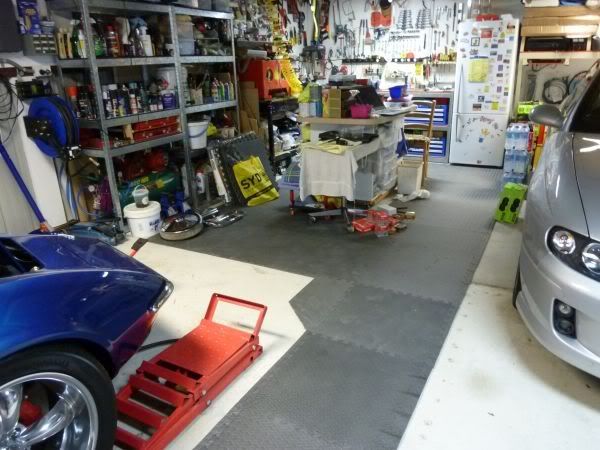
Less than $160 for what I did
Seems fairly robust, trolley jack did not rip it but if you dragged over it every day I am sure it would, just need to be careful.
Will protect things that get dropped around benches as well.
Was like playing with Lego - which I enjoy :-)
Less than $160 for what I did
Seems fairly robust, trolley jack did not rip it but if you dragged over it every day I am sure it would, just need to be careful.
Will protect things that get dropped around benches as well.
Last edited by CraigH; 04-10-2023 at 04:23 AM.
 02-24-2013, 06:56 PM
#490
Melting Slicks
Thread Starter
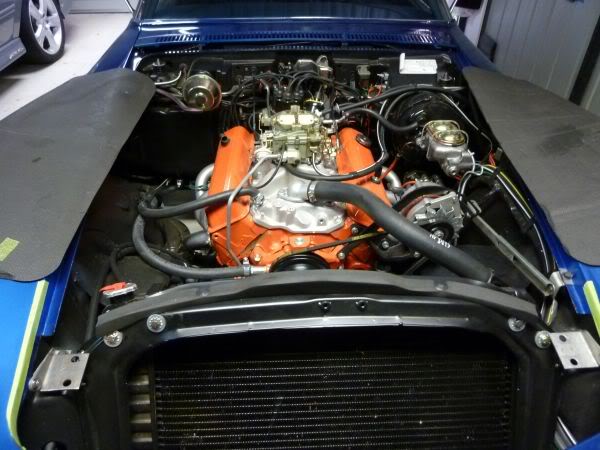
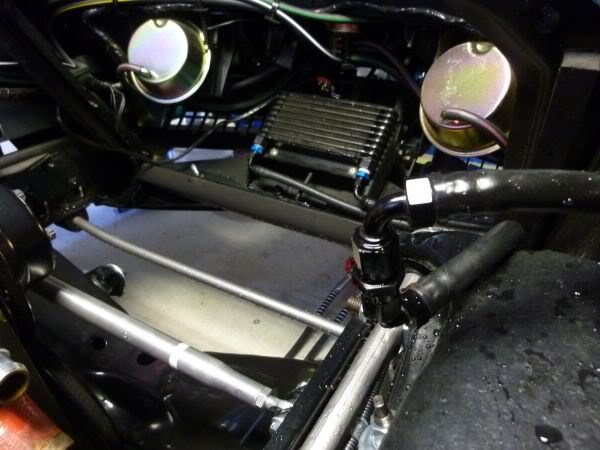
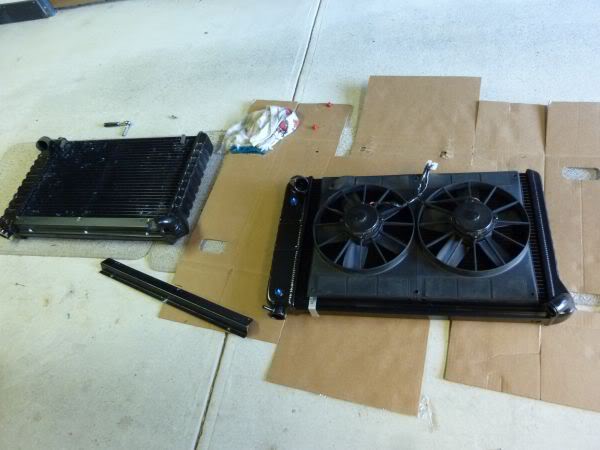
Spent an hour this morning and got a bit done ....
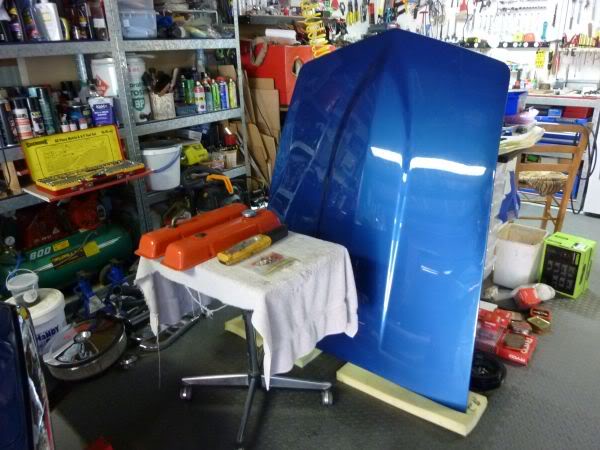
- Took off the hood
- Re Routed the Trans Cooler line
- Drained Radiator
- Removed Radiator Hoses
- Flushed heater core
- Removed Thermo Fans
- Removed Radiator
- Took off the hood
- Re Routed the Trans Cooler line
- Drained Radiator
- Removed Radiator Hoses
- Flushed heater core
- Removed Thermo Fans
- Removed Radiator
Last edited by CraigH; 04-10-2023 at 04:23 AM.
 02-24-2013, 07:03 PM
#492
Melting Slicks
Thread Starter
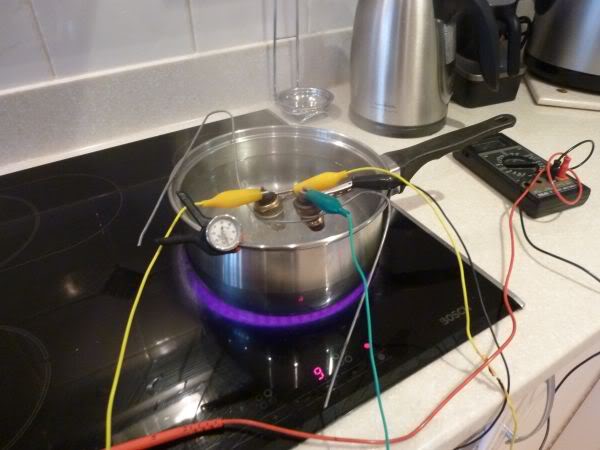
Have been testing temperature senders to get one that gives the proper readings for the early C3's.
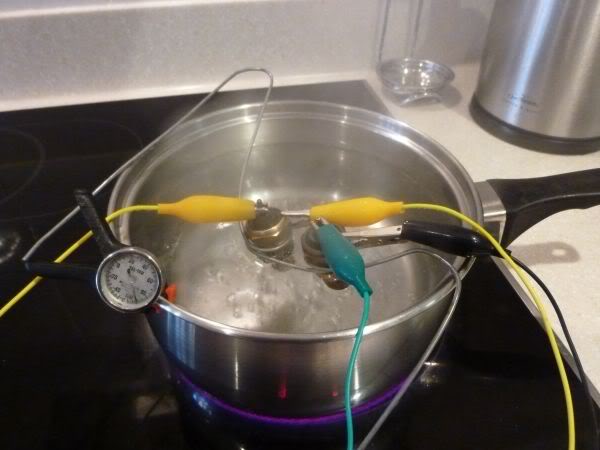
Needs to be
Temp Ohms
100 220
Mark 109
210 79
Mark 65
250 51
Neither hit the mark.
Needs to be
Temp Ohms
100 220
Mark 109
210 79
Mark 65
250 51
Neither hit the mark.
Last edited by CraigH; 04-10-2023 at 04:23 AM.
 02-24-2013, 09:08 PM
#494
Melting Slicks
Thread Starter
New aluminum radiator has a different top and bottom so will need new mount brackets for the fans.
Mocked up bracket out of strip aluminum then will get it bent full width.
Should mount without any screws into the radiator plates.
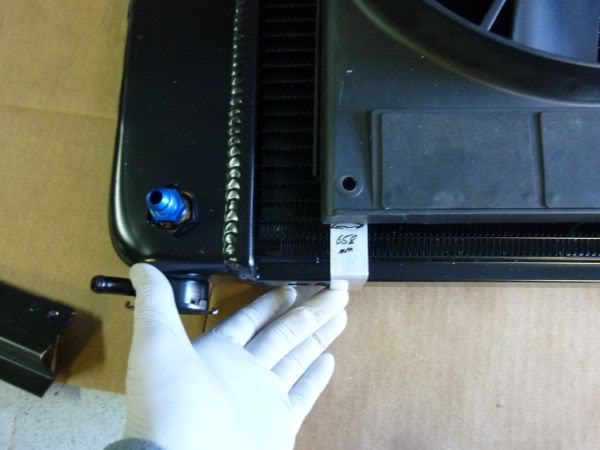

Mocked up bracket out of strip aluminum then will get it bent full width.
Should mount without any screws into the radiator plates.
Last edited by CraigH; 04-10-2023 at 04:22 AM.
02-24-2013, 09:08 PM
#495
Melting Slicks
Thread Starter
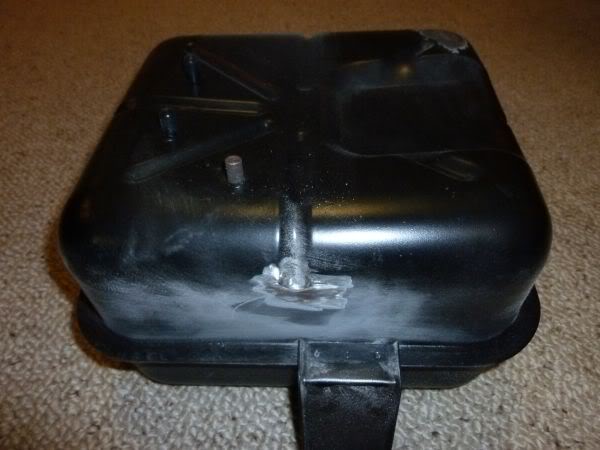
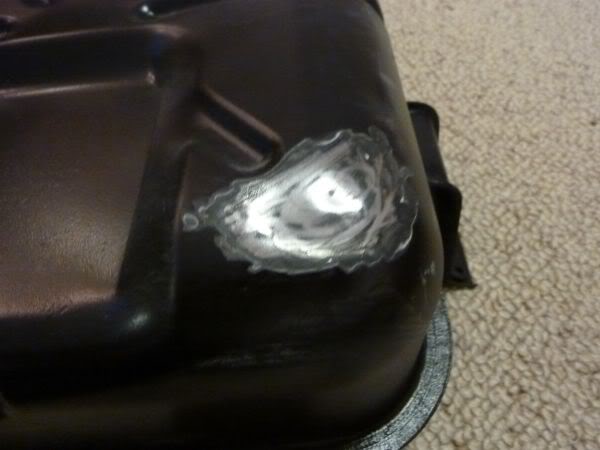
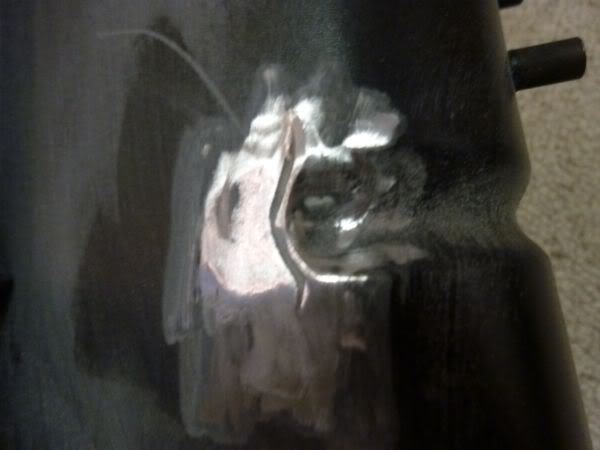
After media blasting the Vacuum tank we found 6 cracks in the tank !!!!!!
The company I got it from said it had been restored...yeah :evil:
They had bogged over every crack !!!!
Well after they are all braised up I should be good.
The company I got it from said it had been restored...yeah :evil:
They had bogged over every crack !!!!
Well after they are all braised up I should be good.
02-24-2013, 09:55 PM
#496
Melting Slicks
Thread Starter
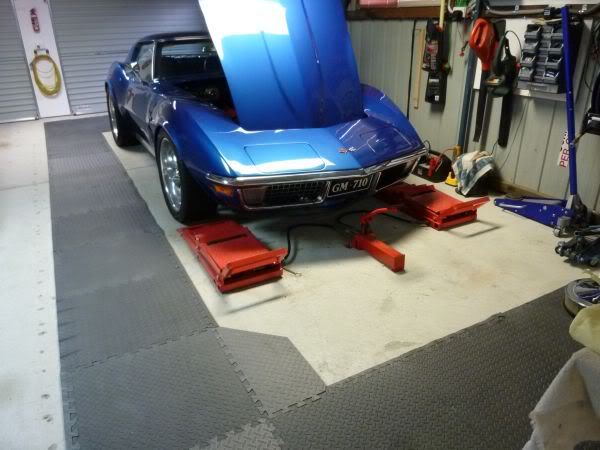
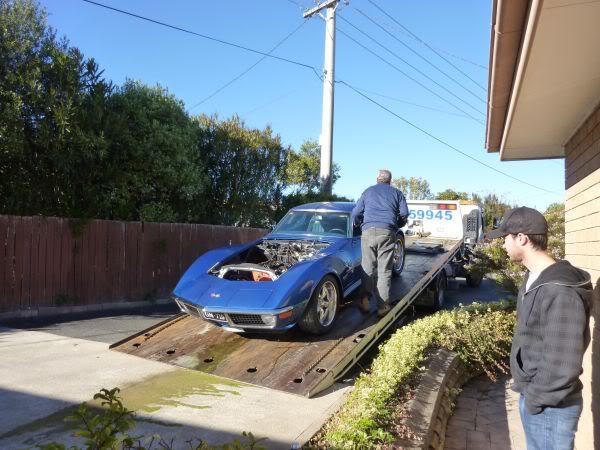
Had the Vette taken out to QIM this morning so the engine can get removed and work can start on the rebuild.


Last edited by CraigH; 04-10-2023 at 04:22 AM.
 02-24-2013, 09:56 PM
#498
Melting Slicks
Thread Starter
Originally Posted by riverracer
hope you show us lots of pic's of the engine build process.
have you chosen a bumpy stick yet to go with the 186 heads and 2101 manifold?
are you going 383 still, mild or wild?
just out of interest what casting # heads do you have on there at the moment?
:o
have you chosen a bumpy stick yet to go with the 186 heads and 2101 manifold?
are you going 383 still, mild or wild?
just out of interest what casting # heads do you have on there at the moment?
:o
"�71-�76 76cc, best large-chamber head; 1.94/1.50 & 2.02/1.60 valves available; latter machined for screw-in studs & guideplates"
Have asked engine builder to do photos for me but we will see how many I get.
When I am not traveling I will pop out to see what its up to and shoot any others that I can.
First step is strip down and clean up etc.
See if its been bored previously.
Then he can order correct Scat stroker crank, pistons etc.
So yes 383 is the route, with only a moderate cam that will be a bit more tame with the extra cubes.
With the 186 heads we will have farly high compression as well.
Terry from QIM is selecting the kit.
I am not building an engine for down the 1/4 mile just nothing too wild, I want it to be reliable and very drivable.
Remember from the outside it must look like a 350/270 down to steel valve covers.
02-24-2013, 09:58 PM
#499
Melting Slicks
Thread Starter
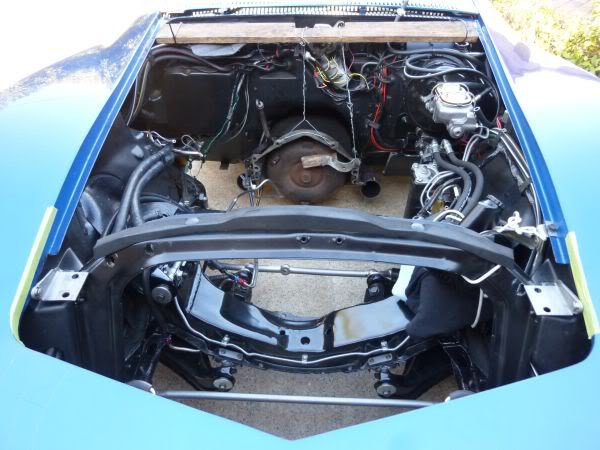
To fit the vacuum canister I need to move the Charcoal Canister down to where it should have been.
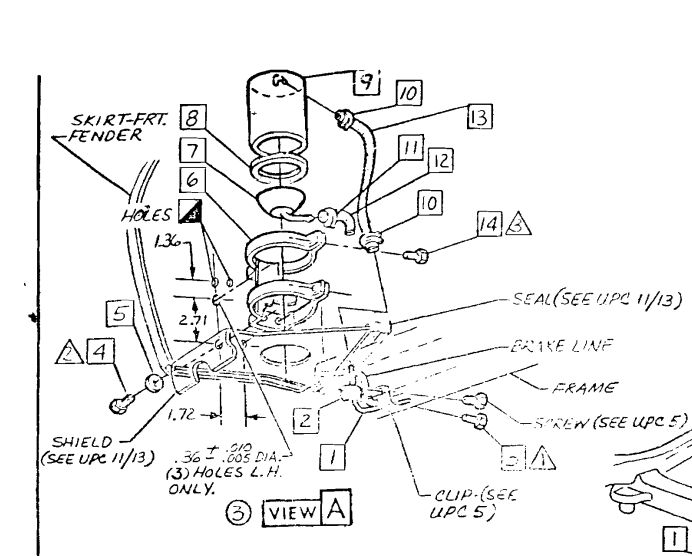
Most measurements were in the AIM but I needed some i got from asking on the NCRS forum.
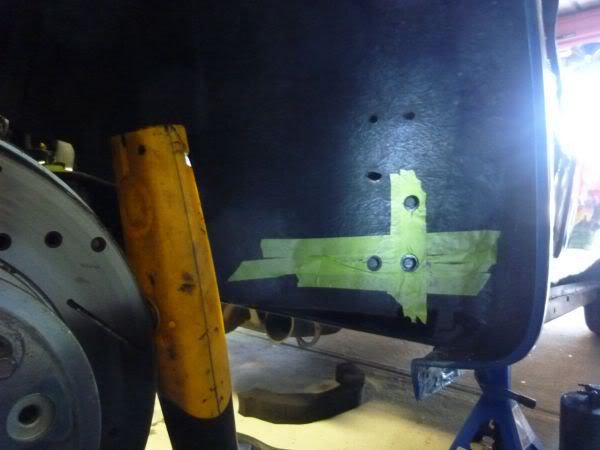
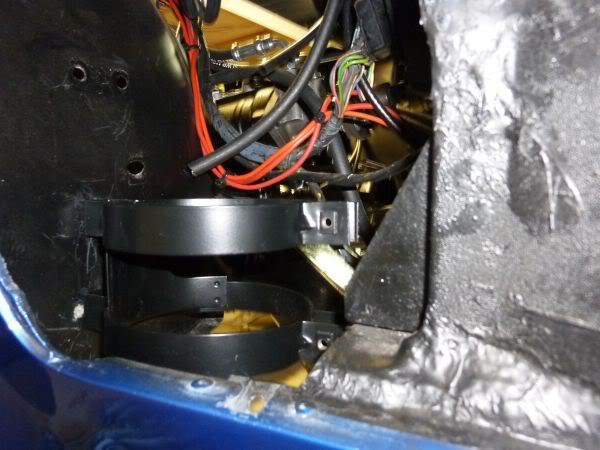
Now I have bolt holes that will need to be glassed up.
Most measurements were in the AIM but I needed some i got from asking on the NCRS forum.
Now I have bolt holes that will need to be glassed up.
Last edited by CraigH; 04-10-2023 at 04:21 AM.
02-24-2013, 09:58 PM
#500
Melting Slicks
Thread Starter
June 2012
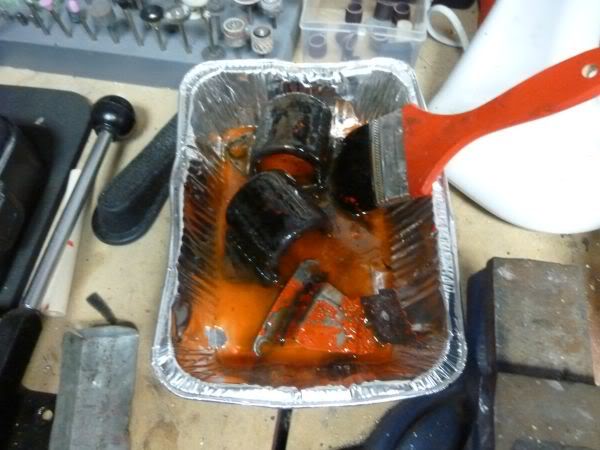
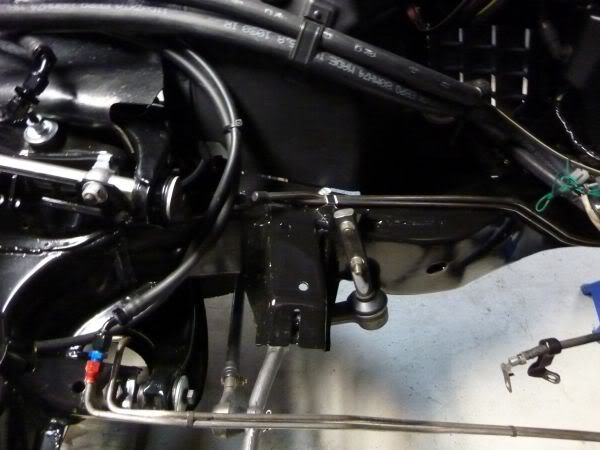
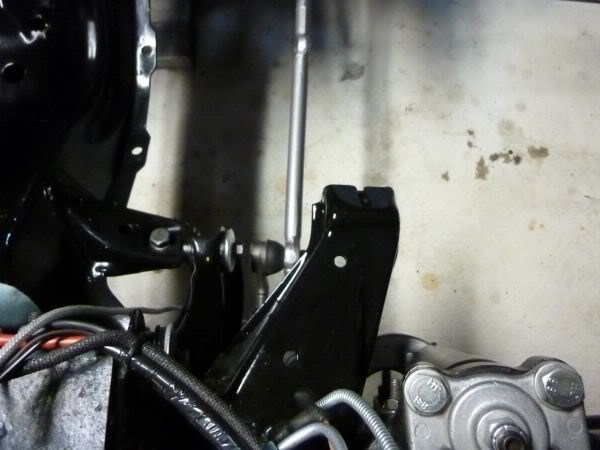
When I painted the frame before I could not get into where the mounts covered it so now i can go back and do that.
Cleaned up and wet sanded the mounts.
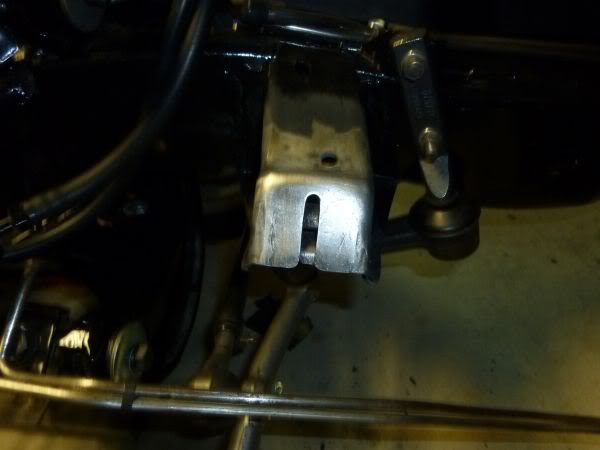
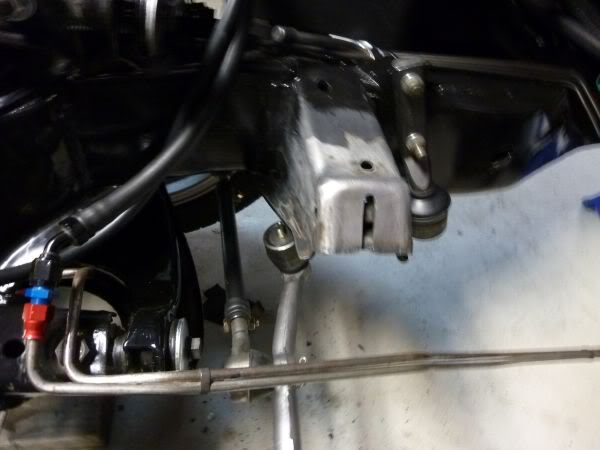
Then painted them with a first coat of enamel.
When I painted the frame before I could not get into where the mounts covered it so now i can go back and do that.
Cleaned up and wet sanded the mounts.
Then painted them with a first coat of enamel.
Last edited by CraigH; 04-10-2023 at 04:21 AM.