1971 Journey
 02-22-2013, 08:53 PM
#381
Melting Slicks

Thread Starter


Shape has now been refined and a laser cut panel done in textured black plastic.
Am very happy with the look but am going to get Ralph to get a smooth satin black sheet to try one.
Its just a consistency thing, there is lots of textured finish in the console etc but all the text in the vette is on smooth surfaces.
We have tried to find a font as similar to those used in 71 on gauges and trim.
Last edited by CraigH; 04-10-2023 at 02:27 AM.
 02-23-2013, 05:02 AM
#382
Melting Slicks
Thread Starter
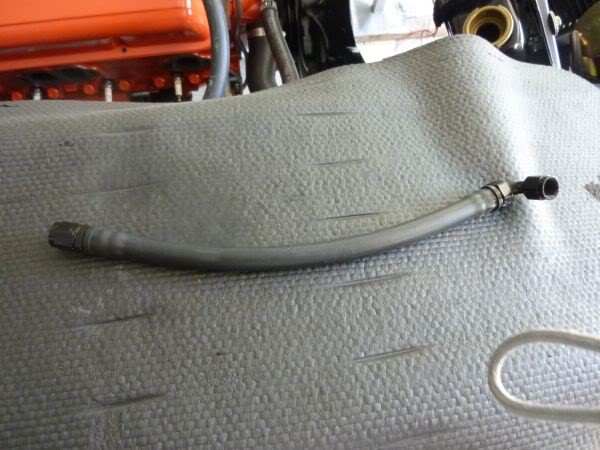
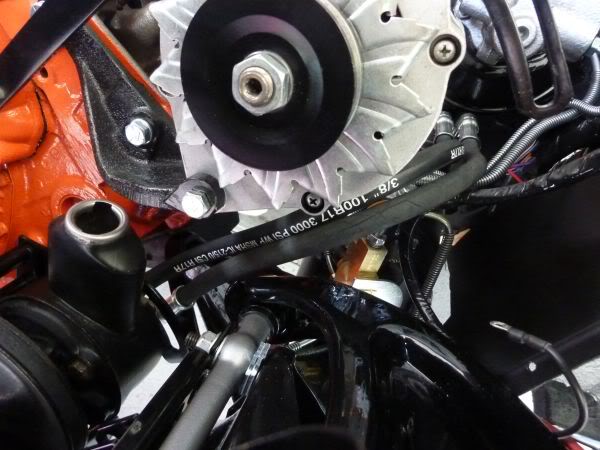
All the cooler lines are now in for the transmission.
Flows Trans > New Cooler > Radiator Cooler > Trans
All done with Russell Twist-Lok
Flows Trans > New Cooler > Radiator Cooler > Trans
All done with Russell Twist-Lok
Last edited by CraigH; 04-10-2023 at 02:27 AM.
02-23-2013, 05:03 AM
#383
Melting Slicks
Thread Starter
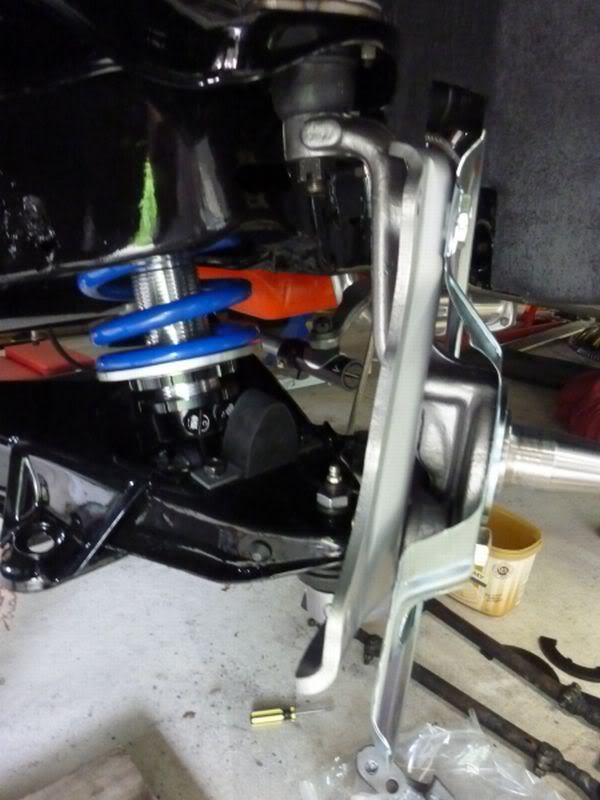
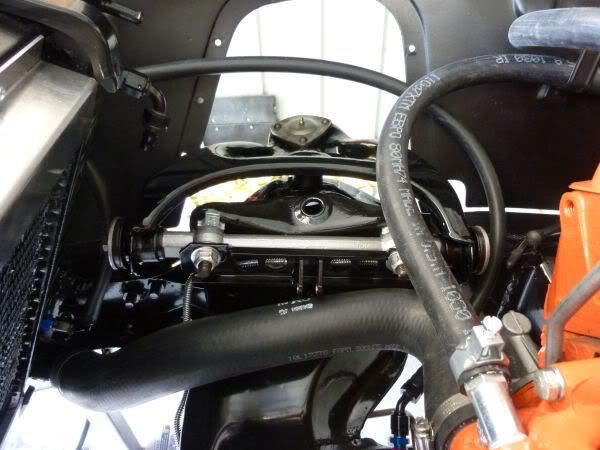
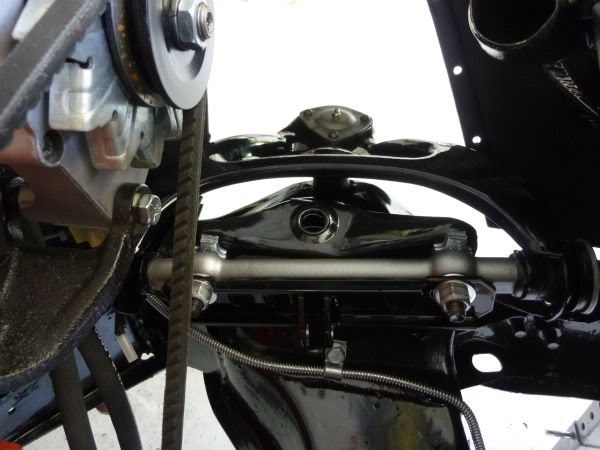
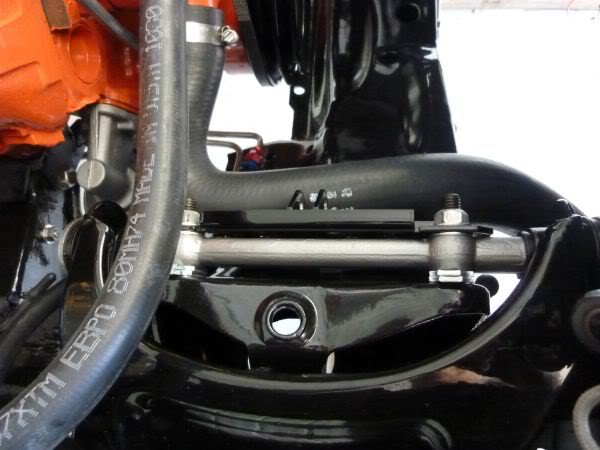
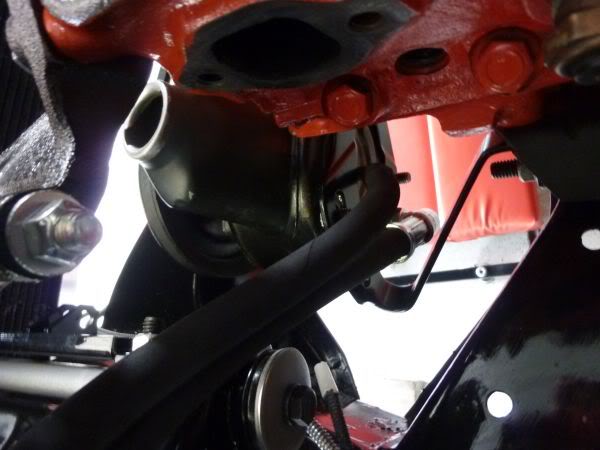
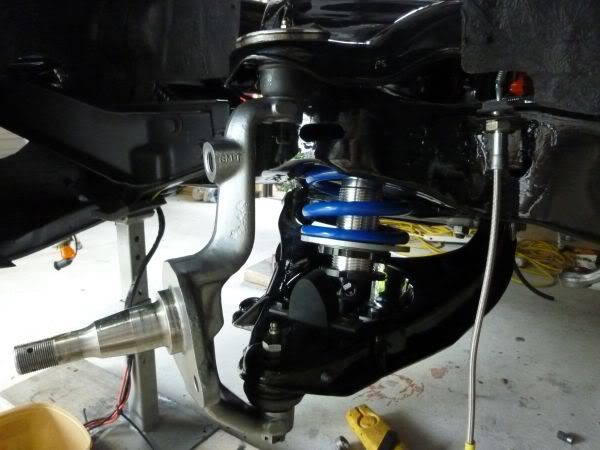
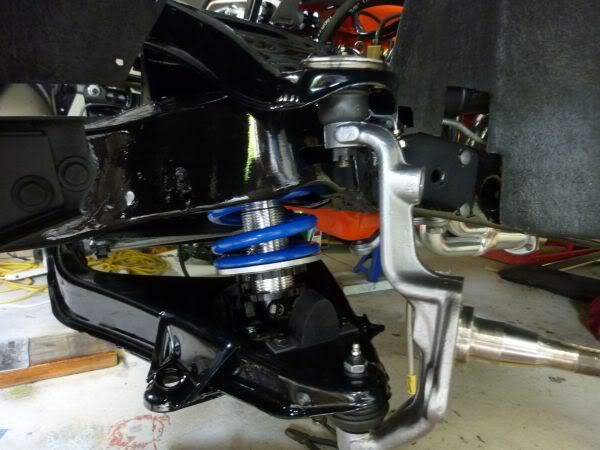
The Upper A-Arms are now mounted as well.
New Rubber stops
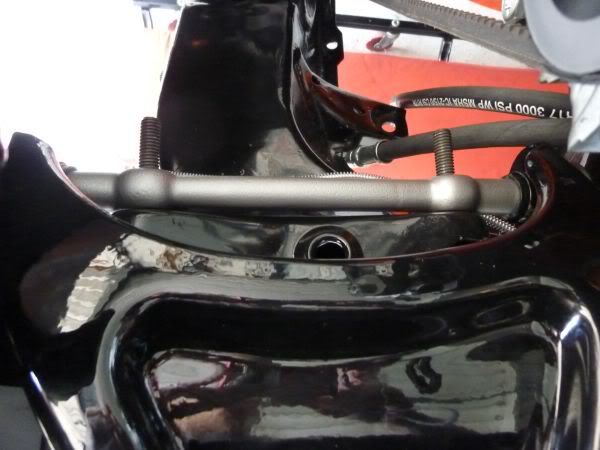
The outer bracket is for the tower brace however Speed Direct must have sent me the wrong bar or end parts as they have different threads. Will ring customer support on Tuesday.
New Rubber stops
The outer bracket is for the tower brace however Speed Direct must have sent me the wrong bar or end parts as they have different threads. Will ring customer support on Tuesday.
Last edited by CraigH; 04-10-2023 at 02:27 AM.
02-23-2013, 05:03 AM
#384
Melting Slicks
Thread Starter
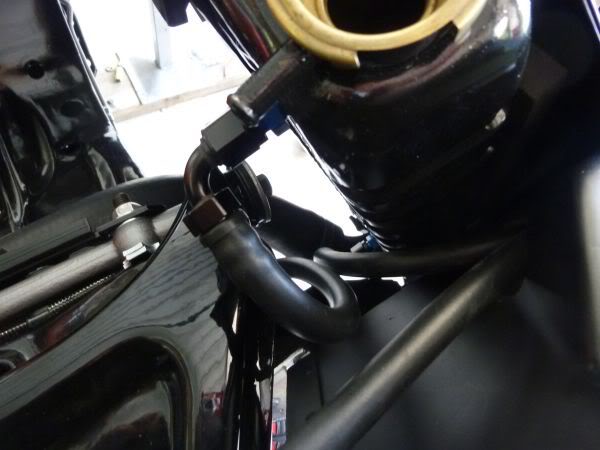
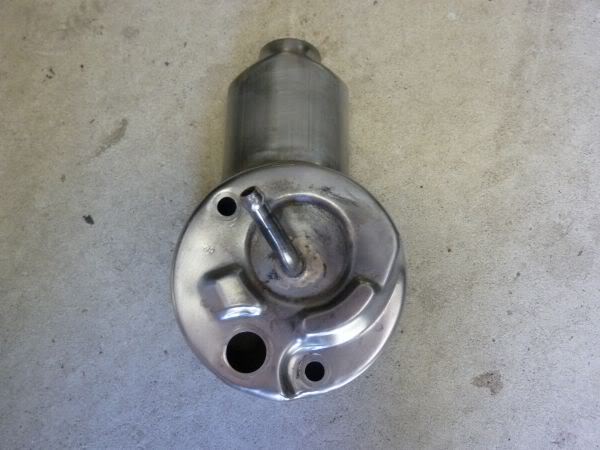
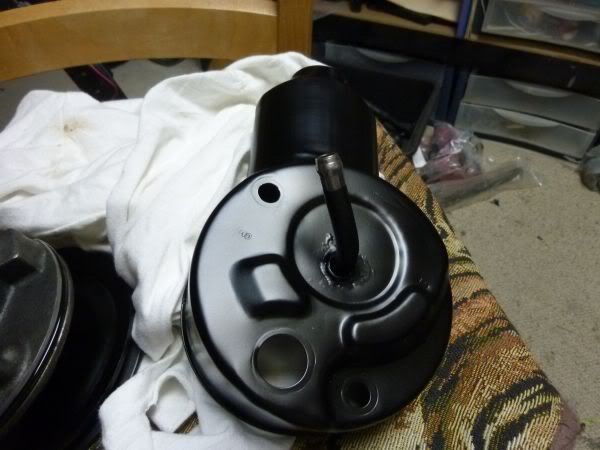
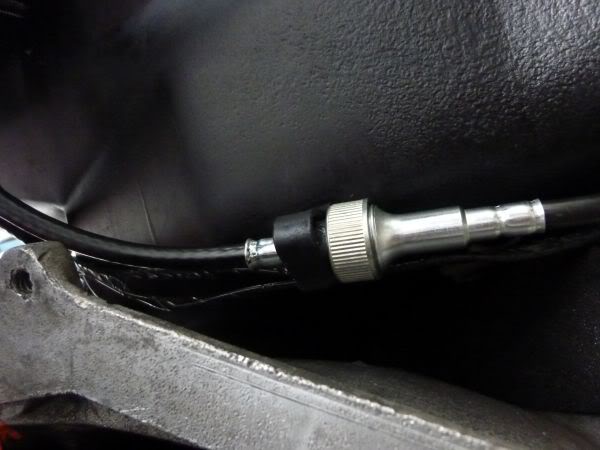
Power steering pump can is back from being modified where the return line is now pointing to 11 O'Clock rather than down.
Test Fit and cut hose to length.
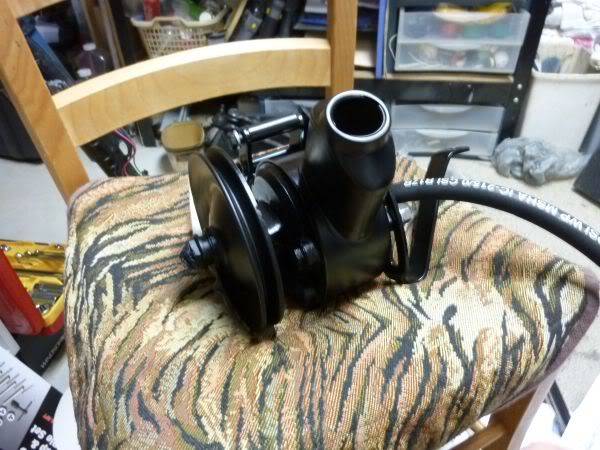
Now pulled apart, stripped and ready for paint.
So much simpler than the stock setup. Lets hope it drives nice.
Test Fit and cut hose to length.
Now pulled apart, stripped and ready for paint.
So much simpler than the stock setup. Lets hope it drives nice.
Last edited by CraigH; 04-10-2023 at 02:27 AM.
02-23-2013, 05:04 AM
#385
Melting Slicks
Thread Starter
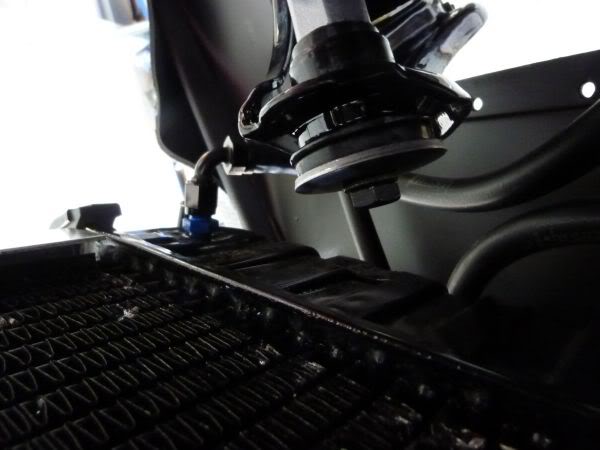
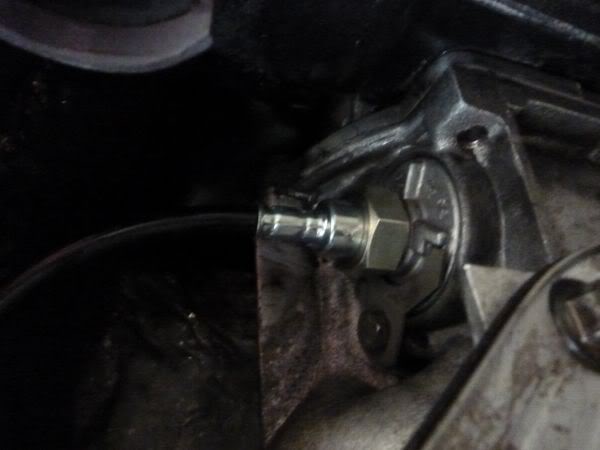
Power steering pump repainted and installed.
New seals in the two bolt holes and the pressure circuit.

Can painted.
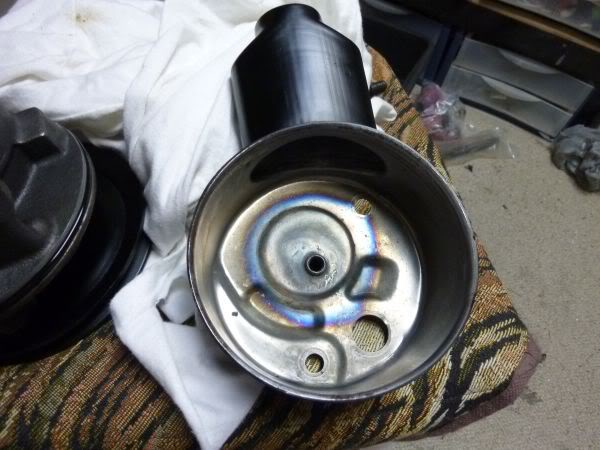
Assembled and ready to go in.

Done
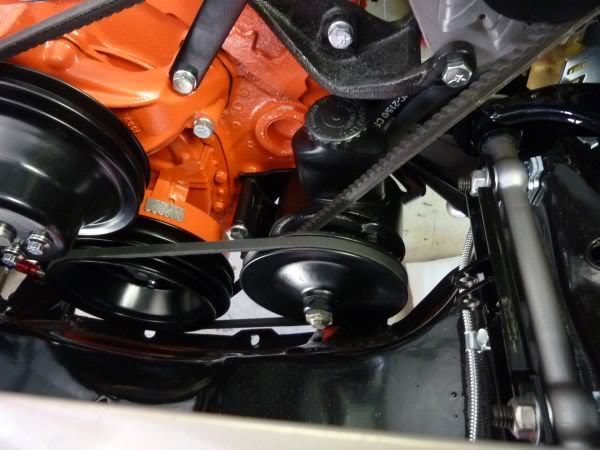
Had a slight leak fro behind the high pressure outlet bolt but after leaving it for a day and tightening and loosening it a bit it seems to have stopped.
New seals in the two bolt holes and the pressure circuit.
Can painted.
Assembled and ready to go in.
Done
Had a slight leak fro behind the high pressure outlet bolt but after leaving it for a day and tightening and loosening it a bit it seems to have stopped.
Last edited by CraigH; 04-10-2023 at 02:26 AM.
02-23-2013, 05:05 AM
#386
Melting Slicks
Thread Starter
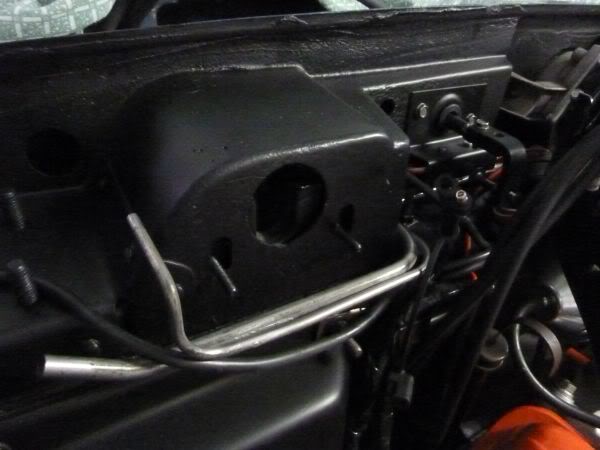
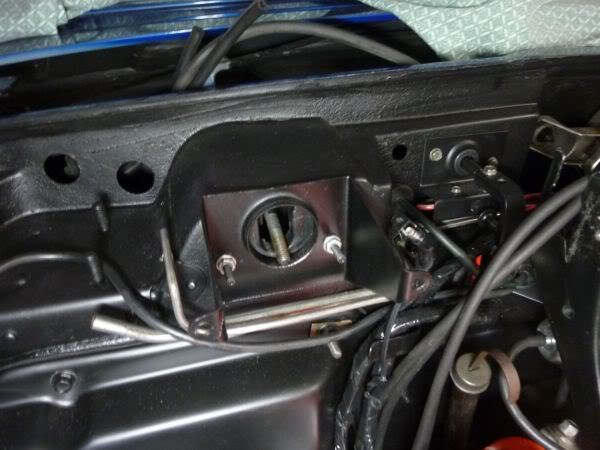
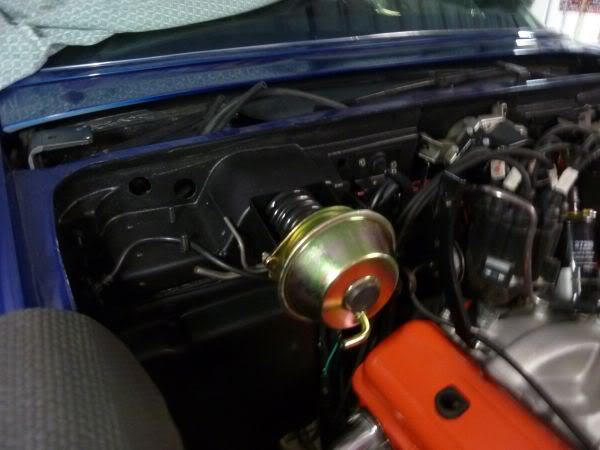
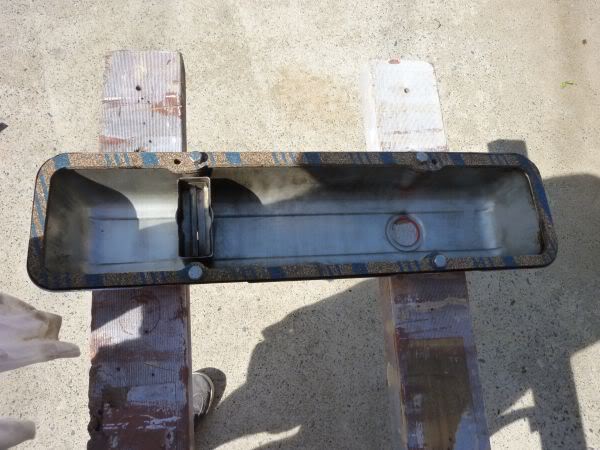
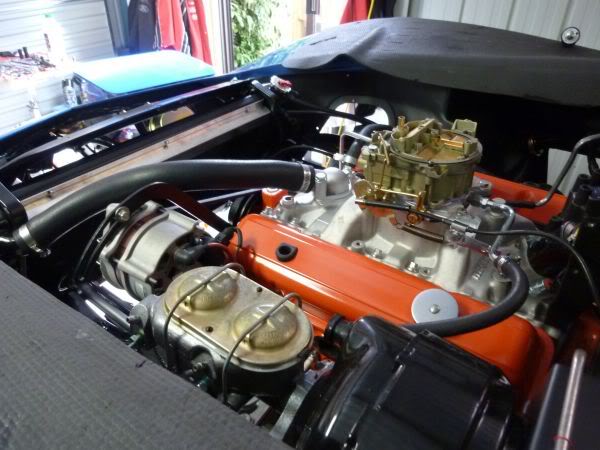
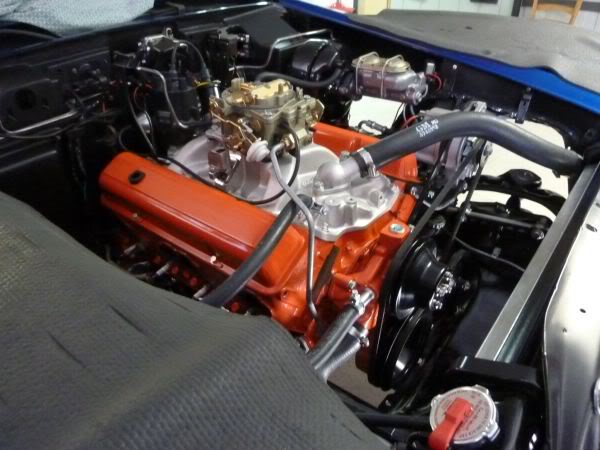
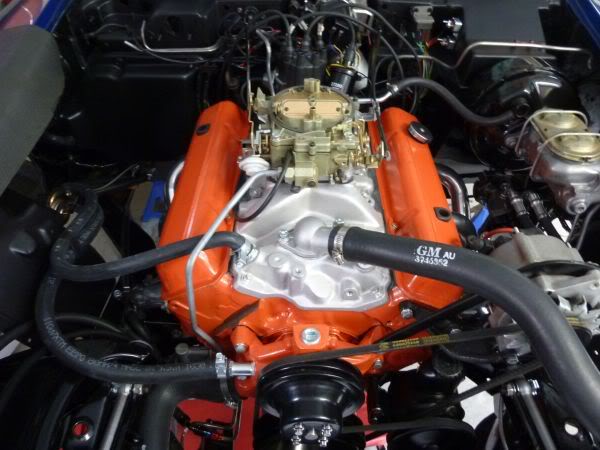
A few tidy up items needed up top.
Water outlet plug.
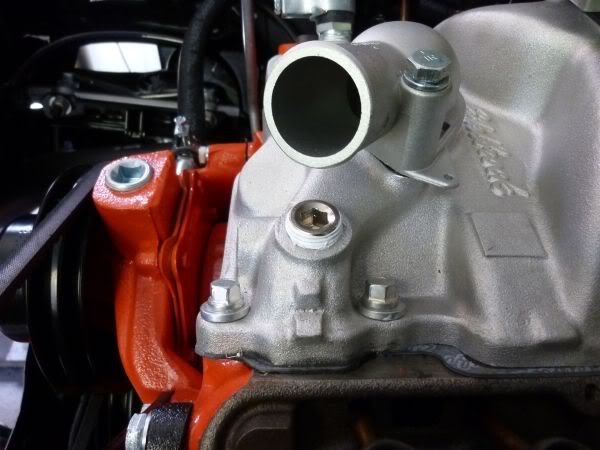
Booster vacuum.
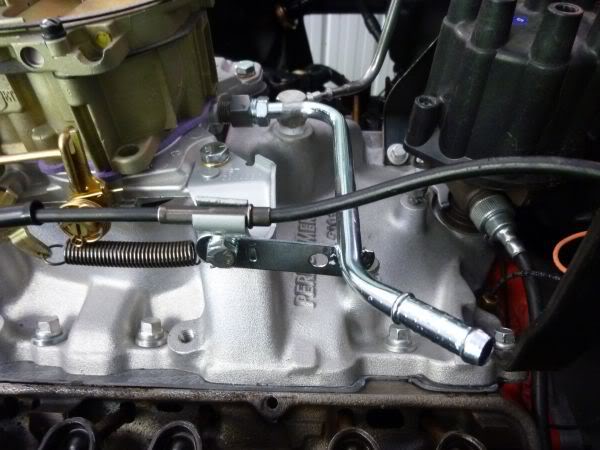
Coil.
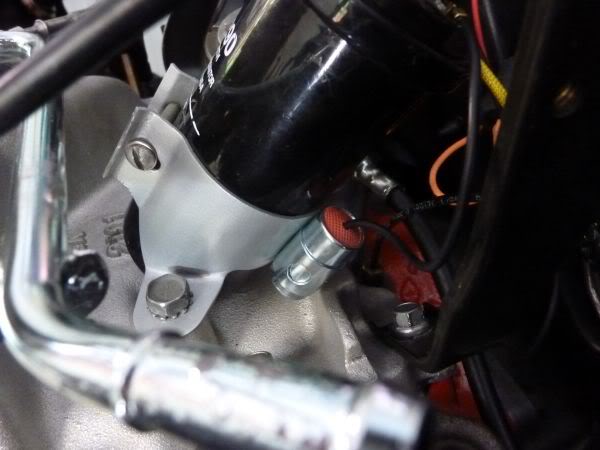
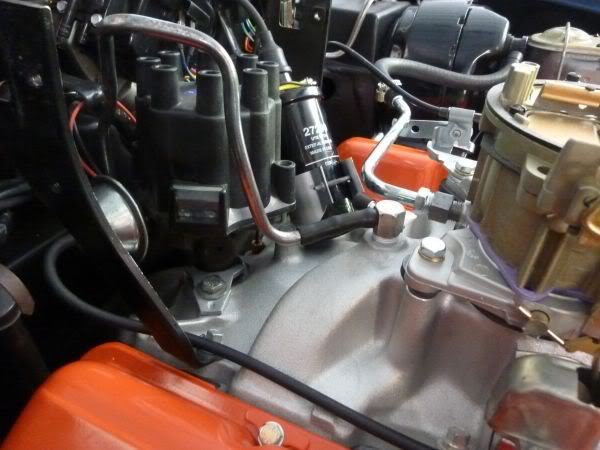
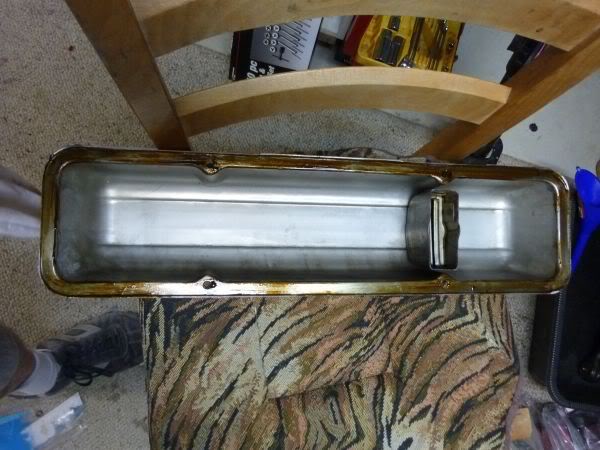
And valve cover gaskets and fitted.
Water outlet plug.
Booster vacuum.
Coil.
And valve cover gaskets and fitted.
Last edited by CraigH; 04-10-2023 at 02:26 AM.
02-23-2013, 06:40 AM
#387
Instructor

Member Since: Mar 2010
Location: Rice Lake Wisconsin
Posts: 112
Likes: 0
Received 0 Likes
on
0 Posts
Craig: Ran across your post this a.m. and must say I'm very impressed!! Great job on all you have done. I own a 1971 Brandshatch Green coupe and your post is a inspiration for all who intend to wrench on their own vettes.Awesome pictures and text. My hats off to you!! Mike Stenseth,Rice Lake,Wisconsin
Mike Stenseth,Rice Lake,Wisconsin
02-23-2013, 05:44 PM
#388
Melting Slicks
Thread Starter
Craig: Ran across your post this a.m. and must say I'm very impressed!! Great job on all you have done. I own a 1971 Brandshatch Green coupe and your post is a inspiration for all who intend to wrench on their own vettes.Awesome pictures and text. My hats off to you!! Mike Stenseth,Rice Lake,Wisconsin
Mike Stenseth,Rice Lake,Wisconsin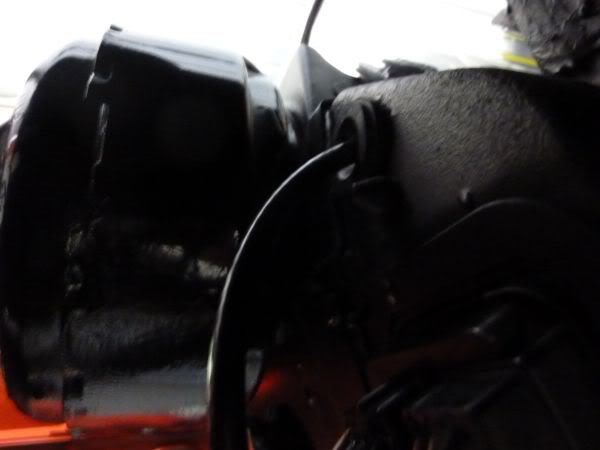
 02-23-2013, 05:46 PM
#390
Melting Slicks
Thread Starter
Fuel in and return lines fitted.

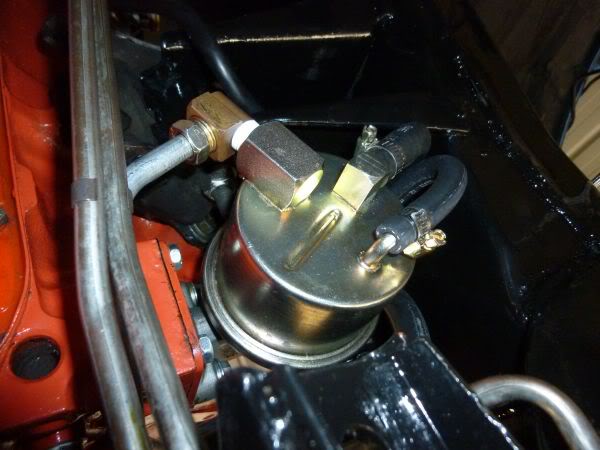
Turned it over a few times and had a carb full of fuel.
I am using a remote starter to spin the motor to test belts pumps etc.
Turned it over a few times and had a carb full of fuel.
I am using a remote starter to spin the motor to test belts pumps etc.
Last edited by CraigH; 04-10-2023 at 02:26 AM.
02-23-2013, 05:46 PM
#391
Melting Slicks
Thread Starter
Its getting close.
Need to mount the thermo fans up then just need plug wires and headers and I will kick it over with spark and see how it sounds.
Need to mount the thermo fans up then just need plug wires and headers and I will kick it over with spark and see how it sounds.
Last edited by CraigH; 04-10-2023 at 02:26 AM.
02-23-2013, 05:47 PM
#392
Melting Slicks
Thread Starter
Originally Posted by YLLA 88
Better that the day it rolled out the factory Craig :o
I purchased a set of 64cc Fuelie heads today. (3927186) Cant help myself :-)
A project for later on to raise the compression up a bit and let it breath a bit better.
The 186 was used on 69 and 70 corvettes and Camaros and was one of the nicer heads of the day. Has accessory holes as well.
02-23-2013, 05:47 PM
#393
Melting Slicks
Thread Starter
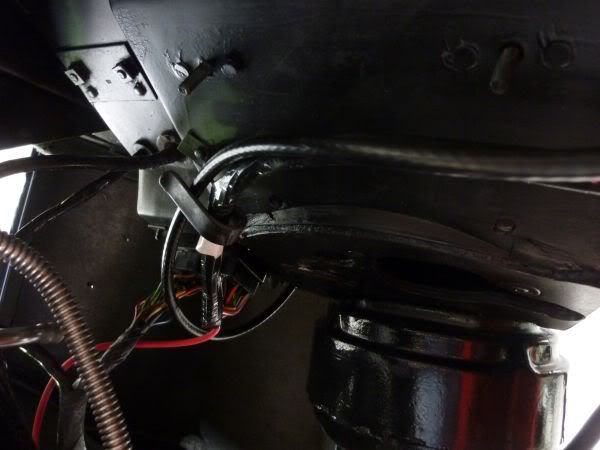
I have been using a remote starter button to turn the motor over but once I put on the alternator rear brace and heat shield it became a bit difficult to attach the clips.
So I ran a lead up from the starter to the top of the firewall and used a weather proof plug.
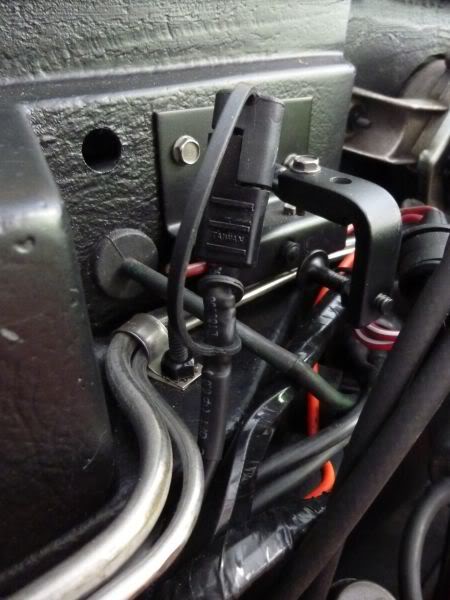
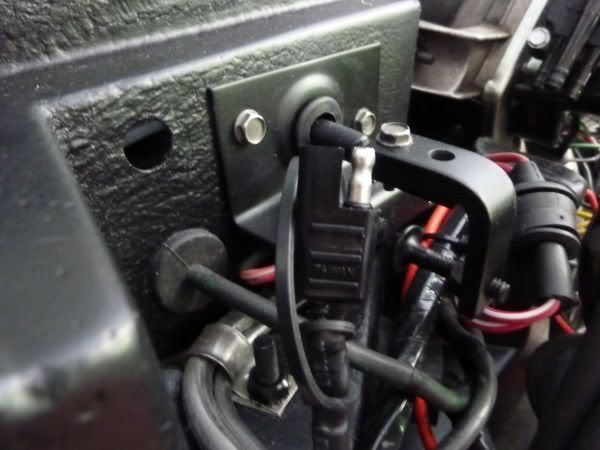
Simple matter to plug in starter button and turn the engine over.
So I ran a lead up from the starter to the top of the firewall and used a weather proof plug.
Simple matter to plug in starter button and turn the engine over.
Last edited by CraigH; 04-10-2023 at 02:26 AM.
02-23-2013, 05:48 PM
#394
Melting Slicks
Thread Starter
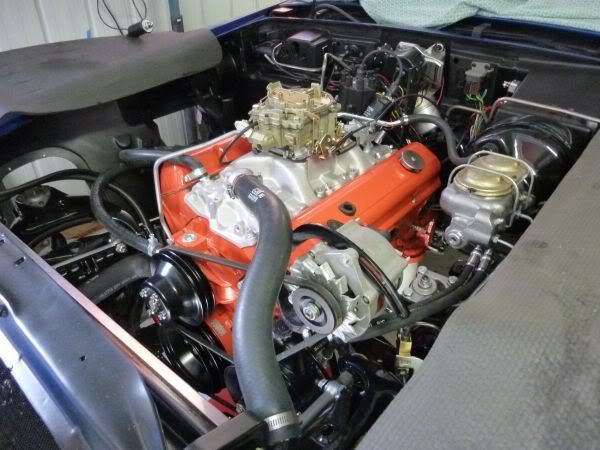
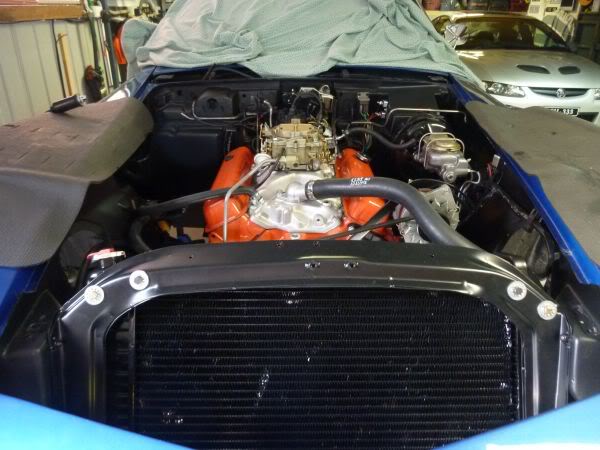
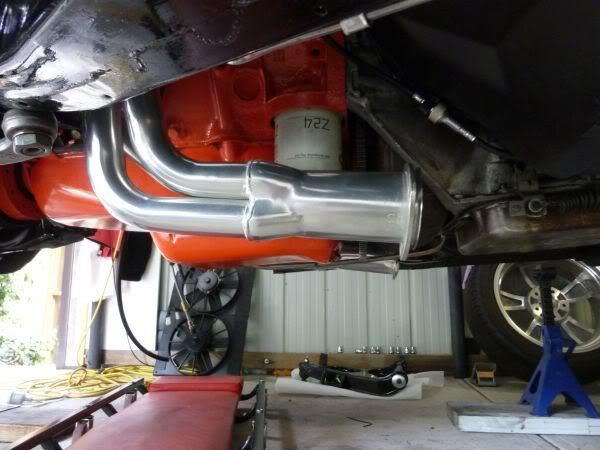
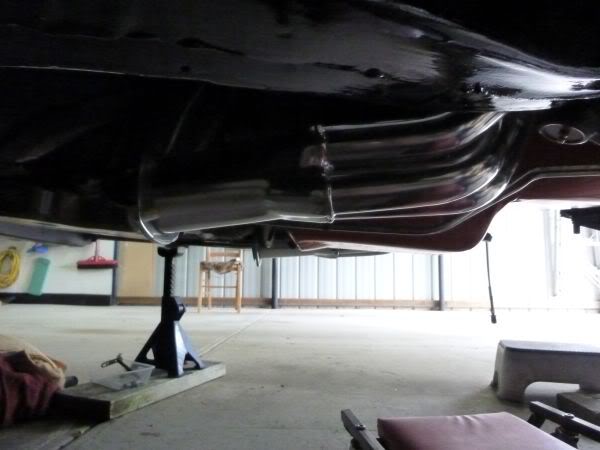
The headers are now fitted.
Only tight clearance is one of the idler arm bolts is about a cm away.
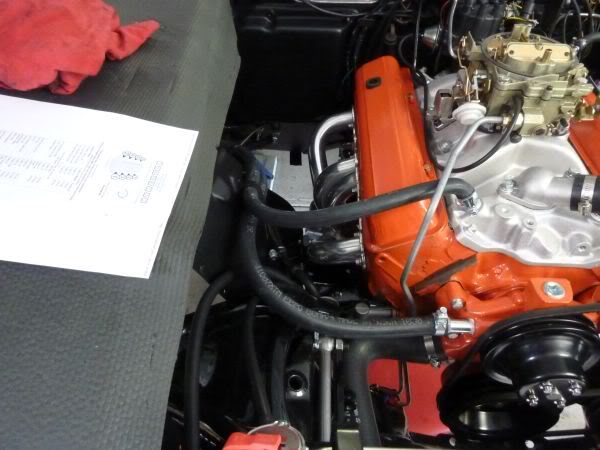
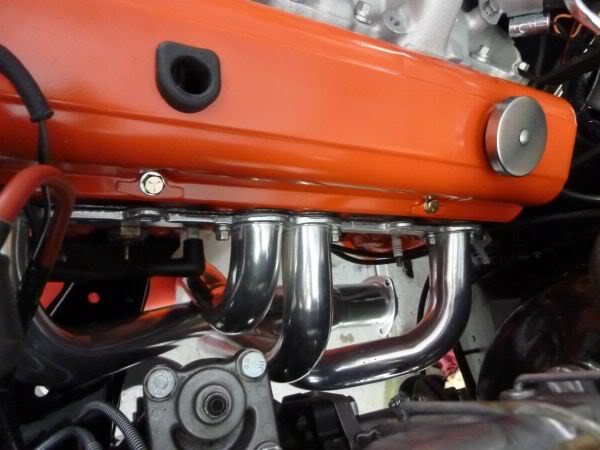
Clearance where they pass towards the transmission is good.
Jethro I know you had issues so I am not sure why it is. There must be a difference with your manual car or your motor is sitting higher than mine. very strange.
Only tight clearance is one of the idler arm bolts is about a cm away.
Clearance where they pass towards the transmission is good.
Jethro I know you had issues so I am not sure why it is. There must be a difference with your manual car or your motor is sitting higher than mine. very strange.
Last edited by CraigH; 04-10-2023 at 02:25 AM.
02-23-2013, 05:48 PM
#395
Melting Slicks
Thread Starter
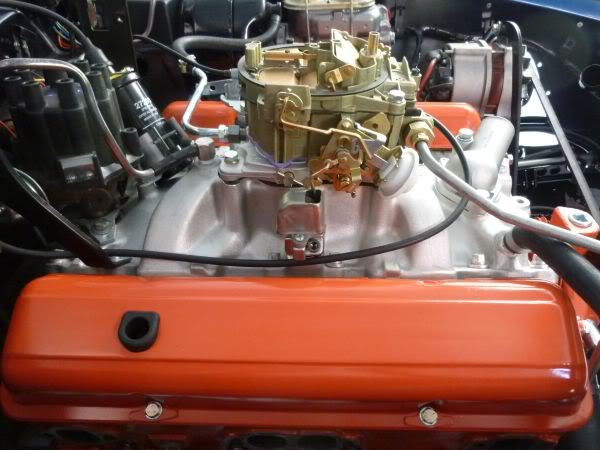
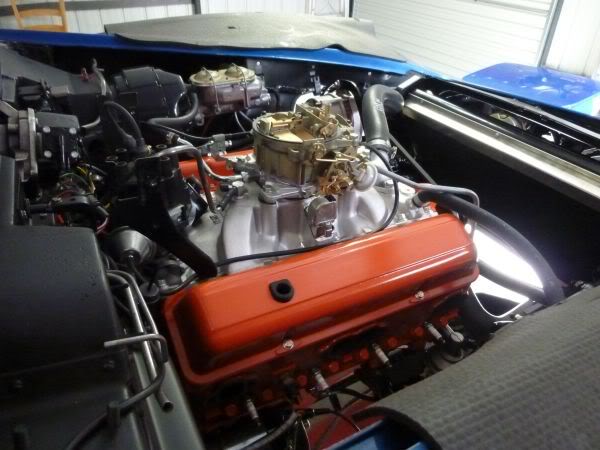
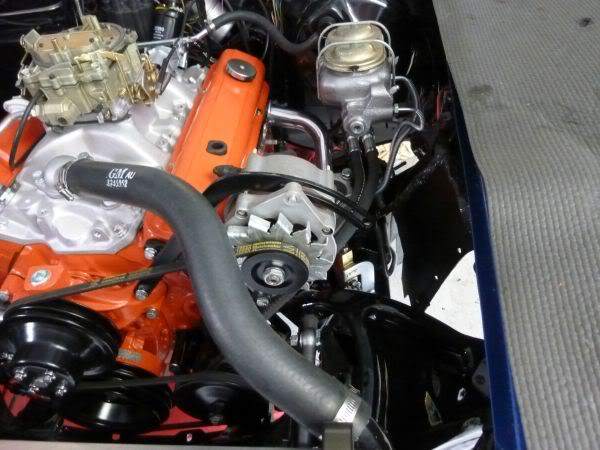
Put the last few spark plug leads, dipstick tube and stick and I was ready to fire it up.
Spun it over without spark once.
Then hit it with spark and it fired into life straight away and quickly settled to a nice idle. or at least as nice an idle as you can get with just headers on the engine.
Sounded great.
Let it heat up a bit and I ran into 2 problems.
1st one was just one valve cover was not tight enough and it dripped a little oil, tightened it up.
2nd once hot the radiator sprung a leak 3" in and 3" down from the top hose fitting. One of the cross tubes must have a hole - bugger.
Will have to drain it out and take it out again and down to the radiator shop.
Oh well it was great to hear it run anyway. :-)
02-23-2013, 05:49 PM
#396
Melting Slicks
Thread Starter
My radiator is now fixed, had one tube that was beyond repair so it is now isolated out.
Means it may have a limited life so i started looking for a backup radiator.
I like the DeWitts Aluminum ones ...
Can get a copper one cheaper but from what I have read the aluminum may be better.
Anyone have an opinion - silly question as I know everyone does :-)
Means it may have a limited life so i started looking for a backup radiator.
I like the DeWitts Aluminum ones ...
Can get a copper one cheaper but from what I have read the aluminum may be better.
Anyone have an opinion - silly question as I know everyone does :-)
02-23-2013, 05:49 PM
#397
Melting Slicks
Thread Starter
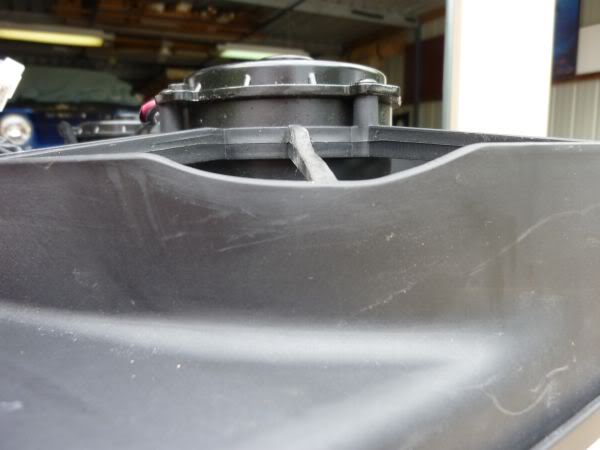
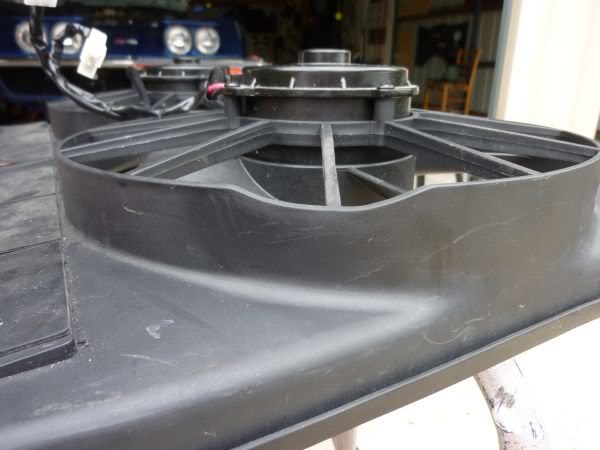
Finished the radiator fan brackets.
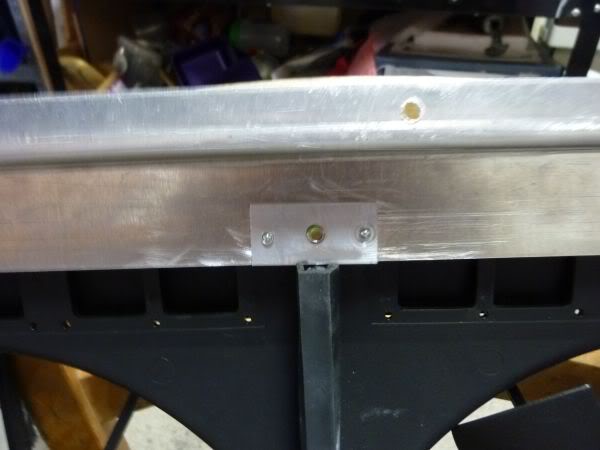
They have small threaded plated behind each bolt to allow easy removal.
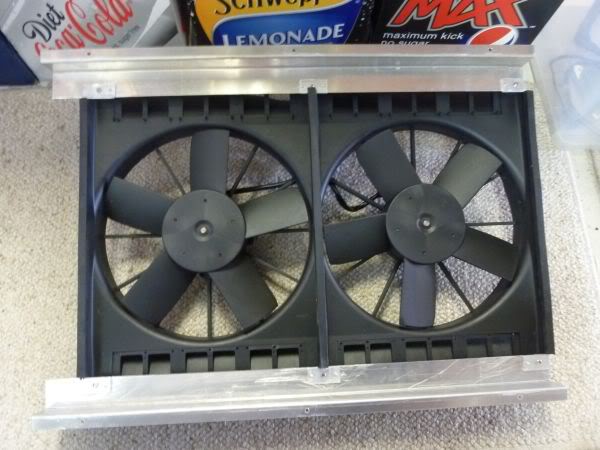
I also modified the fan for the best clearance around the lower radiator hose.
They have small threaded plated behind each bolt to allow easy removal.
I also modified the fan for the best clearance around the lower radiator hose.
Last edited by CraigH; 04-10-2023 at 02:25 AM.
02-23-2013, 05:50 PM
#398
Melting Slicks
Thread Starter
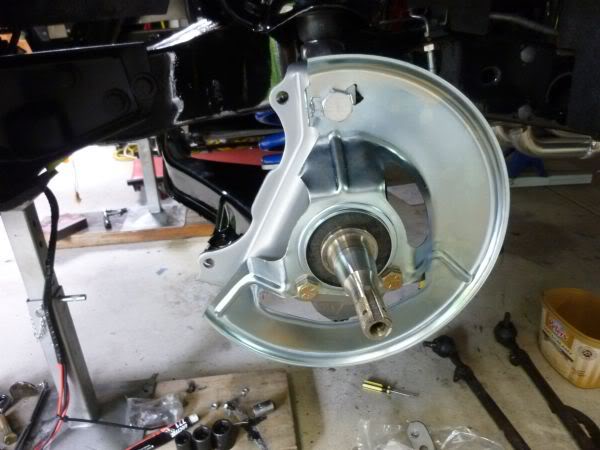
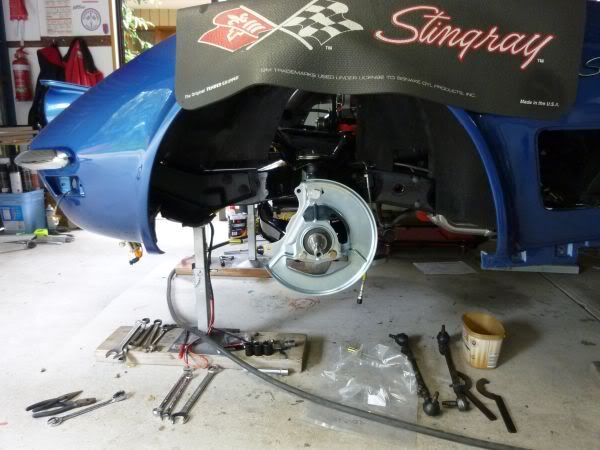
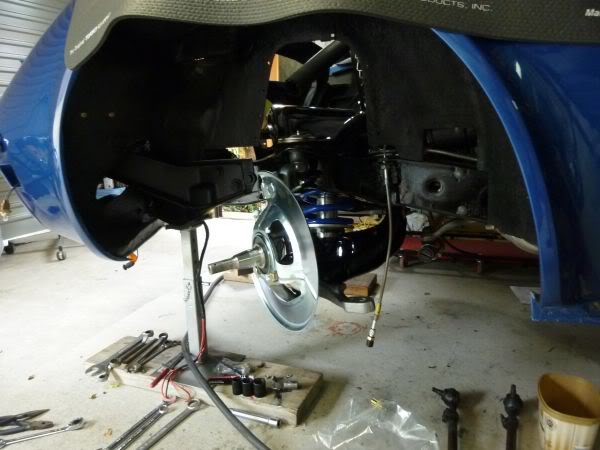
On to the next milestone, the front suspension.
A-Arms on and the Speed-Direct Coil Overs in place.
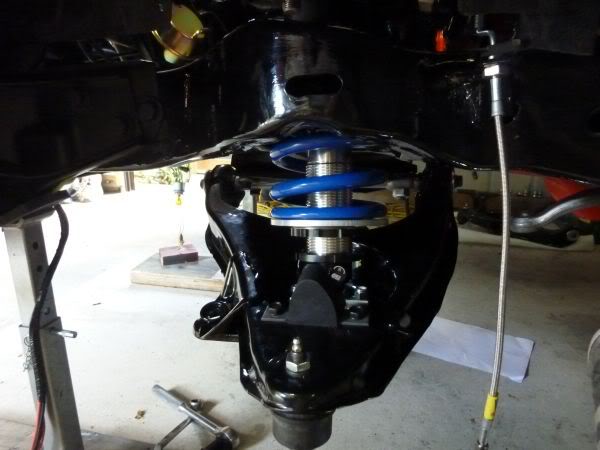
Spindle in and ball joints tightened up.
A-Arms on and the Speed-Direct Coil Overs in place.
Spindle in and ball joints tightened up.
Last edited by CraigH; 04-10-2023 at 02:25 AM.