
1971 Journey
 02-22-2013, 07:03 AM
#361
Melting Slicks

Thread Starter


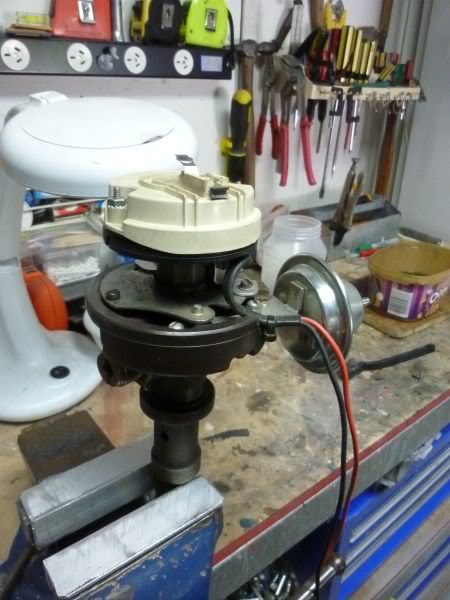
I cleaned up the distributor and will put the new advance springs etc into it but will defer doing a full disassemble , adding shims etc to a later project.
Last edited by CraigH; 04-10-2023 at 02:18 AM.
 02-22-2013, 07:03 AM
#362
Melting Slicks
Thread Starter
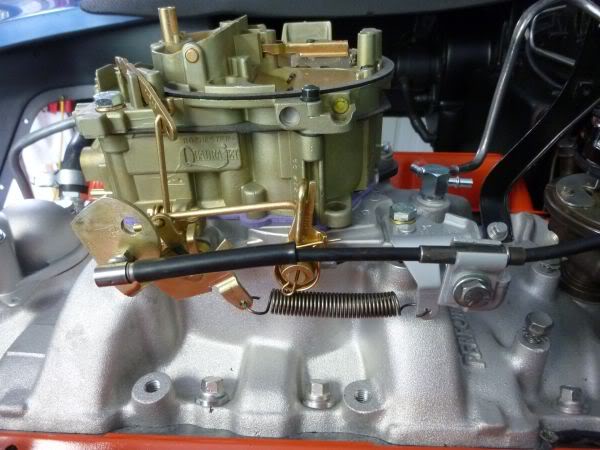
Distributor got some more cleanup and new softer weight springs to bring on the advance faster as well as a new rotor with less gap.
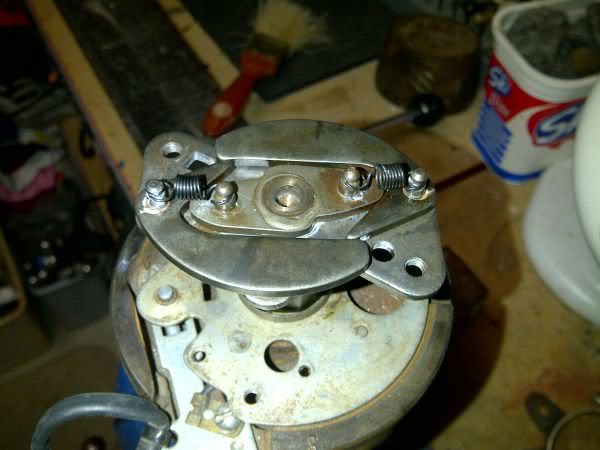
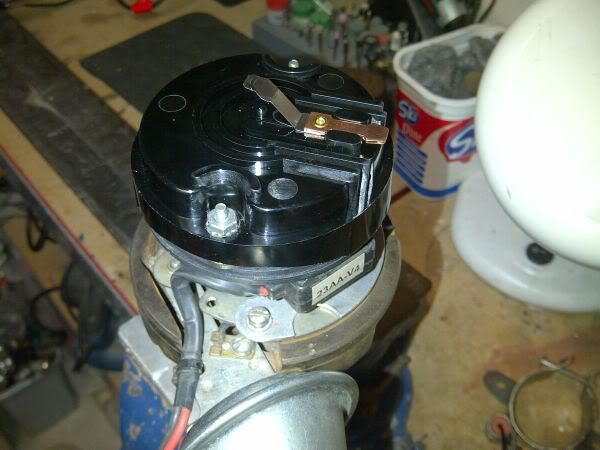
From reading the US magazines this one is one of the best as it has way better tolerances and gaps than almost any other available.
From reading the US magazines this one is one of the best as it has way better tolerances and gaps than almost any other available.
Last edited by CraigH; 04-10-2023 at 02:22 AM.
 02-22-2013, 07:10 AM
#364
Melting Slicks
Thread Starter
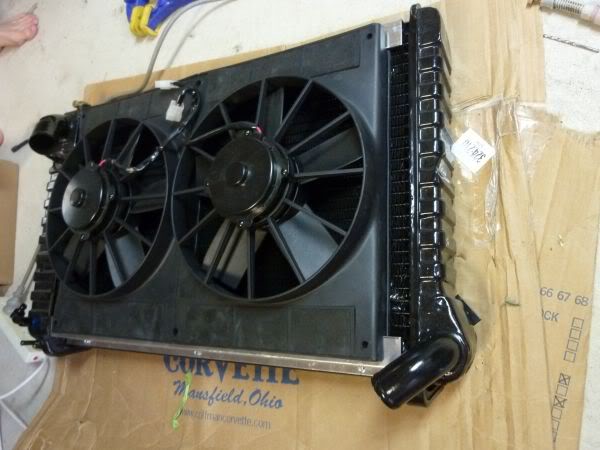
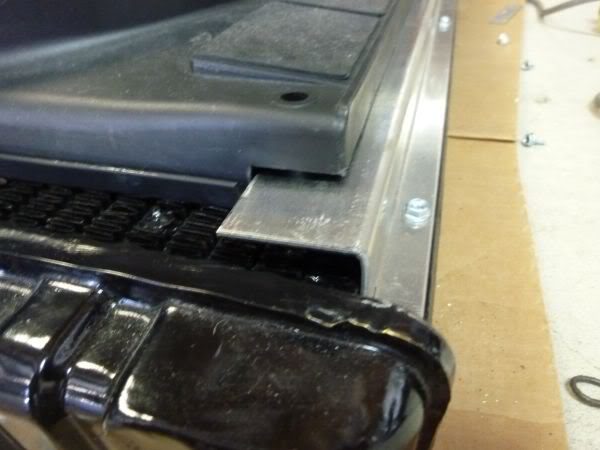
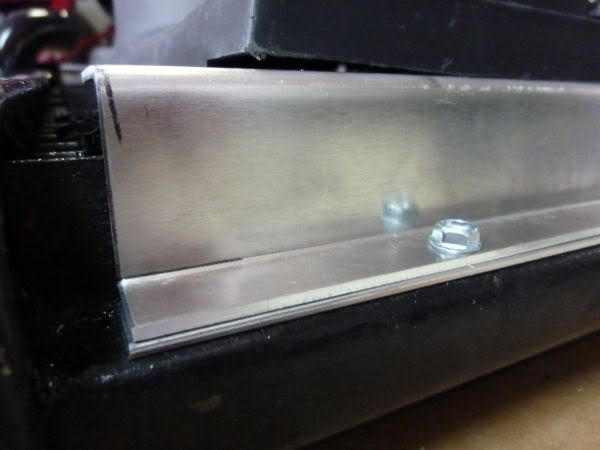
Got my brackets for the fans back from the metal shop this afternoon.
They are a z shape out of 2mm aluminum and will bolt to the metal frame top and bottom of radiator.
All I will have to do is block the ends and it should be fairly sealed to maximize fans operation.
They are a z shape out of 2mm aluminum and will bolt to the metal frame top and bottom of radiator.
All I will have to do is block the ends and it should be fairly sealed to maximize fans operation.
Last edited by CraigH; 04-10-2023 at 02:23 AM.
02-22-2013, 08:45 PM
#365
Melting Slicks
Thread Starter
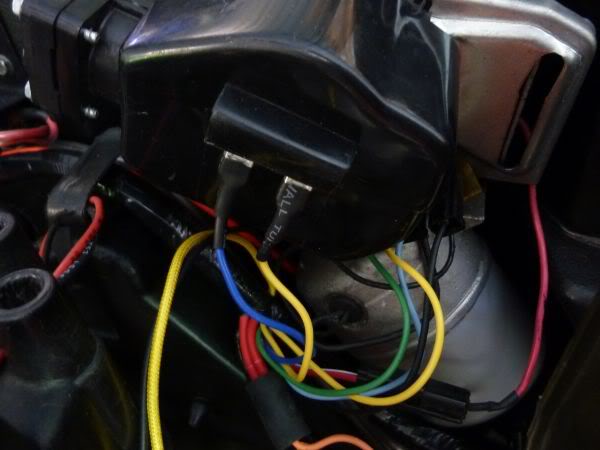
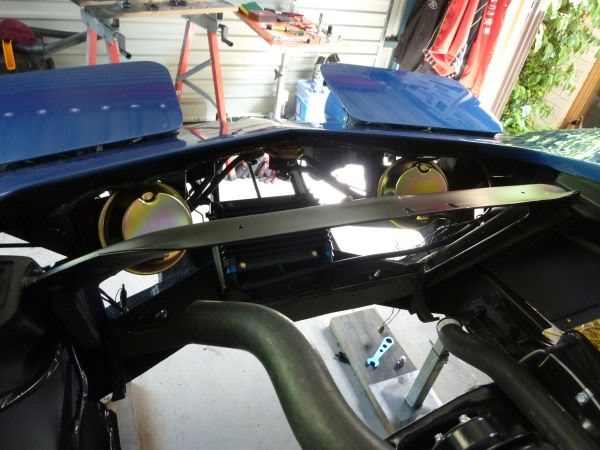
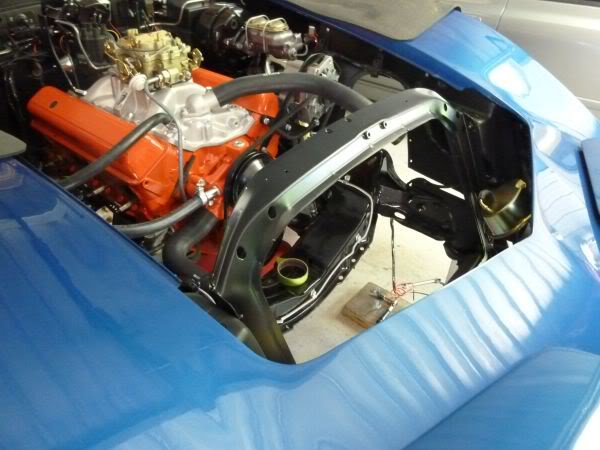
The engine harness is now in. Went in easily with just a few mods to accommodate the removal of the TCS solenoid and a wiper/washer motor that had different connectors for the washer.
Last edited by CraigH; 04-10-2023 at 12:30 AM.
 02-22-2013, 08:46 PM
#367
Melting Slicks
Thread Starter
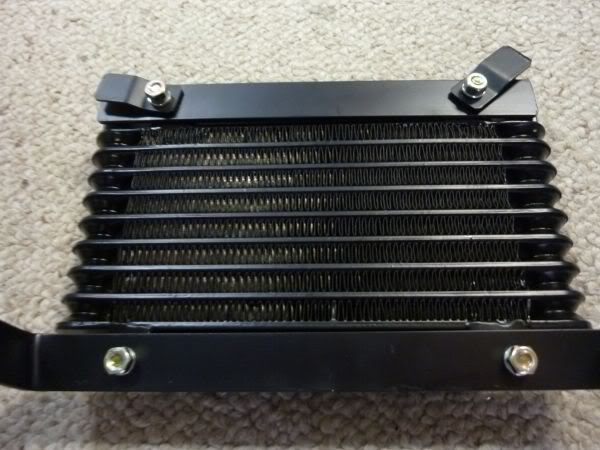
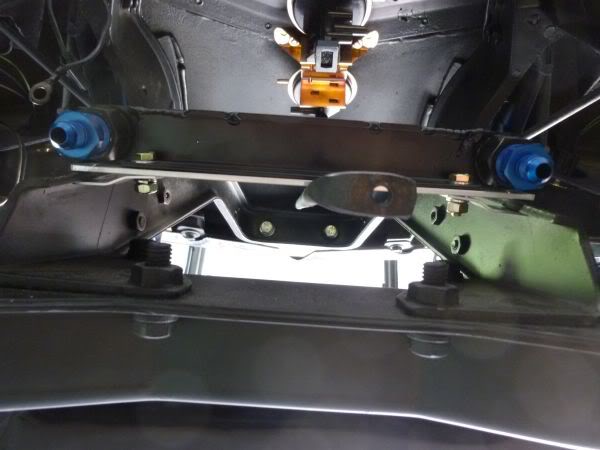
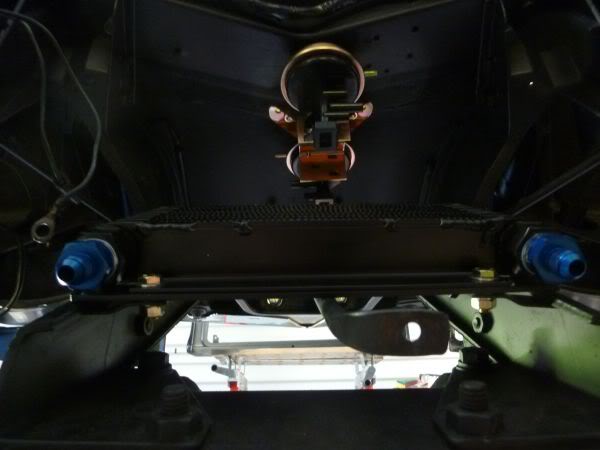
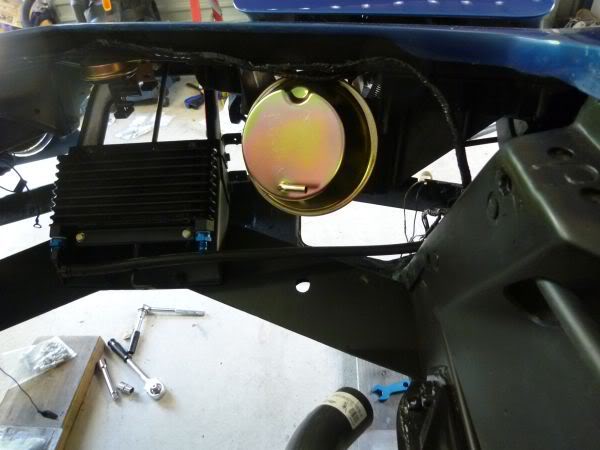
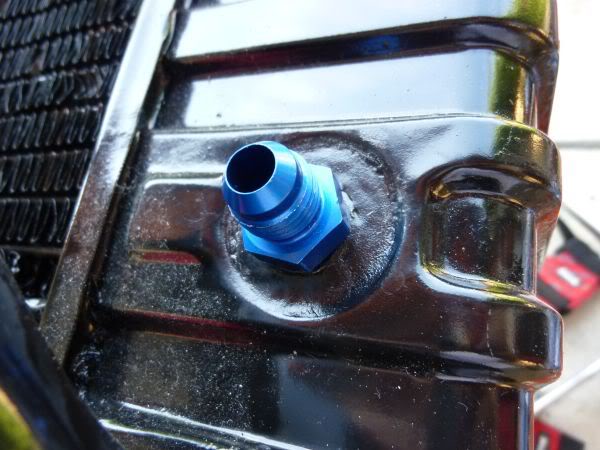
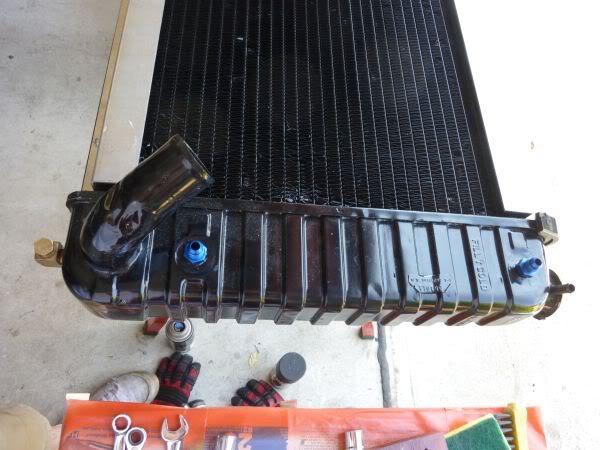
The transmission cooler brackets are finished and I have painted them in VHT Roll Bar/Chassis paint and baked the finish.
The AN adapters needed to be sealed with thread sealer.
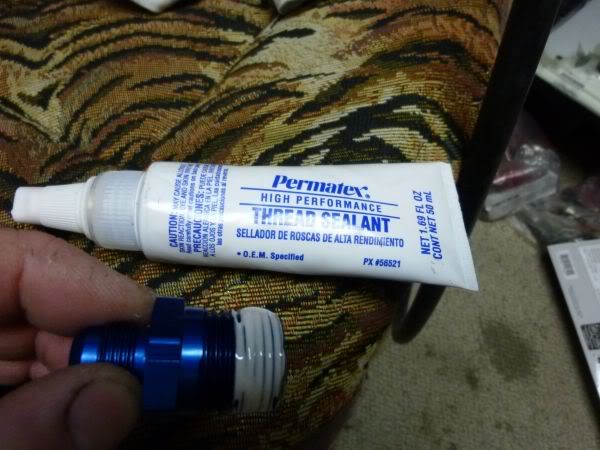
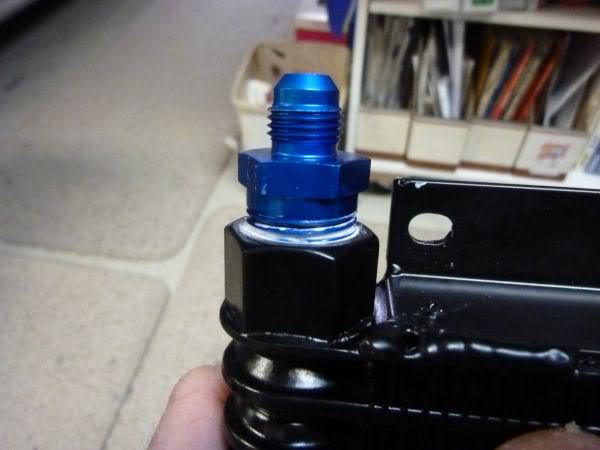
Fitted up.
The AN adapters needed to be sealed with thread sealer.
Fitted up.
Last edited by CraigH; 04-10-2023 at 12:30 AM.
02-22-2013, 08:47 PM
#368
Melting Slicks
Thread Starter
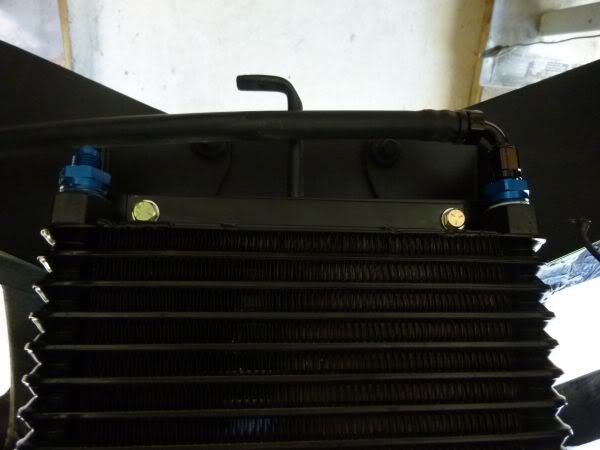
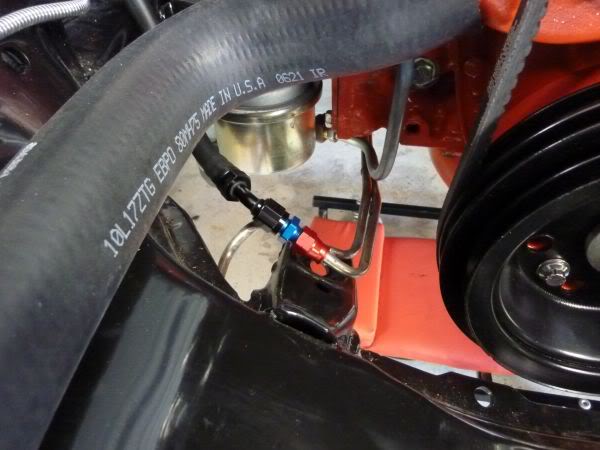
I used compression fittings on the existing transmission cooler lines then AN fittings between there and the cooler.
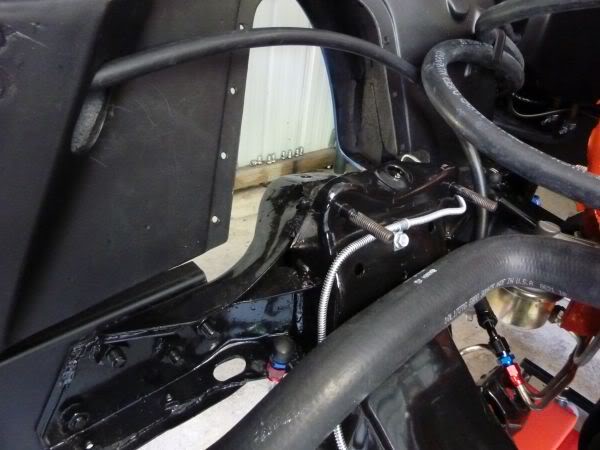
Last edited by CraigH; 04-09-2023 at 11:43 PM.
02-22-2013, 08:47 PM
#369
Melting Slicks
Thread Starter
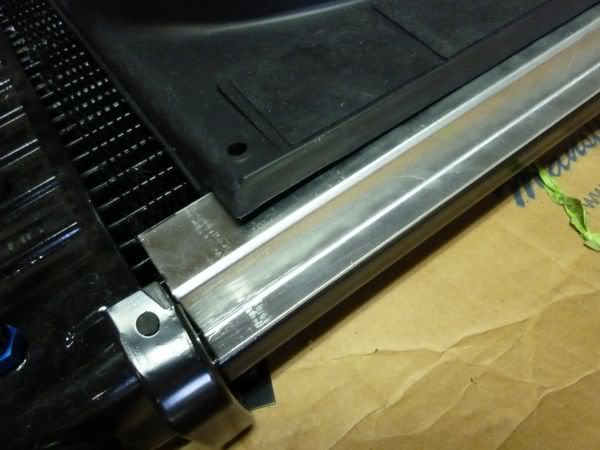
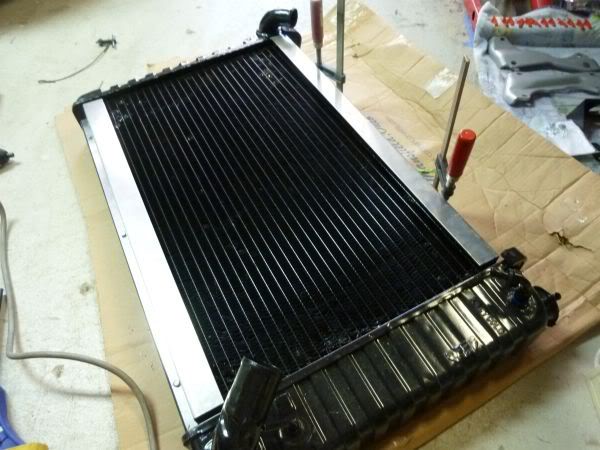
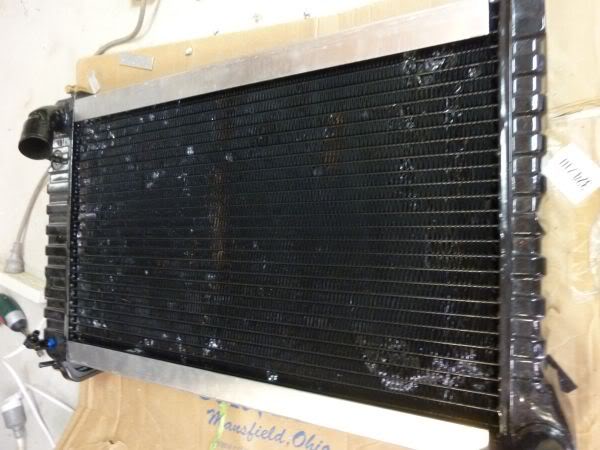
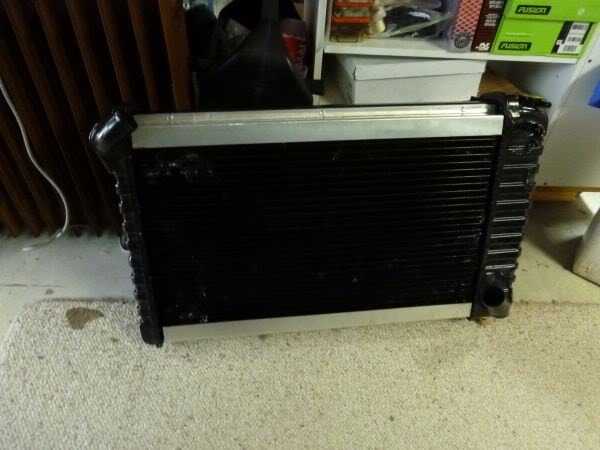
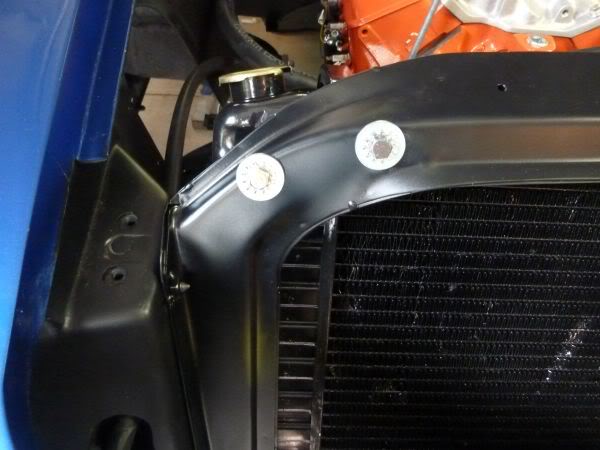
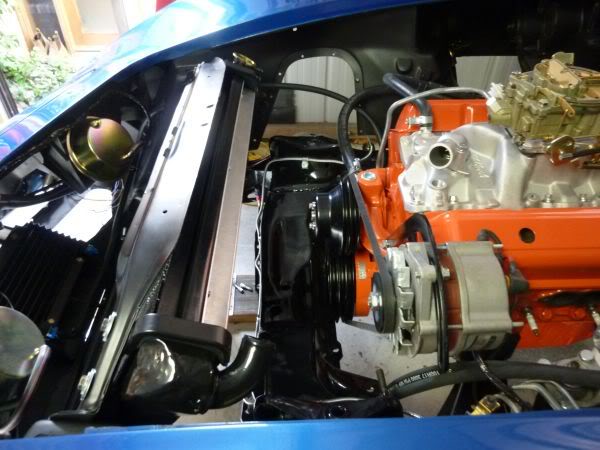
The Radiator Core is now fitted. It took a little adjusting and the passenger body needed to come up about a quarter of an inch.
The side to side body measurement is within a few milometers now.

The side to side body measurement is within a few milometers now.
Last edited by CraigH; 04-09-2023 at 11:43 PM.
02-22-2013, 08:48 PM
#370
Melting Slicks
Thread Starter
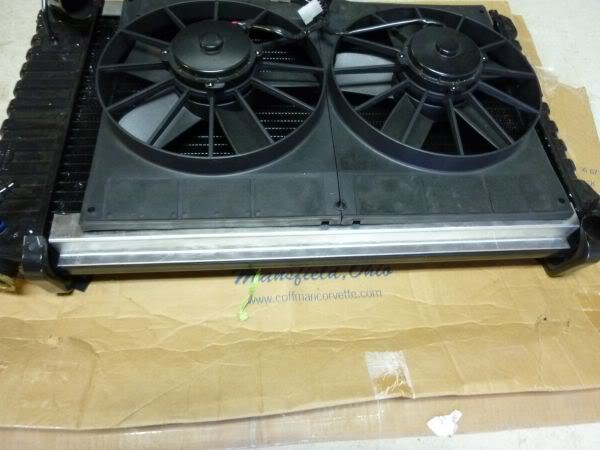
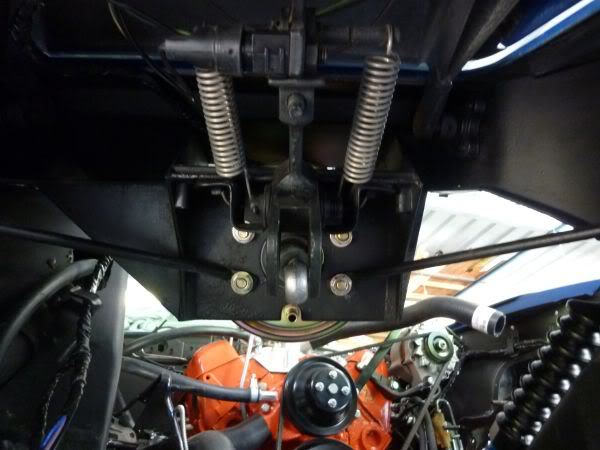
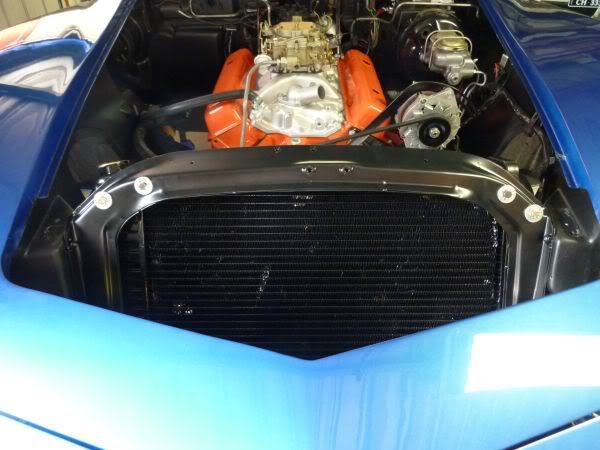
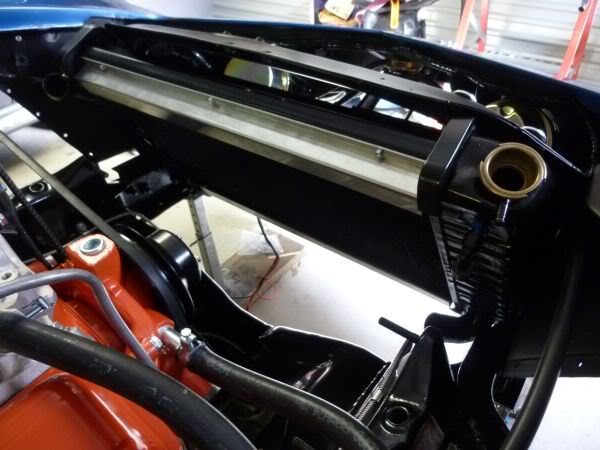
My thermo fan brackets are now mounted to the radiator top and bottom supports.
They are bent out of 2mm aluminum and will be painted black when finished.
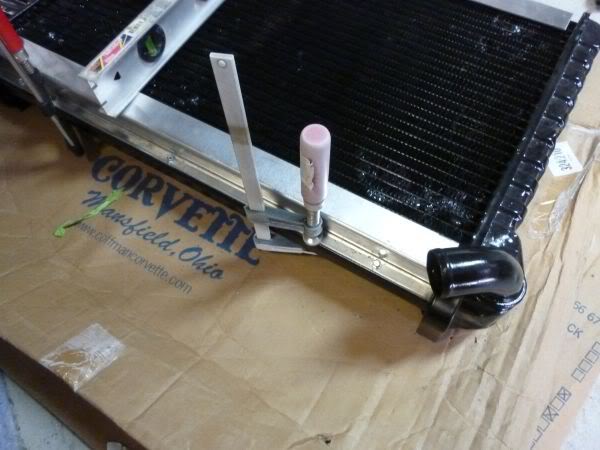
The fans slide between them but I will need to get the a-arms in place before I can get the final spot.
They are bent out of 2mm aluminum and will be painted black when finished.
The fans slide between them but I will need to get the a-arms in place before I can get the final spot.
Last edited by CraigH; 04-09-2023 at 11:42 PM.
02-22-2013, 08:49 PM
#372
Melting Slicks
Thread Starter
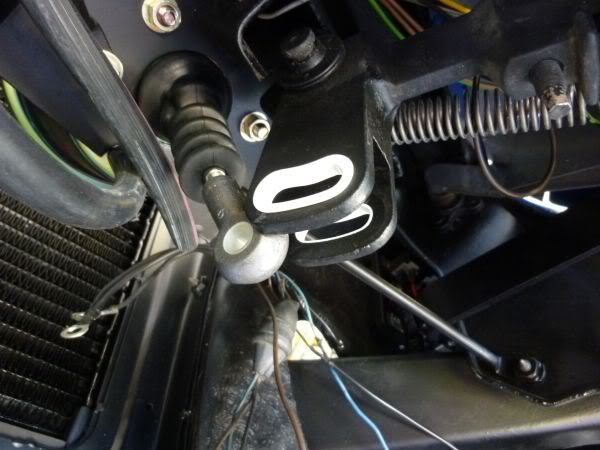
The Headlight Actuators are now fitted.
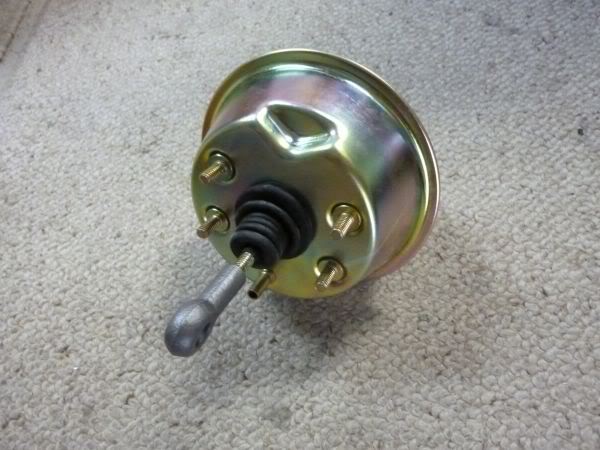
I am still waiting for the pivot pins to finish cleaning then i will add them and the nylon bushes etc.
The actuators and relays have all been checked for holding vacuum and I have run some of the hoses.
I am still waiting for the pivot pins to finish cleaning then i will add them and the nylon bushes etc.
The actuators and relays have all been checked for holding vacuum and I have run some of the hoses.
Last edited by CraigH; 04-09-2023 at 11:42 PM.

 02-22-2013, 08:50 PM
#375
Melting Slicks
Thread Starter
I ended up pulling the radiator again as i forgot to put thread sealer on the drain plug fitting :evil:
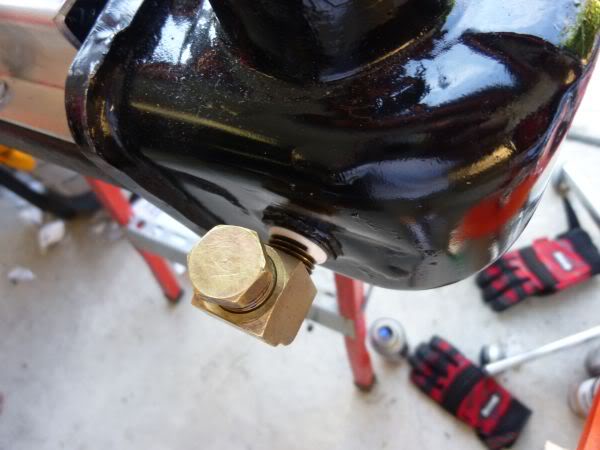
Last edited by CraigH; 04-09-2023 at 11:41 PM.
02-22-2013, 08:50 PM
#376
Melting Slicks
Thread Starter
I have now fitted the rest of the headlight actuator parts and adjusted them so they open and close properly and hold vacuum when in each position.
Springs on and split pins in place.
Springs on and split pins in place.
Last edited by CraigH; 04-09-2023 at 11:41 PM.
 02-22-2013, 08:51 PM
#378
Melting Slicks
Thread Starter
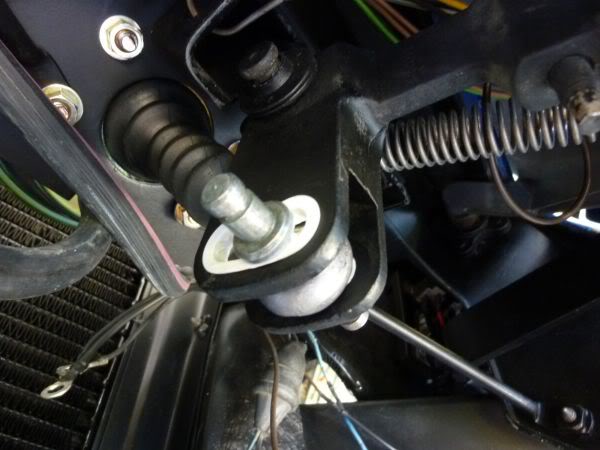
Am traveling for work this week so dont have any spare time but a few things have turned up.
My son Matt picked up the A-Arms from Inline Suspension in Queanbeyan
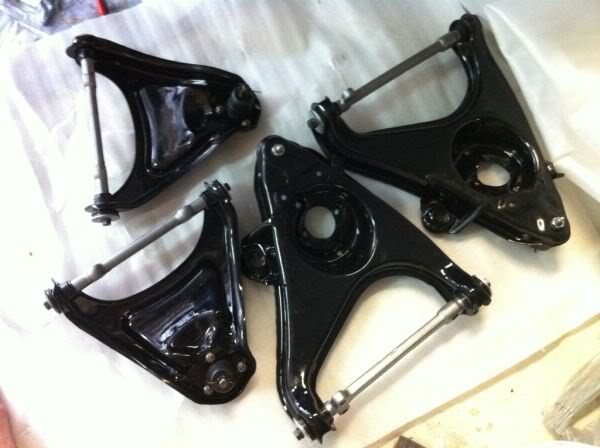
And a few boxes from Willcox and Summit are waiting for me to return.
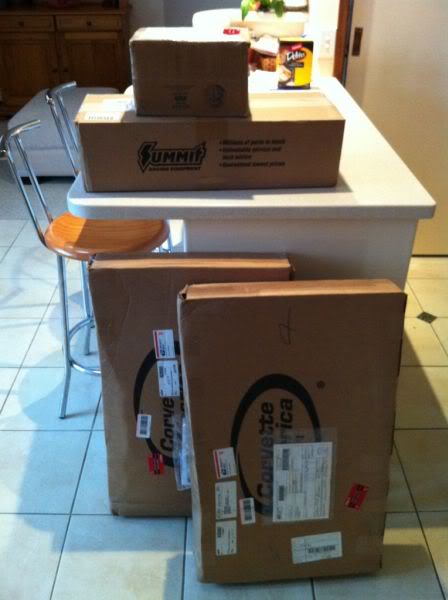
My son Matt picked up the A-Arms from Inline Suspension in Queanbeyan
And a few boxes from Willcox and Summit are waiting for me to return.
Last edited by CraigH; 04-09-2023 at 11:41 PM.
02-22-2013, 08:52 PM
#379
Melting Slicks
Thread Starter
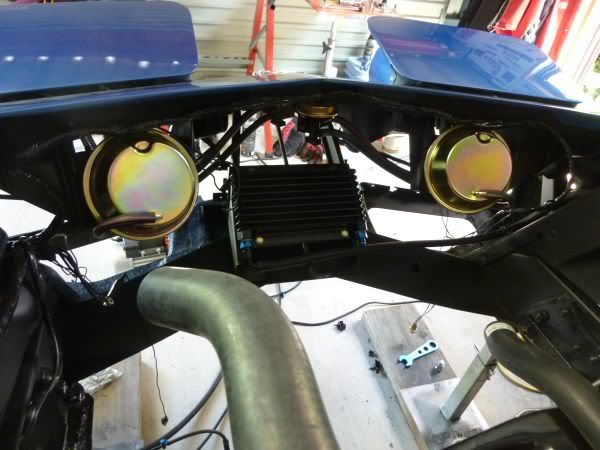
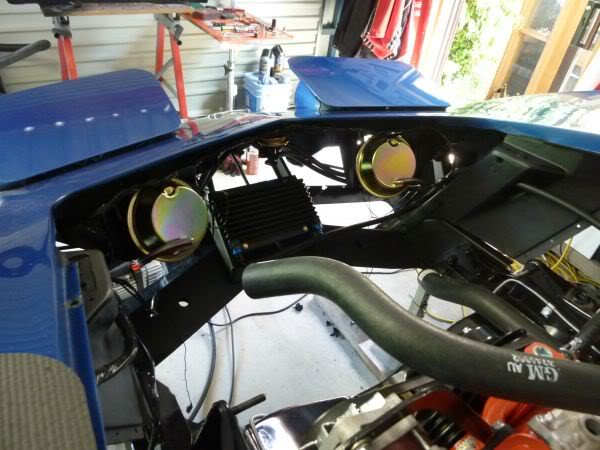
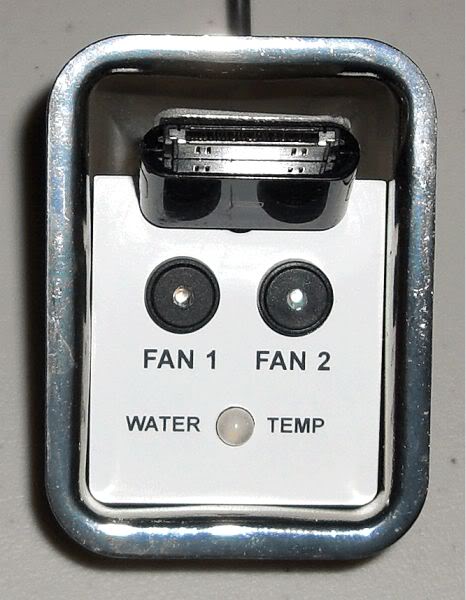
I have been working with my electronics friend Ralph to design and build the dual fan controller unit.
It uses the standard temperature gauge wire to feed the unit then controls the two fans based on thresholds that you set.
There is a small hidden control box and a unit that mounts in the ash tray
It has two buttons that can be pressed to override the state of either fan and also light up when the fans come on. They can also be used to set the on and off temperatures you want to use.
The light in the middle is green when temperature is below the first threshold then goes yellow with first fan, and red when second fan comes on then flashes when you get hotter again - there is also a buzzer.
The prototype is working and we should have it in the car for testing in the near future.
The ash tray module is cut out for my car as I have a mini iPod mounted there as well.
Its laser cut and printed to fit the ashtray.
Last edited by CraigH; 04-09-2023 at 11:40 PM.
The following users liked this post:
Dagious (01-21-2024)
02-22-2013, 08:52 PM
#380
Melting Slicks
Thread Starter
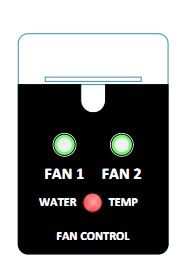
November 2011
First mock up for the Fan control panel.
Done in white to show fit issues. After some adjustments it will move to black. Font may need changing to get closer to font used in existing gauges trim etc.
Black plug at top is ipod connector.
First mock up for the Fan control panel.
Done in white to show fit issues. After some adjustments it will move to black. Font may need changing to get closer to font used in existing gauges trim etc.
Black plug at top is ipod connector.
Last edited by CraigH; 04-09-2023 at 11:40 PM.