1971 Journey
 02-22-2013, 06:49 AM
#341
Melting Slicks

Thread Starter


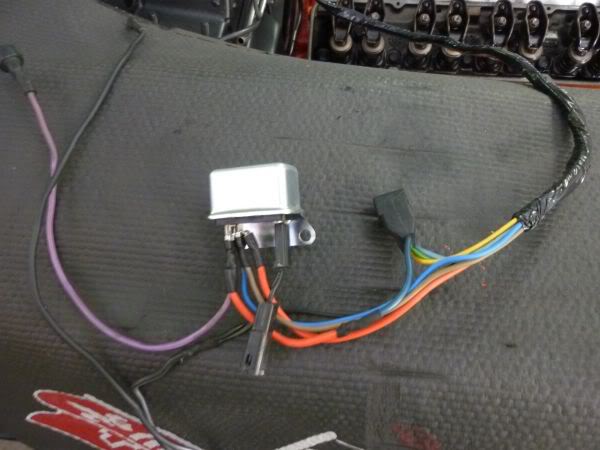
Started to finish off the HVAC wiring.
I needed to extend all the wires that go to the speed resistor pack which is now mounted on the bottom of the blower box.
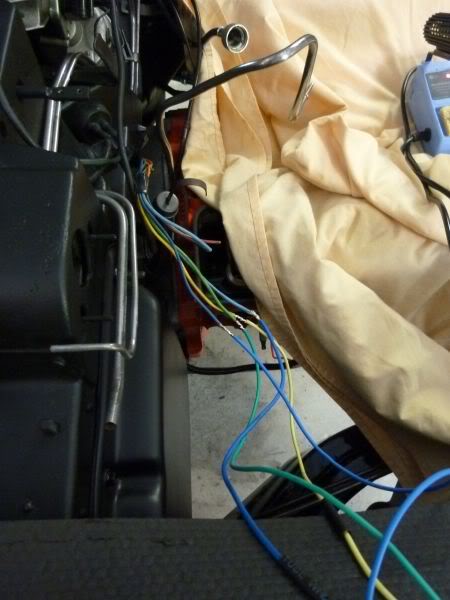
The relay is also mounted out of the way down there as well on an small bracket that attaches to the new box.
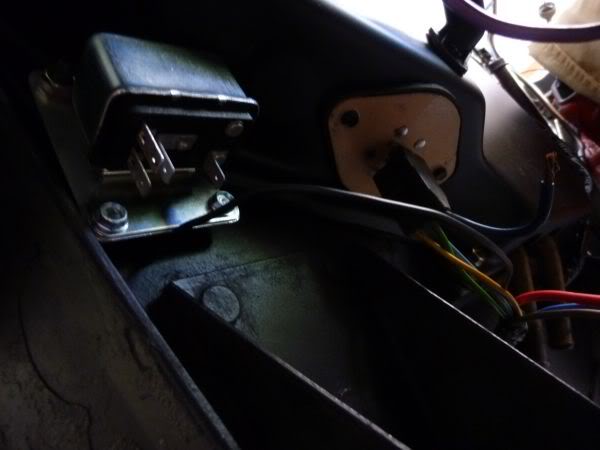
Wrapped the harness and routed it around.
I needed to extend all the wires that go to the speed resistor pack which is now mounted on the bottom of the blower box.
The relay is also mounted out of the way down there as well on an small bracket that attaches to the new box.
Wrapped the harness and routed it around.
Last edited by CraigH; 04-10-2023 at 02:17 AM.
 02-22-2013, 06:50 AM
#342
Melting Slicks
Thread Starter
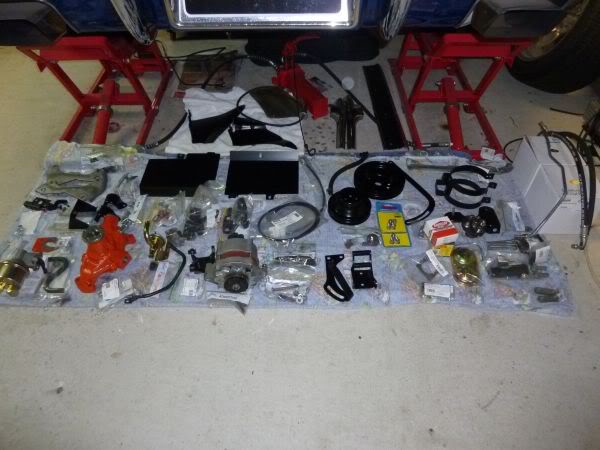
Started sorting though engine bay parts, bolts brackets etc etc so when I want something its altogether.
Am sick of looking in 5 different places for bits needed every time I want to fit something
Am sick of looking in 5 different places for bits needed every time I want to fit something
Last edited by CraigH; 04-09-2023 at 10:13 PM.
 02-22-2013, 06:55 AM
#344
Melting Slicks
Thread Starter
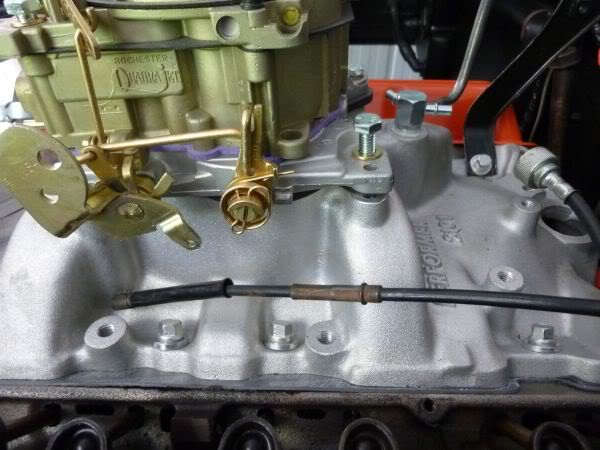
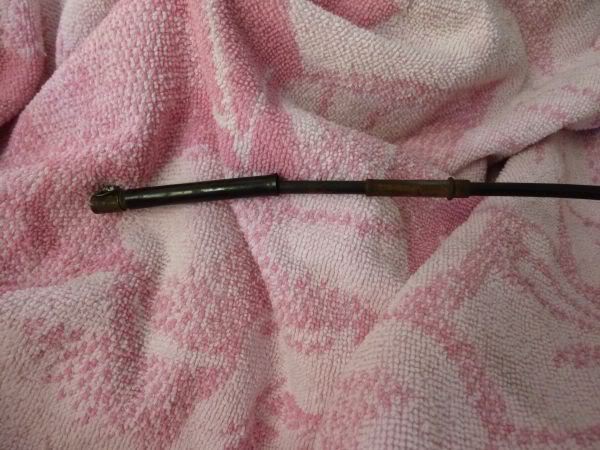
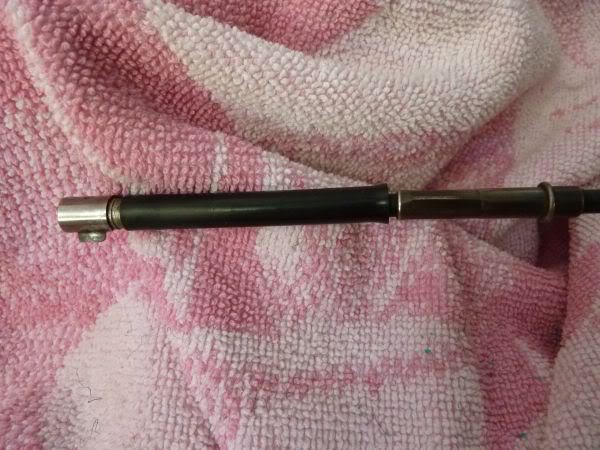
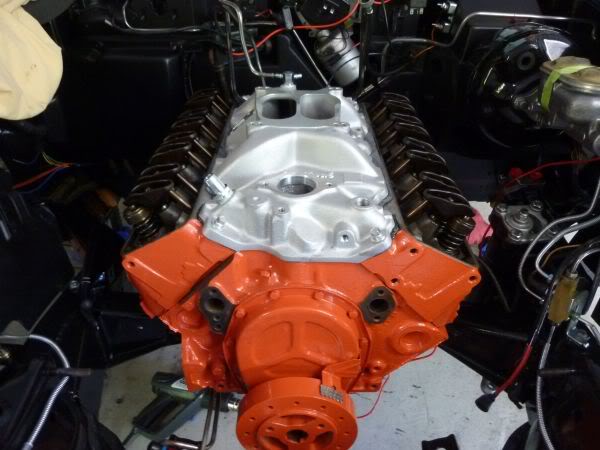
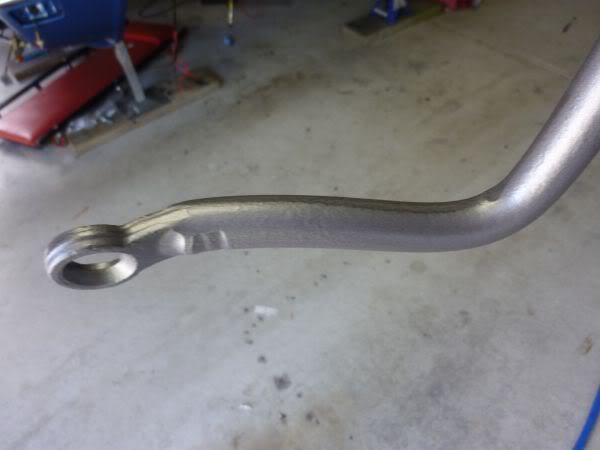
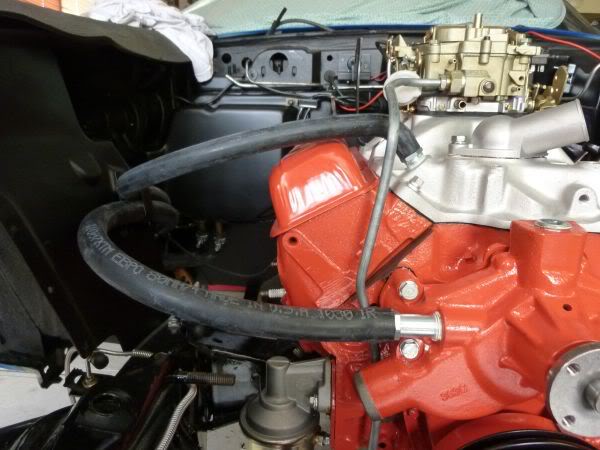
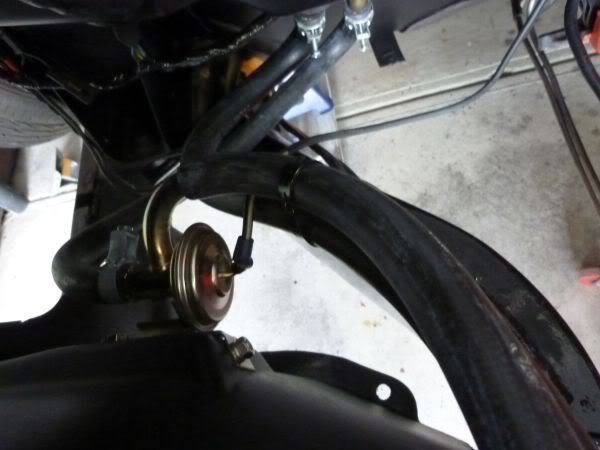
Needed to adjust the transmission vacuum pile to clear the distributor, the cover etc.
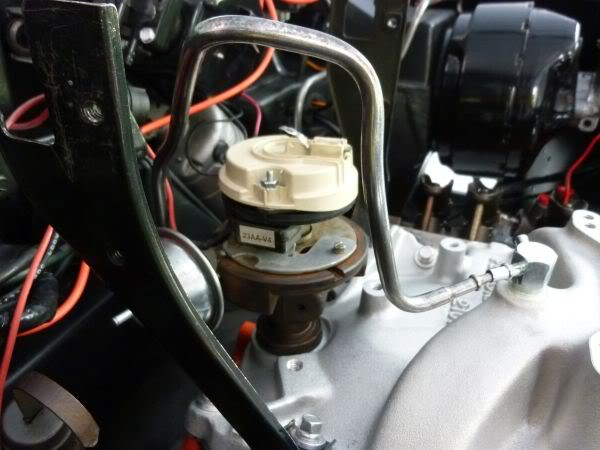
The fuel line will need some adjustments as well as the Performer manifold is higher than stock.
The fuel line will need some adjustments as well as the Performer manifold is higher than stock.
Last edited by CraigH; 04-09-2023 at 10:12 PM.
02-22-2013, 06:56 AM
#345
Melting Slicks
Thread Starter
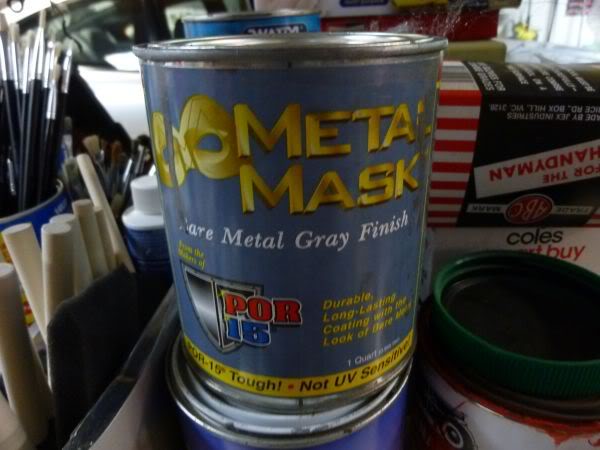
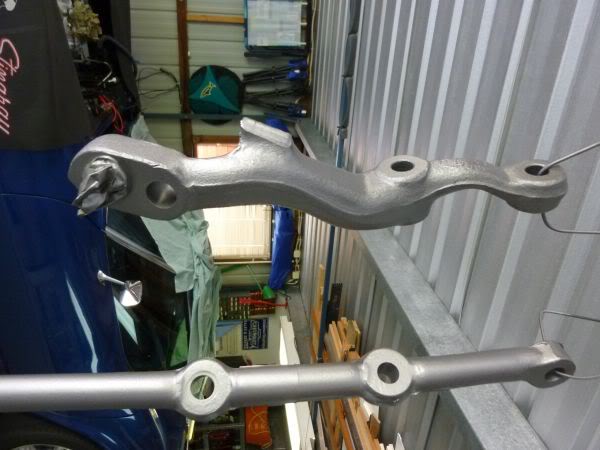
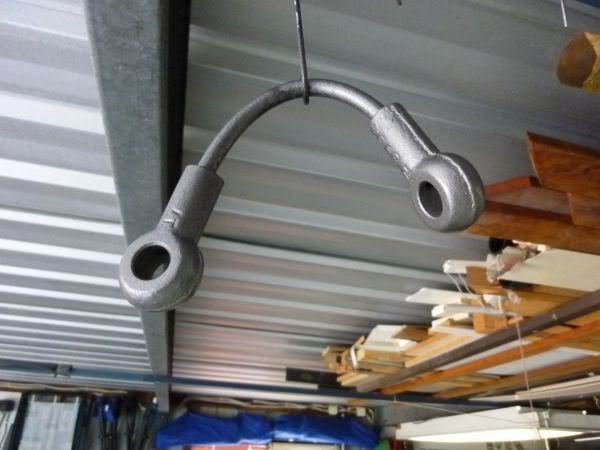
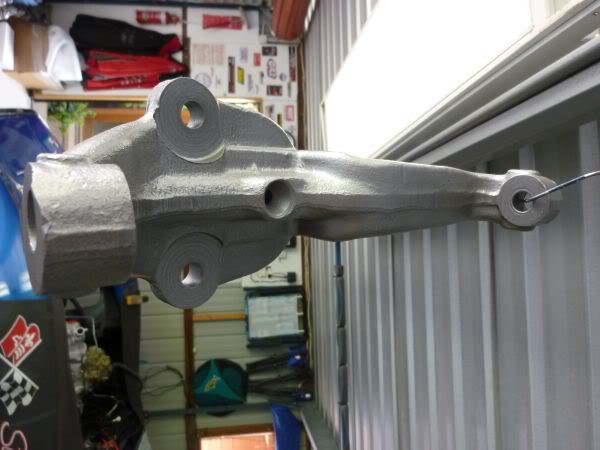
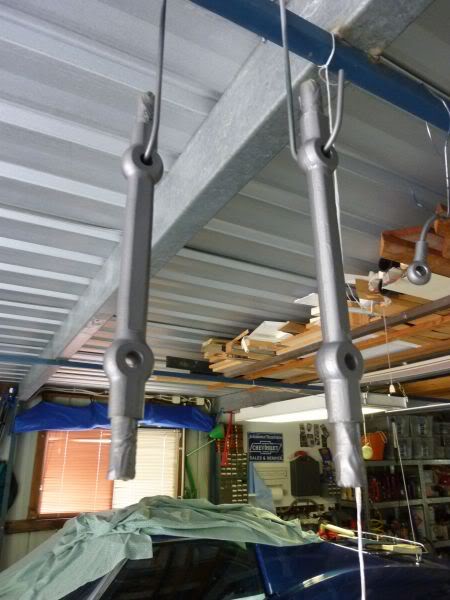
The media blaster had finished with all the suspension and brake parts.
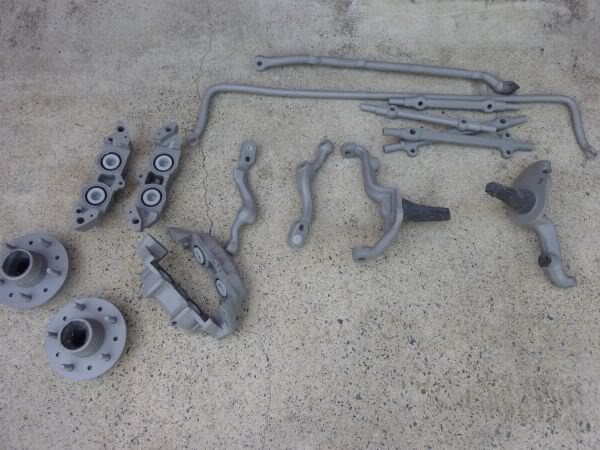
They are all going to get a few coats of POR Metal Mask that keeps them looking like clean cast metal.
They are all going to get a few coats of POR Metal Mask that keeps them looking like clean cast metal.
Last edited by CraigH; 04-09-2023 at 10:12 PM.
 02-22-2013, 06:57 AM
#347
Melting Slicks
Thread Starter
Started on the front brakes.
Cleaned them out to get rid of all the mdeia from the blasting.
Went through all passages with fine wire.
Cleaned up the bores with scotchbtite pads.
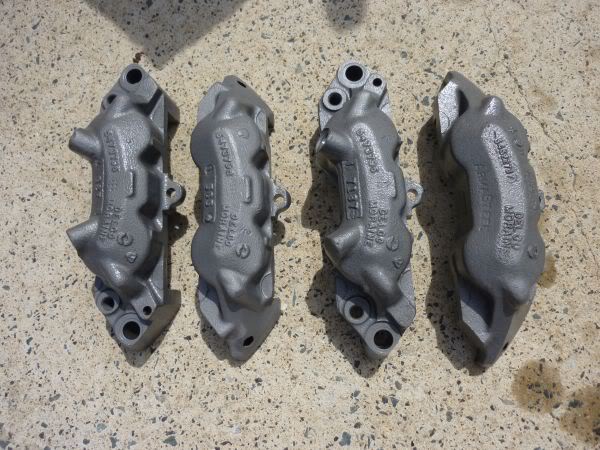
Masked them all up and started to paint them red.
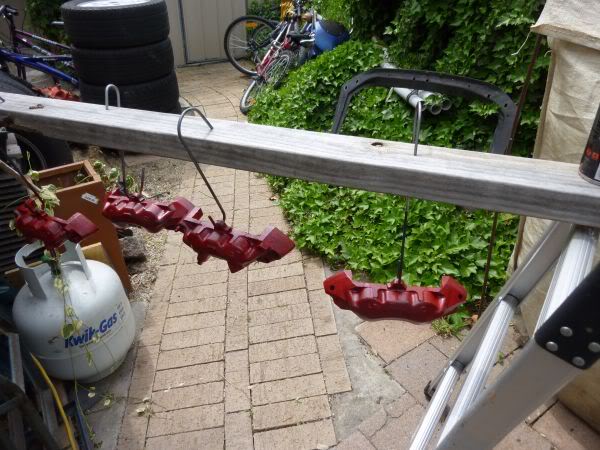
VB&P o-ring pistons are all ready to go in.
Cleaned them out to get rid of all the mdeia from the blasting.
Went through all passages with fine wire.
Cleaned up the bores with scotchbtite pads.
Masked them all up and started to paint them red.
VB&P o-ring pistons are all ready to go in.
Last edited by CraigH; 04-09-2023 at 10:12 PM.


 02-22-2013, 06:58 AM
#350
Melting Slicks
Thread Starter
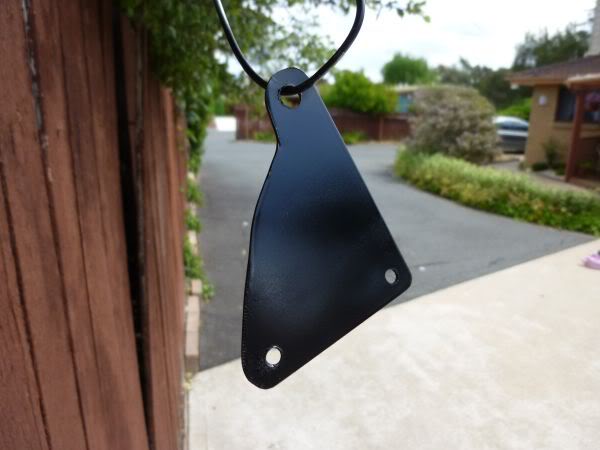
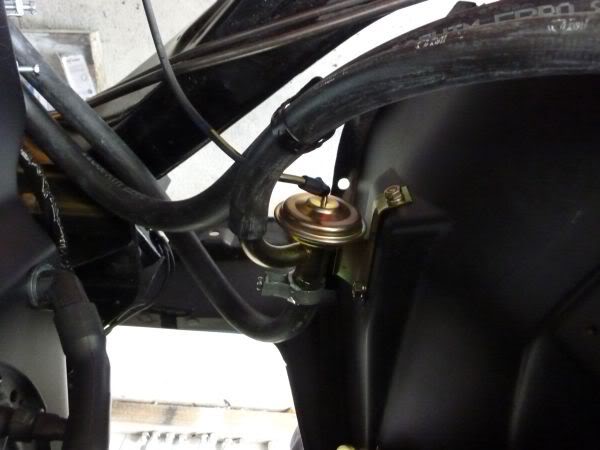
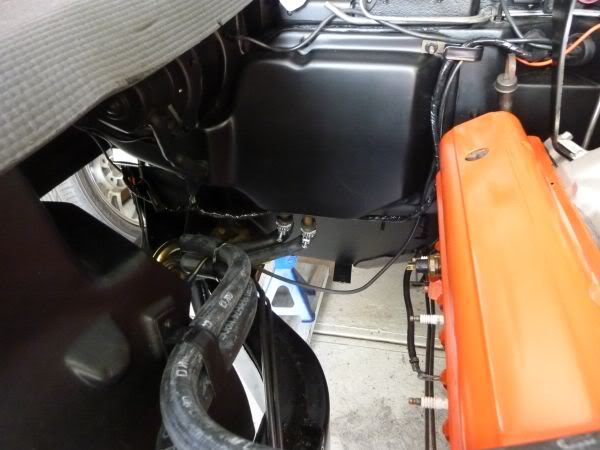
The relay wiring for the heater box is now done.
Using the original relay that is SPST. the full 12v relayed source and the output of the resistor pack are spliced and fed to the fan as per original AIM diagram.
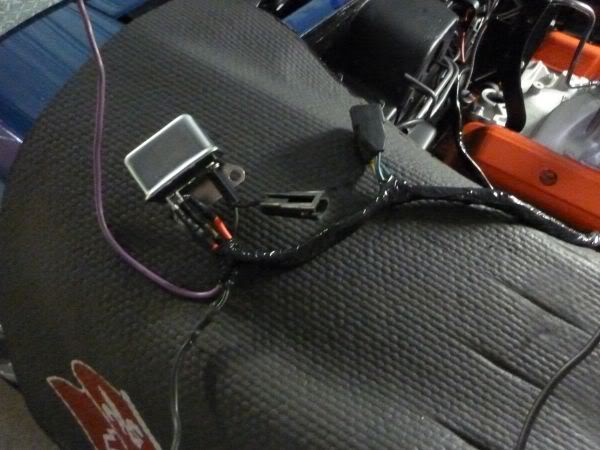
Bracket that holds relay mounts to one of the heater box bolts.
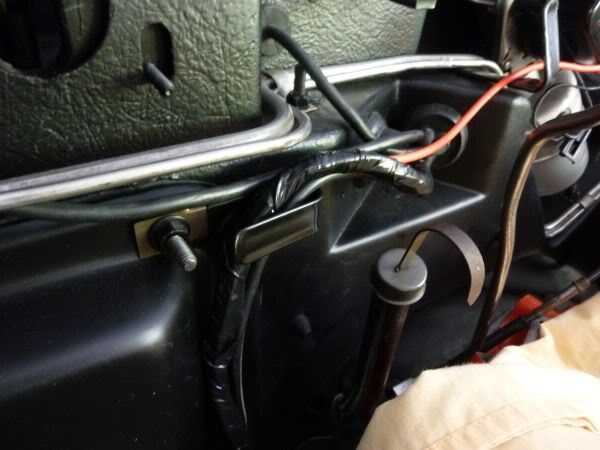
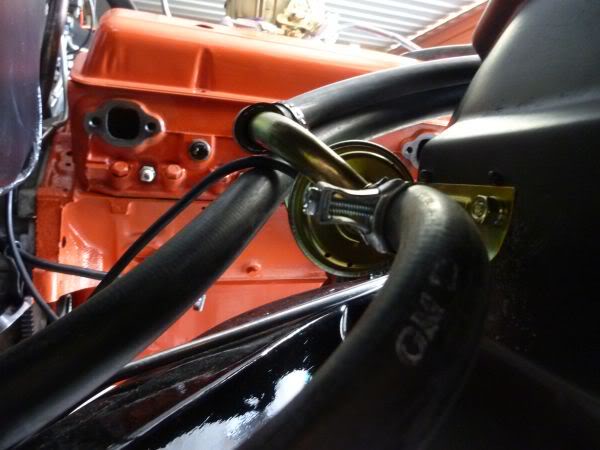
I have also tried to seal the area where the water pipes come out.
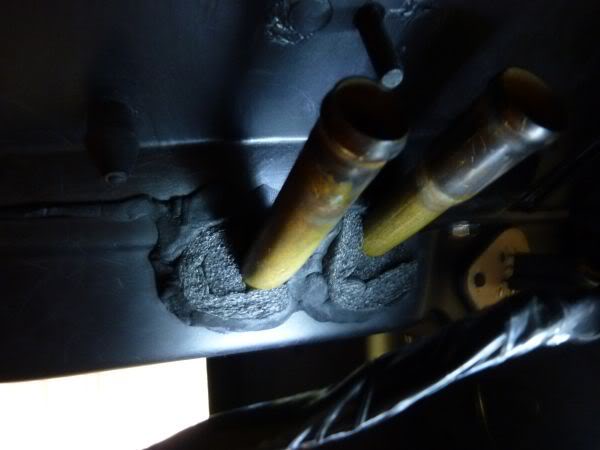
Will need to find some bitumen based sealer to go over it possibly.
getting rid of all leaks under bonnet will increase the airflow as well as stop any heat coming through that opening.
Using the original relay that is SPST. the full 12v relayed source and the output of the resistor pack are spliced and fed to the fan as per original AIM diagram.
Bracket that holds relay mounts to one of the heater box bolts.
I have also tried to seal the area where the water pipes come out.
Will need to find some bitumen based sealer to go over it possibly.
getting rid of all leaks under bonnet will increase the airflow as well as stop any heat coming through that opening.
Last edited by CraigH; 04-09-2023 at 10:11 PM.
02-22-2013, 06:58 AM
#351
Melting Slicks
Thread Starter
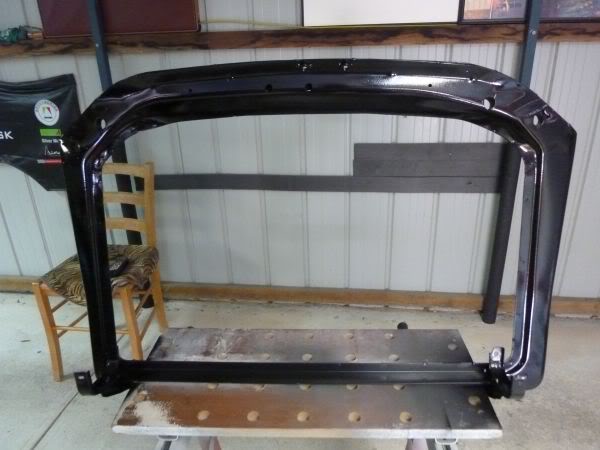
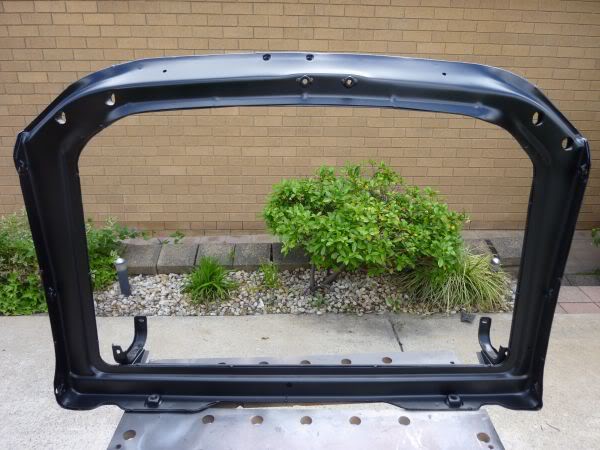
Started to clean up the modification work I did on the radiator core support and give it a new coat of paint.
All the upper mount holes were opened up to allow more adjustments for mounting and the lower brackets were modified to allow radiator to move 1/4" to the left.
All the upper mount holes were opened up to allow more adjustments for mounting and the lower brackets were modified to allow radiator to move 1/4" to the left.
Last edited by CraigH; 04-09-2023 at 10:11 PM.
02-22-2013, 06:59 AM
#352
Melting Slicks
Thread Starter
The local engineering shop, who have done my media blasting and powder coating, have my power steering reservoir to modify the low pressure return inlet so it points up at about 11 o'clock rather than down at 5 o'clock as standard.
This way I can have much neater PS hoses with no need to loop the return line down then up to the pump.
My great idea for a radiator fan bracket that needed no bolts into the radiator top or bottom support fell flat when I found out that no one can bend the aluminum into a channel shaped small enough with the equipment they have.
They wanted about 40-50 mm minimum between the bends that come back on themselves.
Back to the drawing board, may just have to bolt the bracket to the top and bottom supports.
02-22-2013, 06:59 AM
#353
Melting Slicks
Thread Starter
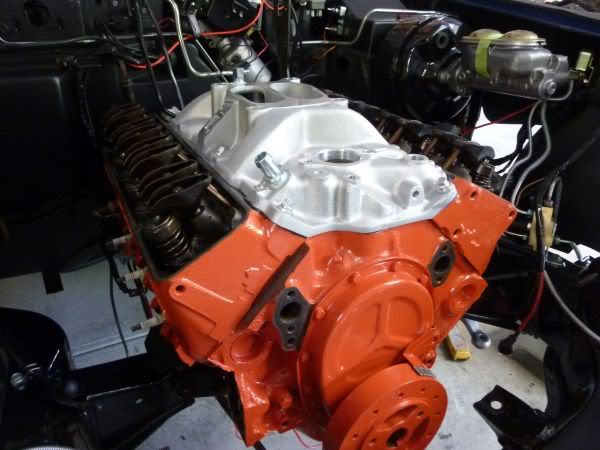
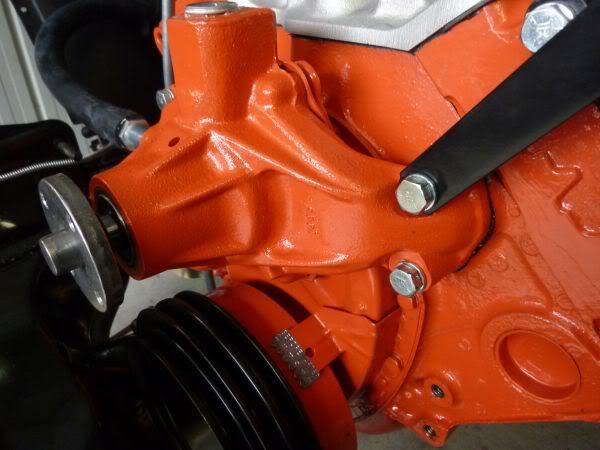
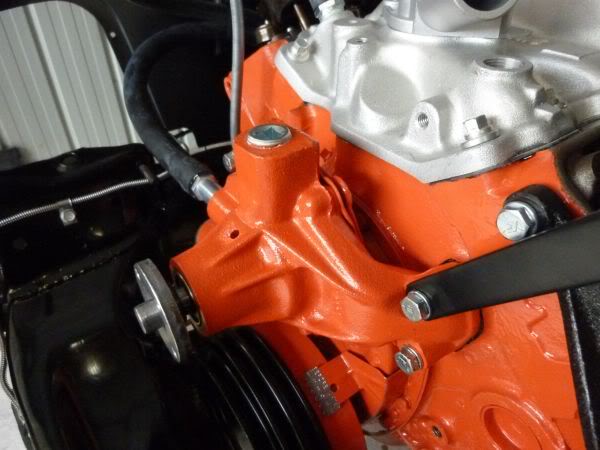
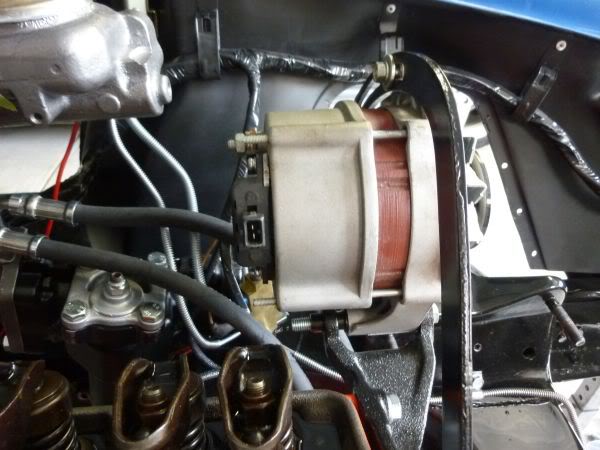
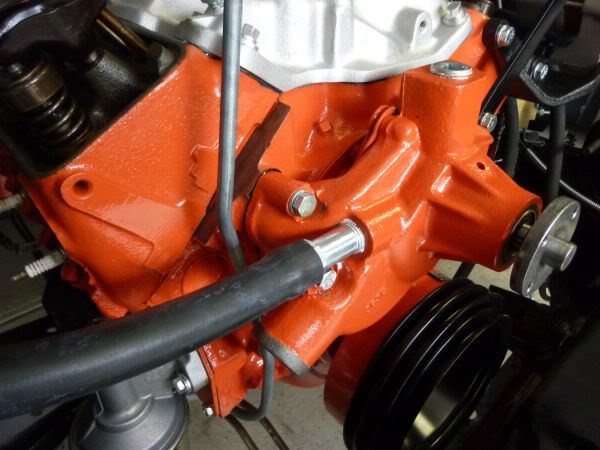
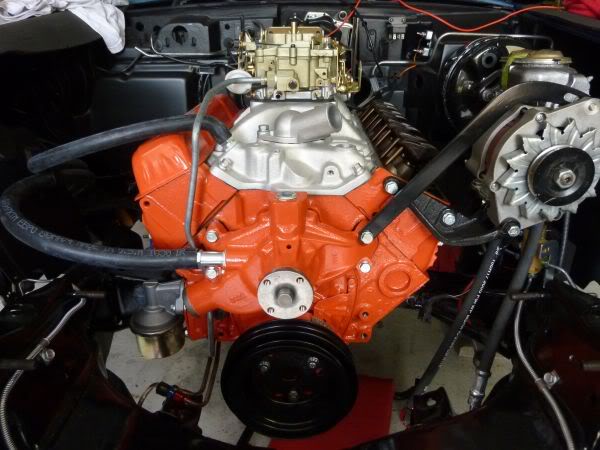
I cleaned up the water pump gasket areas.
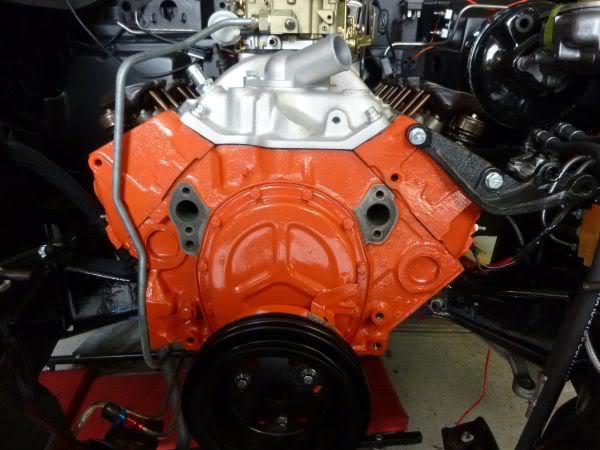
Fitted the water pump.
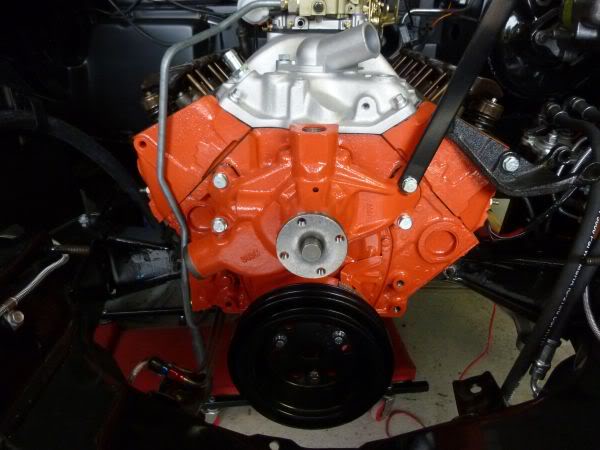
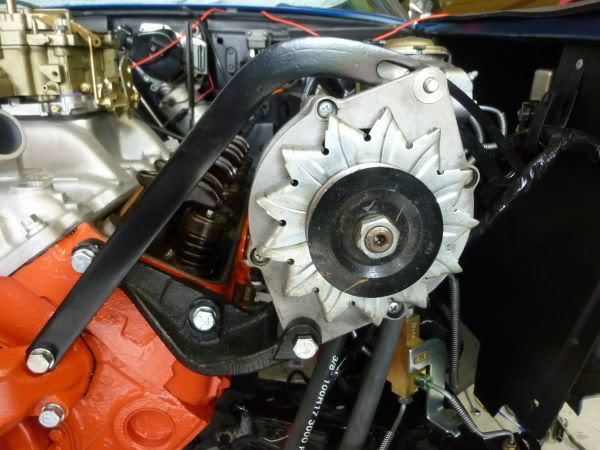
And the brackets for the alternator.
Since I have headers i used an alternator bracket from a 73 that mounts to the head rather than the exhaust manifold.
Fitted the water pump.
And the brackets for the alternator.
Since I have headers i used an alternator bracket from a 73 that mounts to the head rather than the exhaust manifold.
Last edited by CraigH; 04-09-2023 at 10:11 PM.
 02-22-2013, 07:00 AM
#355
Melting Slicks
Thread Starter
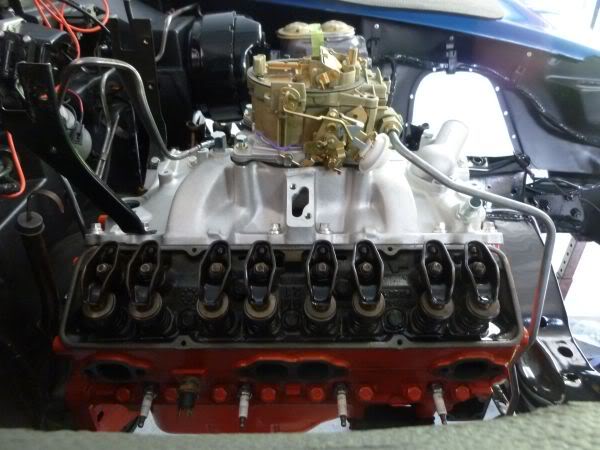
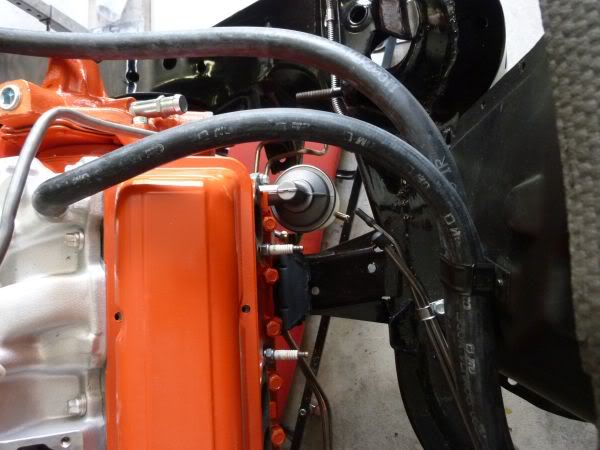
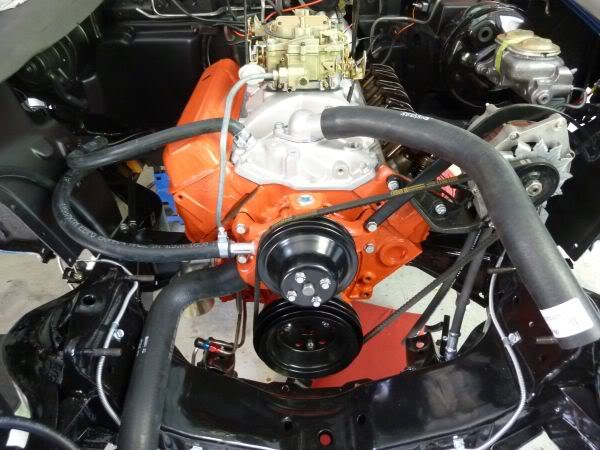
Fuel pump fitted.
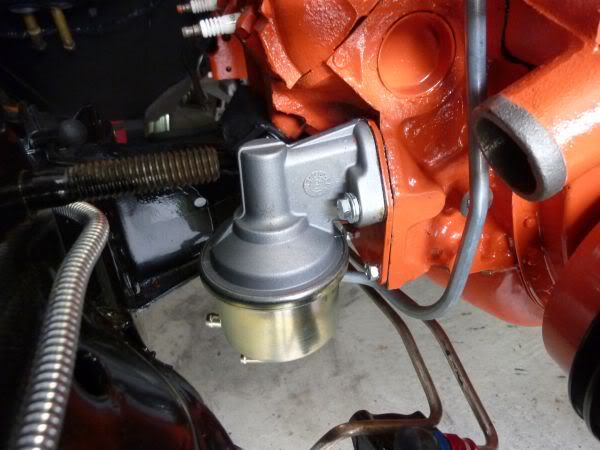
I had to re bend the hard fuel line from the pump to the carburetor.
Not happy with final fit as it sits a bit too high.
Will order another one to try and get it better or bend one up from scratch.
I had to re bend the hard fuel line from the pump to the carburetor.
Not happy with final fit as it sits a bit too high.
Will order another one to try and get it better or bend one up from scratch.
Last edited by CraigH; 04-09-2023 at 10:11 PM.
The following users liked this post:
Primoz (04-29-2021)
 02-22-2013, 07:02 AM
#359
Melting Slicks
Thread Starter
I used the original style tower host clamps on the hoses.
I think I know why they changed to the current style, will have to see how they go.
Need to get a spacer got the water pulp pulleys as they sit too close to teh pump.
I think I know why they changed to the current style, will have to see how they go.
Need to get a spacer got the water pulp pulleys as they sit too close to teh pump.
Last edited by CraigH; 04-09-2023 at 10:10 PM.