
1971 Journey
 02-21-2013, 04:32 AM
#281
Melting Slicks

Thread Starter


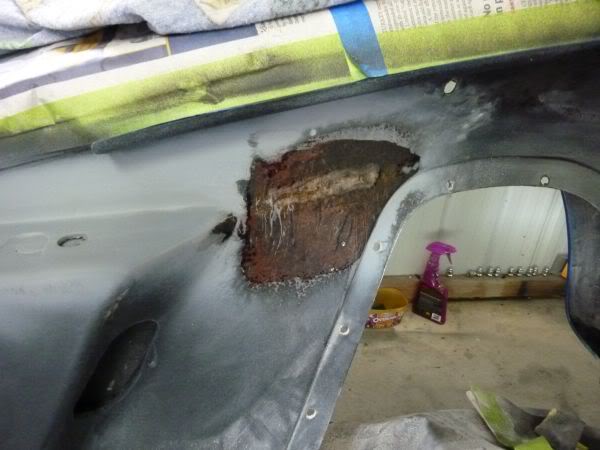
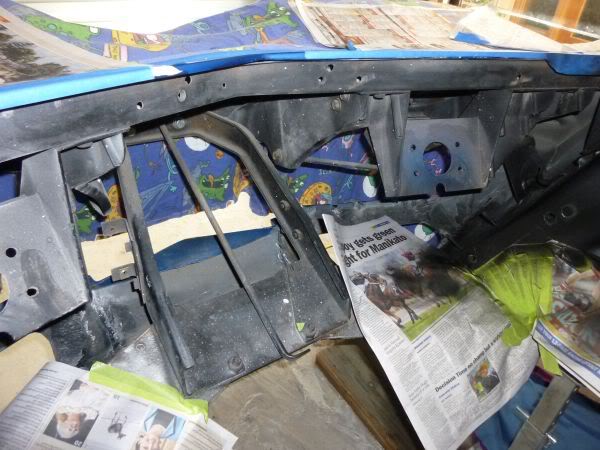
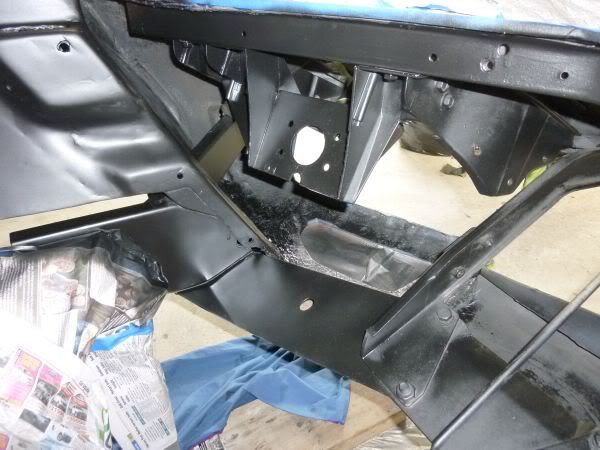
Where the AC lines used to run on the inner guard it had worn through the fiberglass outer layers and into the glass that then expanded when painted.
Some re work and a coat of resin should fix it up ok.
Some re work and a coat of resin should fix it up ok.
Last edited by CraigH; 04-09-2023 at 09:28 PM.

 02-21-2013, 04:38 AM
#287
Melting Slicks
Thread Starter
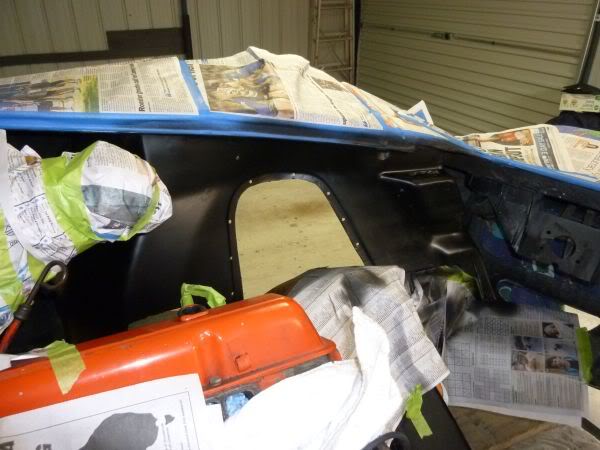
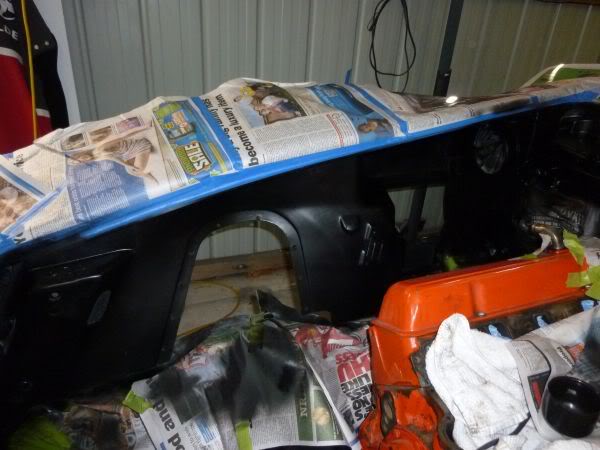
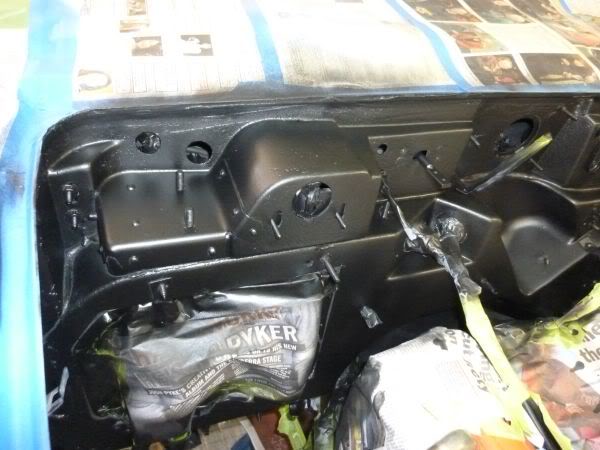
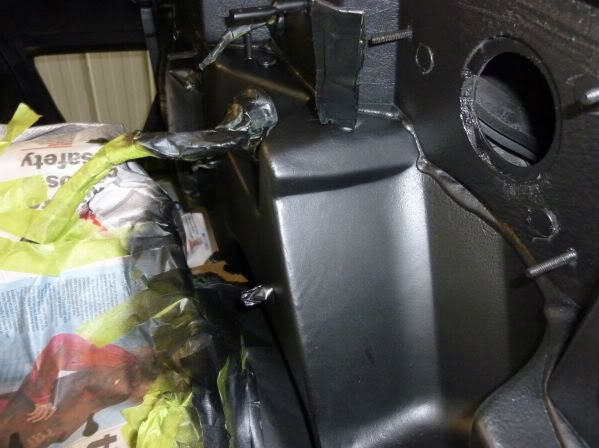
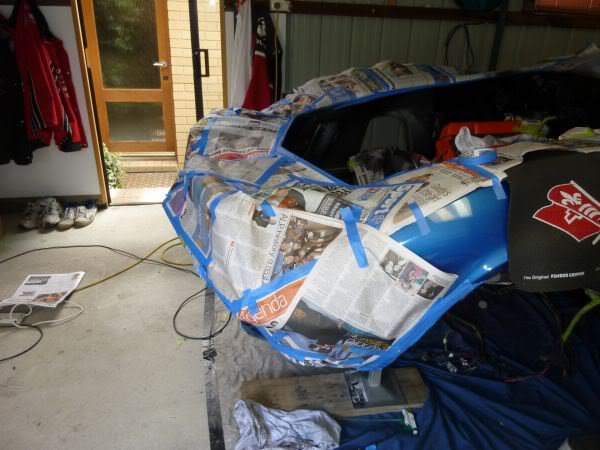
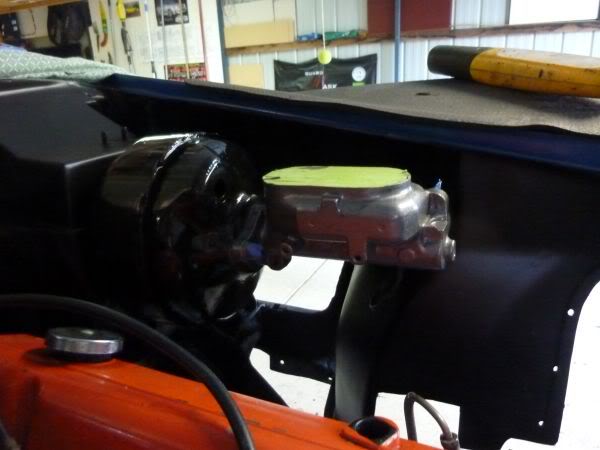
I took off all the masking tonight and it looks great,
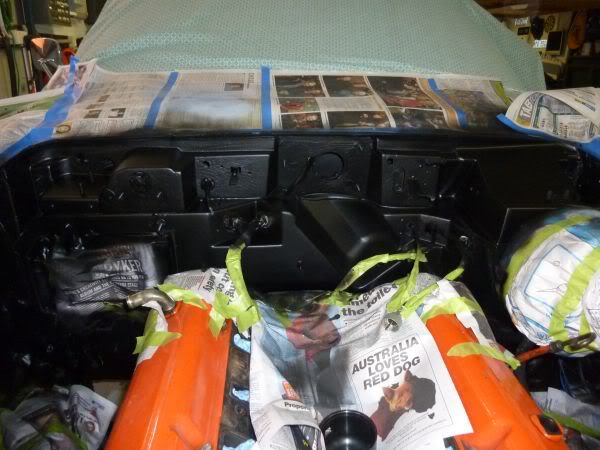
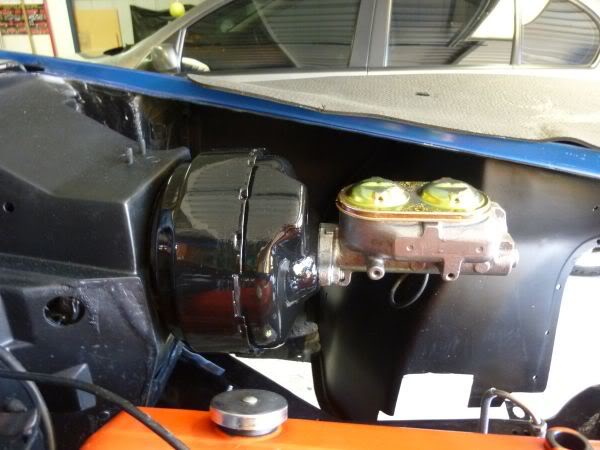
Gave the brake power booster a re-spray in gloss black.
Am away for the next couple of days now so will have to wait to give it a second coat.
Gave the brake power booster a re-spray in gloss black.
Am away for the next couple of days now so will have to wait to give it a second coat.
02-21-2013, 04:39 AM
#288
Melting Slicks
Thread Starter
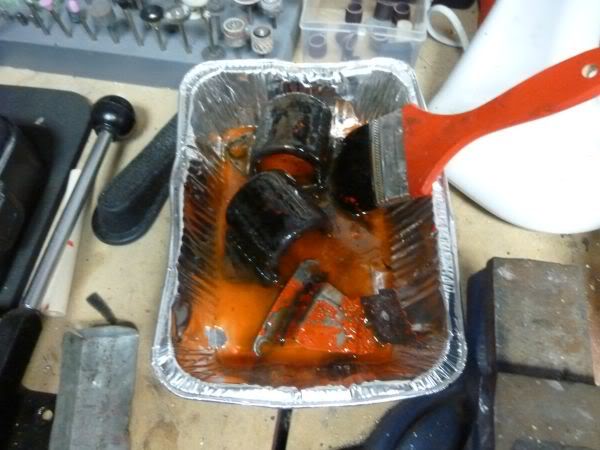
Before giving the power Booster its final spray i decided to clean up the master cylinder.
Lots of wire brush work, acid, thinners and it was ready for some paint.
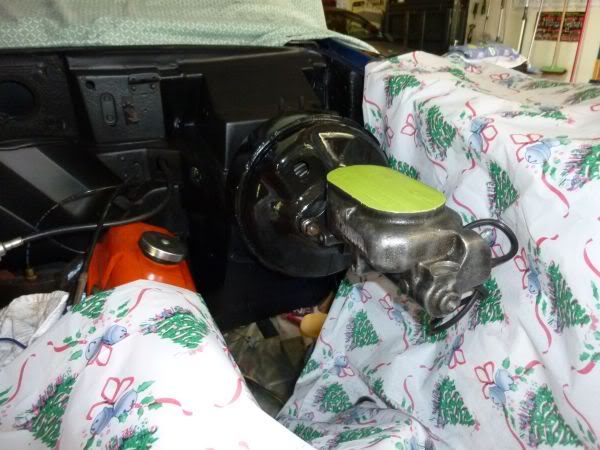
I uses POR15 metal mask to give it the new cast metal look.
Lots of wire brush work, acid, thinners and it was ready for some paint.
I uses POR15 metal mask to give it the new cast metal look.
Last edited by CraigH; 04-09-2023 at 09:26 PM.
 02-21-2013, 04:39 AM
#290
Melting Slicks
Thread Starter
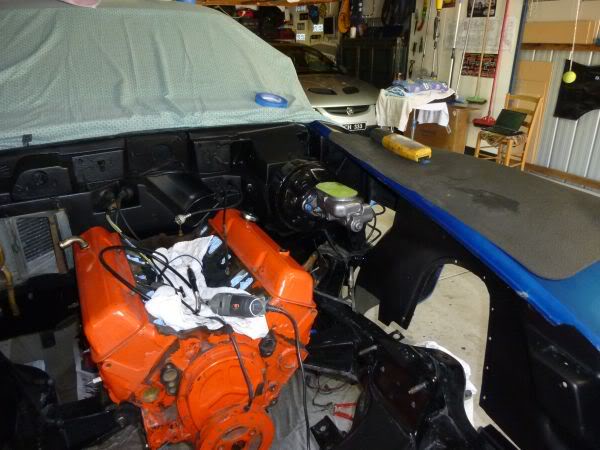
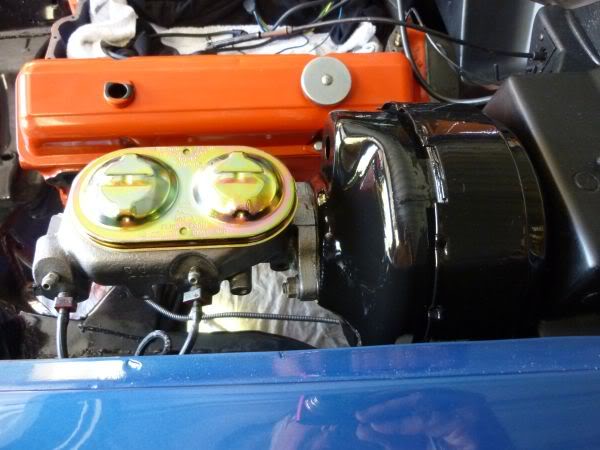
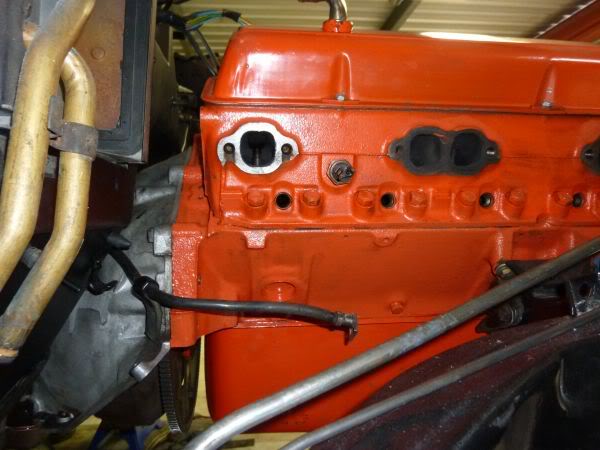
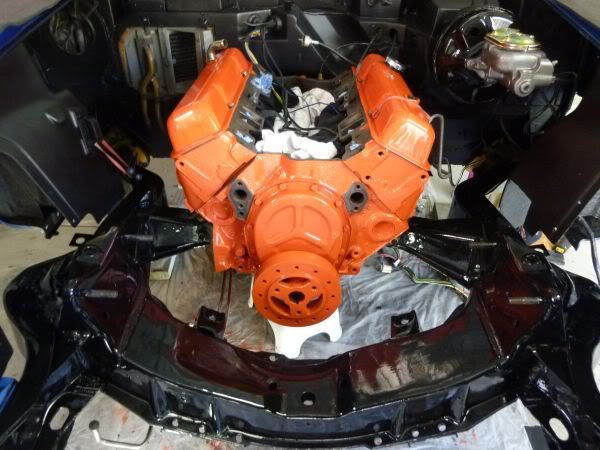
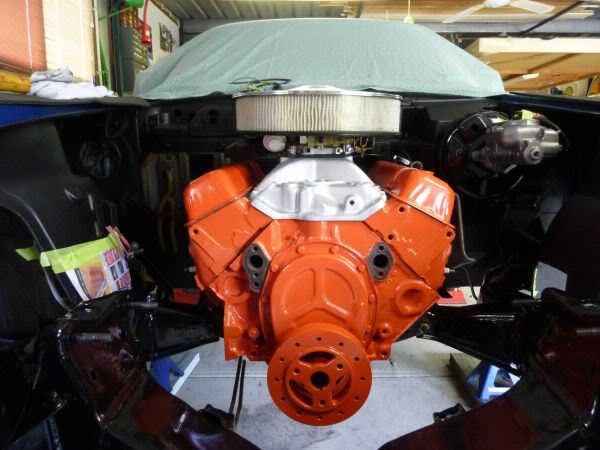
Engine block got wire brushed, cleaned with thinners then acid the again with thinners.
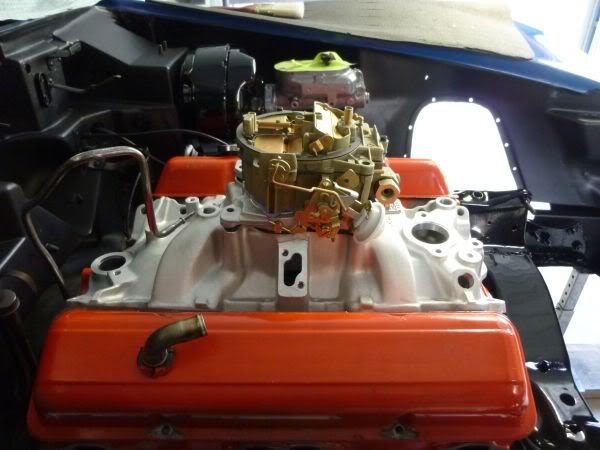
Then it got its first coats of Hirsch Engine Paint
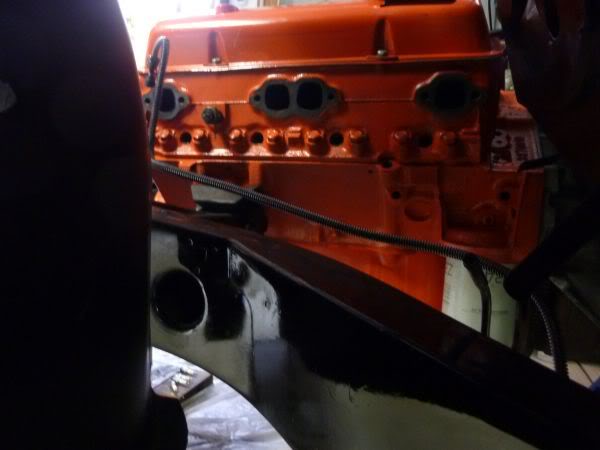
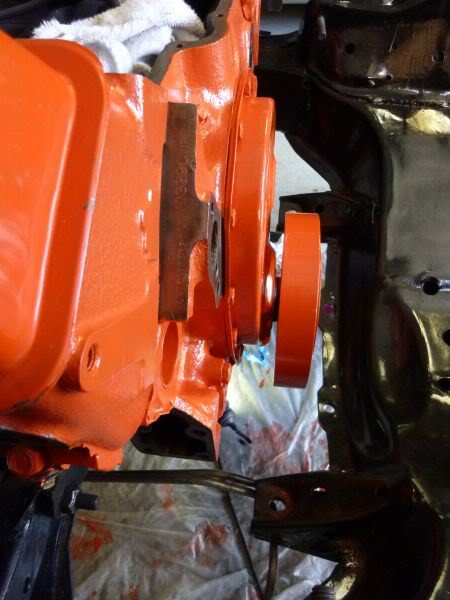
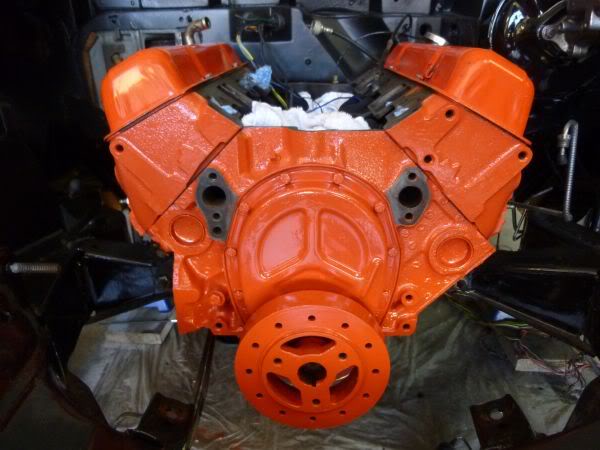
Need to wait a week then give it another coat. If you try and coat it again even after 24 hours the original coat will soften - dont ask why i know :-)
Valve covers were obviously painted in the past and are a bit too orange. I will take them off and spray them later.
I did some testing with VHT Chevy Orange but it had more red in the orange mix than I wanted. There is so much variety in Chevy orange.
Then it got its first coats of Hirsch Engine Paint
Need to wait a week then give it another coat. If you try and coat it again even after 24 hours the original coat will soften - dont ask why i know :-)
Valve covers were obviously painted in the past and are a bit too orange. I will take them off and spray them later.
I did some testing with VHT Chevy Orange but it had more red in the orange mix than I wanted. There is so much variety in Chevy orange.
Last edited by CraigH; 04-09-2023 at 09:26 PM.
02-21-2013, 04:40 AM
#291
Melting Slicks
Thread Starter
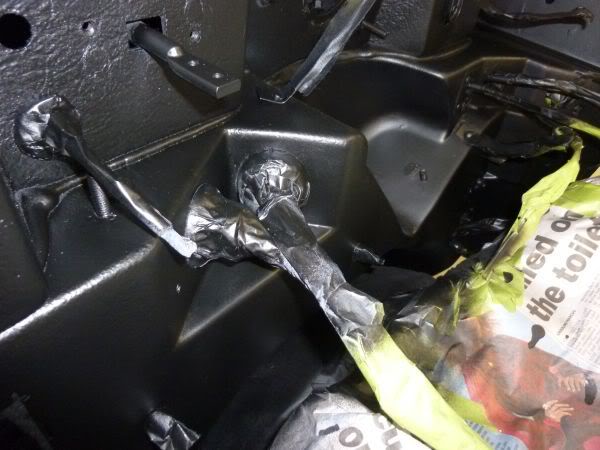
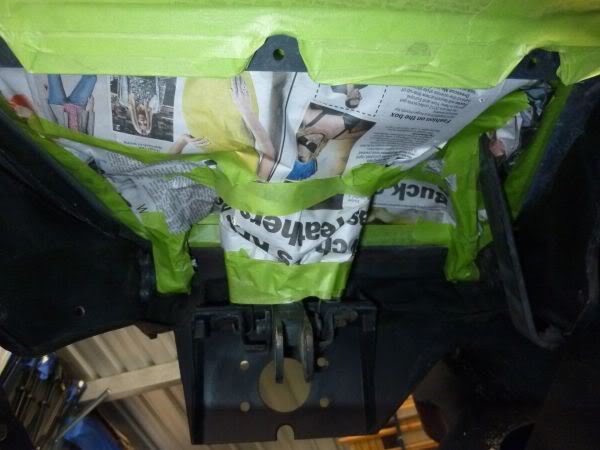
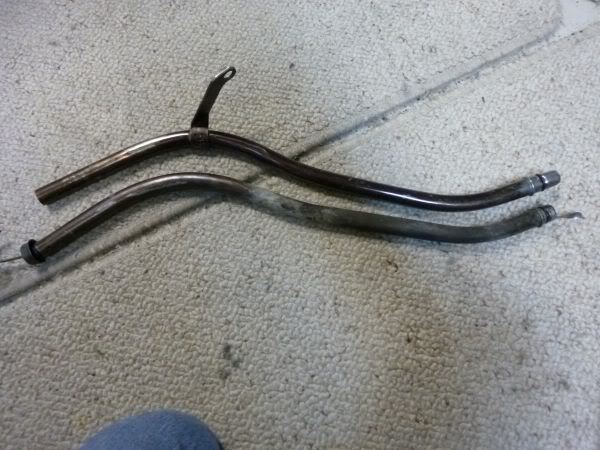
Before doing the final coat on the frame I wanted to clean up the fuel, return, vapor and trans cooler lines.
I Cleaned them with steel wool, Simple Green, thinners etc until they were back to silver again.
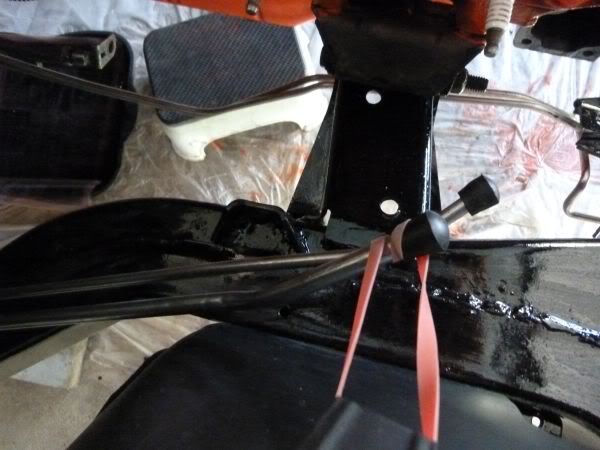
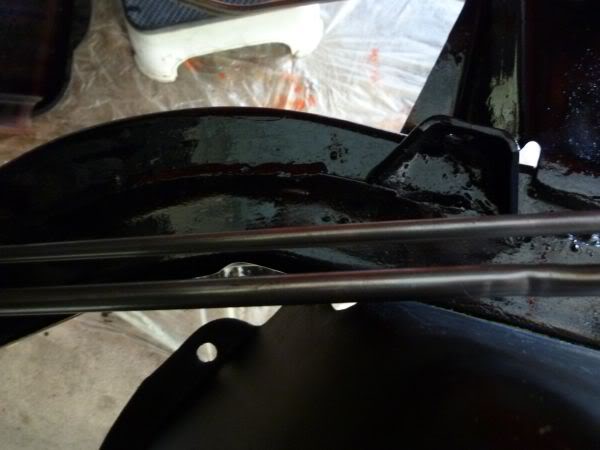
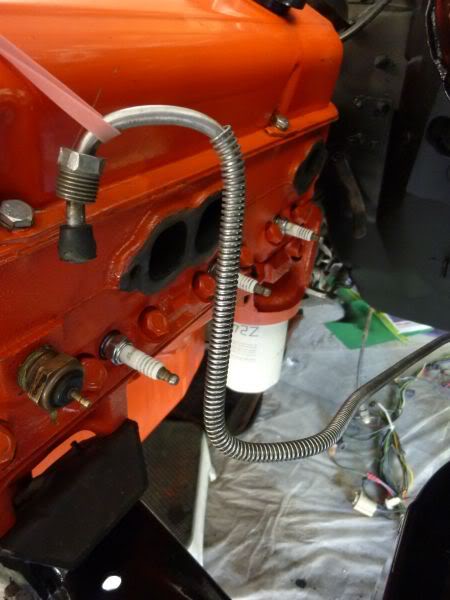
Considering they had paint and crud all over them this was not as hard as I had expected.
The wire wound one was the hardest.
They are now all nice back to the firewall :-)
I Cleaned them with steel wool, Simple Green, thinners etc until they were back to silver again.
Considering they had paint and crud all over them this was not as hard as I had expected.
The wire wound one was the hardest.
They are now all nice back to the firewall :-)
Last edited by CraigH; 04-09-2023 at 09:26 PM.
 02-21-2013, 04:41 AM
#293
Melting Slicks
Thread Starter
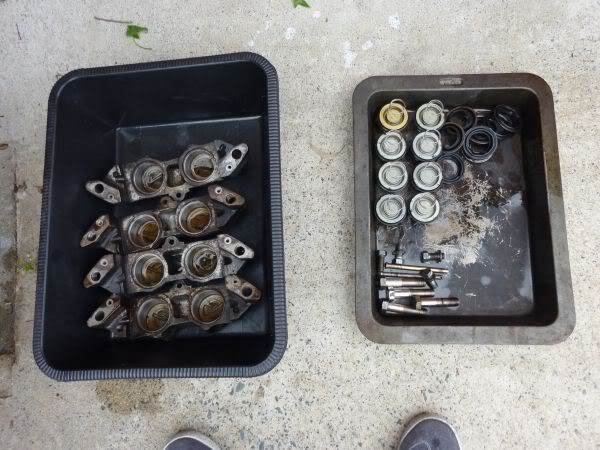
Stripped the front brakes down.
They were rebuilt when I purchased the car but I want to install o-ring sealed pistons rather than the lip seals in them now.
Will get them media blasted the powder coated red to match the back ones.
They were rebuilt when I purchased the car but I want to install o-ring sealed pistons rather than the lip seals in them now.
Will get them media blasted the powder coated red to match the back ones.
Last edited by CraigH; 04-09-2023 at 09:25 PM.
 02-21-2013, 04:42 AM
#295
Melting Slicks
Thread Starter
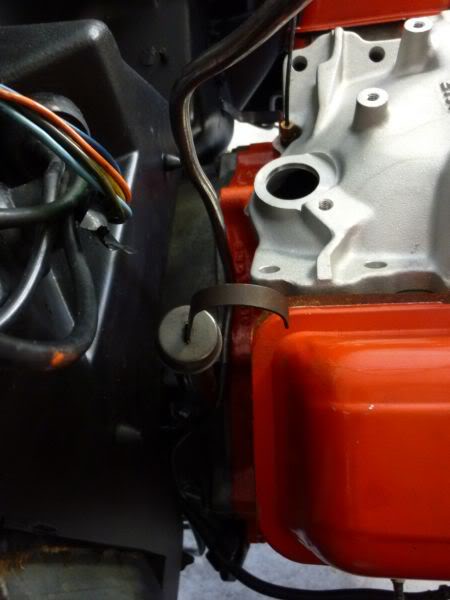
My original trans dipstick tube had lost its mount bracket so I had been searching for an original one.
Even the revised GM ones were no longer available.
Ernie from Willcox Corvette ended up giving me one from his own personal parts stash. Very nice of him.
Even the revised GM ones were no longer available.
Ernie from Willcox Corvette ended up giving me one from his own personal parts stash. Very nice of him.
Last edited by CraigH; 04-09-2023 at 09:25 PM.
02-21-2013, 04:43 AM
#296
Melting Slicks
Thread Starter
I refitted the automatic transmission dip stick and the vacuum line.
With the engine in place it was a little difficult but between Matt and myself we managed to finesse them into place.
New o-ring and some lube and it should all seal nicely I hope.
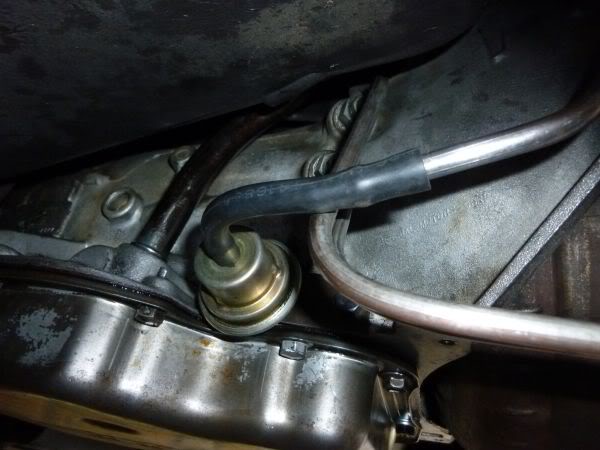
It sits in a better position than before so checking fluid should be easier.
Need to top the trans up as I lost a bit of fluid with the tube out.
With the engine in place it was a little difficult but between Matt and myself we managed to finesse them into place.
New o-ring and some lube and it should all seal nicely I hope.
It sits in a better position than before so checking fluid should be easier.
Need to top the trans up as I lost a bit of fluid with the tube out.
Last edited by CraigH; 04-09-2023 at 09:25 PM.

 02-21-2013, 04:44 AM
#298
Melting Slicks
Thread Starter
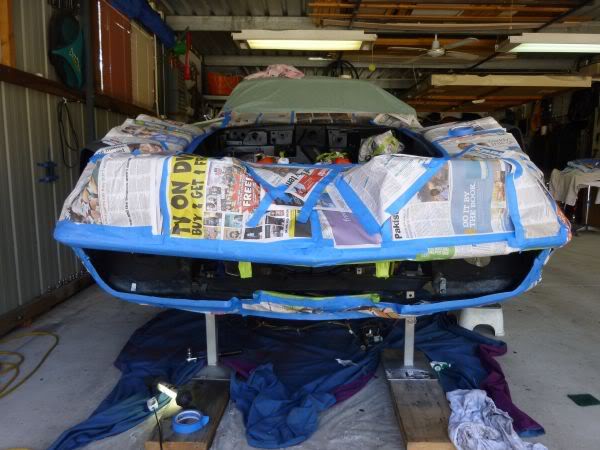
Core Support is now trial fitted.
5 of the 6 bolts lined up ok and the lower nuts were out by 1/4"

A little bit of grinding will be needed.
5 of the 6 bolts lined up ok and the lower nuts were out by 1/4"
A little bit of grinding will be needed.
Last edited by CraigH; 04-09-2023 at 09:24 PM.
02-21-2013, 04:44 AM
#299
Melting Slicks
Thread Starter
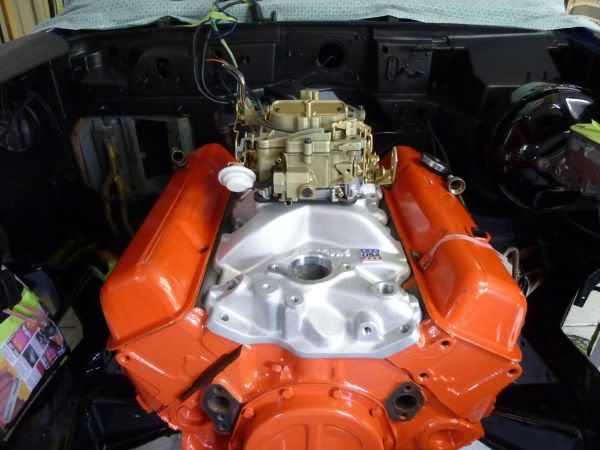
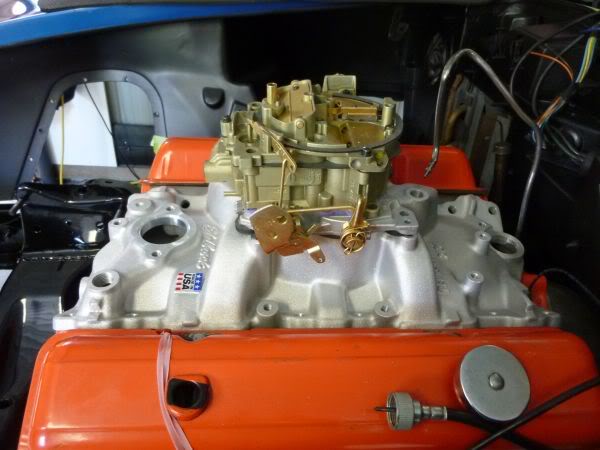
Found this info on CF
Intake 3973460 OE on 1971 L-48 C3.
Intake Manifold, Cast Iron c/n 3973460 F = 2.69�, R = 4.375�
35 degrees down in front
Intake Manifold, Weiand alum. p/n 8004 F = 3.50�, R = 4�
11 degrees down in front
Intake Manifold, Edelbrock alum p/n 2101 F = 3.50� , R = 4.60
22 degrees down in front
So its a bit under an inch higher at front and less than a 1/4" at rear.
02-21-2013, 04:45 AM
#300
Melting Slicks
Thread Starter
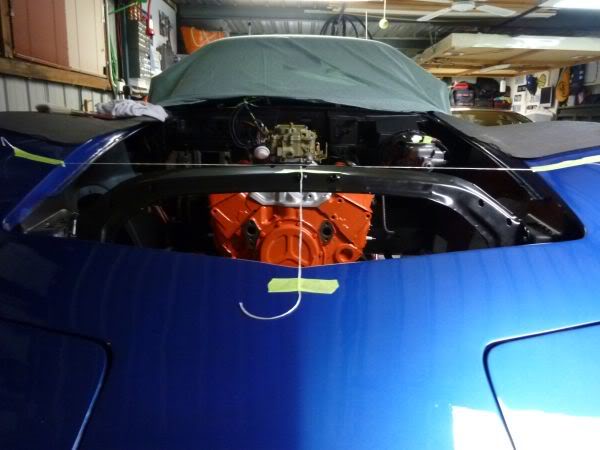
September 2011
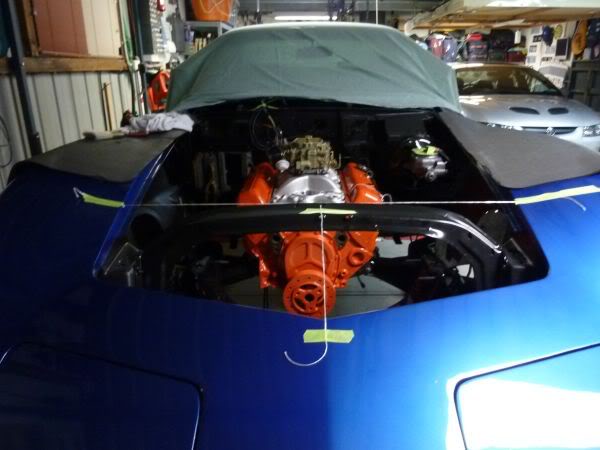
I ran string line from the wiper door down to the top if the hood seal.
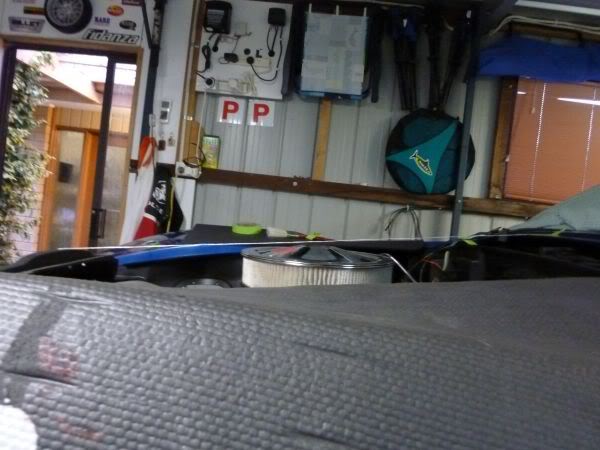
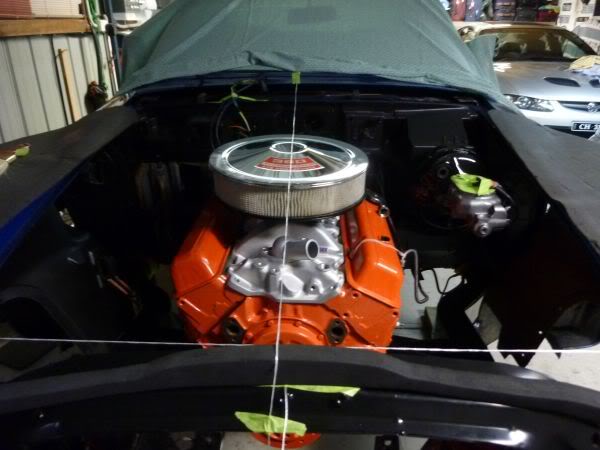
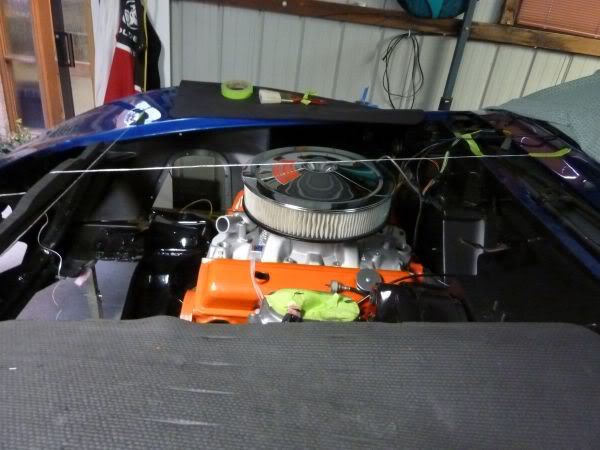
1/2" clearance at front of air cleaner.
Also the small block hood has a bulge in the middle that may add some more space.
As long as it clears I will be happy.
I ran string line from the wiper door down to the top if the hood seal.
1/2" clearance at front of air cleaner.
Also the small block hood has a bulge in the middle that may add some more space.
As long as it clears I will be happy.
Last edited by CraigH; 04-09-2023 at 09:24 PM.

