
1971 Journey
 02-20-2013, 03:39 PM
#261
Melting Slicks

Thread Starter


August 2011
I cleaned up the pitman arm yesterday.
First cleaned it up in the parts washer with a wire brush. Then media blasted it and it came up nice and silver like new cast metal.
But how to keep it that way.
I thought about spraying it with clear coat like VHT sell but in the end decided to paint it as a test with POR15 Metal Mask.
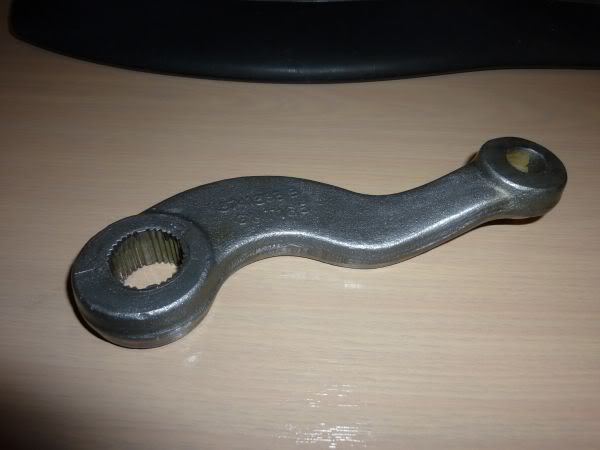
So after painting it it looked just like it did before I painted it !!!!!.
Just like a clean new casting :-)
And hopefully it wont rust and will stay that way.
Now to move onto the rest of the front suspension parts.
I cleaned up the pitman arm yesterday.
First cleaned it up in the parts washer with a wire brush. Then media blasted it and it came up nice and silver like new cast metal.
But how to keep it that way.
I thought about spraying it with clear coat like VHT sell but in the end decided to paint it as a test with POR15 Metal Mask.
So after painting it it looked just like it did before I painted it !!!!!.
Just like a clean new casting :-)
And hopefully it wont rust and will stay that way.
Now to move onto the rest of the front suspension parts.
Last edited by CraigH; 04-09-2023 at 09:24 PM.

 02-20-2013, 07:05 PM
#263
Pro


Hello CraigH,
Sure apreciate your post. I am in the process of doing a body off on my 1970 LT1 Convertible. Will sure be using your post for information.
Thanks,
Nelson 007
Sure apreciate your post. I am in the process of doing a body off on my 1970 LT1 Convertible. Will sure be using your post for information.
Thanks,
Nelson 007
02-20-2013, 10:11 PM
#264
Melting Slicks
Thread Starter
Thanks guys
I know that I have found this and other forums as invaluable sources of information to get things done since I have had my Vette.
So if anyone can get some value from my experiences along the way I am very happy.
I know that I have found this and other forums as invaluable sources of information to get things done since I have had my Vette.
So if anyone can get some value from my experiences along the way I am very happy.
02-20-2013, 11:19 PM
#265
Cruising


Member Since: Feb 2013
Location: Tweed coast NSW
Posts: 14
Likes: 0
Received 0 Likes
on
0 Posts

 02-21-2013, 04:24 AM
#267
Melting Slicks
Thread Starter
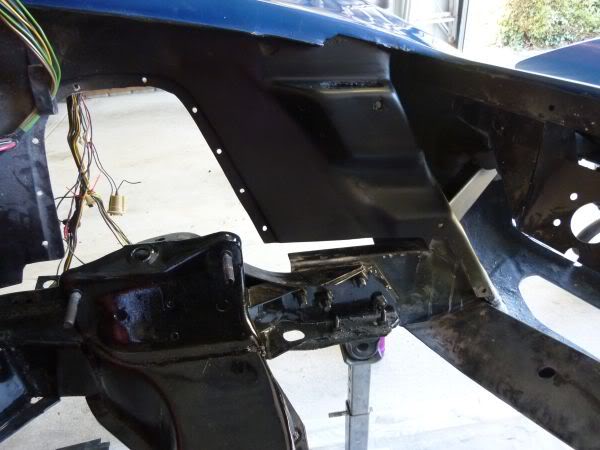
I decided to do the re shape of the drivers side inner splash panel.
The guard had been replaced at some stage and the inner panel was not correct and did not allow for the harness to pass between it and the radiator support.
First I marked it out and then cut the existing glass.
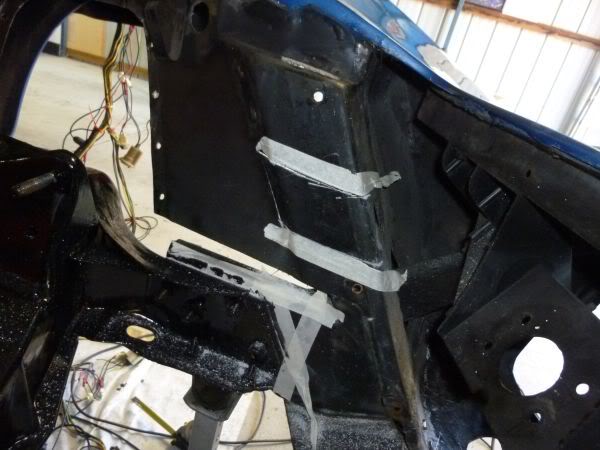
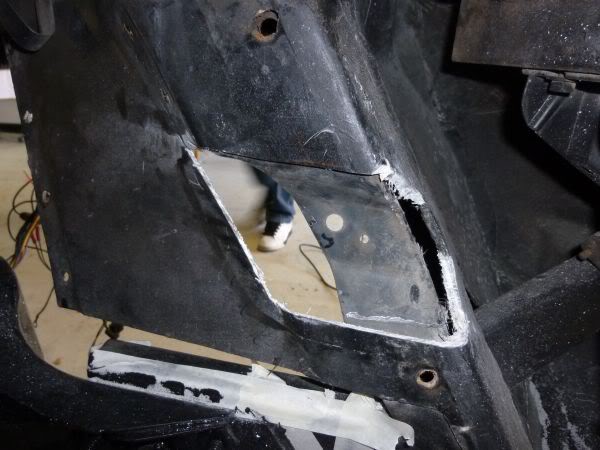
Then sanded down all the edges.
And created a frame out of cardboard to lay the glass on.
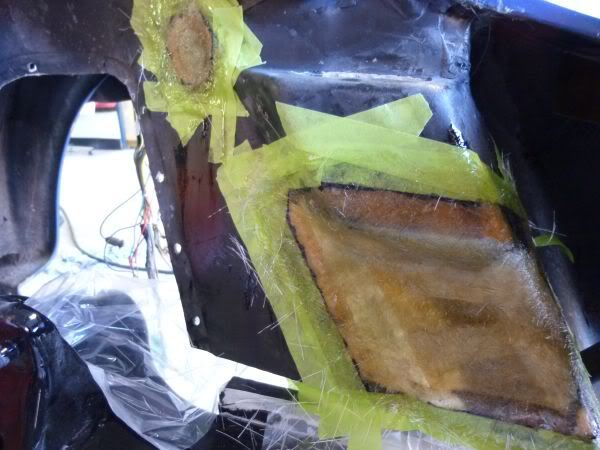
And glassed it up.
Also repaired the hole cut previously to allow harness through the guard.
Once it dries I will do the back.
The guard had been replaced at some stage and the inner panel was not correct and did not allow for the harness to pass between it and the radiator support.
First I marked it out and then cut the existing glass.
Then sanded down all the edges.
And created a frame out of cardboard to lay the glass on.
And glassed it up.
Also repaired the hole cut previously to allow harness through the guard.
Once it dries I will do the back.
Last edited by CraigH; 04-09-2023 at 09:24 PM.
02-21-2013, 04:25 AM
#268
Melting Slicks
Thread Starter
My radiator support turned up today as well as a box from Zip and Summit.
Tried out the AN fittings for the transmission lines into the radiator.
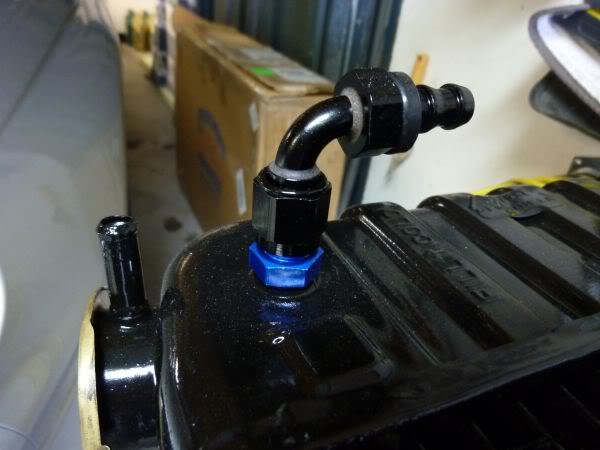
Tried out the AN fittings for the transmission lines into the radiator.
Last edited by CraigH; 04-09-2023 at 09:23 PM.
02-21-2013, 04:25 AM
#269
Melting Slicks
Thread Starter
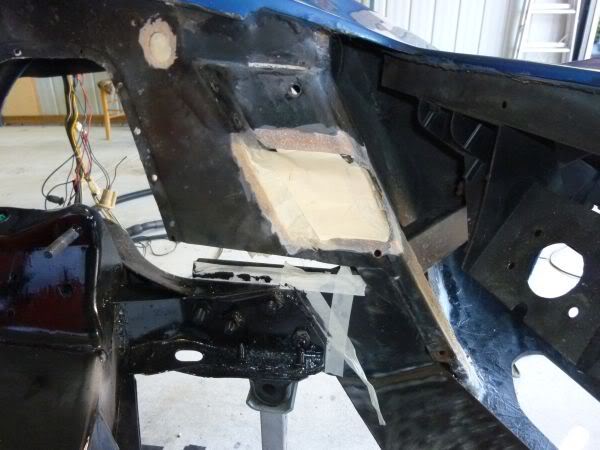
The fiberglass inner guard changes are getting closer.
Shape is all done just needs a final sand and then it should be done.
Shape is all done just needs a final sand and then it should be done.
Last edited by CraigH; 04-09-2023 at 09:23 PM.
 02-21-2013, 04:26 AM
#271
Melting Slicks
Thread Starter
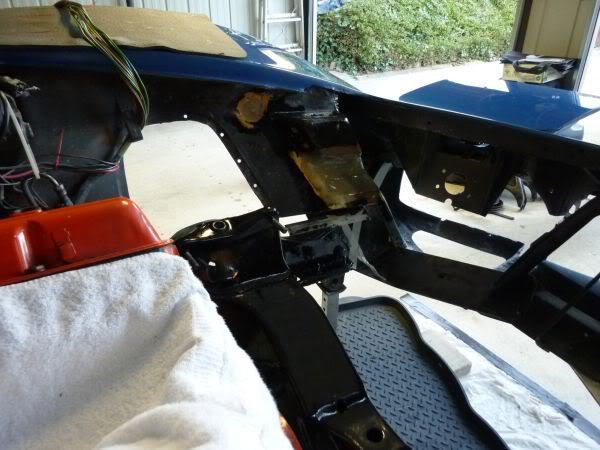
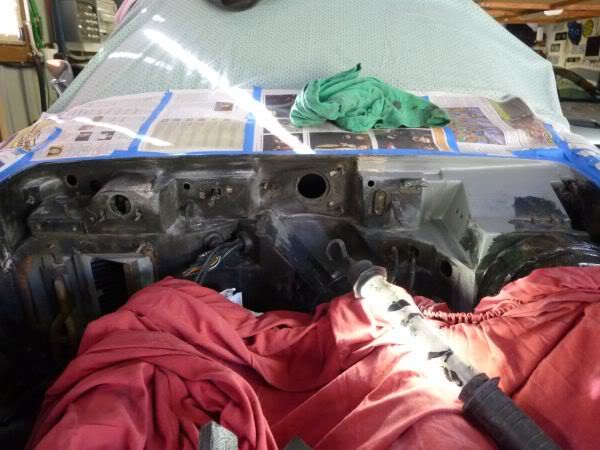
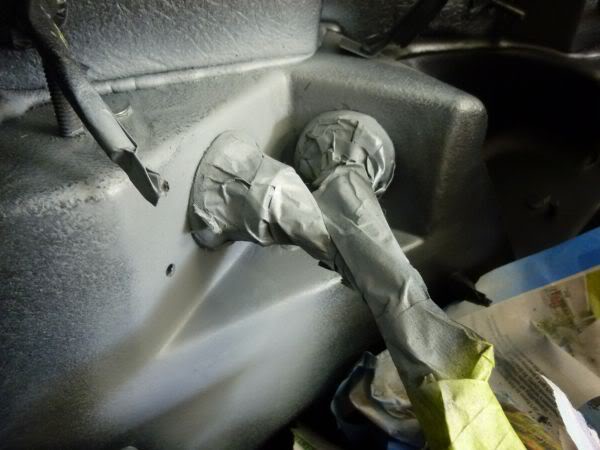
Cleaning up the firewall should be fun !
I started by removing the vacuum and dipstick tubes from the transmission......hmmm... Forgot the car was sloping down at the front and dumped a heap of trans fluid on the floor when the tube came out :
:
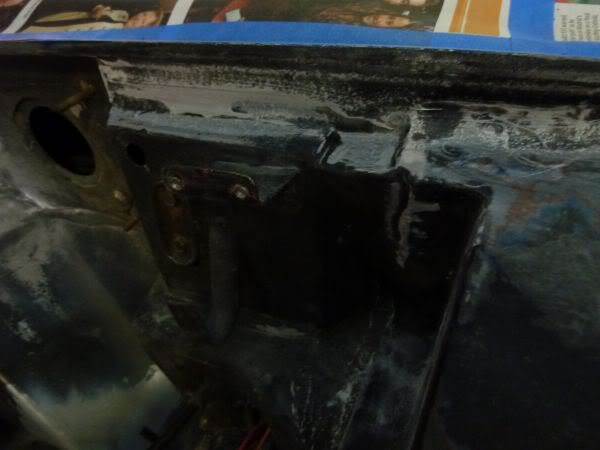
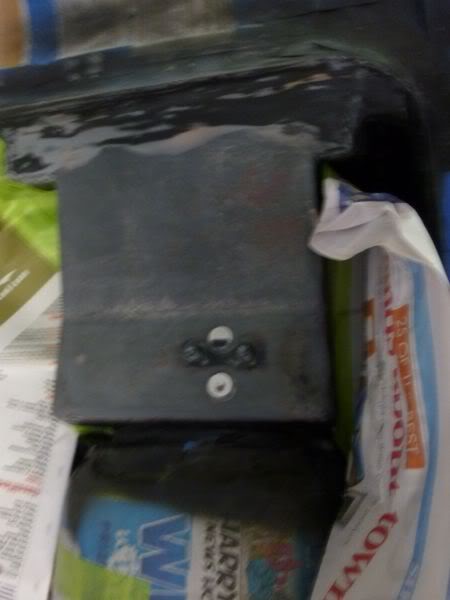
Started with the area where vacuum hoses and wire loom for the heater come out. The grommets looked rotted.
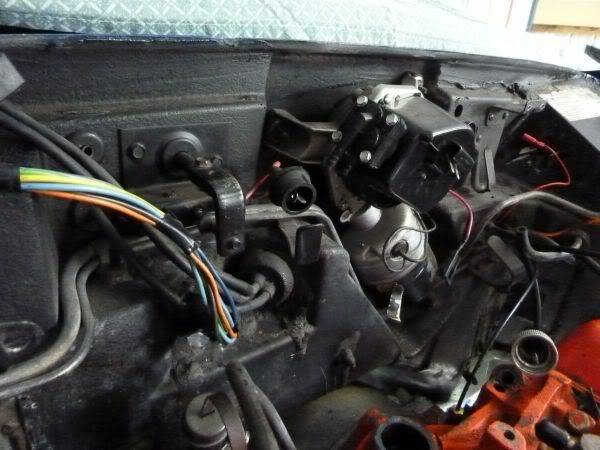
However with a bit of cleaning and a lot of time they now look like new and I was able to remove a heap of old bitumen crap that had dripped down over stuff.
I started by removing the vacuum and dipstick tubes from the transmission......hmmm... Forgot the car was sloping down at the front and dumped a heap of trans fluid on the floor when the tube came out
:Started with the area where vacuum hoses and wire loom for the heater come out. The grommets looked rotted.
However with a bit of cleaning and a lot of time they now look like new and I was able to remove a heap of old bitumen crap that had dripped down over stuff.
Last edited by CraigH; 04-09-2023 at 09:23 PM.
The following users liked this post:
Primoz (11-20-2022)
02-21-2013, 04:27 AM
#272
Melting Slicks
Thread Starter
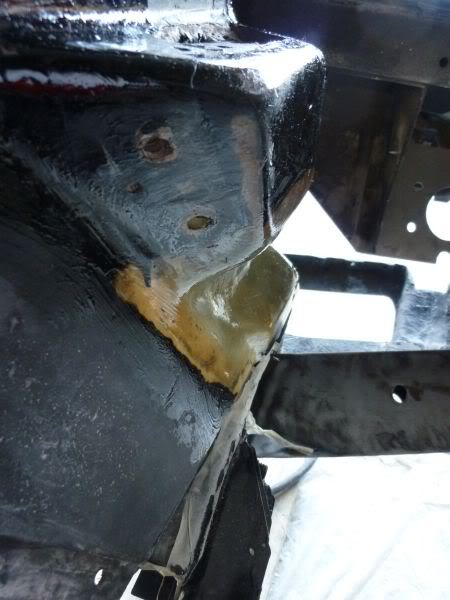
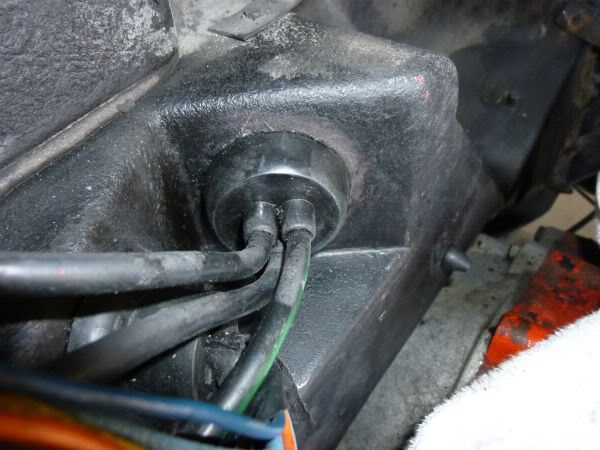
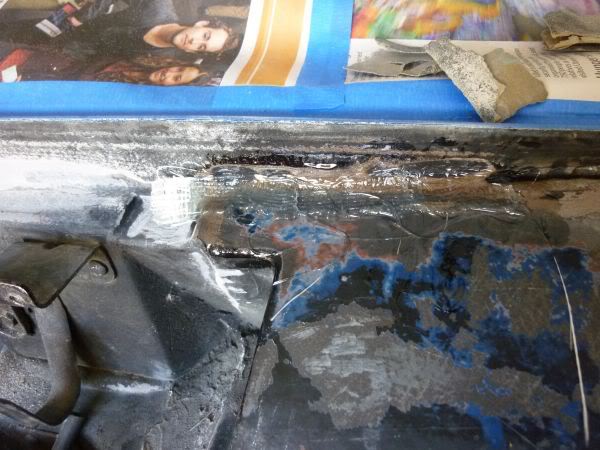
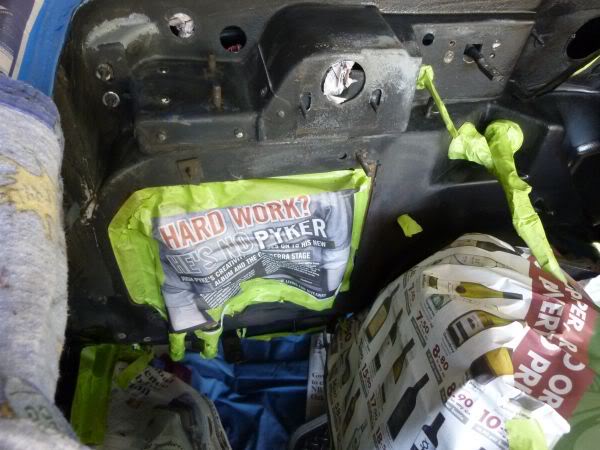
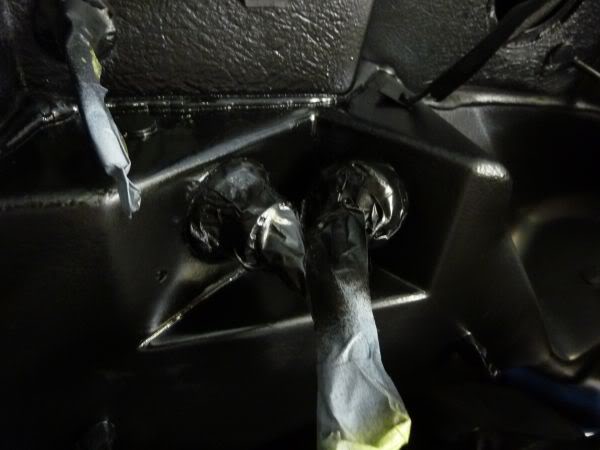
To clean this area up I used turpentine to soften the bitumen based sealer that was over everything then slowly scraped and wiped it off the rubber parts as well as the fiberglass.
Amazing how it softens up fairly easily with a bit of solvent.
Amazing how it softens up fairly easily with a bit of solvent.
02-21-2013, 04:27 AM
#273
Melting Slicks
Thread Starter
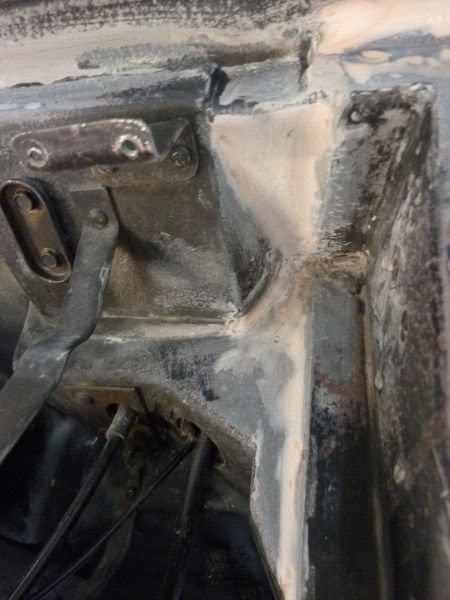
I have done some more tidy up on the firewall.
Started sanded down any bits of bonding that were sticking out and neatened it up a bit.
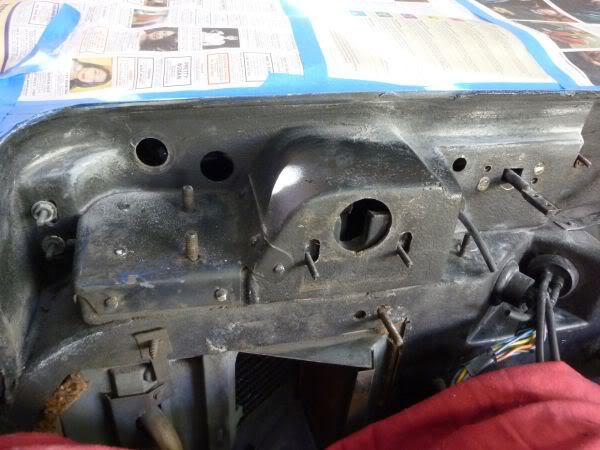
The fiberglass repair on drivers side around the cowl lip was not very tidy so I sanded it down and found a couple of small hair line cracks.
Ground it out and glassed it up.
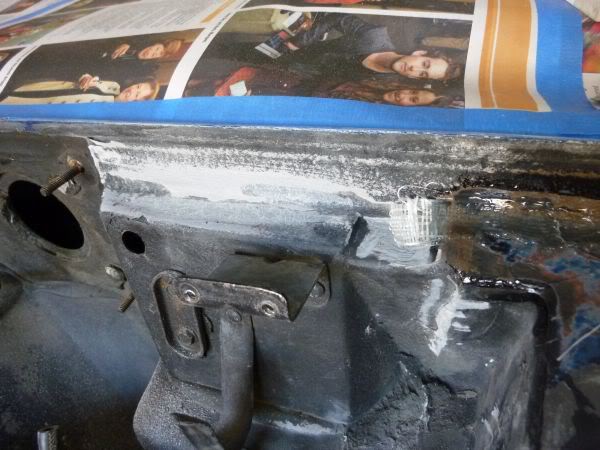
Tidied up under the wiper motor. Got rid of some areas of glass that had been hit at some stage.
Started sanded down any bits of bonding that were sticking out and neatened it up a bit.
The fiberglass repair on drivers side around the cowl lip was not very tidy so I sanded it down and found a couple of small hair line cracks.
Ground it out and glassed it up.
Tidied up under the wiper motor. Got rid of some areas of glass that had been hit at some stage.
Last edited by CraigH; 04-09-2023 at 09:23 PM.
02-21-2013, 04:28 AM
#274
Melting Slicks
Thread Starter
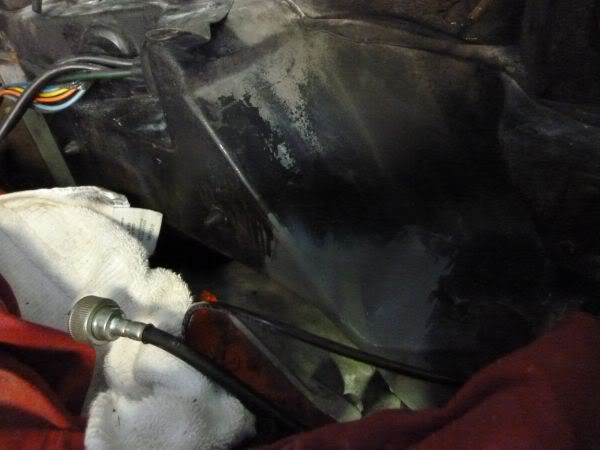
I spent some more time on the firewall clean up today.
There is heaps of bonding material spills that I decided to grind away.
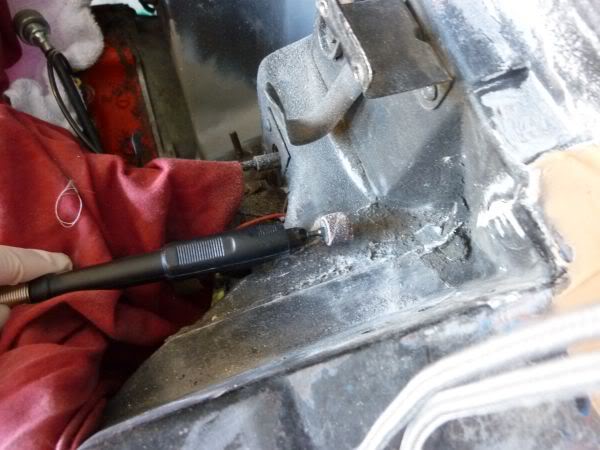
My Dremil died and I went to Bunnings to look for a new one and decided to get a cheap Ozito one for $49 with flex shaft and 80 attachments.
Also a 3 year replacement warranty.
There is heaps of bonding material spills that I decided to grind away.
My Dremil died and I went to Bunnings to look for a new one and decided to get a cheap Ozito one for $49 with flex shaft and 80 attachments.
Also a 3 year replacement warranty.
Last edited by CraigH; 04-09-2023 at 09:23 PM.
02-21-2013, 04:29 AM
#275
Melting Slicks
Thread Starter
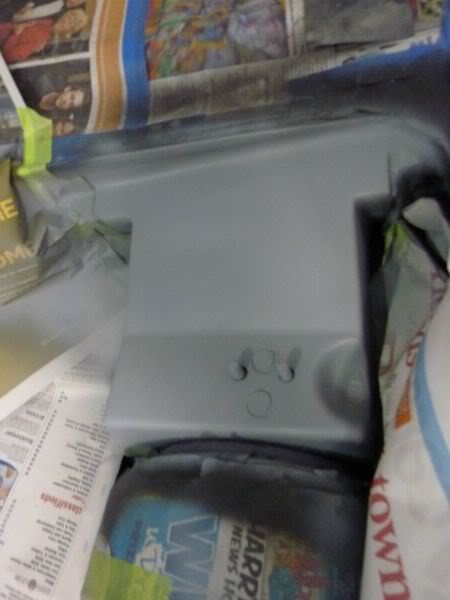
A coat of primer over the repairs.
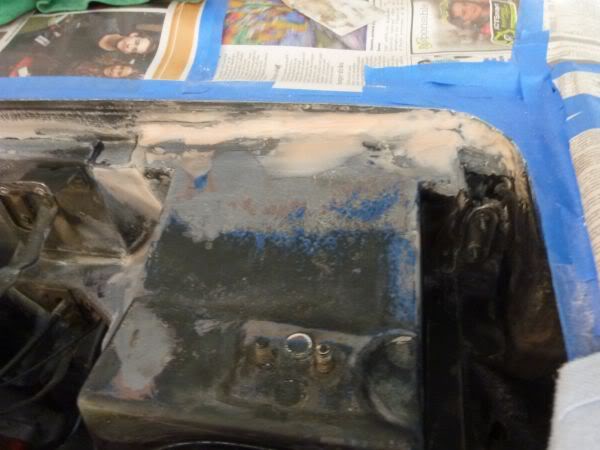
Waiting for some filler to dry then some more sanding, primer.
I went over the inner guards with Simple Green and 240 wet and dry to clean them up.
Waiting for some filler to dry then some more sanding, primer.
I went over the inner guards with Simple Green and 240 wet and dry to clean them up.
Last edited by CraigH; 04-09-2023 at 09:22 PM.
02-21-2013, 04:29 AM
#276
Melting Slicks
Thread Starter
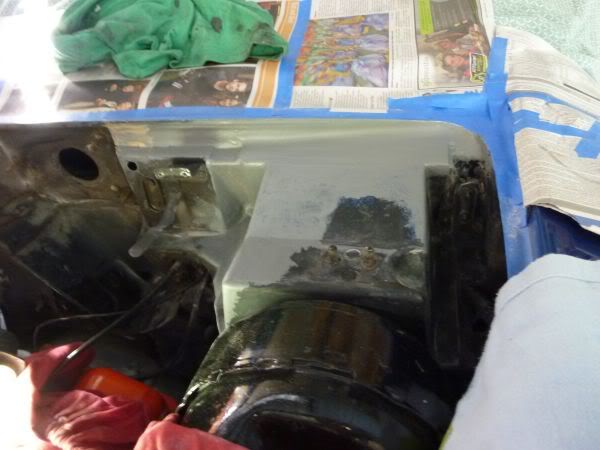
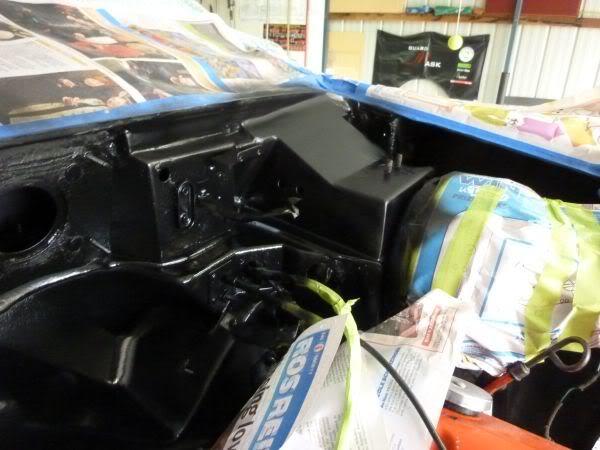
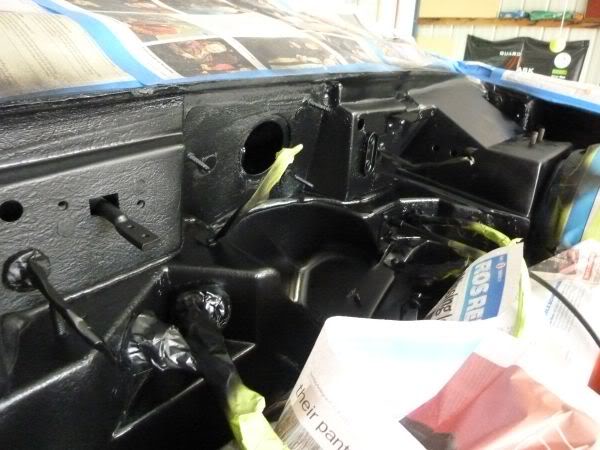
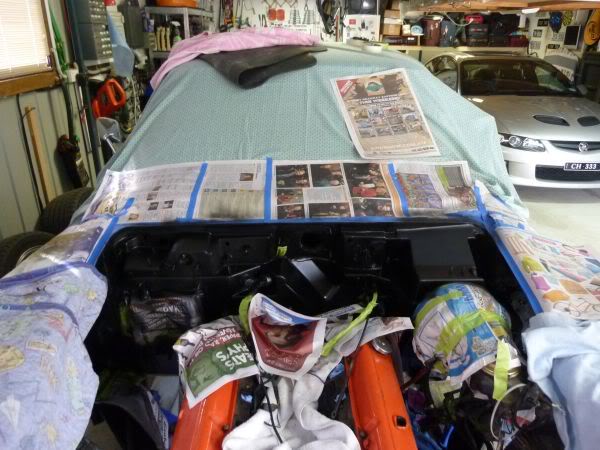
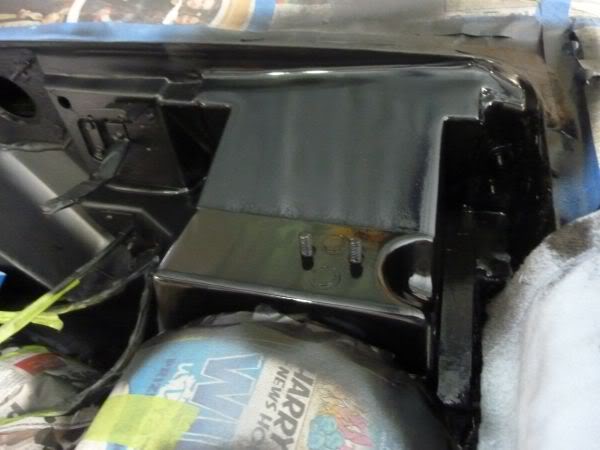
Got stuck into the firewall today.
Final clean up then masked it up for painting satin black.
Got one coat on and will do a second tomorrow.
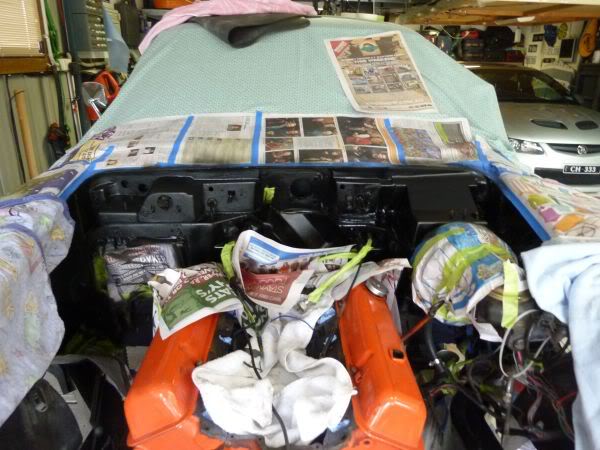
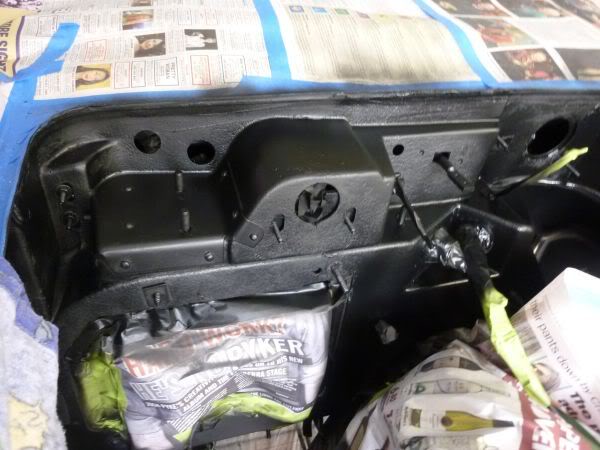
Final clean up then masked it up for painting satin black.
Got one coat on and will do a second tomorrow.
Last edited by CraigH; 04-09-2023 at 09:22 PM.
 02-21-2013, 04:30 AM
#278
Melting Slicks
Thread Starter
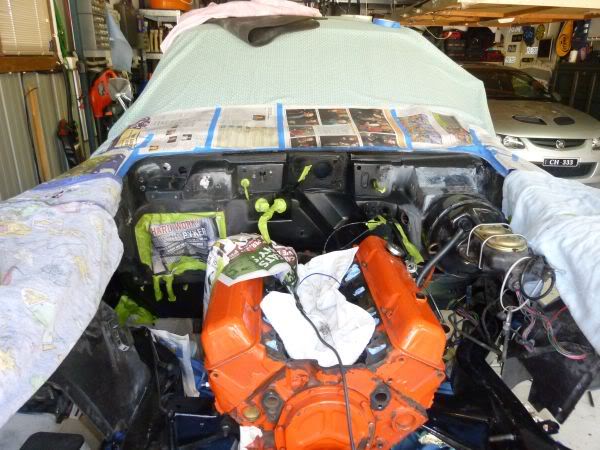
While it was drying I spend a while wire brushing the engine block ready to paint it up as well.
Fiberglass always looks a bit rough with all the weave and holes etc. They certainly did not have the fiberglass process down pat back then
Fiberglass always looks a bit rough with all the weave and holes etc. They certainly did not have the fiberglass process down pat back then
02-21-2013, 04:31 AM
#279
Melting Slicks
Thread Starter
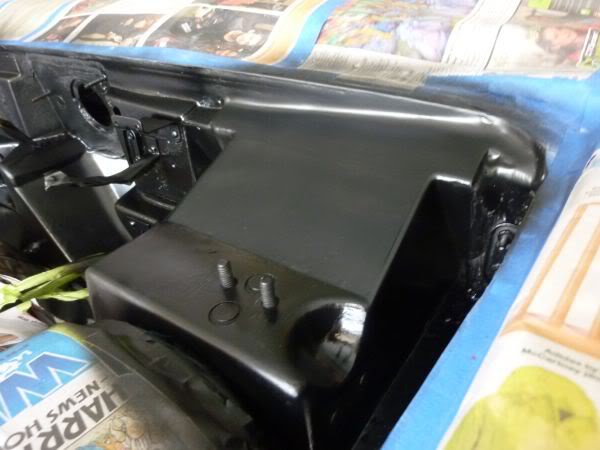
A couple of areas on the firewall did not finish as well as I would have liked so I reworked them.
Back to fiberglass.
Back to fiberglass.
Last edited by CraigH; 04-09-2023 at 09:22 PM.
The following users liked this post:
Primoz (04-05-2022)