
1971 Journey
 02-20-2013, 06:06 AM
#221
Melting Slicks

Thread Starter


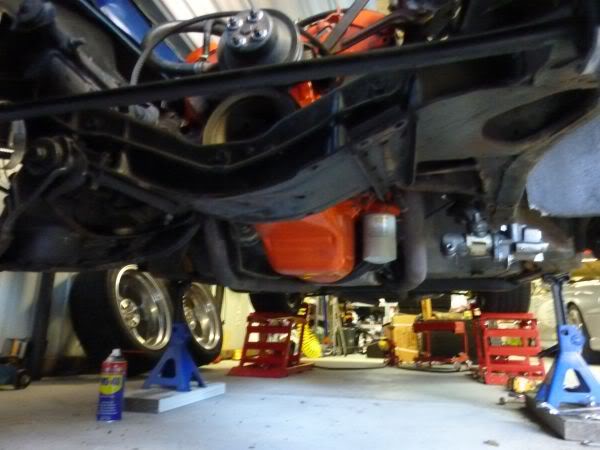
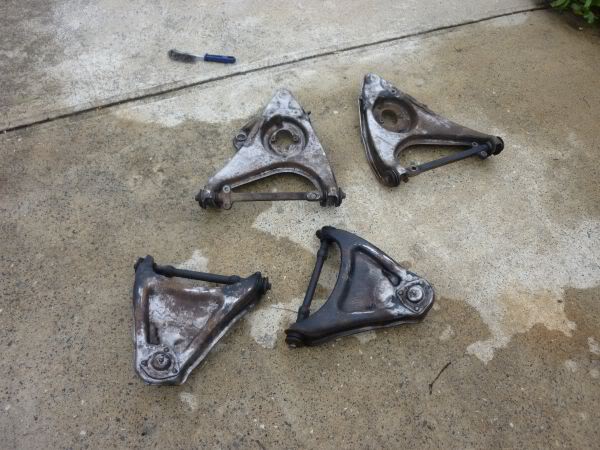
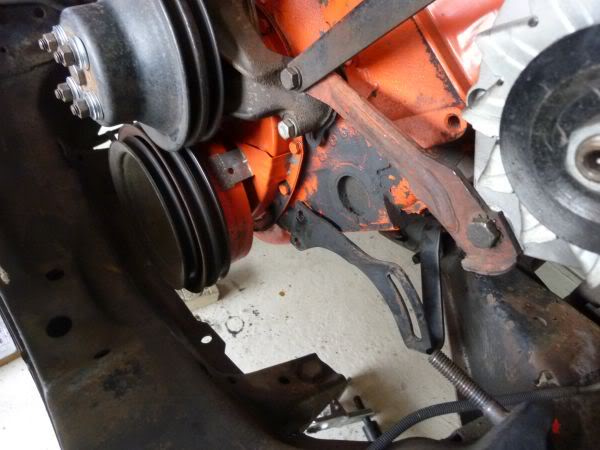
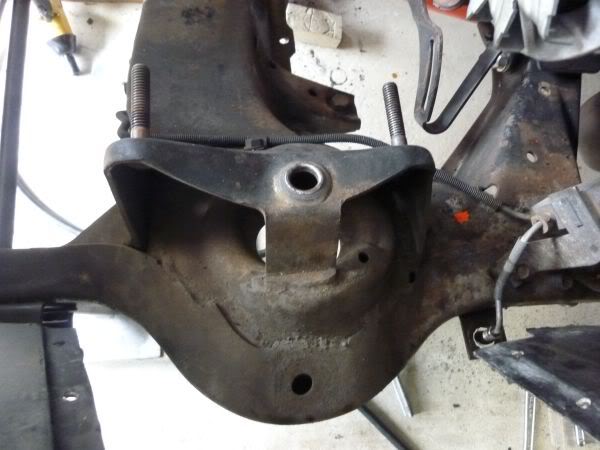
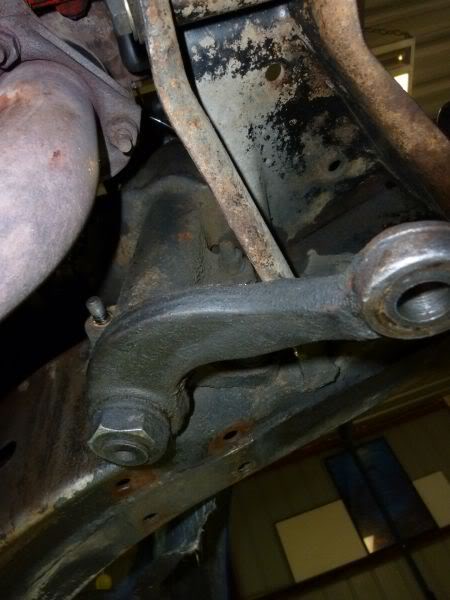
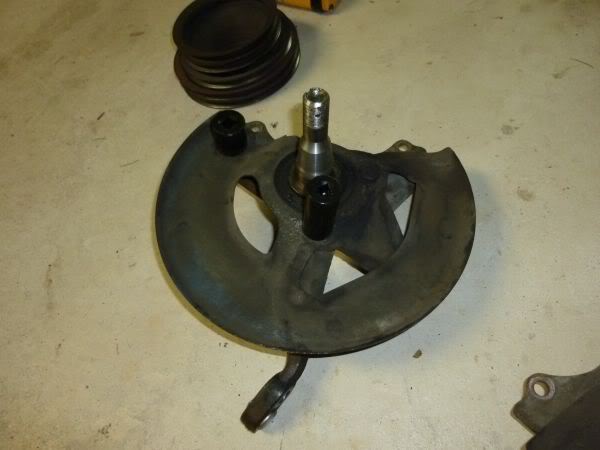
Have not been able to get much time but I have the lower control arm out now.
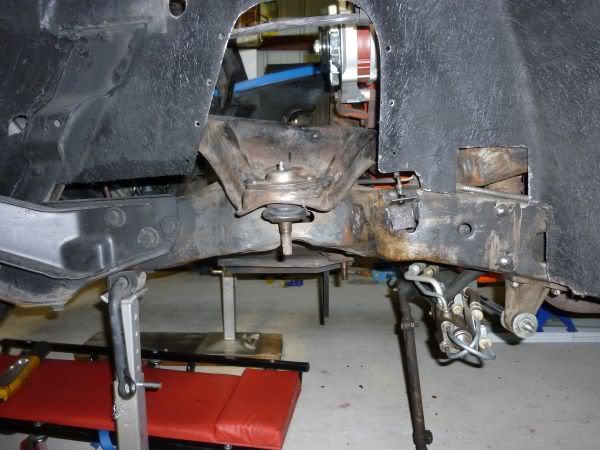
The upper arm needs the power steering pump moved or removed to get enough room to get it off.
Radiator out as well.
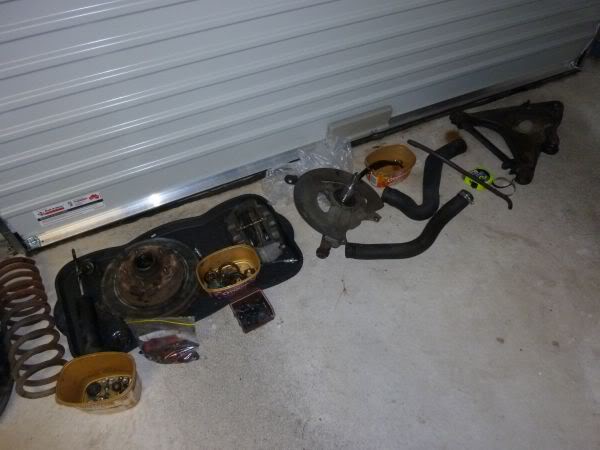
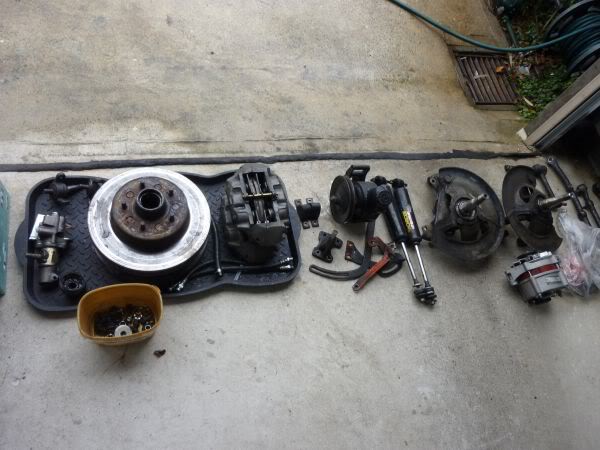
Some of the parts removed.
The upper arm needs the power steering pump moved or removed to get enough room to get it off.
Radiator out as well.
Some of the parts removed.
Last edited by CraigH; 04-09-2023 at 09:18 PM.
 02-20-2013, 06:09 AM
#222
Melting Slicks
Thread Starter
There is 2 cracks in the passenger side inner fender so I will grind them both out and lay up some glass on the wheel well side.
I have also thought the lower front apron sat higher on one side than the other.
So its a good opportunity to strip all the grill parts below the bumper and do some serious measurements.
I know the bumper measurements to ground on each front corner are the same while it is up on the stands.
Have worked out that I should be able to slice the apron off some of the other support panels if needed to change its height on one side.
It all seems simple when you plan it but lets see how it goes :-)
02-20-2013, 06:12 AM
#223
Melting Slicks
Thread Starter
Went down the coast on the weekend and got back today. But had a little bit of time to get started.
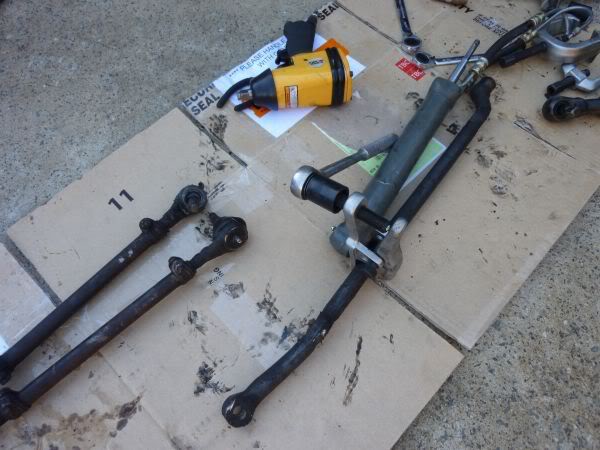
First the power steering needed its fluid removed.
Drained the fluids into a pan.
Removed the mount for the ram then compressed it to pump its fluid out.
Could not easily pop the other end of the ram out so decided to remove all the linkages as one.
Needed to pop the passengers side tie rod.
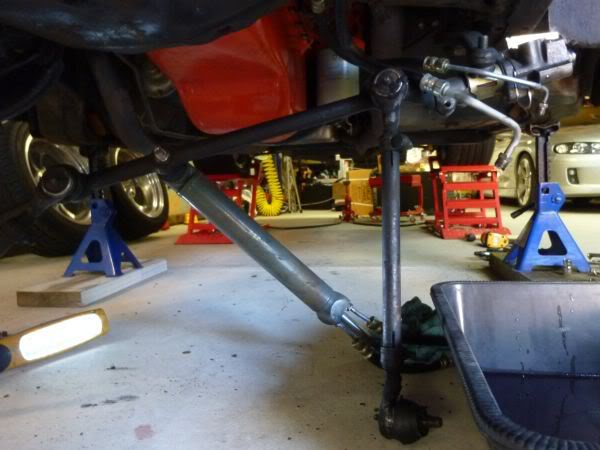
All out except control valve.
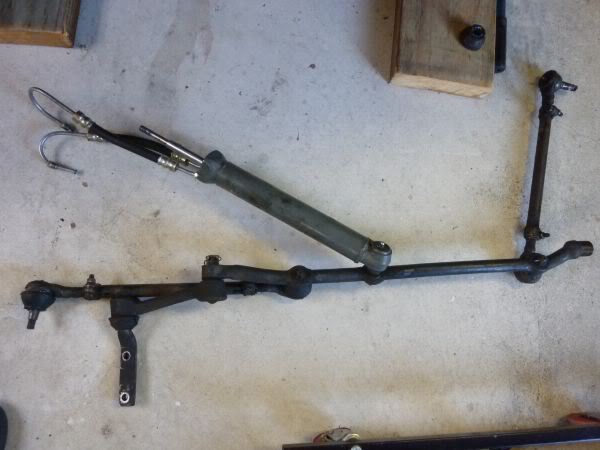
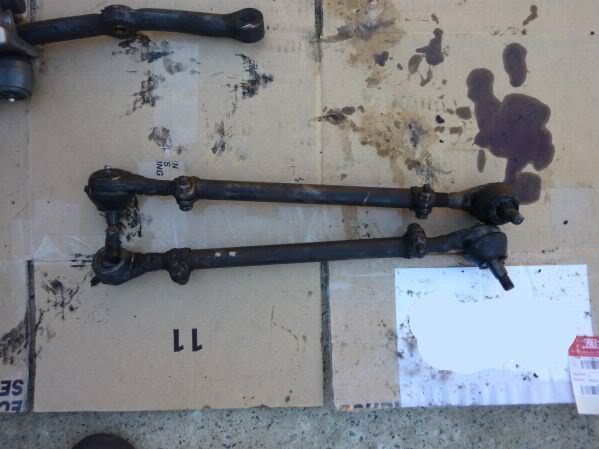
Next I popped all the other joints.
First the power steering needed its fluid removed.
Drained the fluids into a pan.
Removed the mount for the ram then compressed it to pump its fluid out.
Could not easily pop the other end of the ram out so decided to remove all the linkages as one.
Needed to pop the passengers side tie rod.
All out except control valve.
Next I popped all the other joints.
Last edited by CraigH; 04-09-2023 at 09:18 PM.
 02-20-2013, 03:13 PM
#225
Melting Slicks
Thread Starter
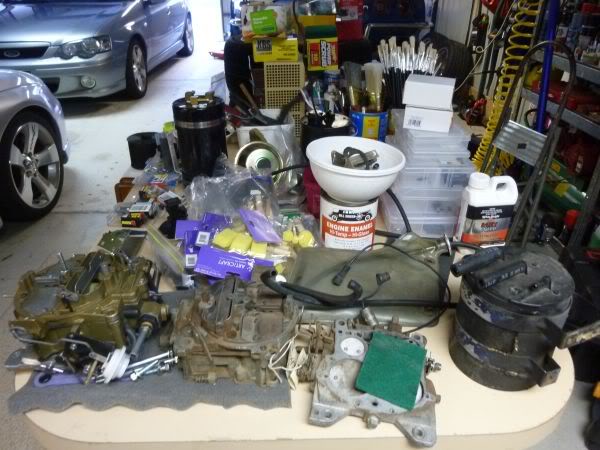
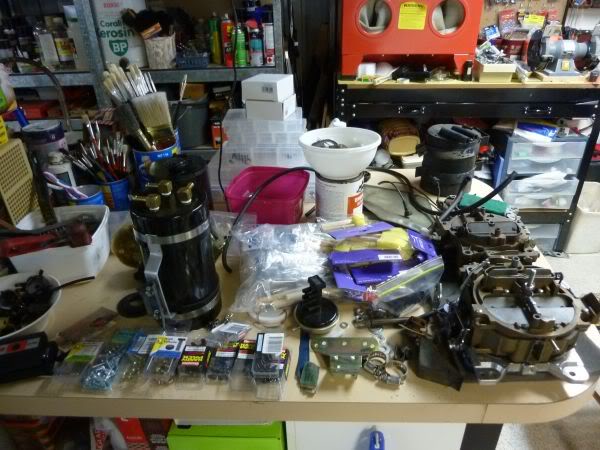
Will need to do a tidy up of my benches before doing too much more as I need some room to work on things.
Last edited by CraigH; 04-09-2023 at 09:18 PM.
02-20-2013, 03:13 PM
#226
Melting Slicks
Thread Starter
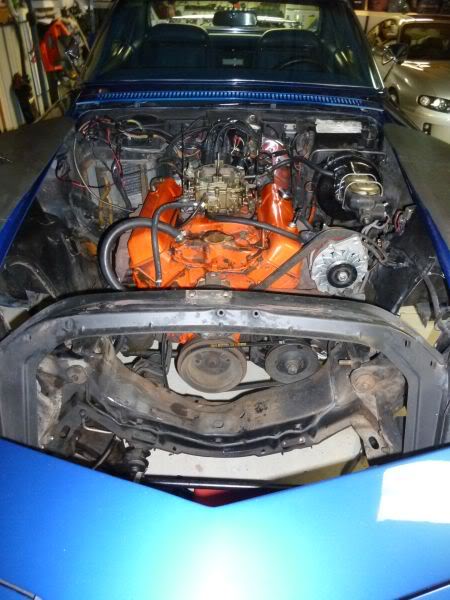
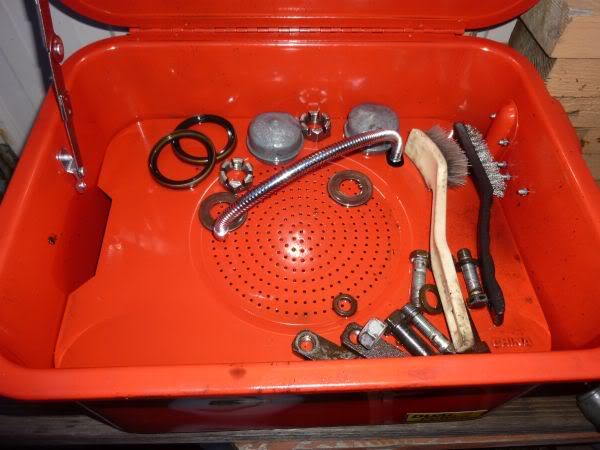
I got my new (Restored) correct serial number carb last week and unpacked it for a look today.
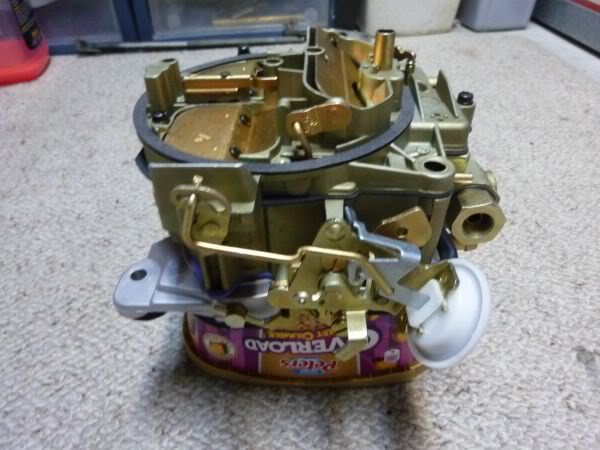
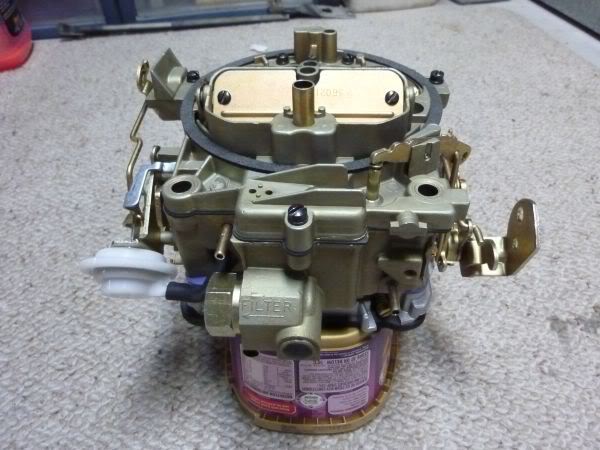
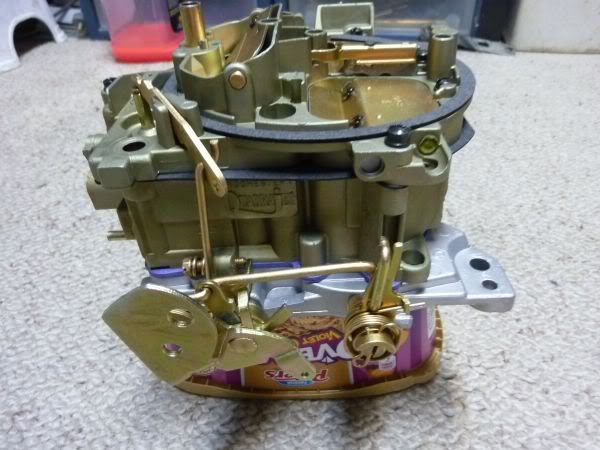
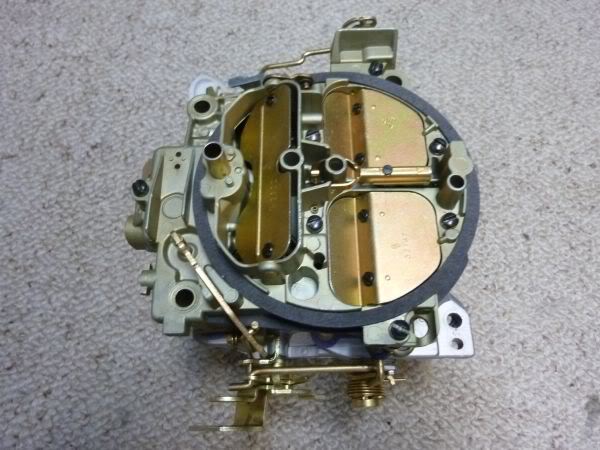
Very happy with how it looks.
Lets hope it runs as well as it looks. The re builder came recommended and his customer testimonials were great.
Very happy with how it looks.
Lets hope it runs as well as it looks. The re builder came recommended and his customer testimonials were great.
Last edited by CraigH; 04-09-2023 at 09:17 PM.
02-20-2013, 03:14 PM
#227
Melting Slicks
Thread Starter
Originally Posted by YLLA 88
Hey Craig, Who's the Carby Guy? :o
Philip Cancilla
http://www.customrebuiltcarbs.com
Custom Rebuilt Carburetors LLC.
200A Wood Avenue
Middlesex, NJ 08846
He found a carb with corrects serial number and date code then rebuilt it for me. Took a few weeks once he started the rebuild.
So the carb was original built March 12 1971 and went onto my May 71 vette. That seems to work well in NCRS terms.
 02-20-2013, 03:15 PM
#229
Melting Slicks
Thread Starter
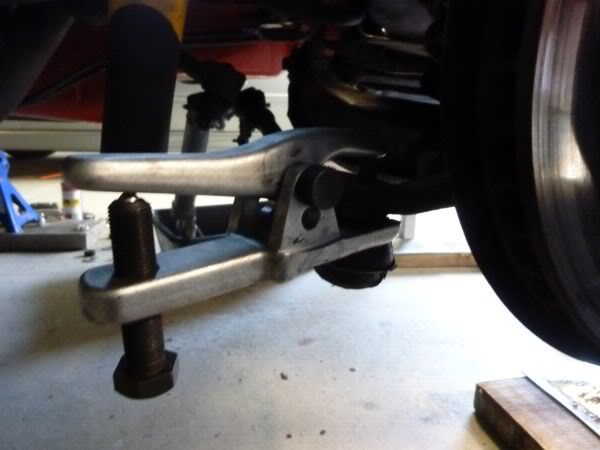
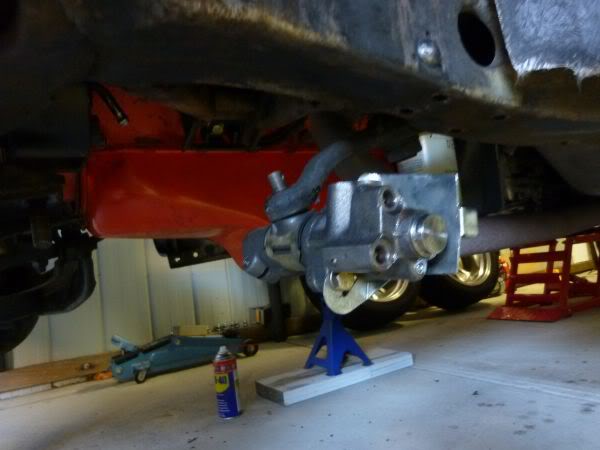
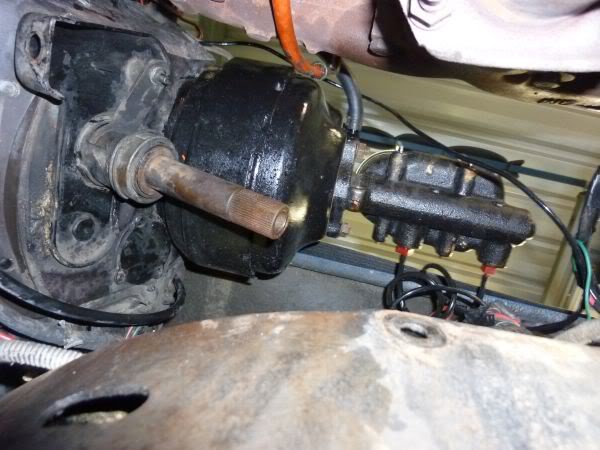
Riverracer here is how I removed the power steering control valve unit.
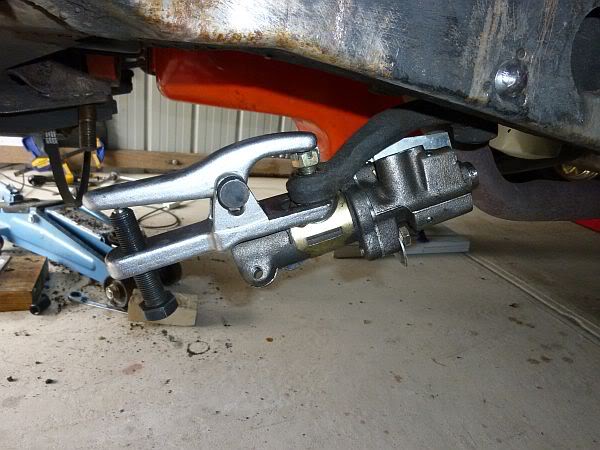
Turn the bolt till it pops with a bang !!.
Turn the bolt till it pops with a bang !!.
Last edited by CraigH; 04-09-2023 at 09:17 PM.
 02-20-2013, 03:16 PM
#231
Melting Slicks
Thread Starter
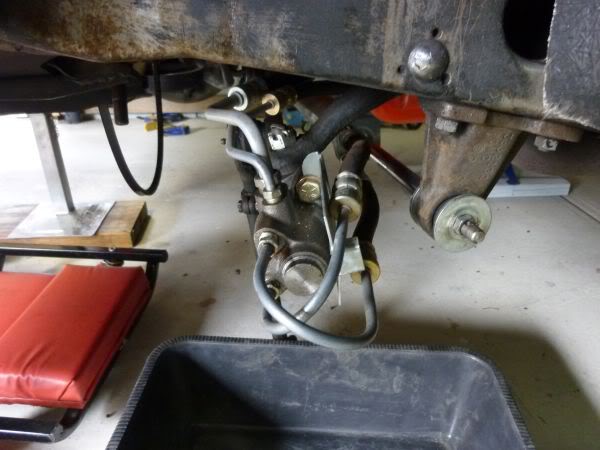
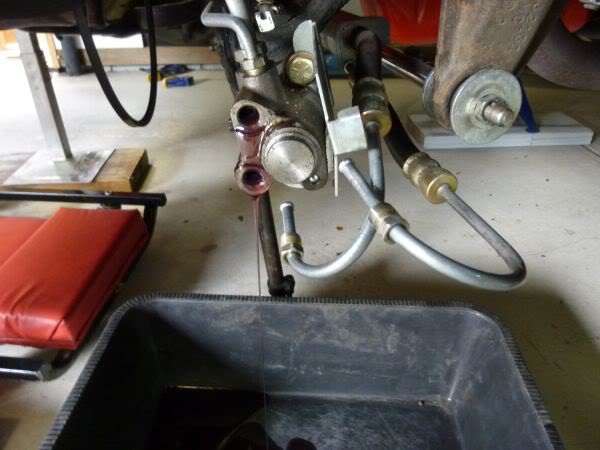
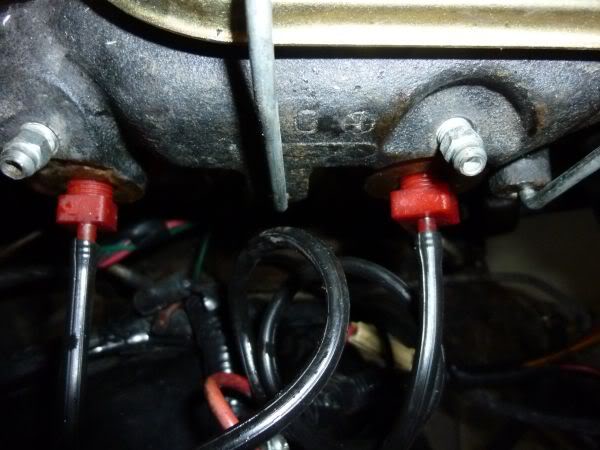
Next i wanted to remove the front brake lines, proportioning valve etc.
Started with a loopback on the master cylinder.
 .
.
Lines came out easily however.......
Where they joined the proportioning valve they were not coming off.
Heat, penetrating oil etc no way it was moving....
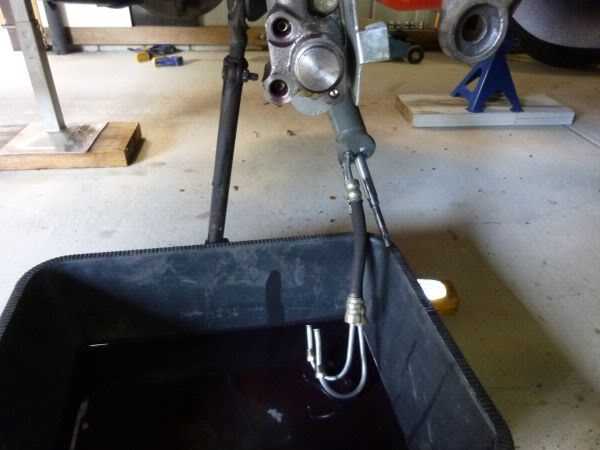
For most it did not matter as I could just junk them but I was not going to replace the front to rear line so I needed it off.
In the end I cut into the valve and got it off.
A little bit of damage to one section of the thread but the flare joint is fine and it tightens up ok on the new valve so should be fine.
Started with a loopback on the master cylinder.
.Lines came out easily however.......
Where they joined the proportioning valve they were not coming off.
Heat, penetrating oil etc no way it was moving....
For most it did not matter as I could just junk them but I was not going to replace the front to rear line so I needed it off.
In the end I cut into the valve and got it off.
A little bit of damage to one section of the thread but the flare joint is fine and it tightens up ok on the new valve so should be fine.
Last edited by CraigH; 04-09-2023 at 09:16 PM.
 02-20-2013, 03:19 PM
#236
Melting Slicks
Thread Starter
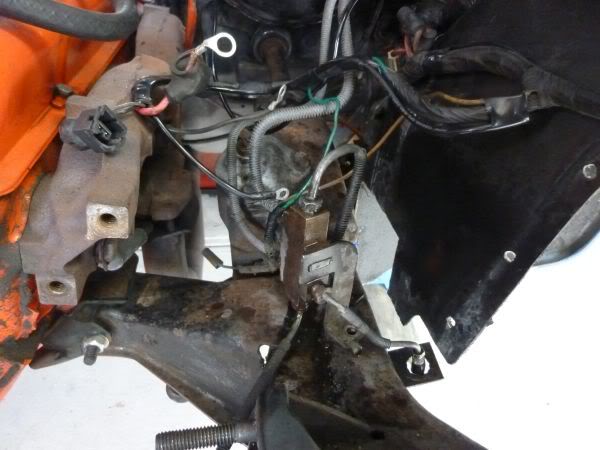
Steering box about to be removed.
And out with rag joint removed.
I will pull the column a bit later as it needs to be shortened a little to fit the new Borgeson box.
Gives me a chance to clean it up, replace the lower bearing if needed and paint the interior parts.
And out with rag joint removed.
I will pull the column a bit later as it needs to be shortened a little to fit the new Borgeson box.
Gives me a chance to clean it up, replace the lower bearing if needed and paint the interior parts.
Last edited by CraigH; 04-09-2023 at 09:15 PM.
02-20-2013, 03:20 PM
#237
Melting Slicks
Thread Starter
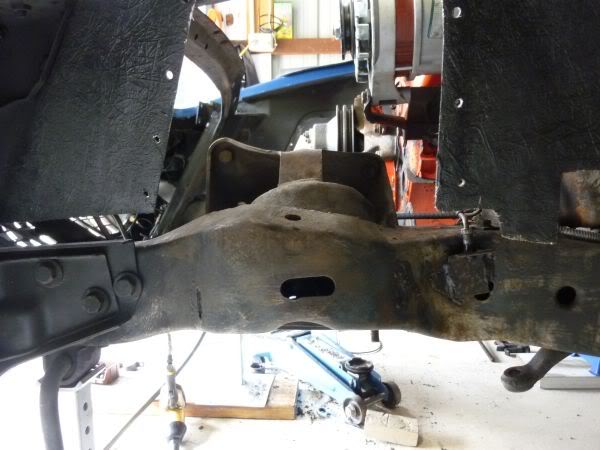
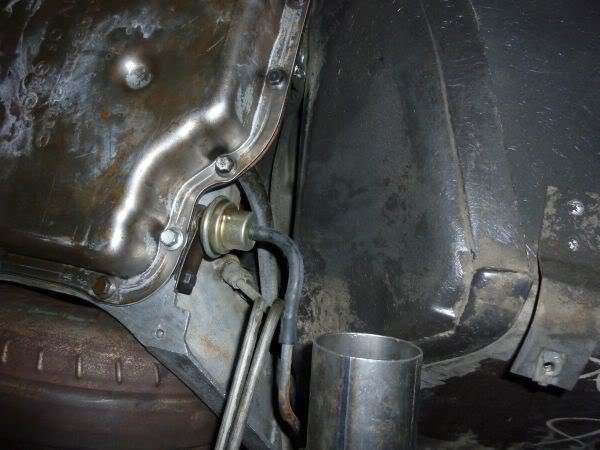
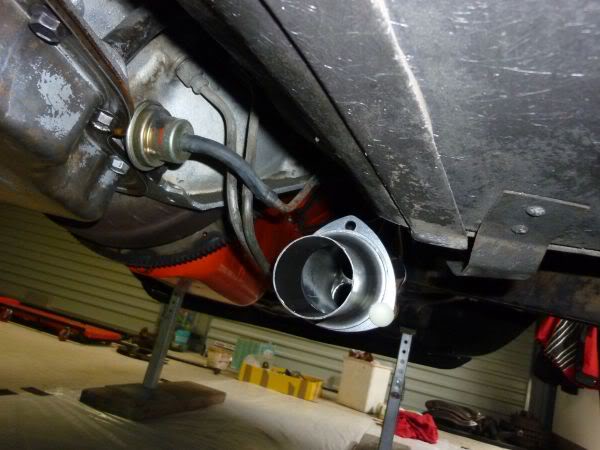
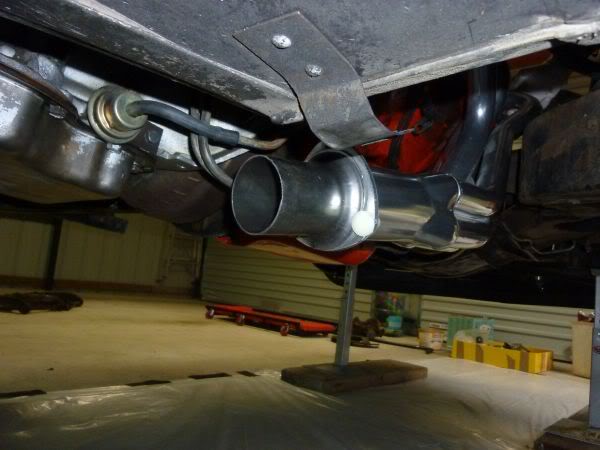
Removed the exhaust manifolds and cut the exhaust out to the cross member.
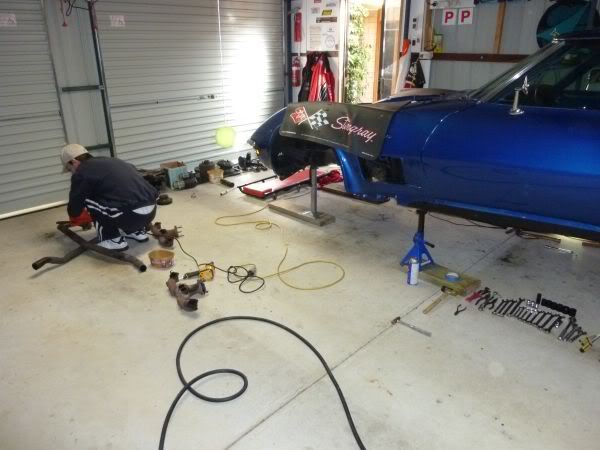
My son Matt has been helping out and it is much quicker with 2 people to strip some of this down.
My son Matt has been helping out and it is much quicker with 2 people to strip some of this down.
Last edited by CraigH; 04-09-2023 at 09:15 PM.
02-20-2013, 03:20 PM
#238
Melting Slicks
Thread Starter
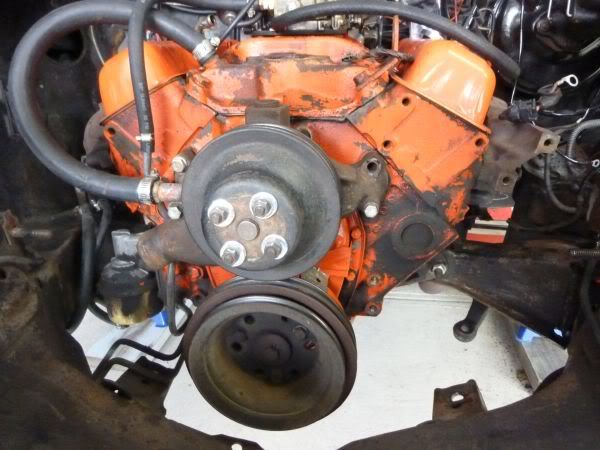
Getting closer, alternator out, just the fuel pump to go.
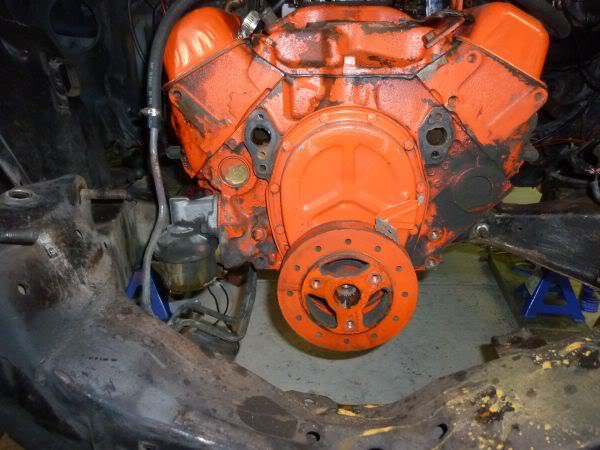
Then I can mask up the ports and start cleaning it all up.
Then I can mask up the ports and start cleaning it all up.
Last edited by CraigH; 04-09-2023 at 09:14 PM.
 02-20-2013, 03:21 PM
#240
Melting Slicks
Thread Starter
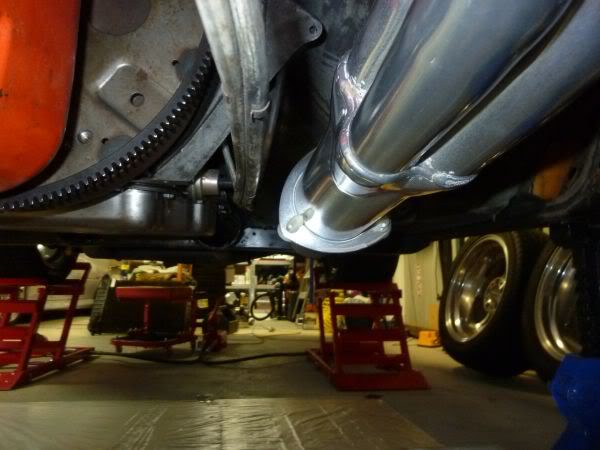
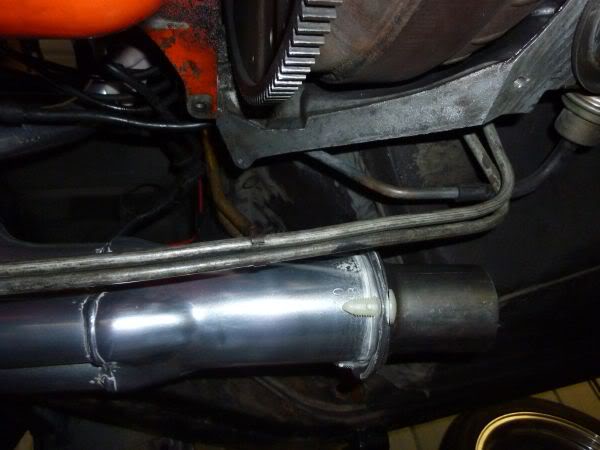
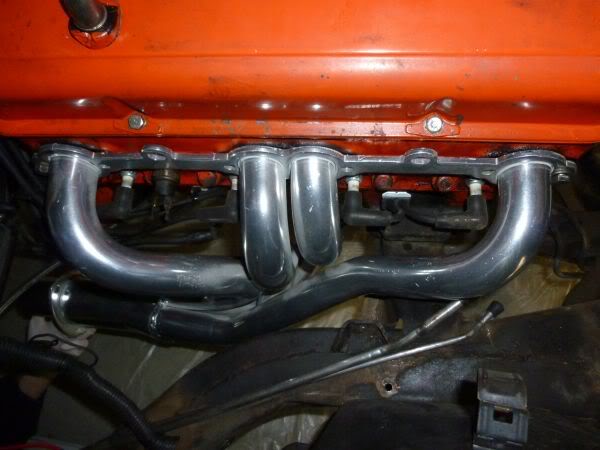
July 2011
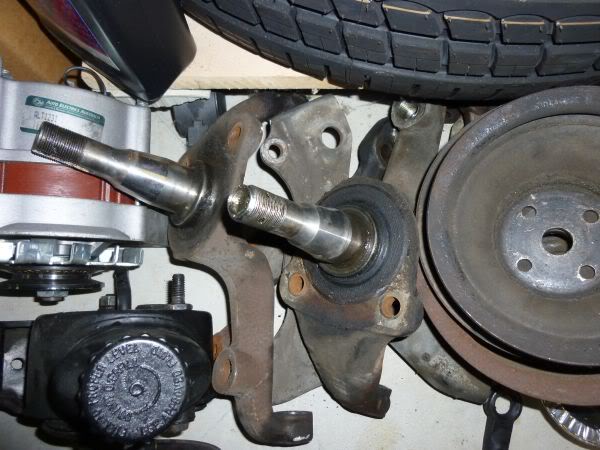
Test fitted the passenger side header to see how the clearance was.
Seems to fit up fine with no issues.
Test fitted the passenger side header to see how the clearance was.
Seems to fit up fine with no issues.
Last edited by CraigH; 04-09-2023 at 09:14 PM.