When you click on links to various merchants on this site and make a purchase, this can result in this site earning a commission. Affiliate programs and affiliations include, but are not limited to, the eBay Partner Network.
Not for everyone but it's a no-drama way of removing control arm bushings
Hit the areas concerned with some PB blaster for a couple of days when I thought about it, not sure if it helps but certainly doesn't hurt.
Holding the shaft in the vise, removed the bolts and washers to get at the rubber sticking out.
Cut most of the rubber off with an knife to expose some of the inner sleeve
1-1/8 hole saw, take the center drill guide out
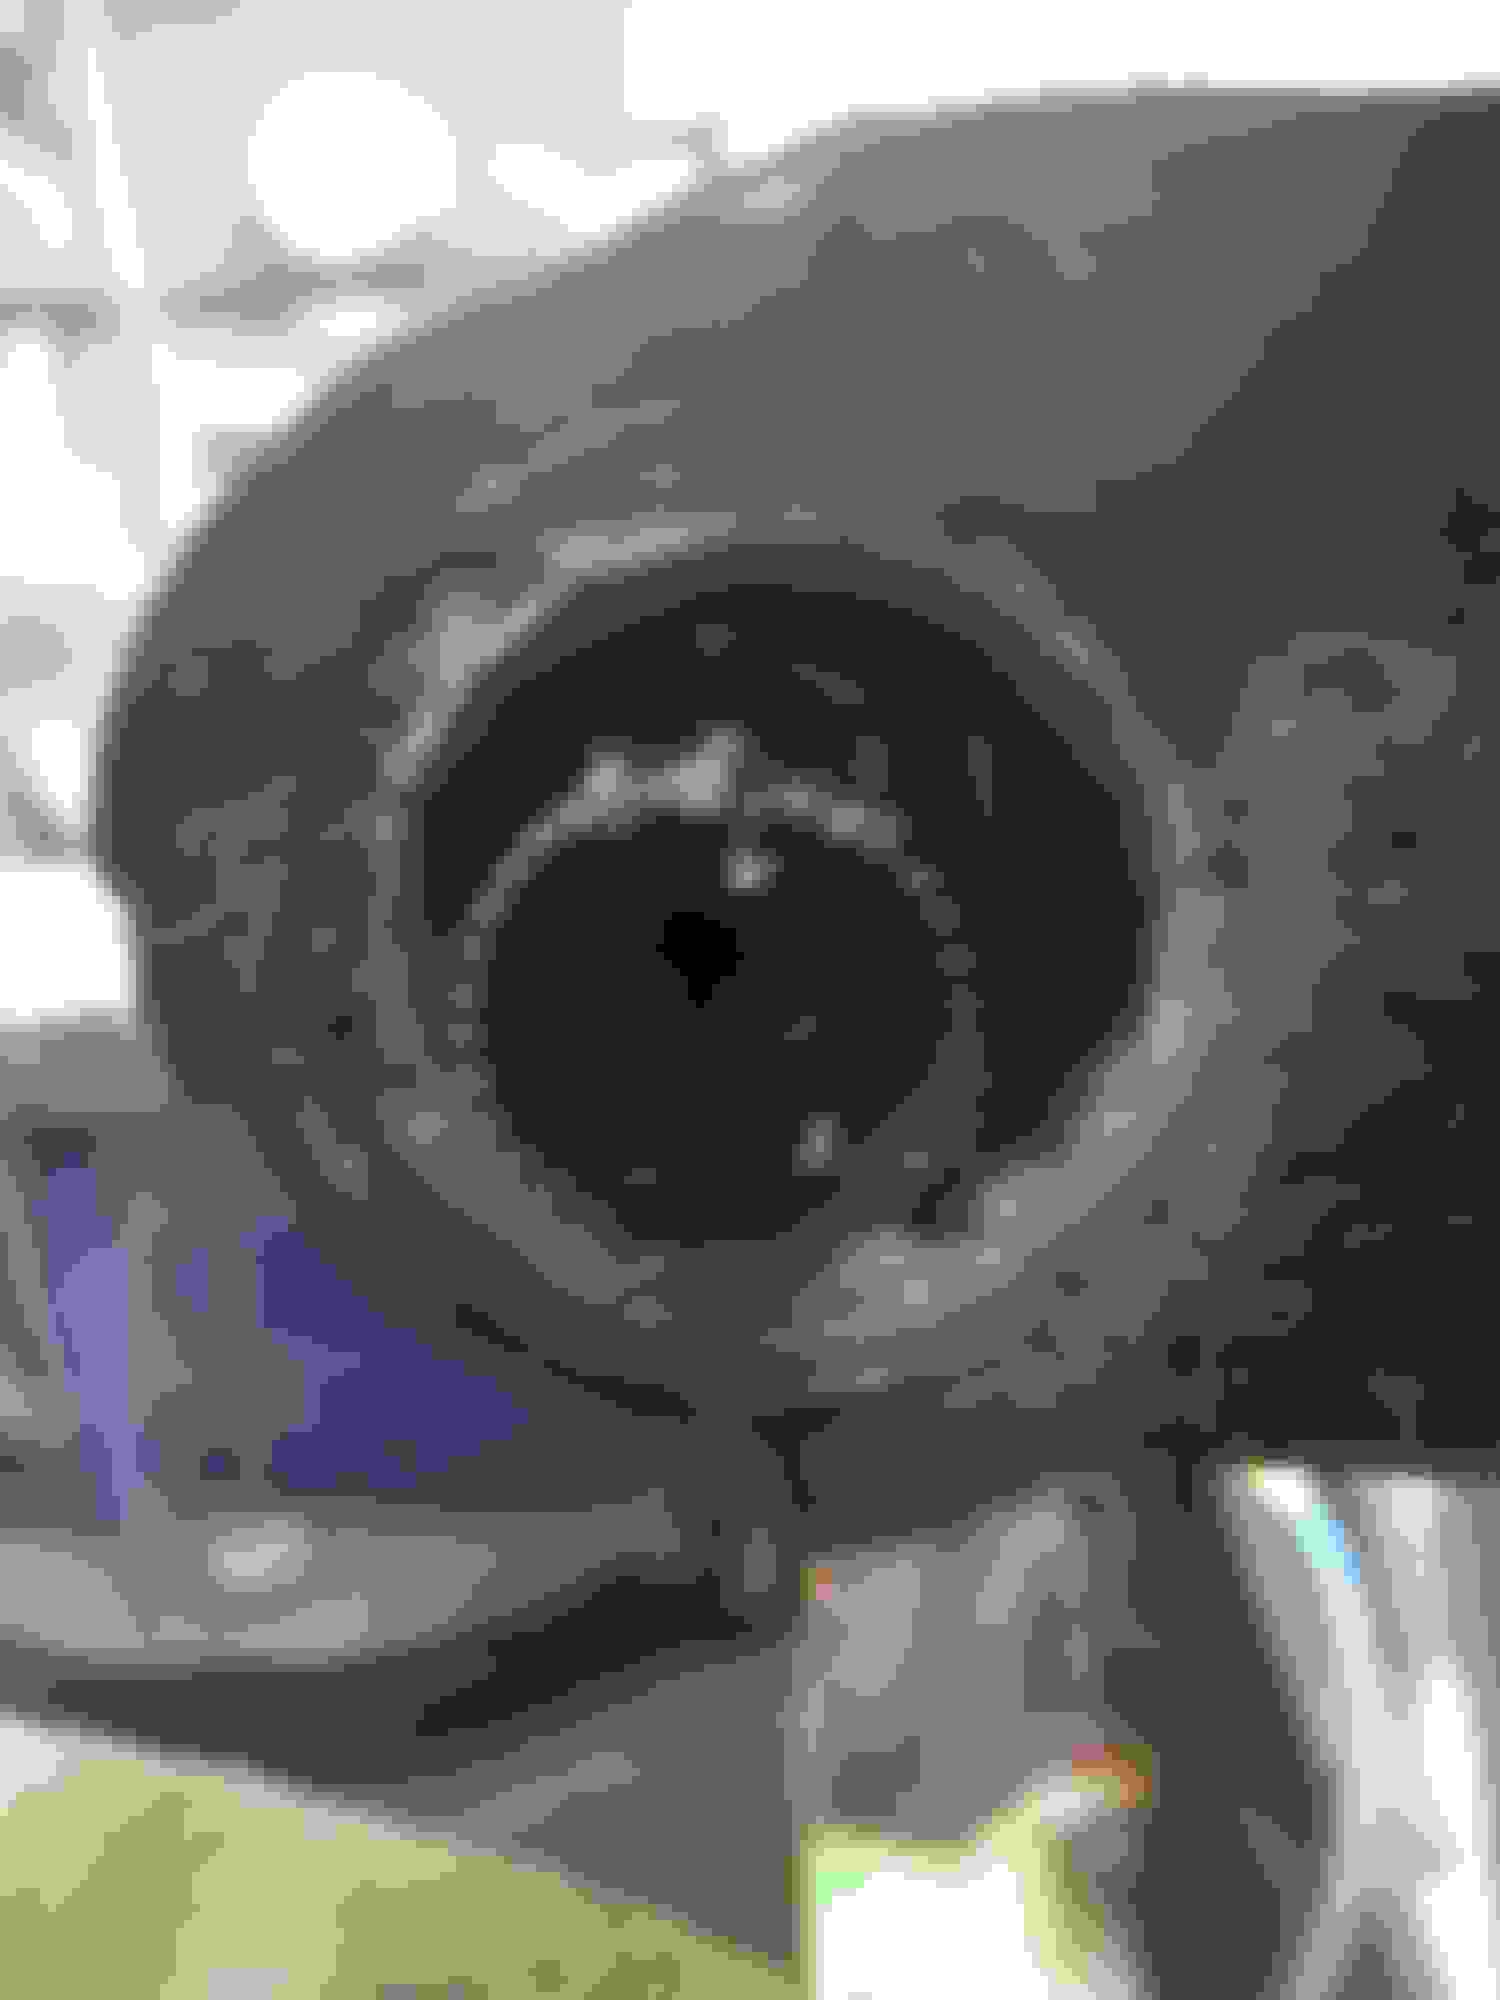
Use the inner sleeve as the guide to get started and drill the rubber out. Takes about 20-30 seconds, remember to keep backing the drill out to clear the rubber "chips"
There will be a little ring of rubber left on the inside, when the drill breaks through this is left and helps protect the shaft shoulder from being hit by the drill.
Cut or slip a driver through it and break it off
On the lower arm, the inner sleeve sticks out a little, the upper arms are almost flush. To separate them from the shaft, I used a chisel in the gap to loosen them and open them up for removal. These were fairly clean, actually only one shaft was rusted on tight.
The lower arm shafts cannot come out (too long) with the outer part of the bushing still in. I rested the arm on top of the vise with the jaws open slightly larger than the bushing flange (so the arm is actually supported) and hit the inside edge of the bushing where it sticks up about 1/8" with the air chisel and a straight/flat bit. a couple of blips on both sides pushed the bushing down until it was flush on this side
No picture of this (couldn't hold the arm, chisel and camera ) but then I went over to the outside and with a wedge/chisel bit between the bushing flange (now pushed out some) and to top of the arm (where it folds over and is nicely supported) bliped the bushing a little farther out with the air chisel. Now it is far enough out to get the chisel at the flange and push it all the way out of the arm.
The upper arms, will let you slide the bar out of the bushings (all the way to one side will clear the other side and let it be pulled out)
Took a hacksaw and run the blade inside the bushing and cut a slot part way through the bushing. Didn't go all the way through since I didn't want to risk cutting into the arm. Part way is enough to weaken it anyway.
Hitting the side of the bushing with the chisel a few times beside the cut line will collapse the bushing somewhat and then it drives out easily with the air chisel.
All four arms took about half an hour, including coffee time. Granted mine were not bonded on the molecular level with rust like some I've done before but the process is the same, just more expletives will be needed.
Ready for cleaning
Anyway, this method is just a combination of tons of other peoples suggestions and a few sets of arms over the year, nothing new, just
thought I'd put it up for anyone who hasn't tackled it before.
HIH
Mooser
Last edited by Mooser; 05-08-2018 at 11:29 AM.
Reason: repair photobucket mess
I got an education on this a few months back.
I had always done it this same way. On the corvette, this time I just didn't want to get into it and I figured I'd pay someone to do it while I worked on something else. So I took the A arms across the street to my mechanic buddy and said I'll leave 'em with you and pick them up tomorrow. He said "just wait a minute and you can take them back with you" I'm like whaaa?
So he chucks one in a vice and picked up an impact hammer with a wide blade on it, puts the blade between the flanges of the bushing and the A arm, hits the trigger and guides the bushing right out! No stress on the a arm, no work, all four arms done in 5 minutes! Just buzzed them right out, shells and all, all the bushings laying on the floor! I said I've never seen that done before, he says what?, I always do 'em like that. He's a good friend and wasn't even going to charge me, so I gave him a twenty and said this ain't for removing the bushings, it's for a damn good education!
I love learning things like that.
Bill
Looked up the thread, ran out an turned on the air compressor, plugged in the air chisel and in under 10 min tossed the old bushings in the garbage.
Thank you for the help and education!! This is why my frugal self pays to be a supporting member on this site!!
I got an education on this a few months back.
I had always done it this same way. On the corvette, this time I just didn't want to get into it and I figured I'd pay someone to do it while I worked on something else. So I took the A arms across the street to my mechanic buddy and said I'll leave 'em with you and pick them up tomorrow. He said "just wait a minute and you can take them back with you" I'm like whaaa?
So he chucks one in a vice and picked up an impact hammer with a wide blade on it, puts the blade between the flanges of the bushing and the A arm, hits the trigger and guides the bushing right out! No stress on the a arm, no work, all four arms done in 5 minutes! Just buzzed them right out, shells and all, all the bushings laying on the floor! I said I've never seen that done before, he says what?, I always do 'em like that. He's a good friend and wasn't even going to charge me, so I gave him a twenty and said this ain't for removing the bushings, it's for a damn good education!
I love learning things like that.
Bill
i fought my first set the driver's side upper and lower like hell with no results using a drill chisels punches everything couldnt get them out finally grabbed torch and just got the bushing hot enough to melt out no heat to the arm. i did my passenger side like your friend an was pissed at my self for not thinking of this sooner
I probably wont do any more of them but if I do I really like the small keyhole bit to drill out the rubber. I have been drilling the rubber out for years with little 1/8 drills. This way looks so much quicker and better. Thanks for posting.
Looked up the thread, ran out and turned on the air compressor, plugged in the air chisel and in under 10 min tossed the old bushings in the garbage. Thank you for the help and education!! This is why my frugal self pays to be a supporting member on this site!!
Bingo!!!
While the OP did an admirable job of removal and documentation, he also did it the HARD way. Lock the cross shafts in a vise, and hit the "flanges" on the OD of the bushing's shells with either a dull hand chisel or a dull air chisel, and be done with it. As "Dunskis" said, 10-15 minutes and you're done....
Air chisel did it for me on some good clean arms. I tried it on a rusty one and had to crush the bushing shell first, then drive it out. Soak in pb blaster or equivalent before starting. I love air tools!
While the OP did an admirable job of removal and documentation, he also did it the HARD way. Lock the cross shafts in a vise, and hit the "flanges" on the OD of the bushing's shells with either a dull hand chisel or a dull air chisel, and be done with it. As "Dunskis" said, 10-15 minutes and you're done....
Exactly! I meant no disrespect to Mooser and as I have done a few sets of A-arms his way (only way I knew), I totally appreciate his time and efforts documenting this procedure.
But after doing it the easy way I felt like Jesse, kicking myself for not thinking of this myself. Glad it's helped others!
Bill
I've done them both ways also. The chisel between the arm and bushing is definitely faster.
The reason I like this method is that at no time are you hitting the actual arm with the chisel. (Also saves on paint/powder coating, certainly not a problem in this case)
On most of my other cars/trucks (Novas, etc), the arms seem much thicker compared to how thin the vette arms are. I have (had) no issues with driving those but have moved over to this method and tend to prefer it. First vette ones I ever did ended up pushing the one side of the lower arm in probably 1/8" on the side away from the bend.

 01-13-2013, 10:40 AM


 ) but then I went over to the outside and with a wedge/chisel bit between the bushing flange (now pushed out some) and to top of the arm (where it folds over and is nicely supported) bliped the bushing a little farther out with the air chisel. Now it is far enough out to get the chisel at the flange and push it all the way out of the arm.


 No stress on the a arm, no work, all four arms done in 5 minutes! Just buzzed them right out, shells and all, all the bushings laying on the floor! I said I've never seen that done before, he says what?, I always do 'em like that. He's a good friend and wasn't even going to charge me, so I gave him a twenty and said this ain't for removing the bushings, it's for a damn good education!


