When you click on links to various merchants on this site and make a purchase, this can result in this site earning a commission. Affiliate programs and affiliations include, but are not limited to, the eBay Partner Network.
removable rear window - glass replacement using Urethane
Just thought I'd share.
I finally got around to putting the new glass into the frame for the pop-out rear window on the 72 (didn't have it all last season, couple of nights when it might have come in handy when the temp's dipped)
Someone had cleaned the original glass with a D/A so I took the frame apart and removed the old glass without breaking it just in case I needed the pattern (didn't need to, bought a proper one through the local auto-glass place for $100)
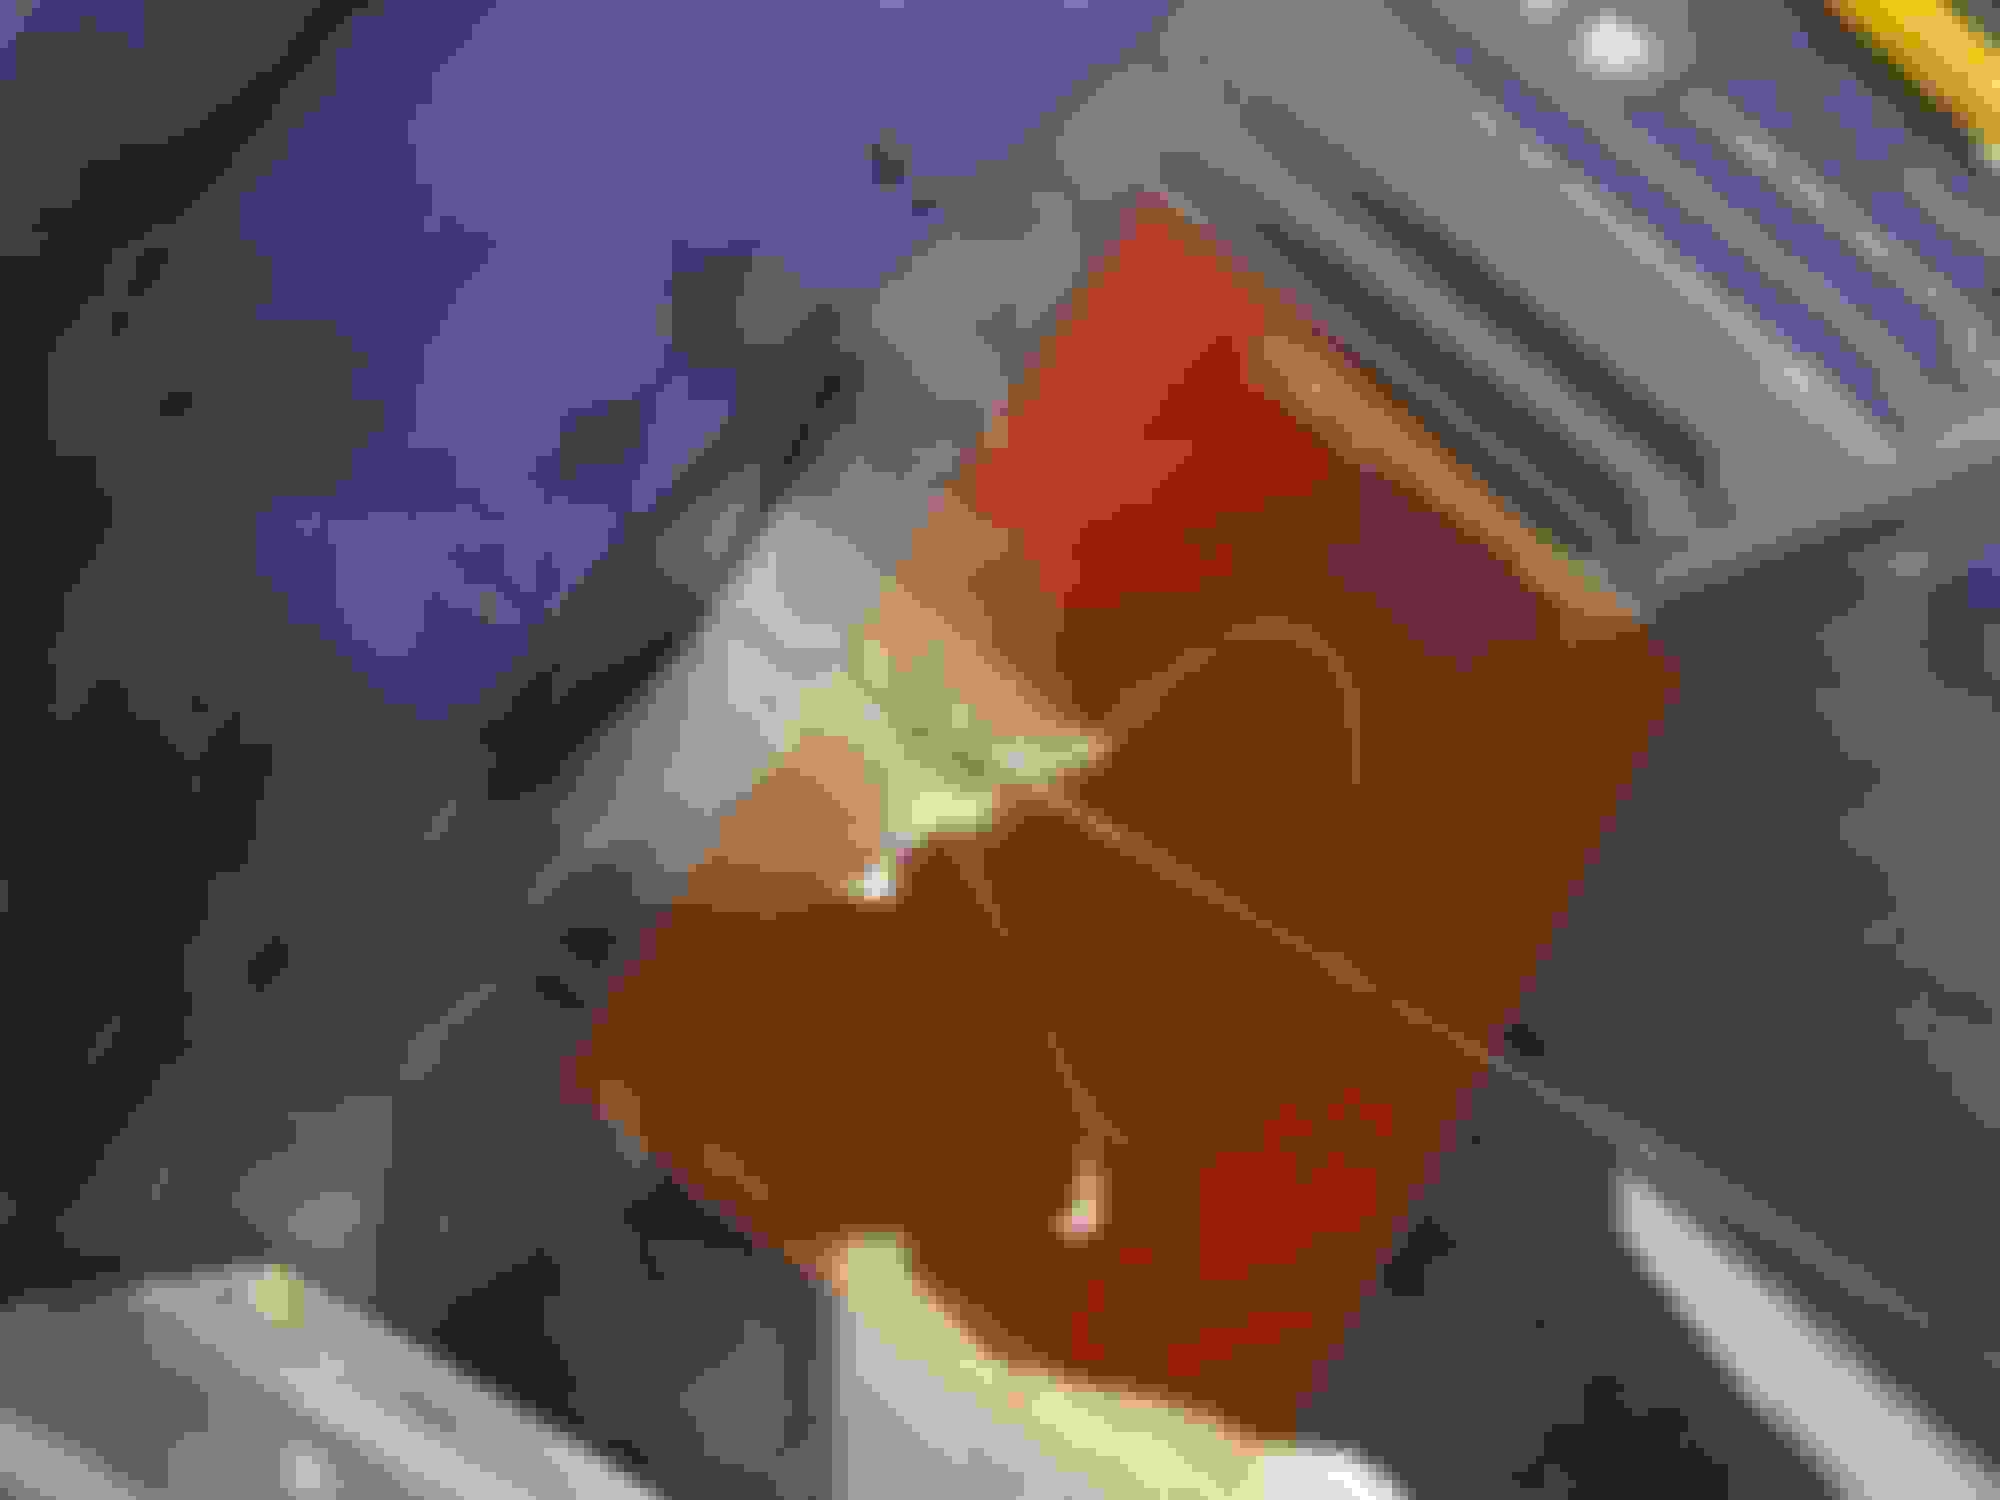
Now putting the new glass in
*** It's only 1/8" thick so it feels really thin and ready to break but it's pretty strong ***
I couldn't get any channel tape that was the right thickness, I borrowed some from my brother but it wasn't nearly enough to go all the way around.
If you can get a full length (around 15 feet), the rest of this is probably not for you.
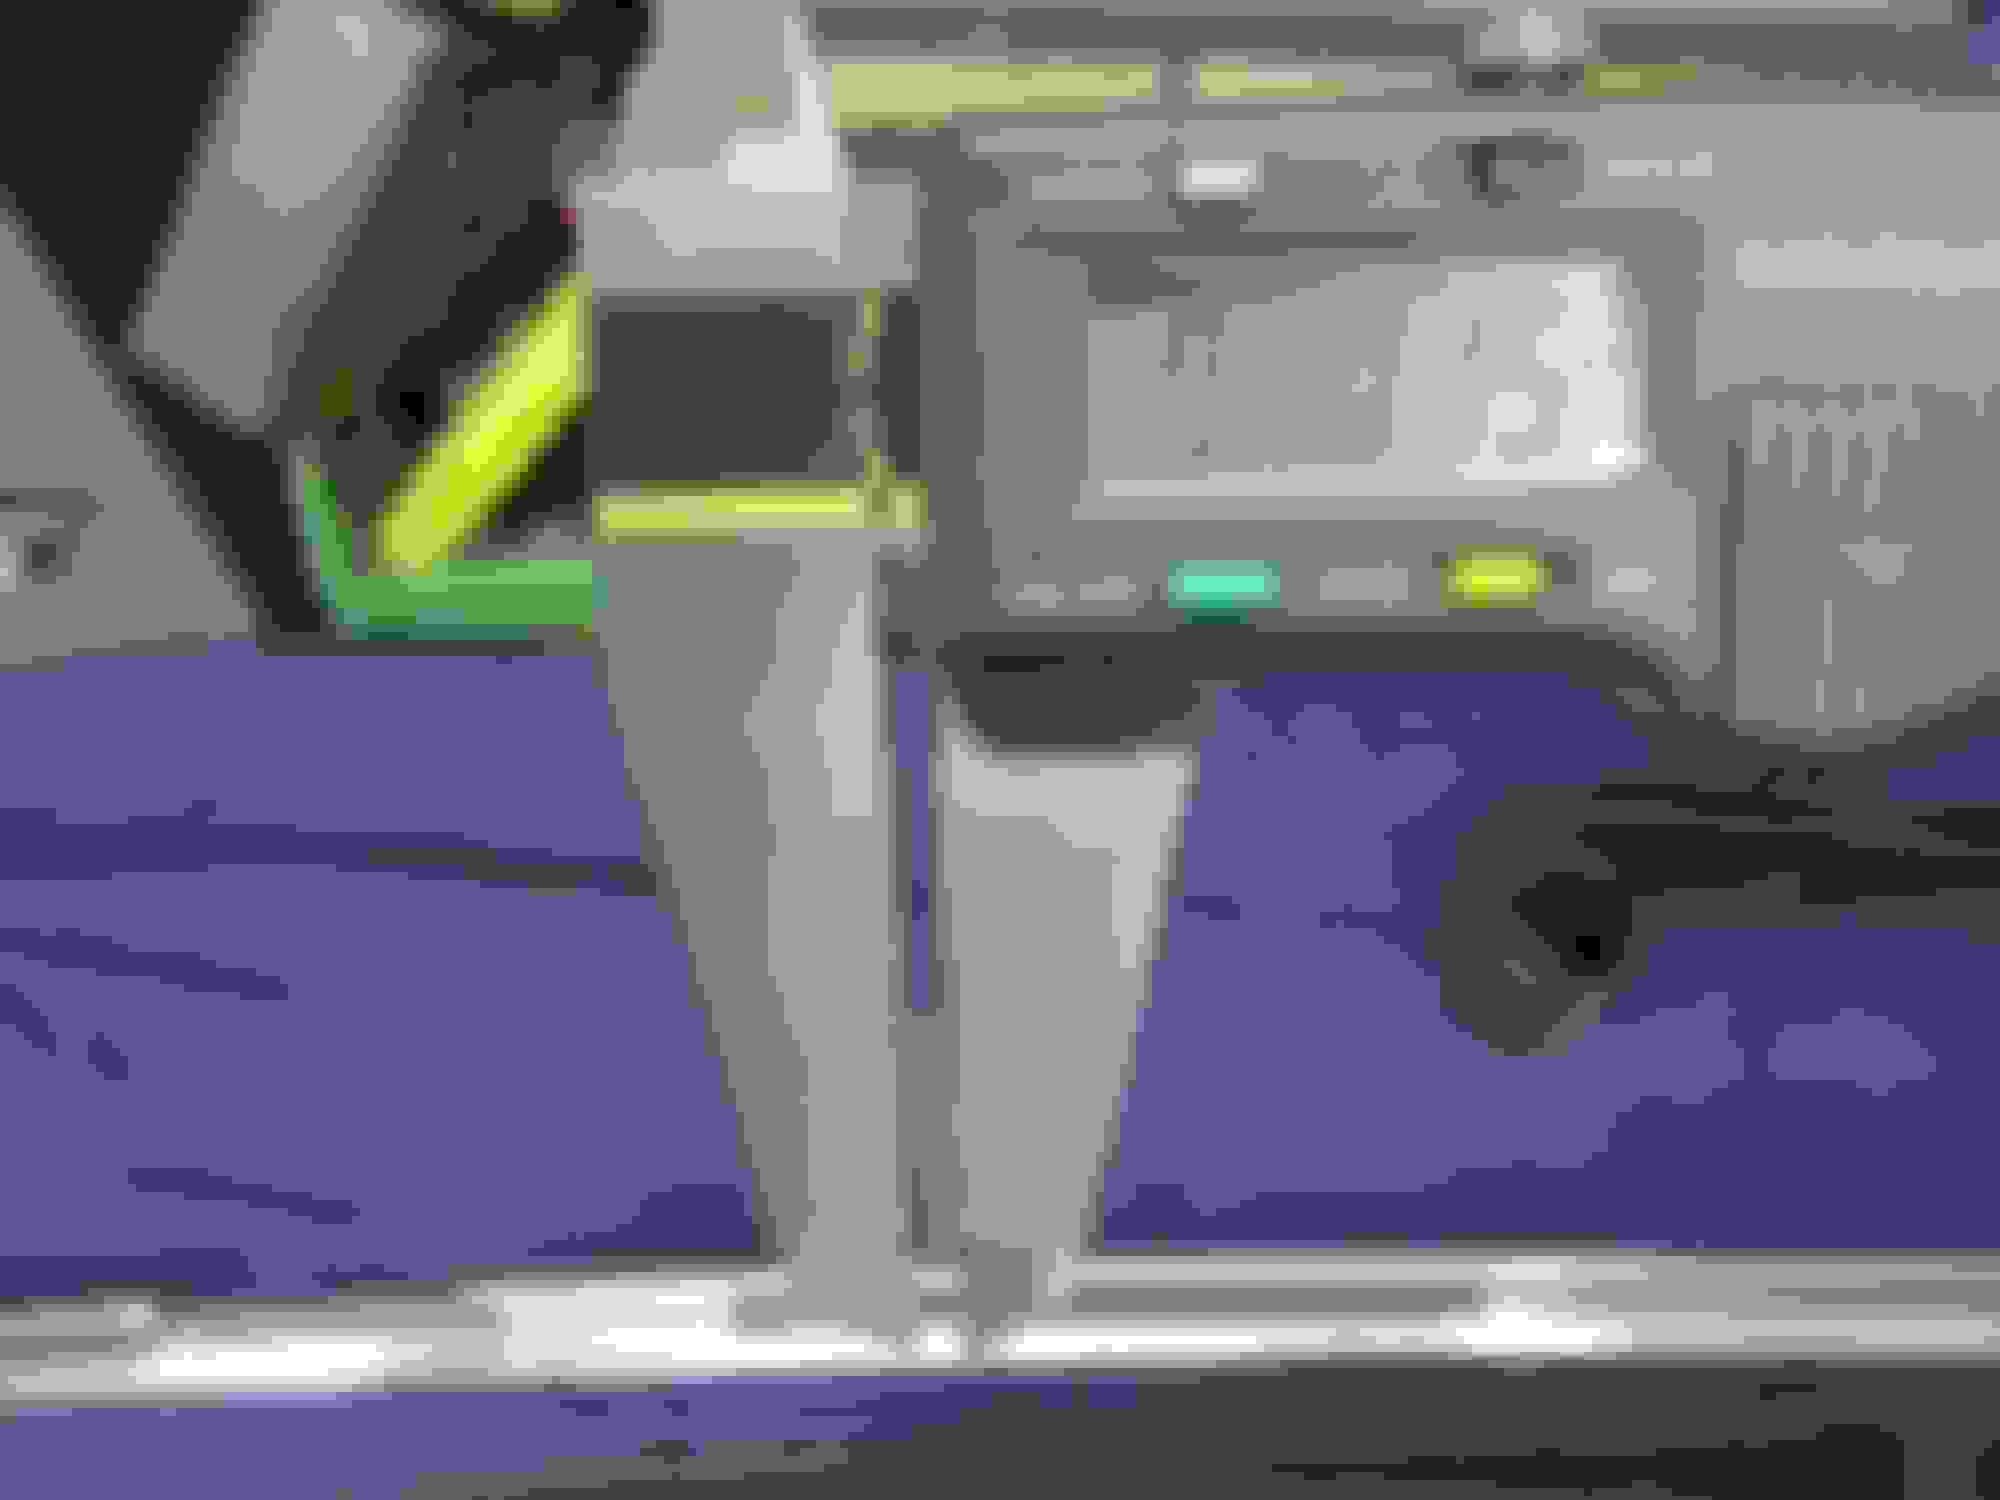
I needed to replace the 4 screws holding the bottom dogs in so I found some 6-32 stainless screws in stock and shortened them to around .400"
This ensured they were about 1 turn from sticking up into the window channel
I cut some small strips of the setting tape to center the glass making sure they stayed down from the edge of the trim
I placed one strip of tape on top of each dog, one on each side and three across the top.
To make sure the ones on the dogs ended up in the right spot I dry fitted the glass into the channel and marked where the dogs were.
Soak the setting tape strips in varsol to soften them up and make them slippery
I slide the glass into the bottom channel supporting the center of it on a piece of 2x4 wrapped in a rag
The alignment tape for the dogs now came off and I checked to make sure the glass is centered
Doing the two across the bottom wasn't too bad but for the top I needed a different method.
To hold them I tied a loop into the end of a piece of dental floss and taped them to the front and back of the glass holding the setting tape
(I should make some friends to help at times like these)
Then slide the upper frame down onto the glass while still supporting it on the 2x4
The corners are held together with a small roll-pin and a 6-32 screw (I used a stainless screw 1/2" long)
The roll pin is .100 dia, 5/8 long and has a angle ground on the end to match the frame since it goes in at about a 30deg angle
I installed the screw and left it loose (about a turn) to hold everything close while the pin went in
Used a touch of oil on the pin and squeezed it in with a set of channel-locks (goes in real easy but didn't like hitting it even with the tiny brass hammer)
Then tightened the screw
Remove the tape and cut the loop off the dental floss and pull it out.
Double check the spacers to make sure they are below the edge of the trim, one slipped a little so I trimmed it with an xacto knife
Washed everything down with brake cleaner (remove the varsol) and blew it out, let dry completely
Taped off the glass and trim with masking tape leaving about a 1/16+ gap
Wedge cut the end of the urethane as small as possible and put a tight bead all around both sides squeezing it into the window/frame (making sure the tube is quite warm lets the stuff flow real nice)
Cleaned the fillet with a popsickle stick sanded to a nice radius, pull the tape off and walk away and let everything dry for a day
Had to touch up a couple of spots with a razor blade but overall it looks pretty good for someone who doesn't know what their doing
Probably never see the light of day anyway but at least I could install it if I needed to (wash the car?)
Anyway, not correct (sorry Alan but I just had to Bubba this, couldn't find the right tape locally and didn't want to order a 50' roll) and still probably wrong but it's not likely to leak and hopefully I'm not the next guy to take it apart
Mooser
Last edited by Mooser; 12-17-2022 at 09:36 AM.
Reason: fix photobucket mess
Crap, one of the guide plates that the dogs goes into on the car is cracked at the back, looks like I've got to make up a new one before I can put the window in even to try it
One small step ahead, one swift kick in the hoohaa's
Mooser
Crap, one of the guide plates that the dogs goes into on the car is cracked at the back, looks like I've got to make up a new one before I can put the window in even to try it
One small step ahead, one swift kick in the hoohaa's
Mooser
Why spend the effort to make one? Those nylon guides are readily available and cheap.
Actually I looked quickly and when I saw them at 18.95 a piece I went ahead and made them up.
Readily available is also slightly different for you guys in the States than to us in Canada. Those would be about a week and add maybe another 10 spot for shipping...
I made up a pair of them last night out of some Nylon I had laying around. Powder coated the two plates that hold them and of course now the screws that hold those in look bad so I'll have to check and see about some stainless ones, should have some laying around.
Mooser
New plastic inserts, powder coated plates ready to go in. You can see the back raised area on the old one (right side) was snapped off. Still worked fine but hey, in this far...
Of course now the new weatherstripping I installed last year prevents the thing from latching. Have to remove the two upper panels and back off the latches somewhat to let them clamp.
(on the plus side, got an hour drive in after work, was supposed to be pouring rain but never happened)
Last edited by Mooser; 12-01-2017 at 08:58 PM.
Reason: fix photobucket mess
Where could I source the parts to put one of these in my 74, What parts are the hardest to find?
Riggs.
Most of it seems fairly straight forward to change, everything can be bought new but I think only the weatherstrip (possibly the glass) should be new, the latches, interior panels, these guides, etc are all over fleabay (as fastfun pointed out)
There have been some articles (threads) on adding them to newer cars.
I'd definitely go to the extra work of adding the drop down holder, to me the ability to pop the window in and out (although mine is normally out) is well worth it. Leaving the window at home could be a PIA
Mooser

 05-30-2012, 08:11 PM


 , looks like I've got to make up a new one before I can put the window in even to try it


 )
)

