
Update on my Vette
 03-31-2011, 05:44 PM
#101
Intermediate


Member Since: Apr 2006
Location: Grand Haven, MI
Posts: 25
Likes: 0
Received 0 Likes
on
0 Posts

Jim,
I am the new owner of the Vette. It is really a small world. I graduated from Massapequa High School! I am a little bit older than you but wonder if you grew up in Massapequa?
I am the new owner of the Vette. It is really a small world. I graduated from Massapequa High School! I am a little bit older than you but wonder if you grew up in Massapequa?
 03-31-2011, 06:37 PM
#102
Any work done is up to Steve, the buyer. I'm glad to see the work being done. He will have an excellent cruising vette.
I'll always have second thoughts about selling it, but my house project has started and the money from the vette will go towards the new kitchen cabinets. I'm sad to sell it, but it's going to a good home. The new owner is a real car guy and has owned a few vettes.
I will get another 70 down the road.
Glenn
 03-31-2011, 06:52 PM
#103
Team Owner

Member Since: Sep 2006
Location: Westminster Maryland
Posts: 30,173
Likes: 0
Received 2,878 Likes
on
2,515 Posts
Hi enkei,
I've found that things go well in the Corvette garage when someone in the kitchen is happy.
Regards,
Alan
I've found that things go well in the Corvette garage when someone in the kitchen is happy.
Regards,
Alan
03-31-2011, 07:42 PM
#104
Le Mans Master

Thread Starter
04-01-2011, 12:29 PM
#106
Burning Brakes


 04-06-2011, 12:28 PM
#108
Le Mans Master
Thread Starter
Things are moving along, and everything looks great! Diff was being bolted in when I stopped at COW. Chuck also replaced the universals on the drive shaft.
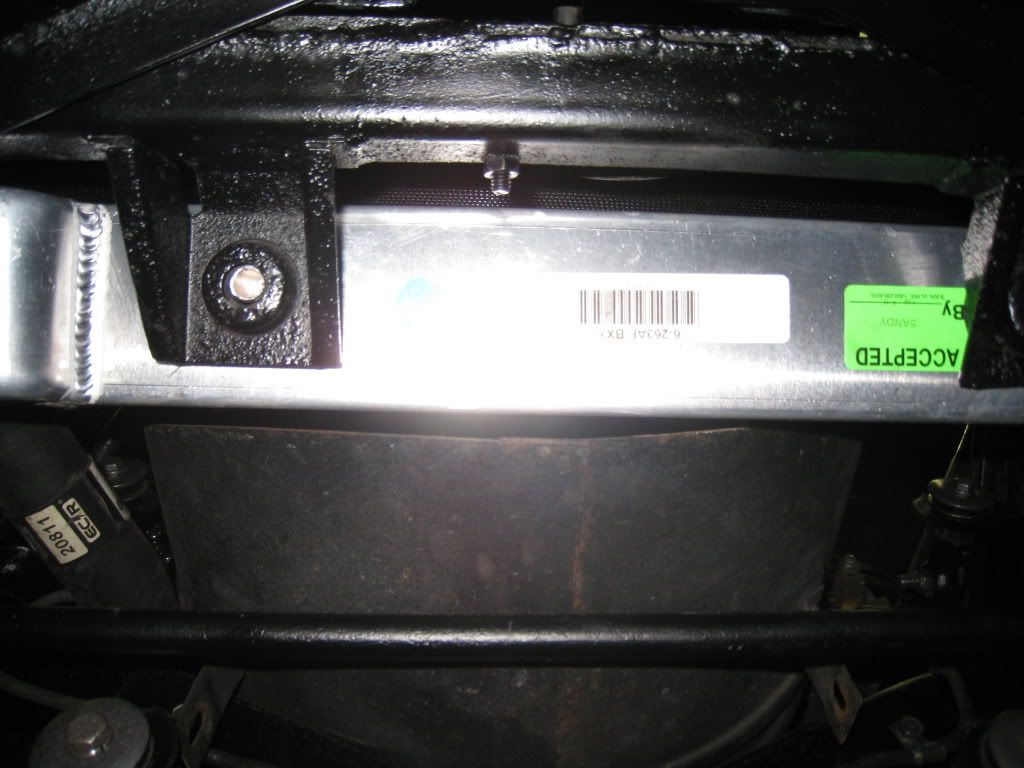
The rear frame was painted, except by the TA pockets, which still need to be repaired. The The new aluminum radiator arrived, but I didn't get to see it.
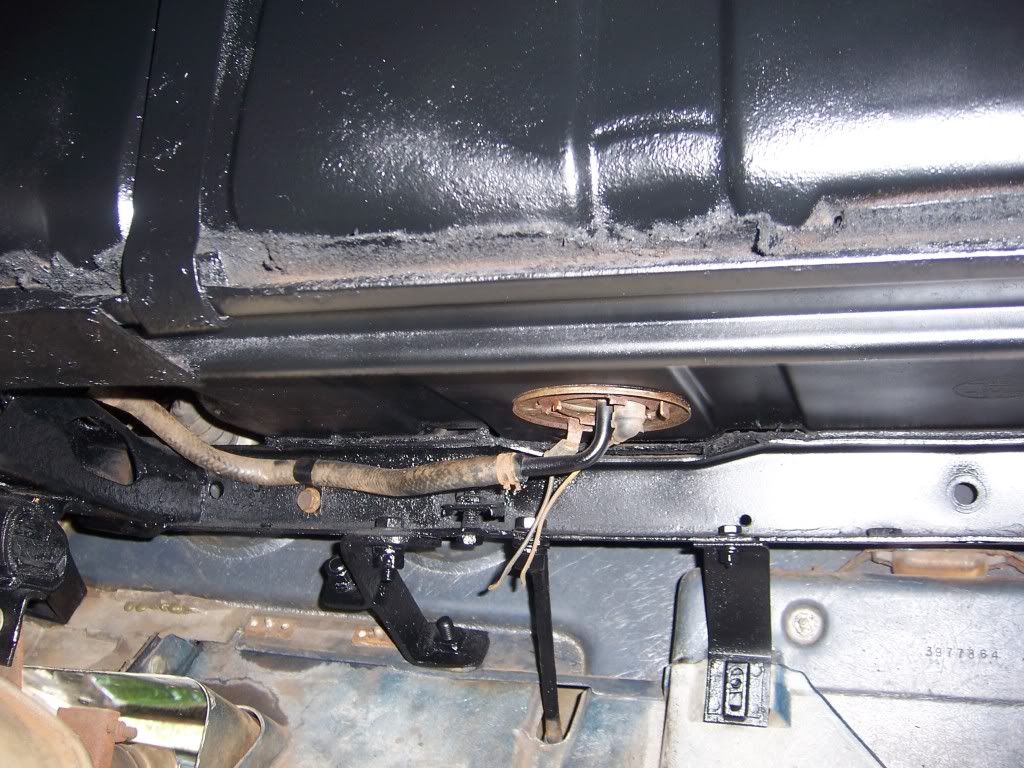
Chuck is going to lower the tank a bit to get a better look for the tank build sheet.
More to come.
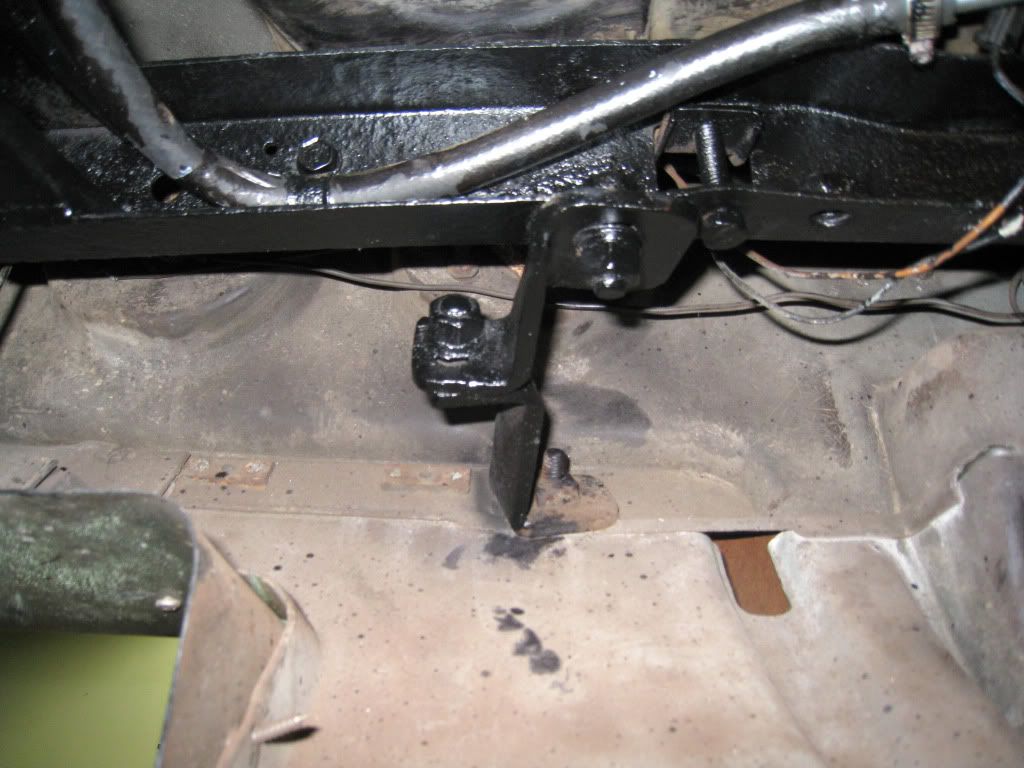
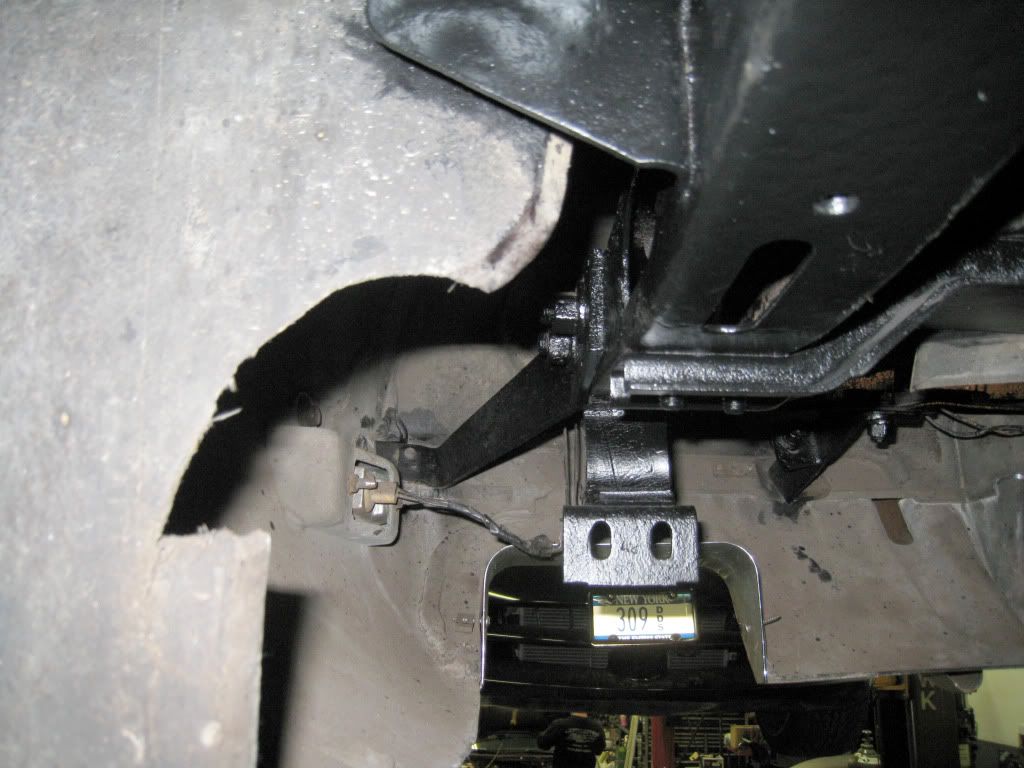
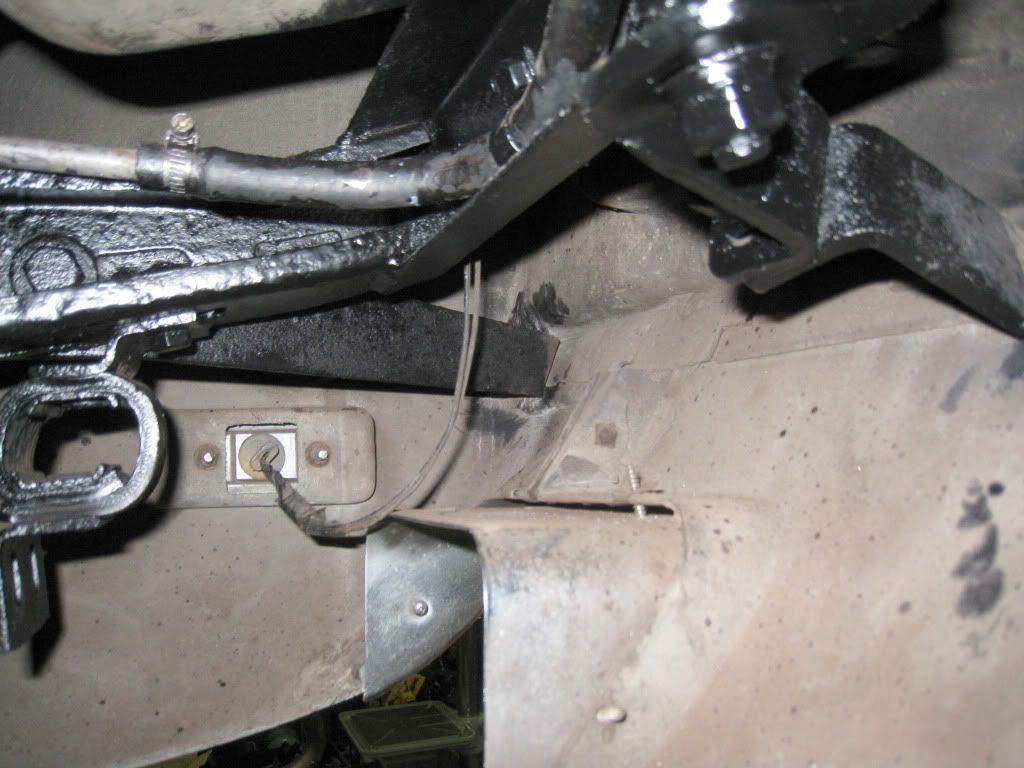
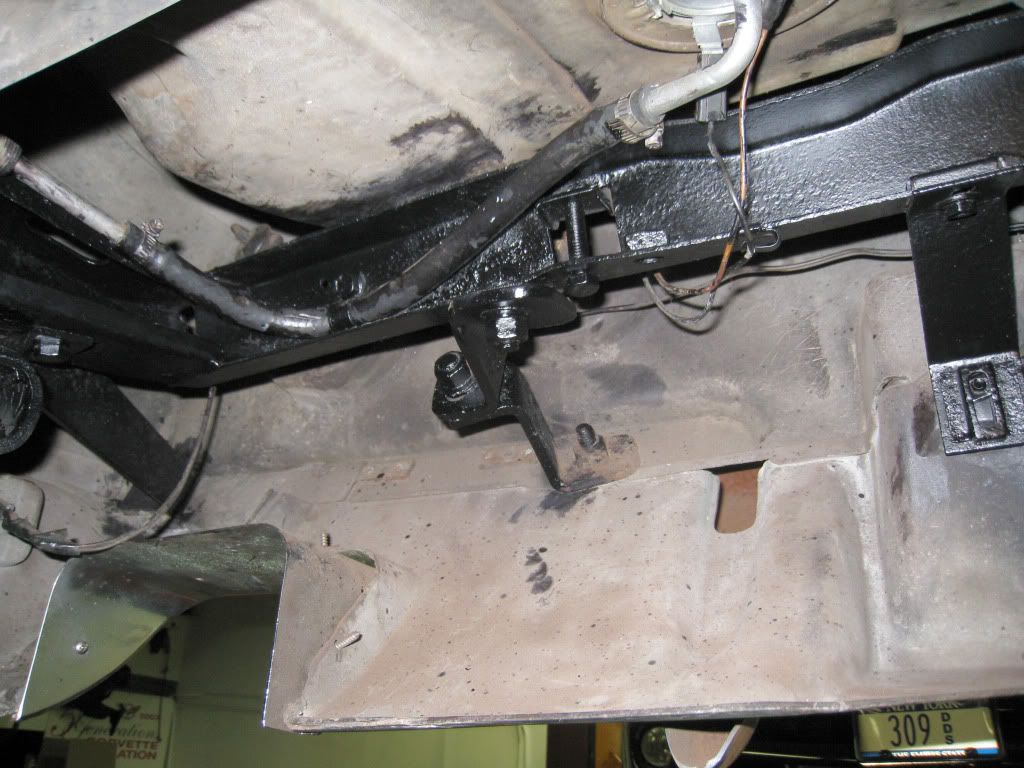
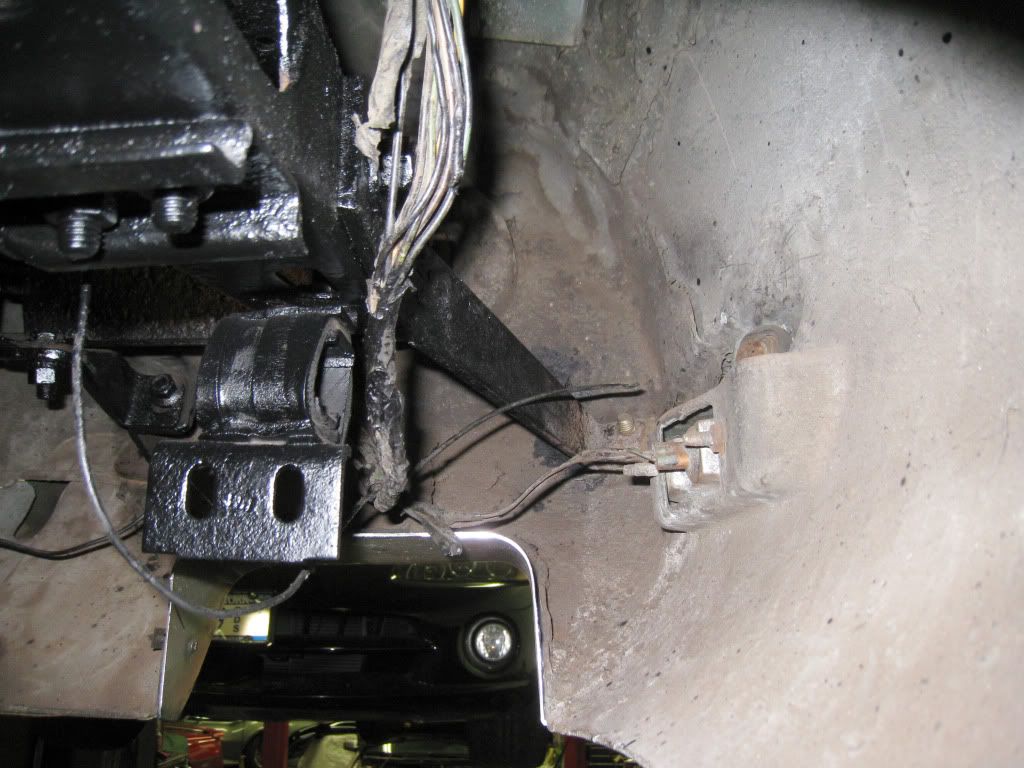
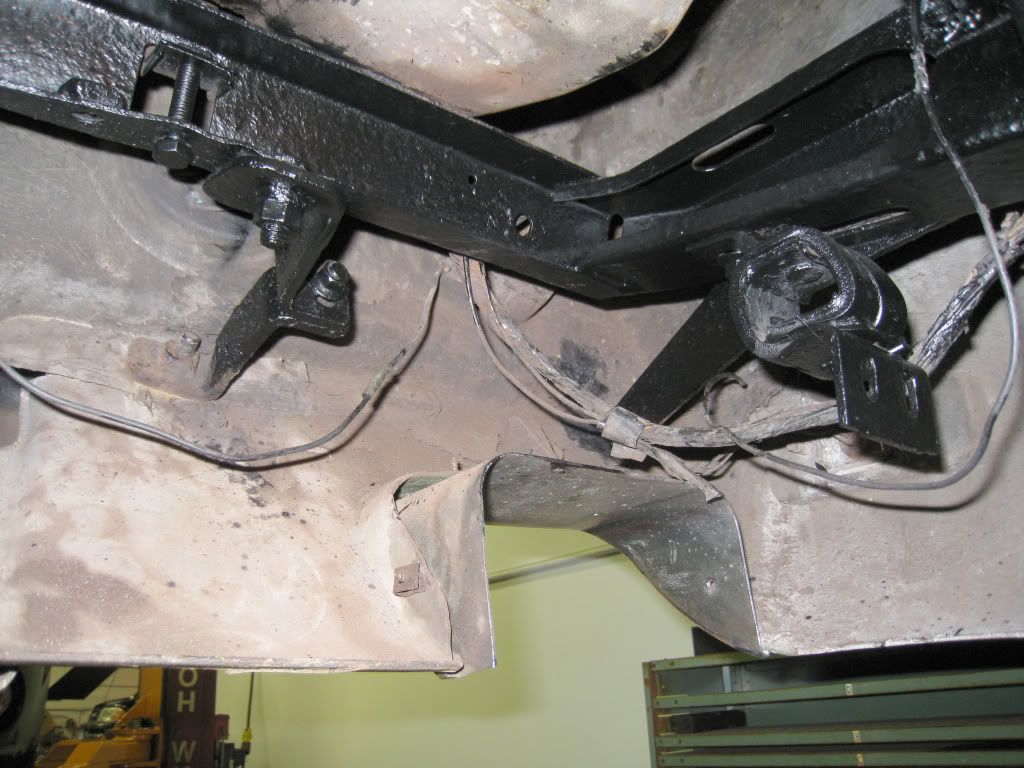
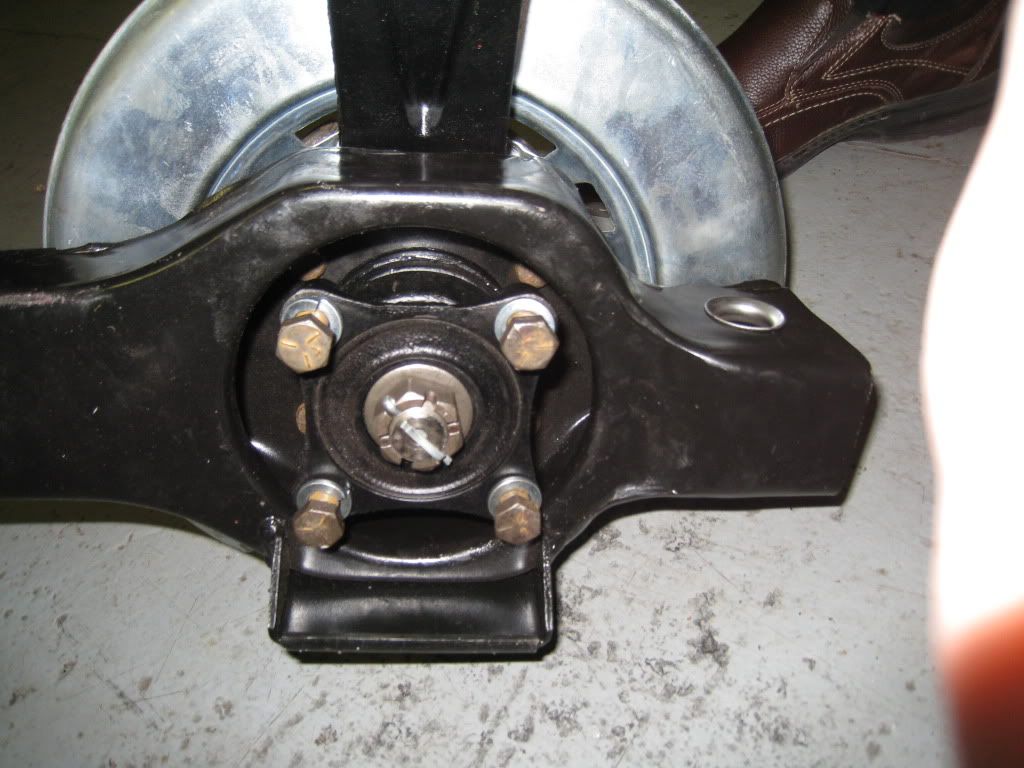
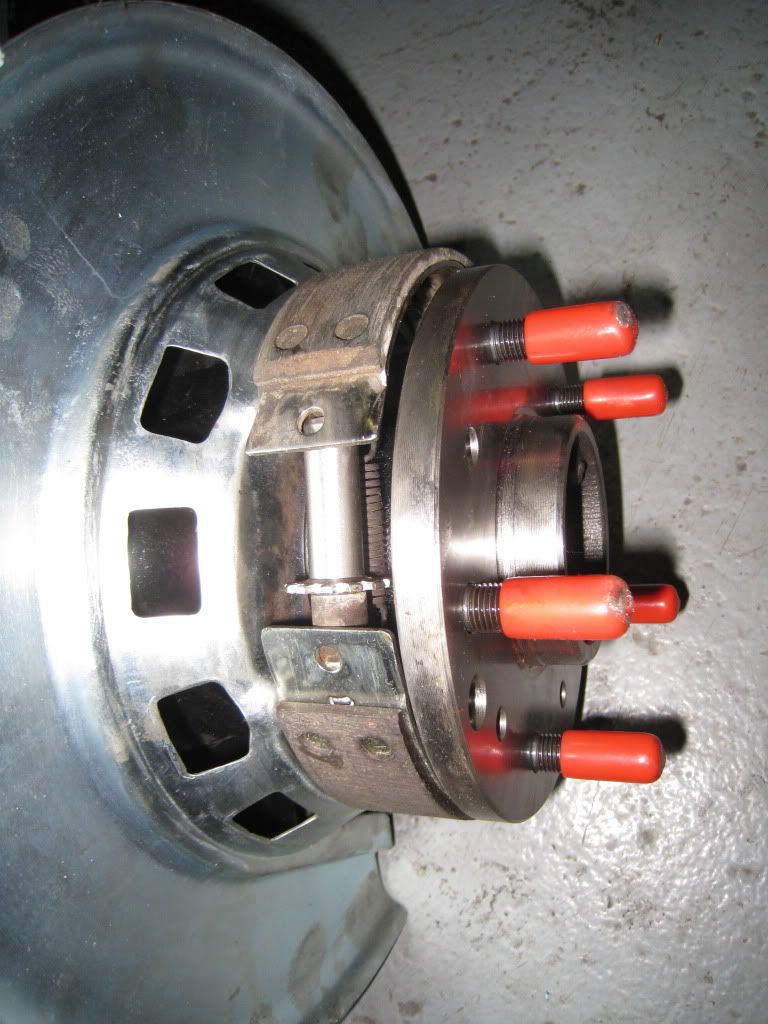
Jim, here's the rear bumper bracket photos as promised.
Glenn
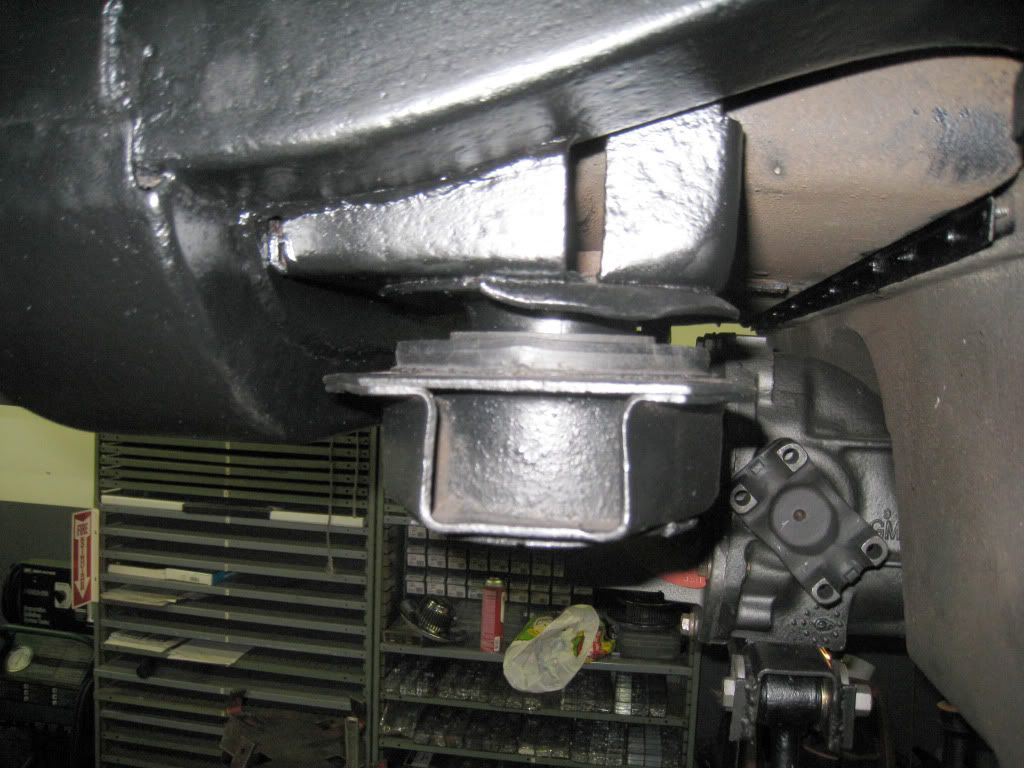
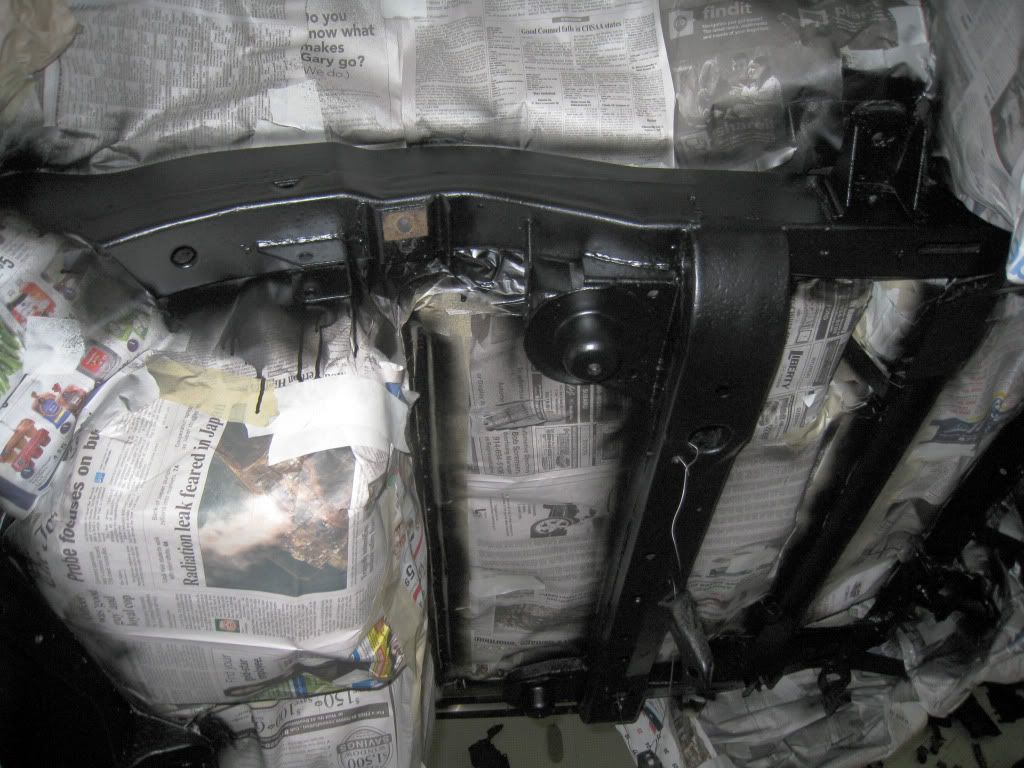
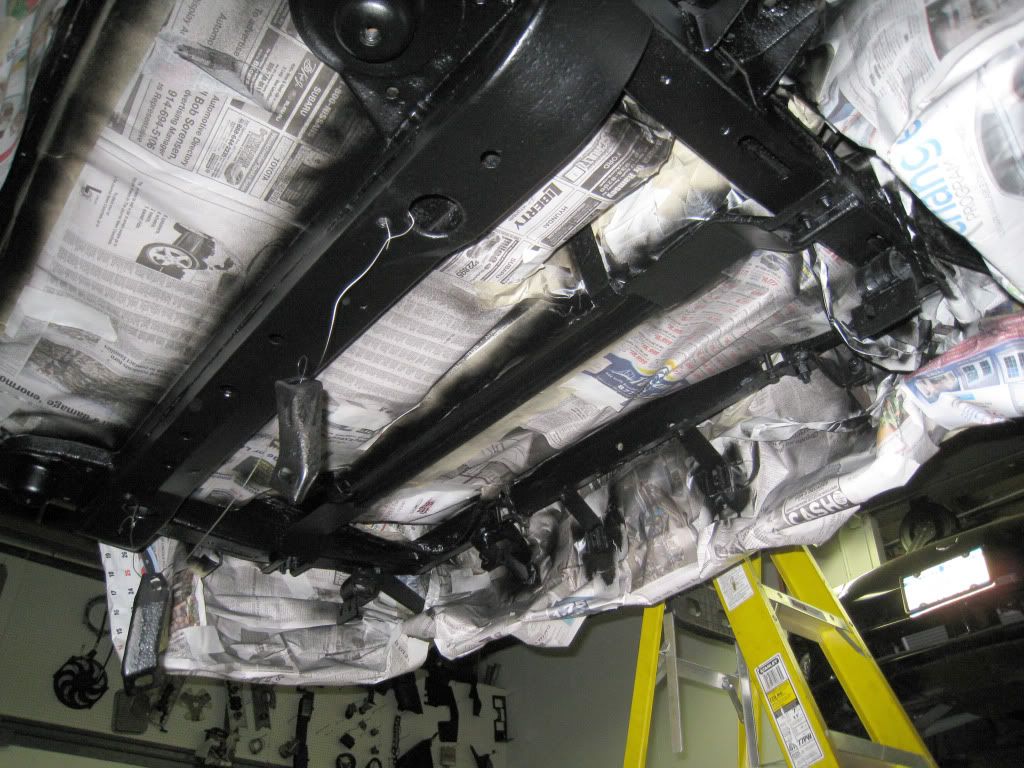


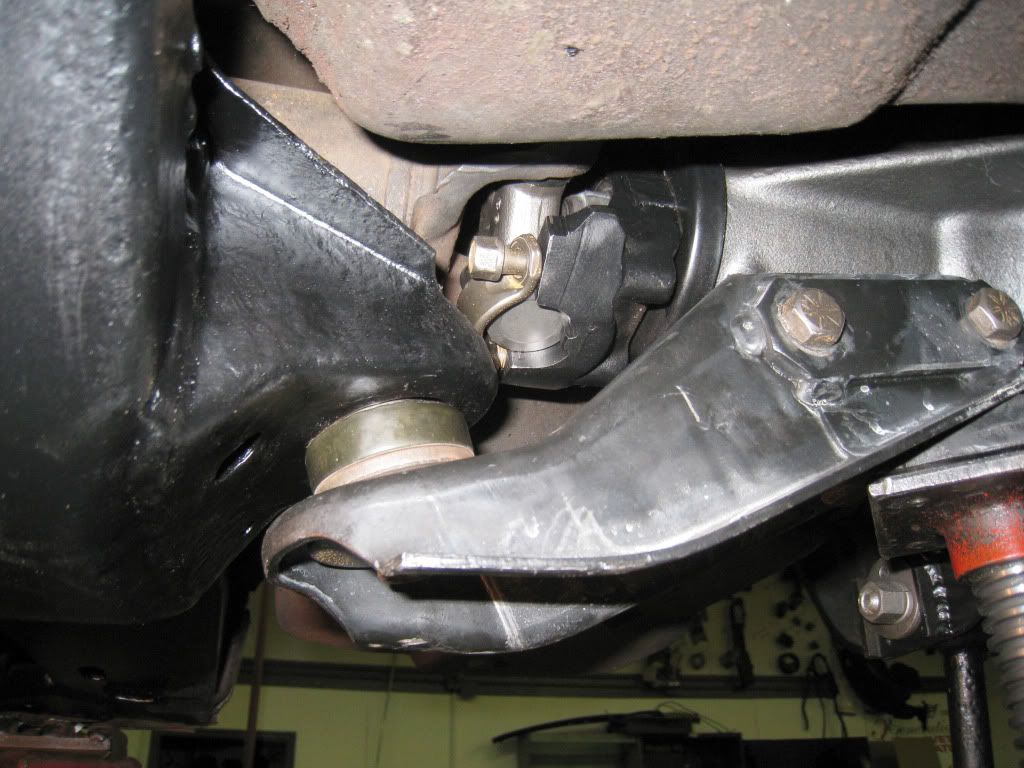
Rear bumper brackets.
The rear frame was painted, except by the TA pockets, which still need to be repaired. The The new aluminum radiator arrived, but I didn't get to see it.
Chuck is going to lower the tank a bit to get a better look for the tank build sheet.
More to come.
Jim, here's the rear bumper bracket photos as promised.
Glenn
Rear bumper brackets.
04-06-2011, 01:52 PM
#109
Team Owner
Member Since: Sep 2006
Location: Westminster Maryland
Posts: 30,173
Likes: 0
Received 2,878 Likes
on
2,515 Posts
Hi Glenn,
Very interesting pictures of some parts not easy to see with the mufflers and the spare-tire tub in place.
Thanks!
Regards,
Alan
I'm surprised how LONG the screws for the exhaust bezels are. I saved the screws from my 71, and really wondered about the length when I looked at them recently.
Very interesting pictures of some parts not easy to see with the mufflers and the spare-tire tub in place.
Thanks!
Regards,
Alan
I'm surprised how LONG the screws for the exhaust bezels are. I saved the screws from my 71, and really wondered about the length when I looked at them recently.
Last edited by Alan 71; 04-06-2011 at 01:56 PM.
04-06-2011, 02:17 PM
#110
Le Mans Master
Thread Starter
Hi Glenn,
Very interesting pictures of some parts not easy to see with the mufflers and the spare-tire tub in place.
Thanks!
Regards,
Alan
I'm surprised how LONG the screws for the exhaust bezels are. I saved the screws from my 71, and really wondered about the length when I looked at them recently.
Very interesting pictures of some parts not easy to see with the mufflers and the spare-tire tub in place.
Thanks!
Regards,
Alan
I'm surprised how LONG the screws for the exhaust bezels are. I saved the screws from my 71, and really wondered about the length when I looked at them recently.
I've wondered why those screw are so long. Seems over kill to me.
I figure to try and get as many pics as possible for reference when someone else needs a pic for a specific area.
Glenn
04-06-2011, 03:21 PM
#111
Melting Slicks

Member Since: Jul 2001
Location: Massapequa Park NY
Posts: 2,608
Likes: 0
Received 10 Likes
on
8 Posts

Thanks Glen  Funny thing is I was looking to see the orientation of the two inner brackets that are missing on yours Half hour after I asked you to take pictures the chrome shop called to tell me the bumpers were ready - three weeks ahead of schedule
Once I got them home the bracket orientation was clear. Actually installed the two rear bumpers over the weekend.
I did notice a few other things to add/adjust on mine :o
Car's looking good
Jim
Funny thing is I was looking to see the orientation of the two inner brackets that are missing on yours Half hour after I asked you to take pictures the chrome shop called to tell me the bumpers were ready - three weeks ahead of scheduleOnce I got them home the bracket orientation was clear. Actually installed the two rear bumpers over the weekend.
I did notice a few other things to add/adjust on mine :o
Car's looking good
Jim
Last edited by 70BBvert; 04-06-2011 at 03:31 PM.
04-06-2011, 04:28 PM
#112
Le Mans Master
Thread Starter
Thanks Glen Funny thing is I was looking to see the orientation of the two inner brackets that are missing on yours Half hour after I asked you to take pictures the chrome shop called to tell me the bumpers were ready - three weeks ahead of schedule
Once I got them home the bracket orientation was clear. Actually installed the two rear bumpers over the weekend.
I did notice a few other things to add/adjust on mine :o
Car's looking good
Jim
Funny thing is I was looking to see the orientation of the two inner brackets that are missing on yours Half hour after I asked you to take pictures the chrome shop called to tell me the bumpers were ready - three weeks ahead of scheduleOnce I got them home the bracket orientation was clear. Actually installed the two rear bumpers over the weekend.
I did notice a few other things to add/adjust on mine :o
Car's looking good
Jim
I'm missing some brackets? I don't see where any could go. Post a few pics of yours. I'd love to see those re-chromed bumpers!
Glenn
04-06-2011, 04:35 PM
#113
Race Director

There is actually four mount points on my 72 bumpers It loks like you are missing the outer most and the inner most brackets.
Last edited by Gordonm; 04-06-2011 at 04:48 PM.
04-06-2011, 05:29 PM
#114
Le Mans Master
Thread Starter
Yes there is a rod bracket that goes to the down portion of the rear bumper through that U shaped hole in the back panel up to the frame. I don't have my car here for a picture but I just took my bumpers off a few weeks ago as it was on its way to the paint shop.
There is actually four mount points on my 72 bumpers It loks like you are missing the outer most and the inner most brackets.
There is actually four mount points on my 72 bumpers It loks like you are missing the outer most and the inner most brackets.
04-06-2011, 05:49 PM
#115
Drifting

Member Since: Oct 2002
Location: Titusville FL
Posts: 1,748
Likes: 0
Received 0 Likes
on
0 Posts
Here is a pic of how mine are set up... I just started my recondition of the undercarriage, so I only have about 18 inches of the frame done. And yes, I know that the gas tank should not be painted, but this is a driver and I hated looking at the surface rust on it...
Last edited by Spacecoast; 04-06-2011 at 05:52 PM.
04-06-2011, 06:01 PM
#116
Melting Slicks
Member Since: Jul 2001
Location: Massapequa Park NY
Posts: 2,608
Likes: 0
Received 10 Likes
on
8 Posts

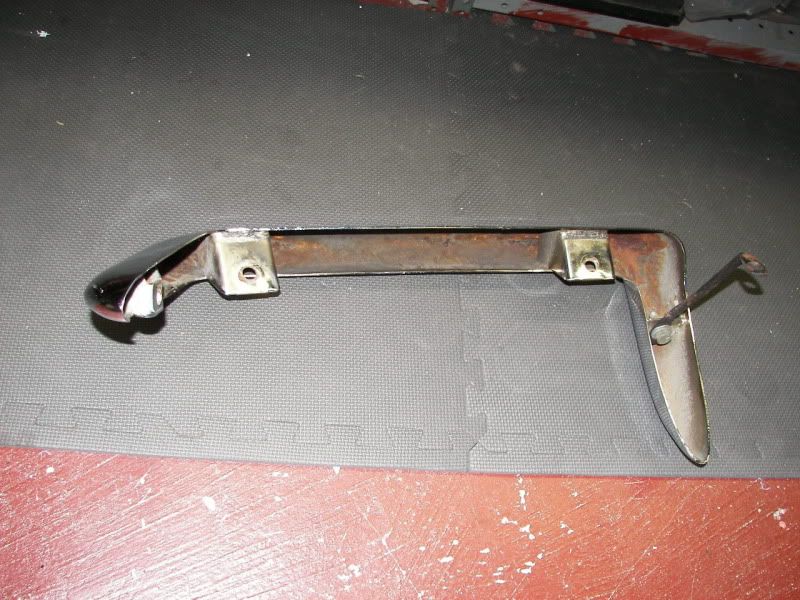
If you want it let me know, already blasted & painted.
I'll post up some pics of the rear bumpers later
Jim
05-02-2011, 08:55 PM
#117
Le Mans Master
Thread Starter
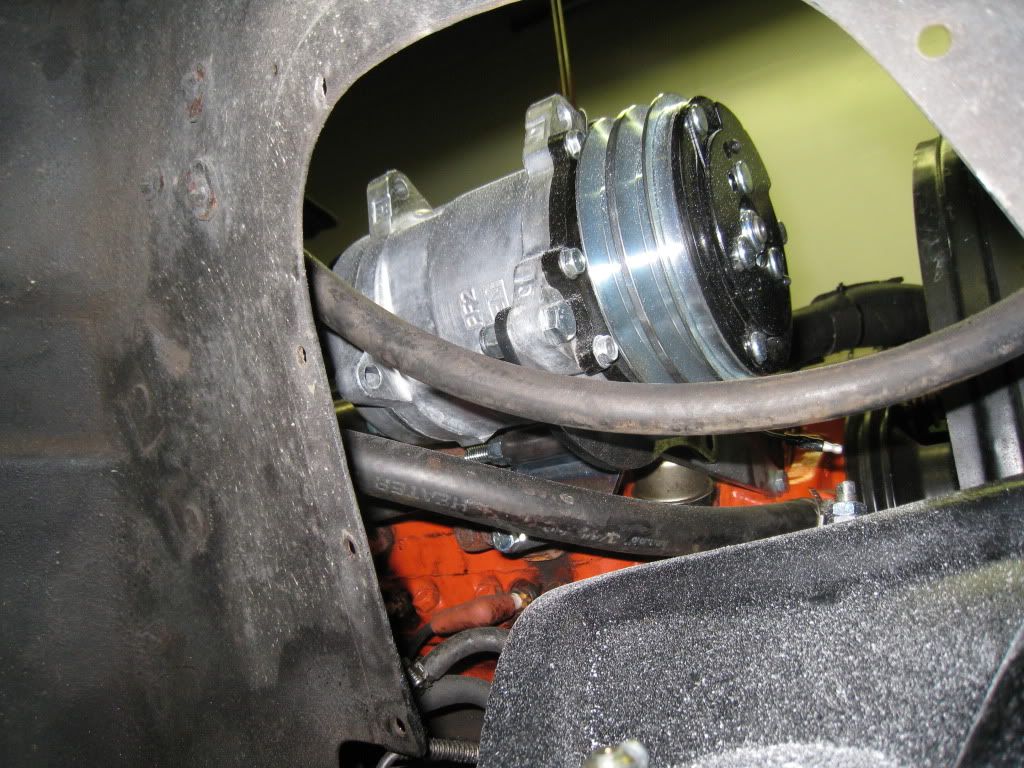
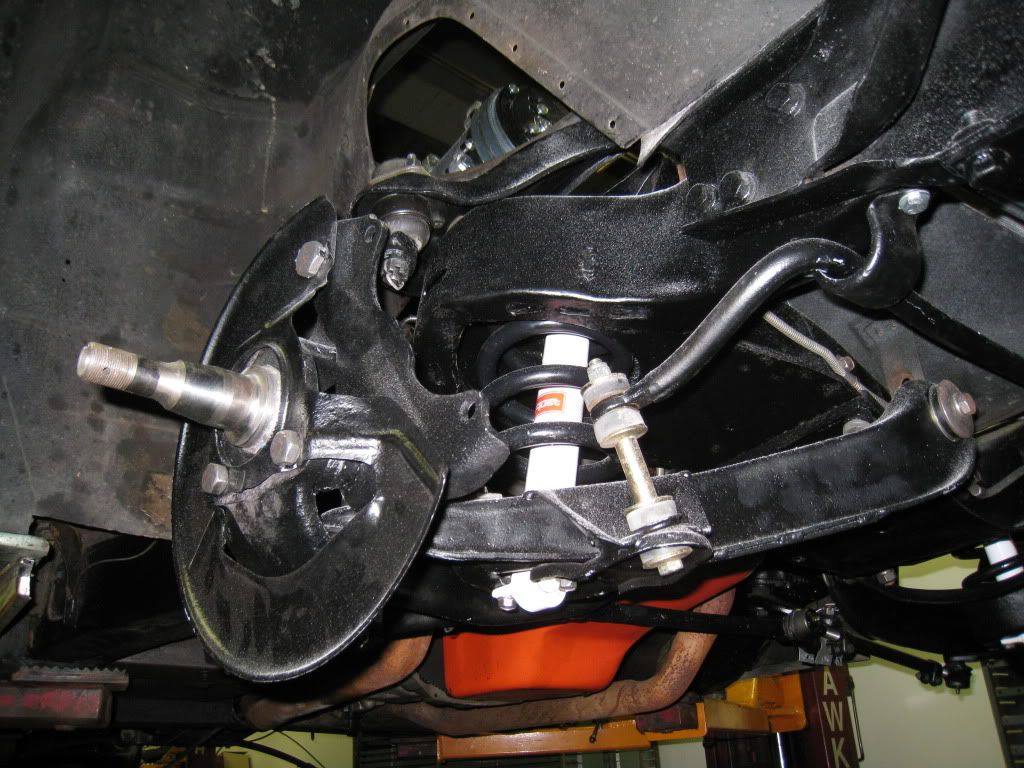
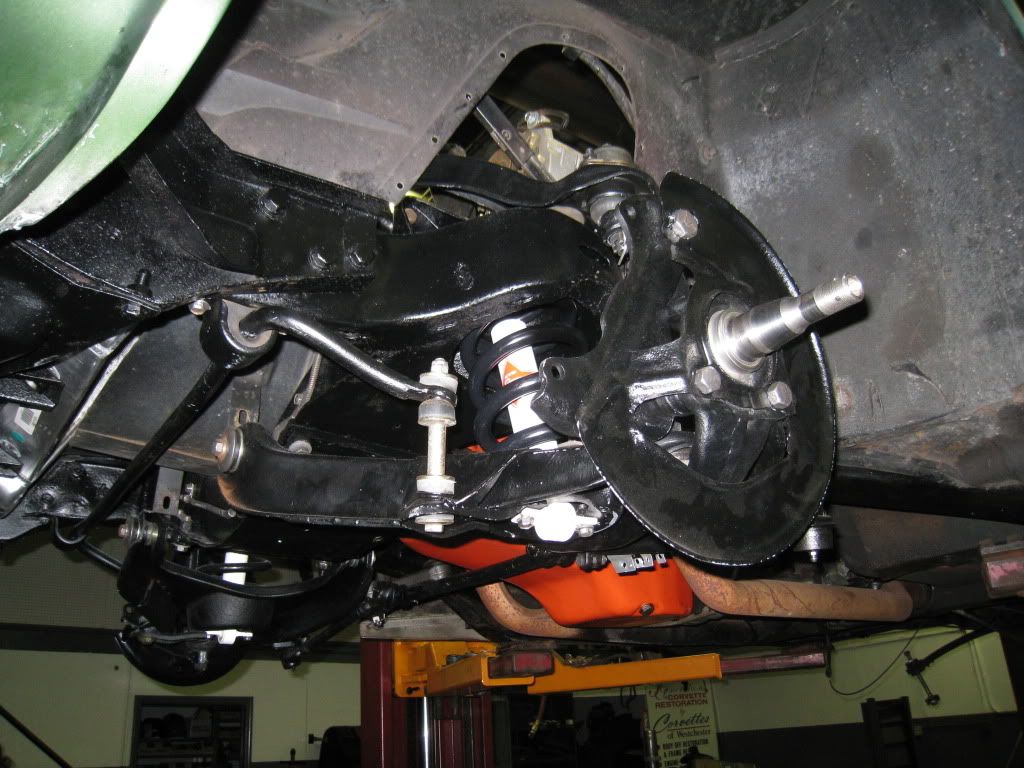
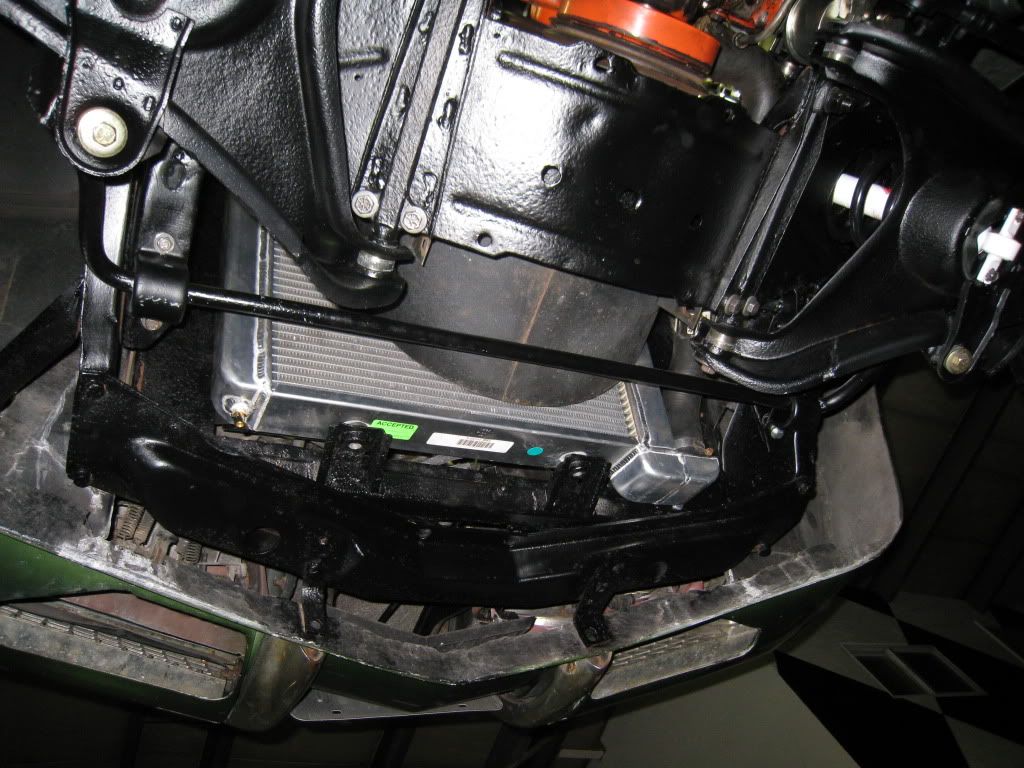
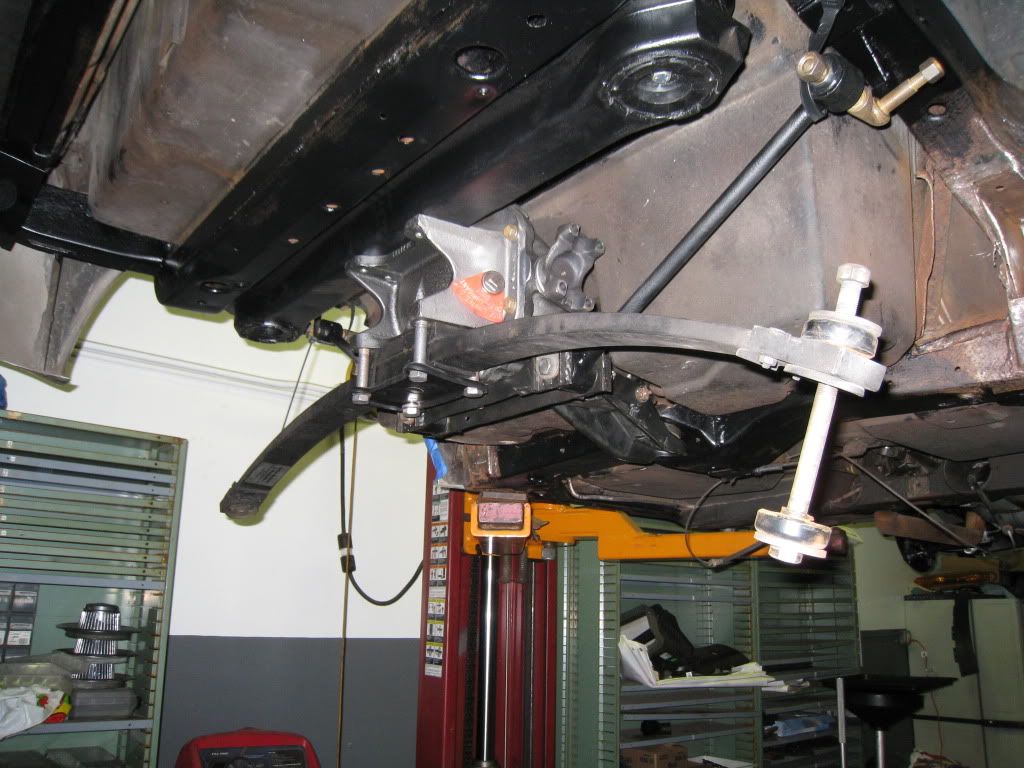
It's been a while since the last update.
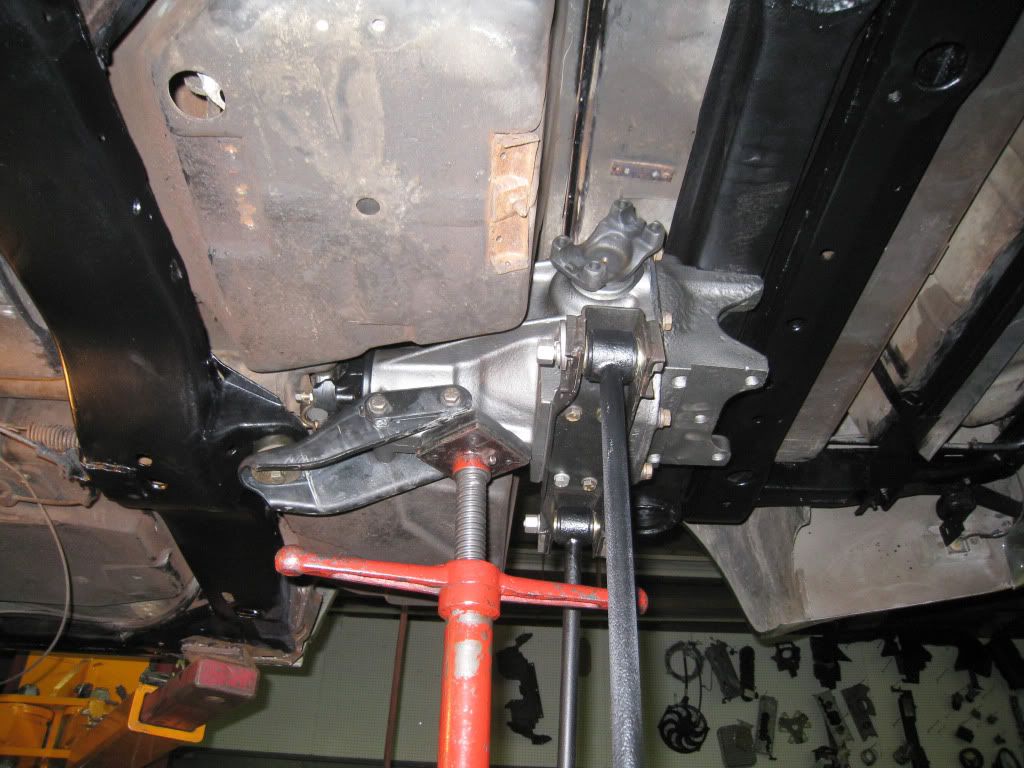
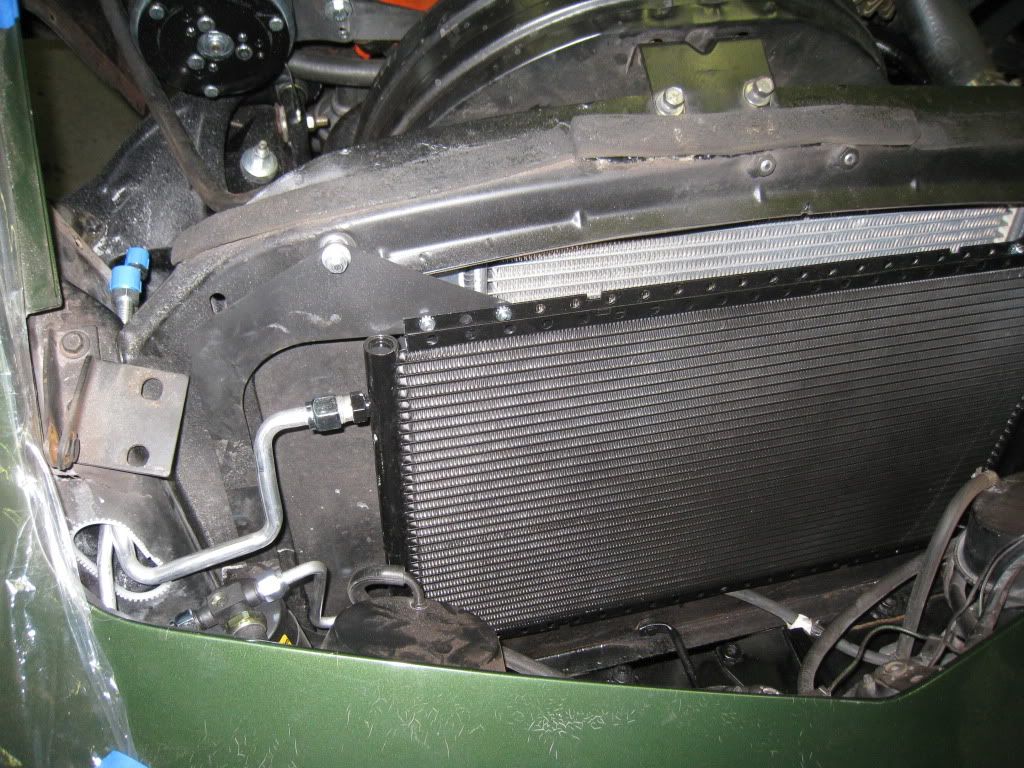
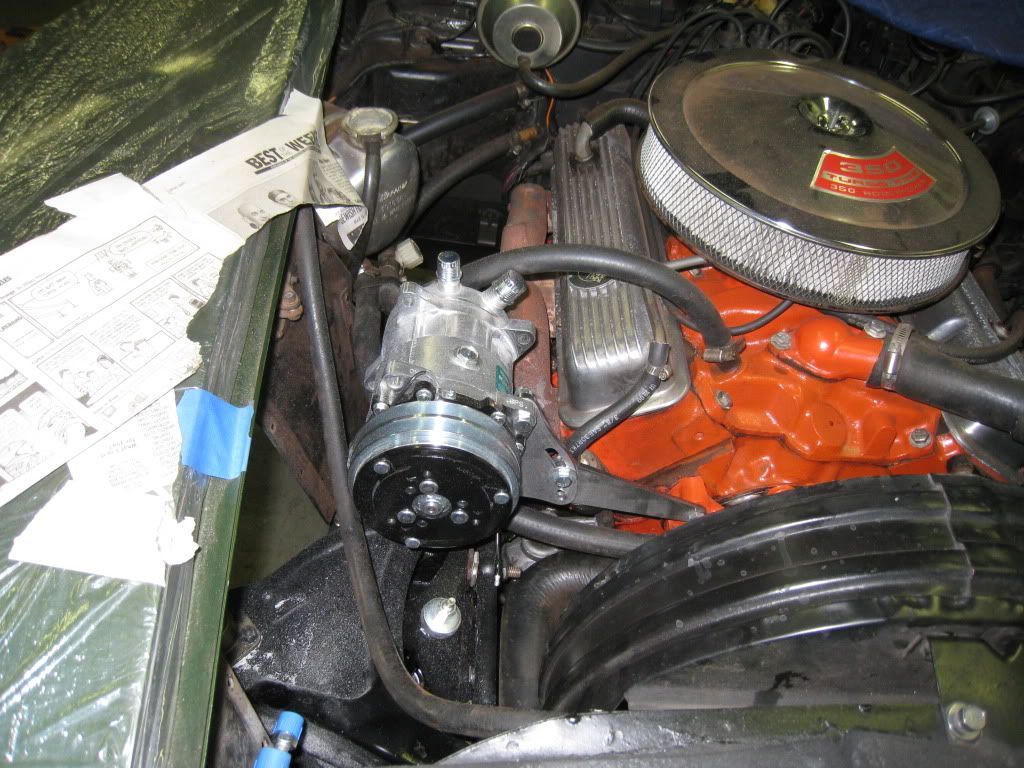
I stopped by COW and a lot of progress has been made. The front suspension is just about done, the new aluminum radiator is in as well as the Vintage AC compressor, condenser and hoses. Also a new fuel pump is in and a new front seal, which had been leaking a little oil. Everything looks great. Also one of the TA's has been assembled. Here's pics.
Glenn

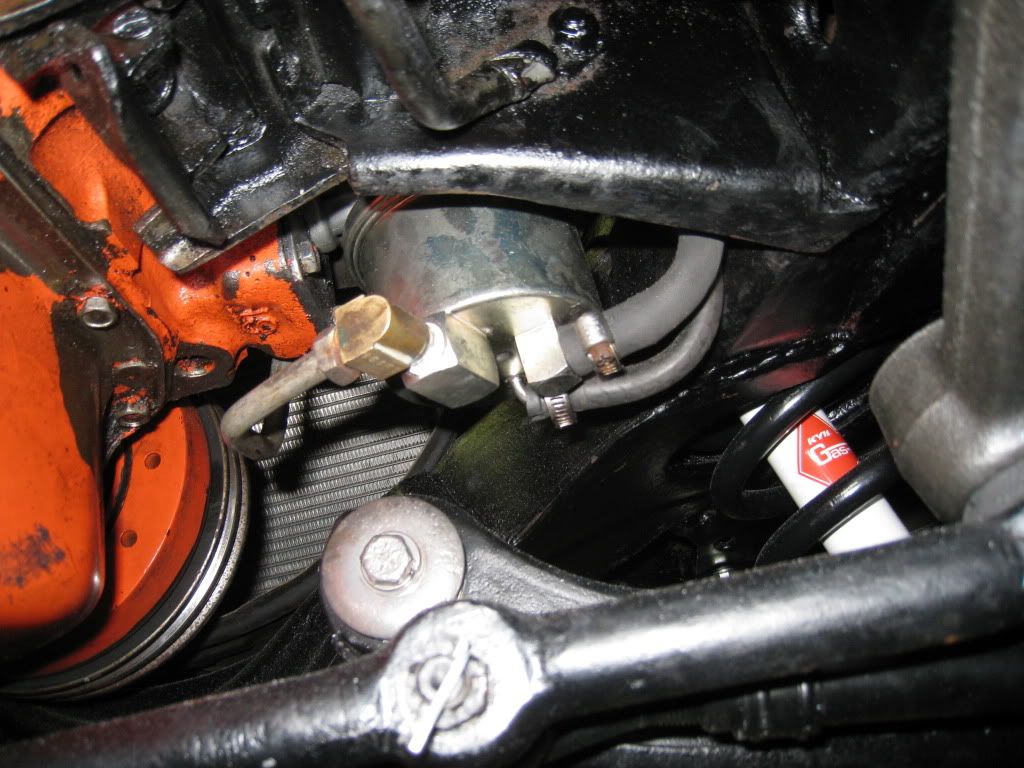
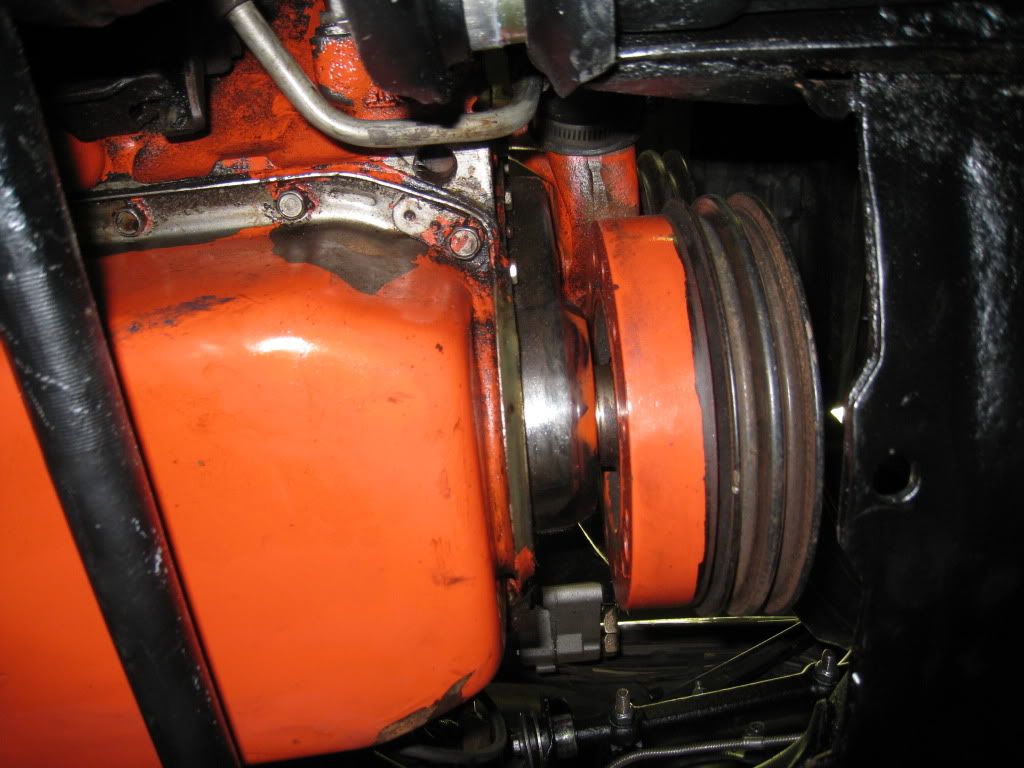
Chuck

I stopped by COW and a lot of progress has been made. The front suspension is just about done, the new aluminum radiator is in as well as the Vintage AC compressor, condenser and hoses. Also a new fuel pump is in and a new front seal, which had been leaking a little oil. Everything looks great. Also one of the TA's has been assembled. Here's pics.
Glenn
Chuck
05-03-2011, 08:58 AM
#119
Le Mans Master
Thread Starter
Glenn
Last edited by GD70; 05-03-2011 at 02:59 PM.
