
My '76 restoration (long post)

 01-17-2013, 11:40 PM
#282
Drifting


Thread Starter
Member Since: Aug 2010
Location: Kanuckistan
Posts: 1,617
Received 127 Likes
on
68 Posts
2022 C3 of the Year Finalist - Modified

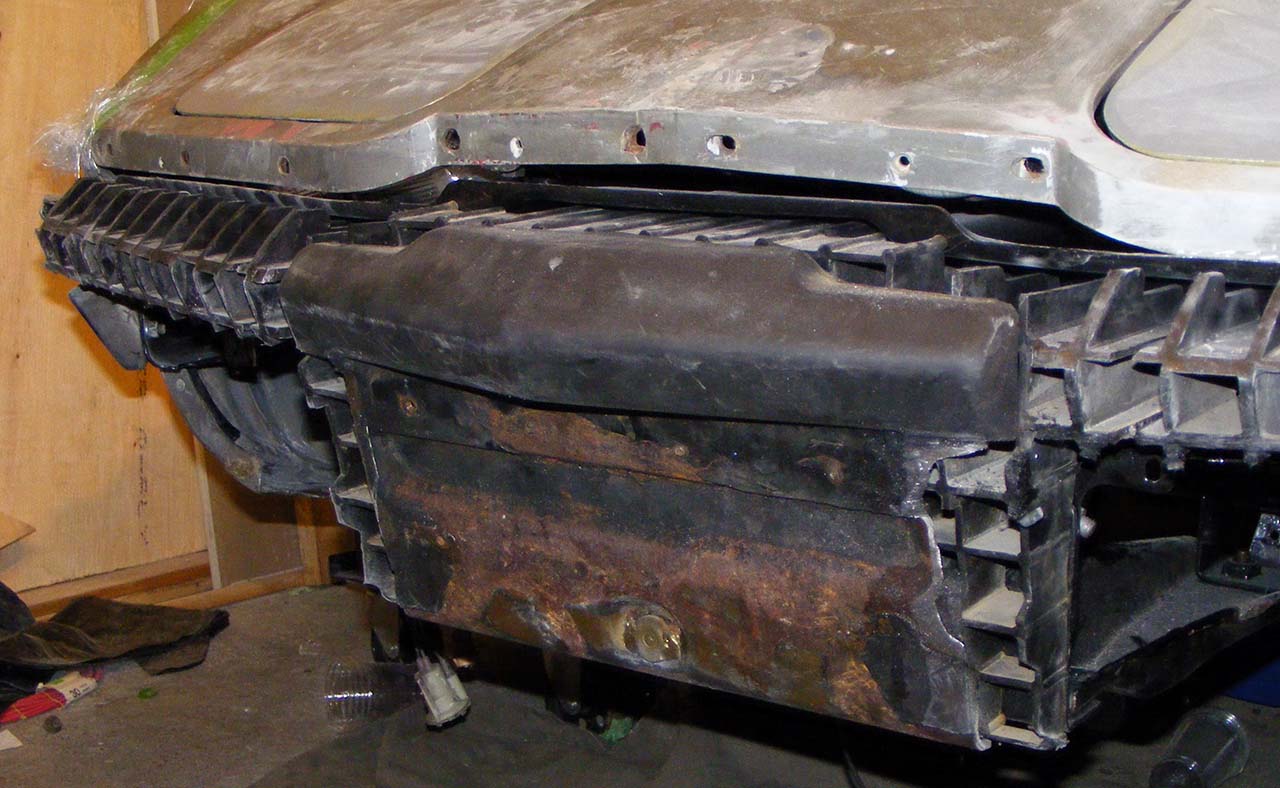
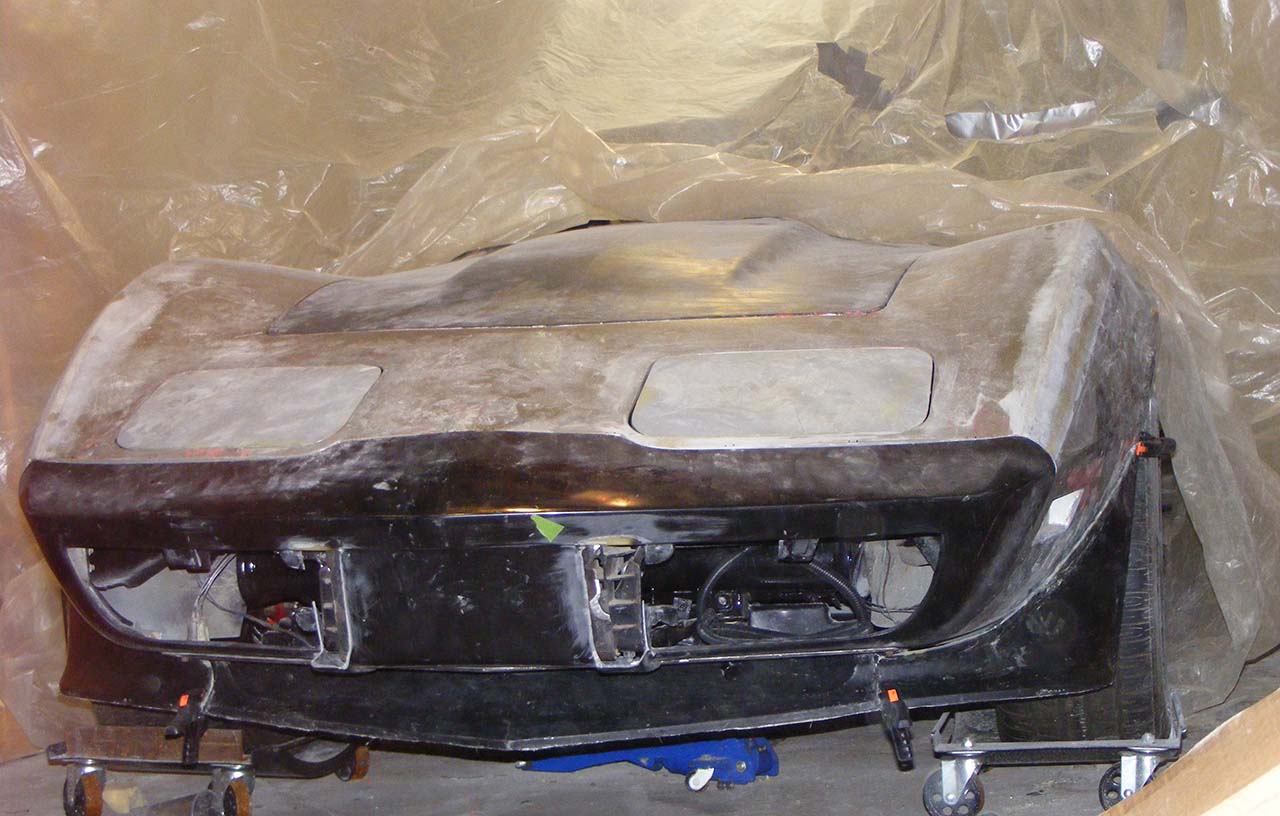
Rear deck is now hole free!
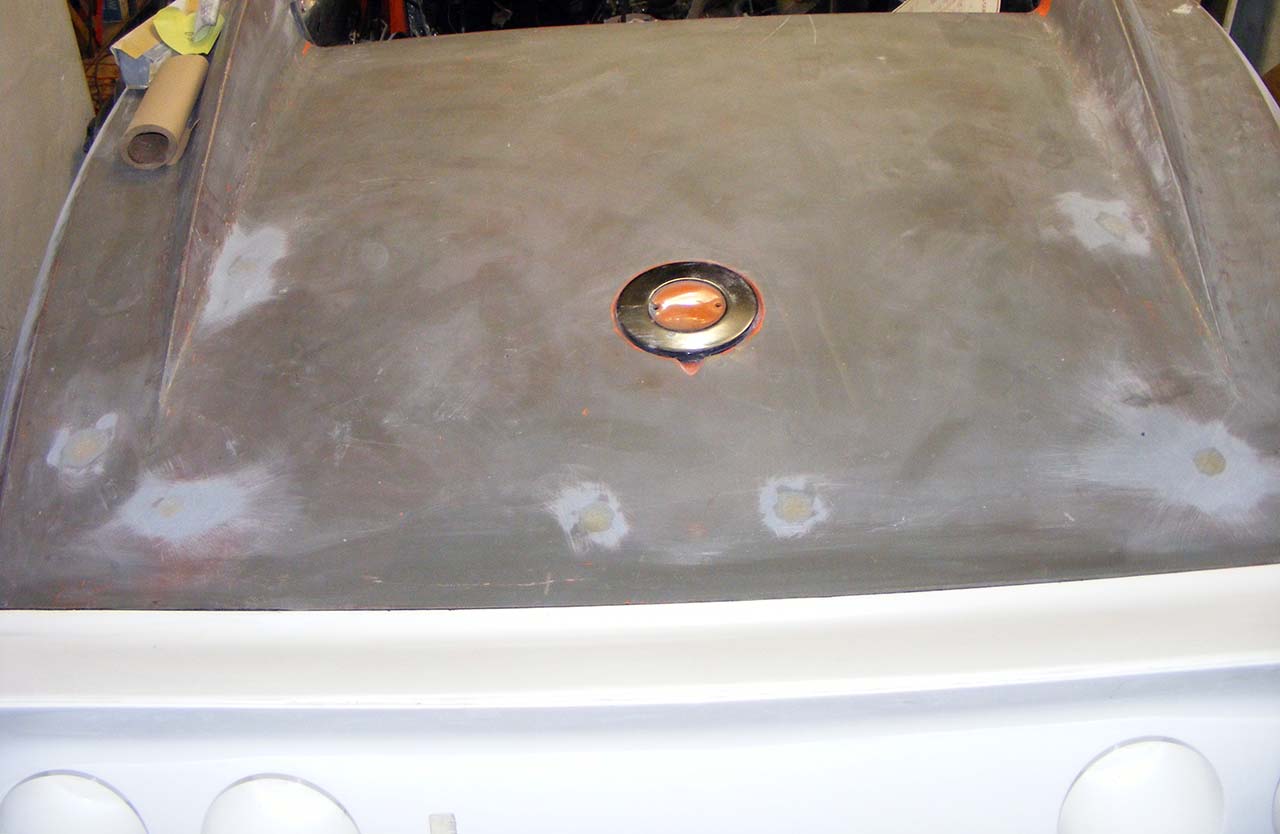
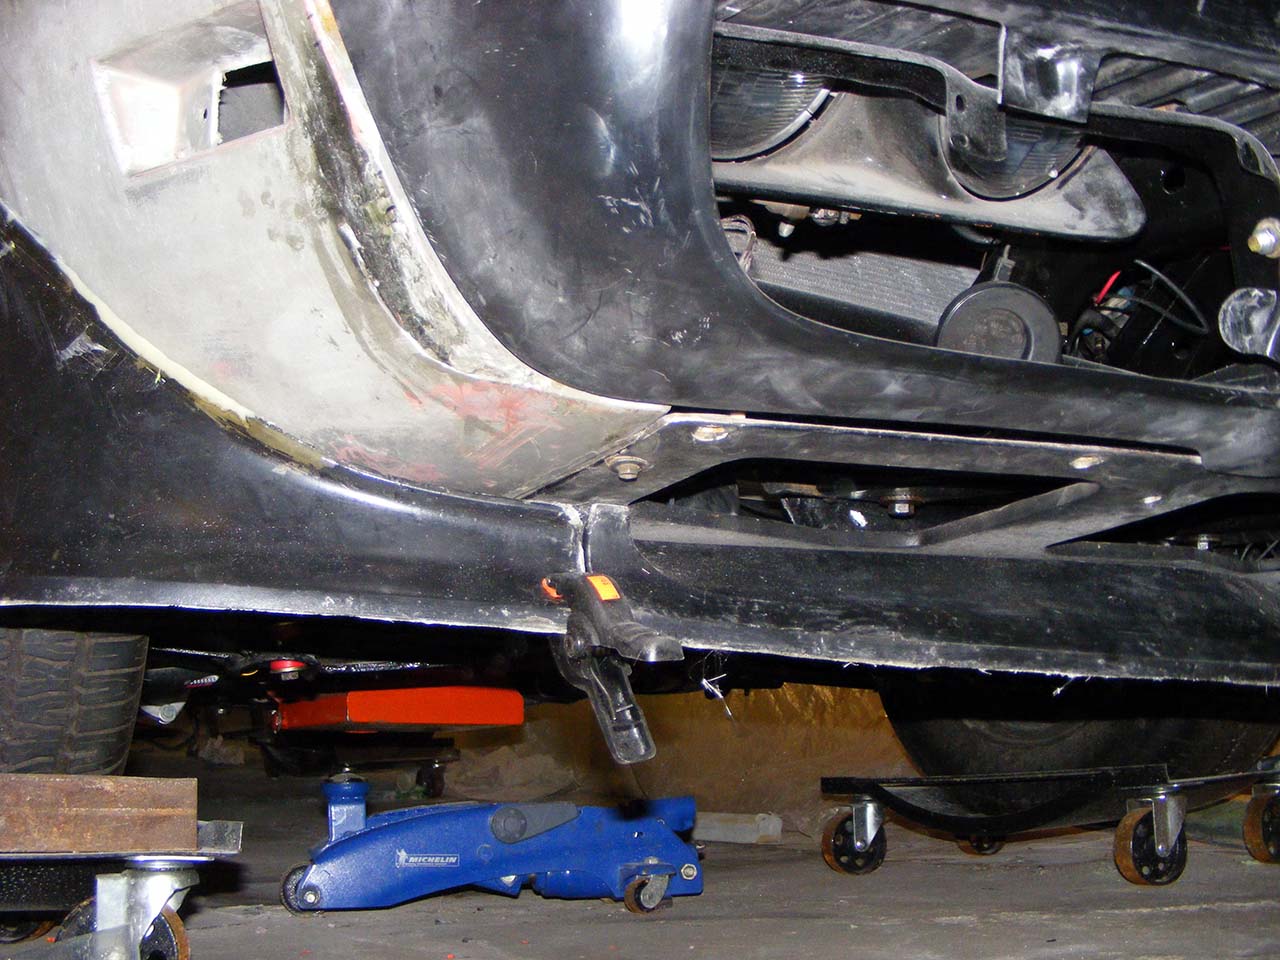
The bumper in now glued on, used the infamous 3M 3115.
Fitting is good, minimal glass work

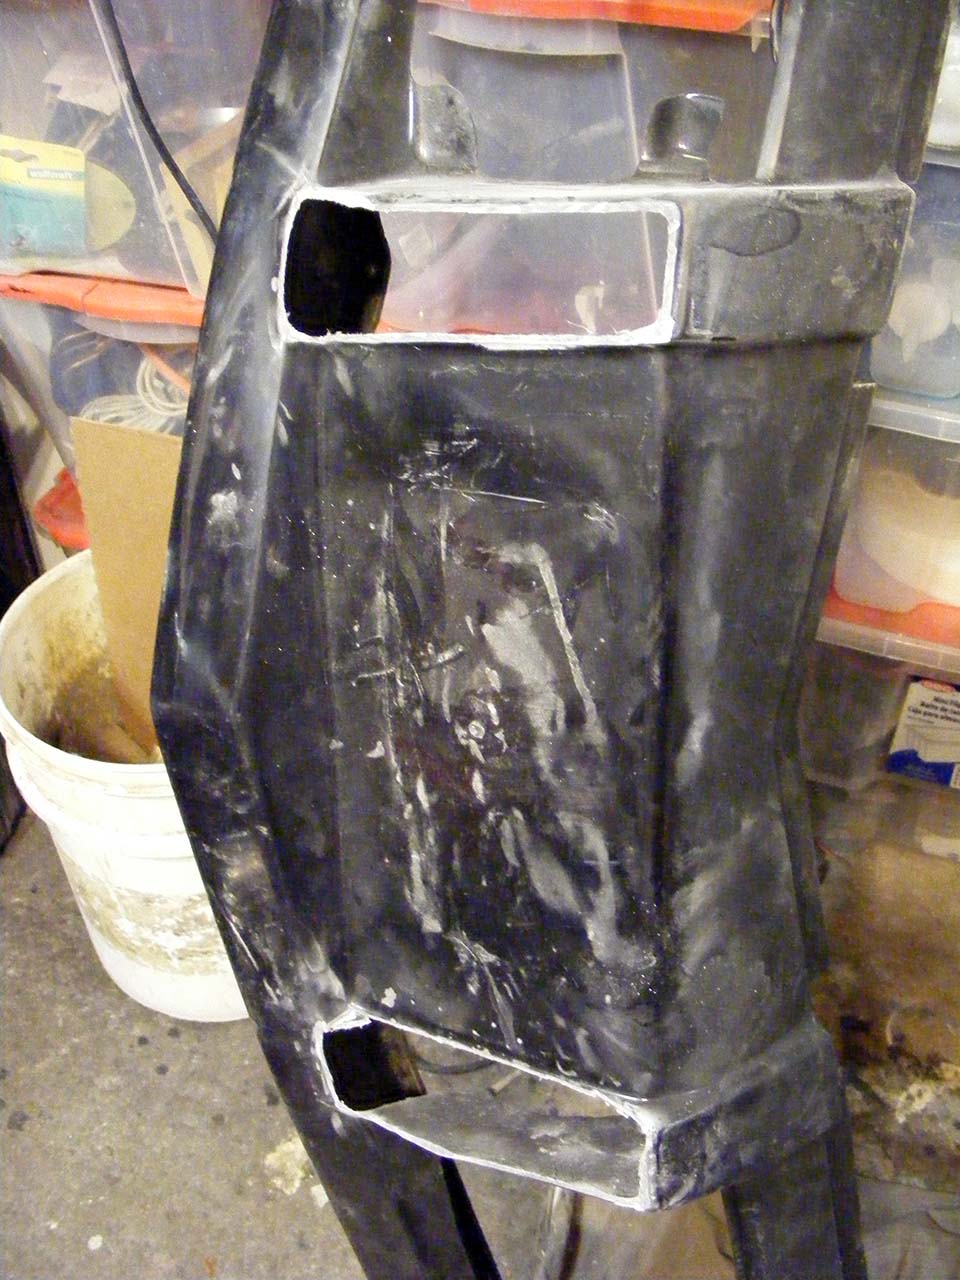
Finished the repair on the door handle :
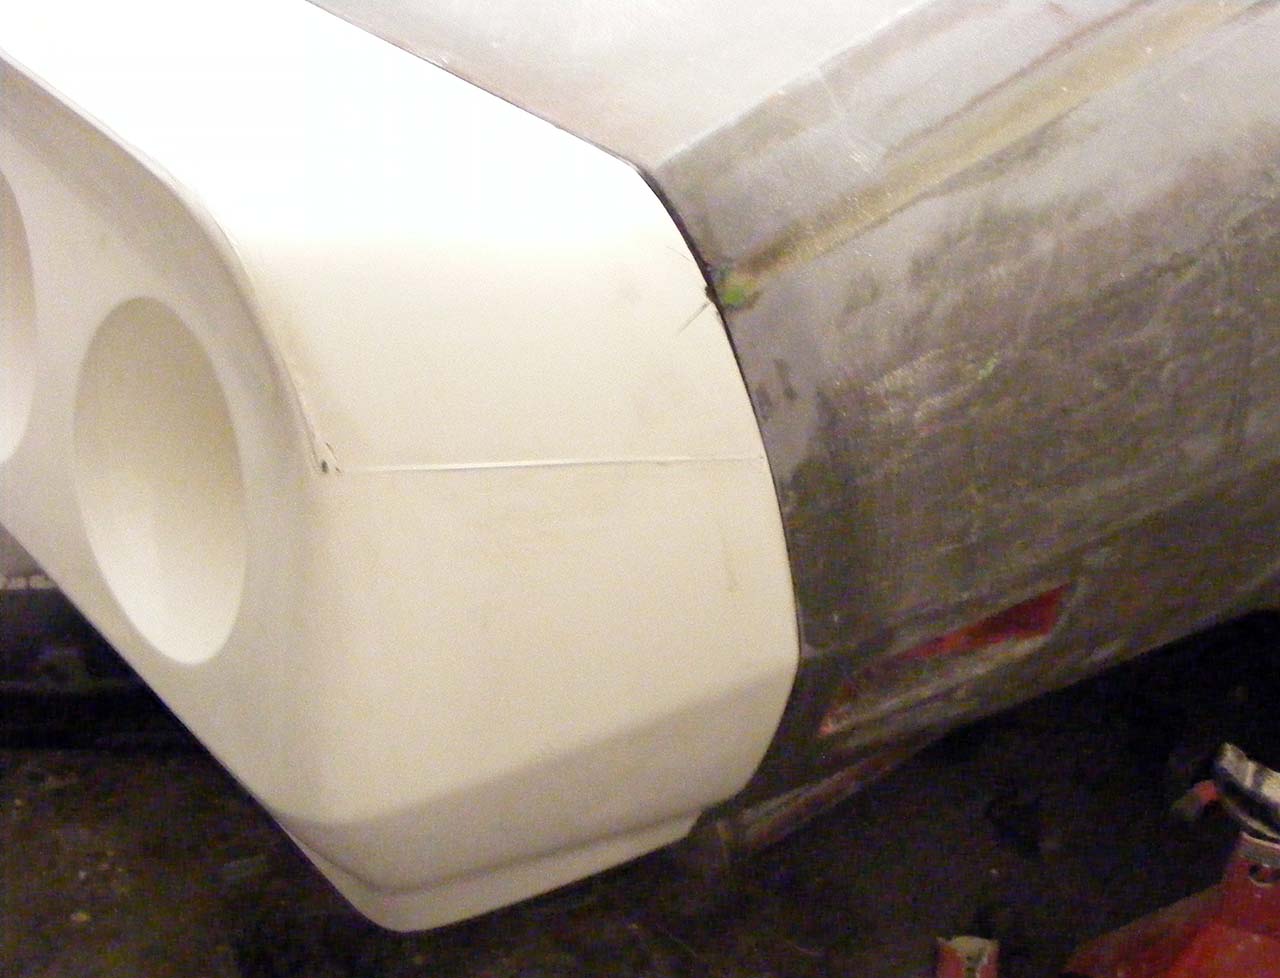
I've shaved off my bumperette. That was a PITA, 3 cutting disk and a lot of nasty smoke.
Also made a rough cut on the bumper cover, but I think I will do the glass work once installed, so I can take advantage of all the space I can grab.
I will just had a backing layer on the top.
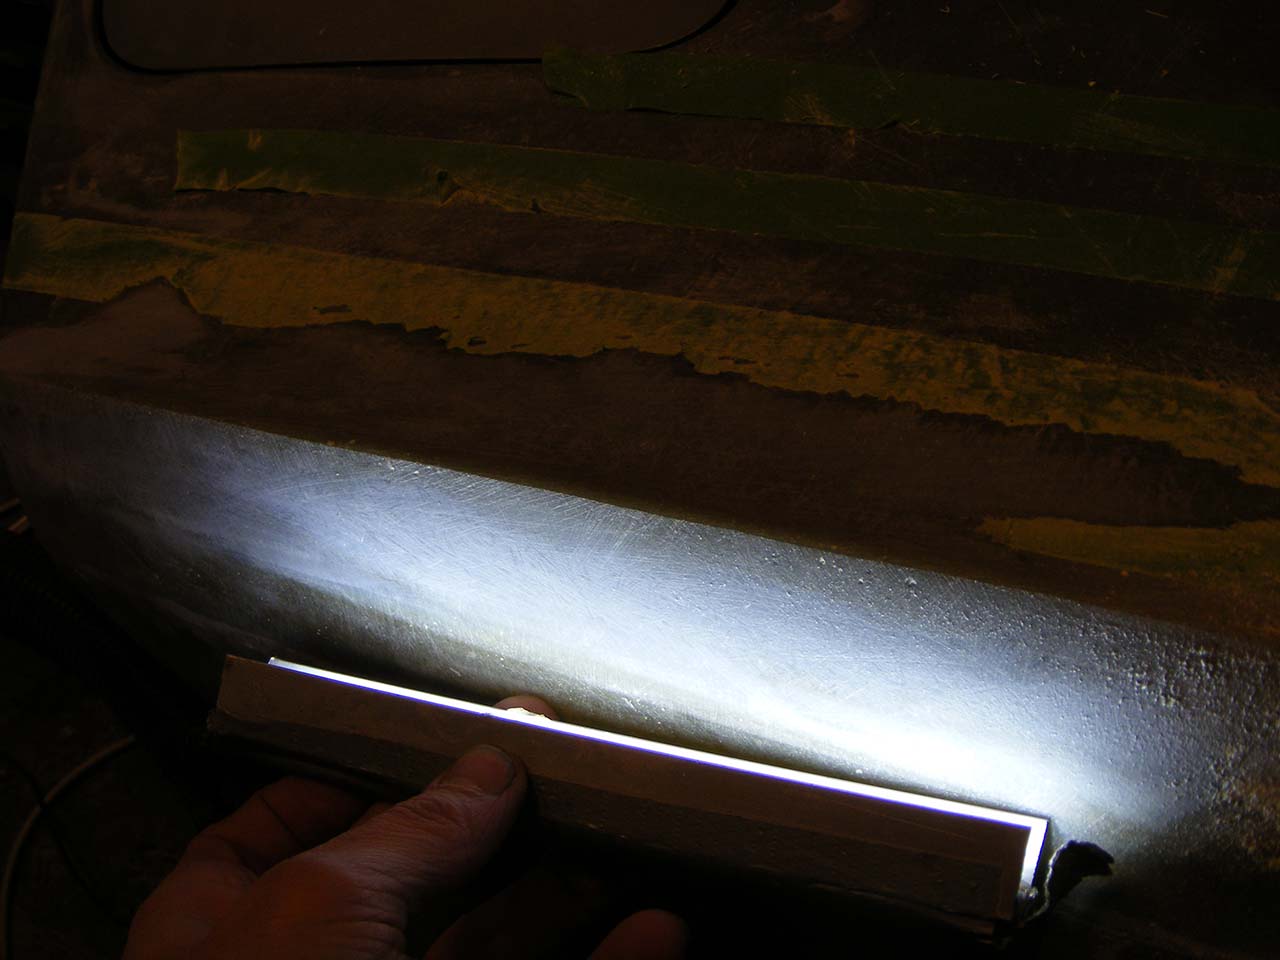
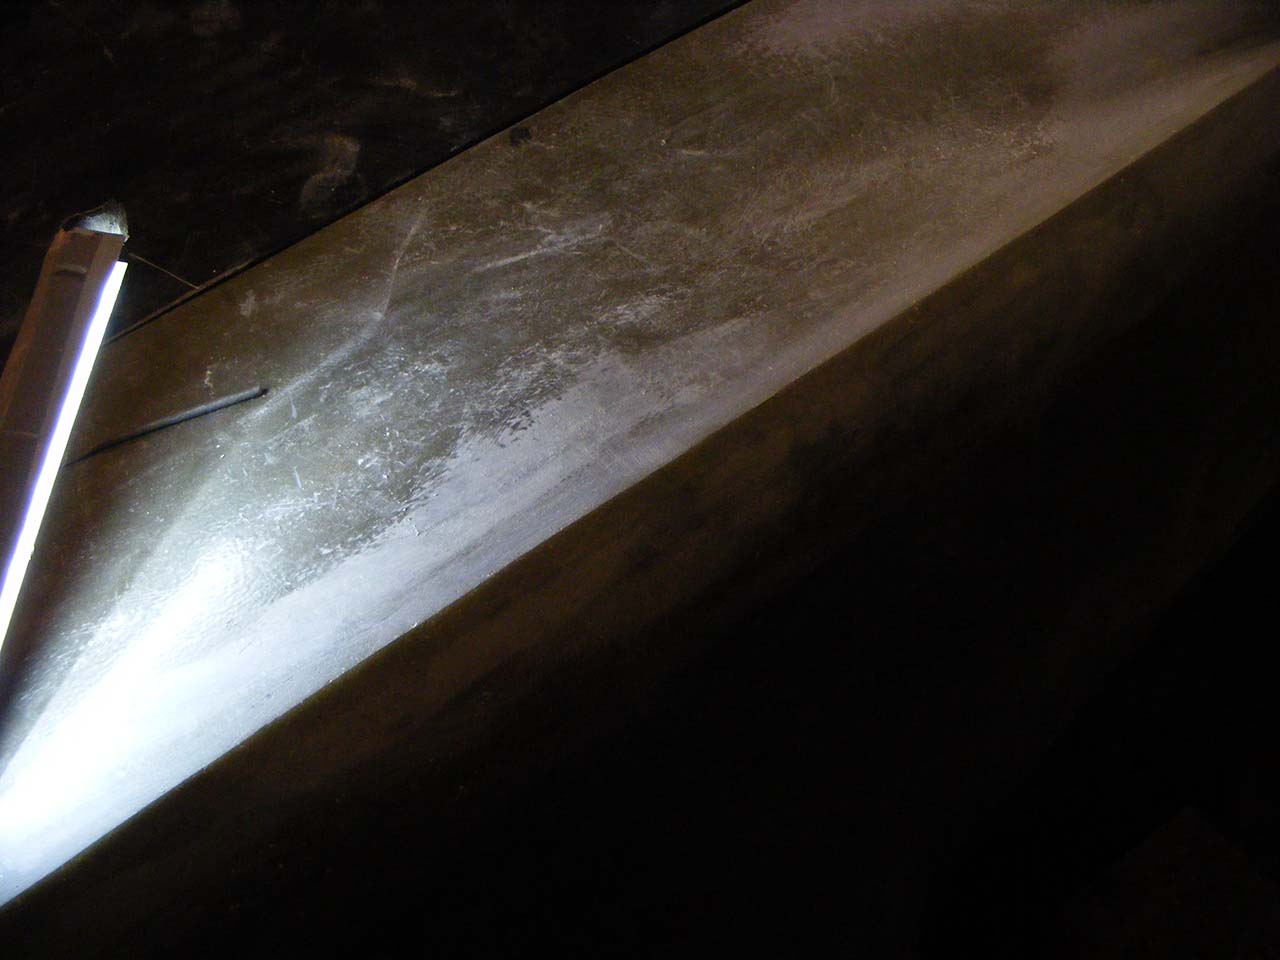
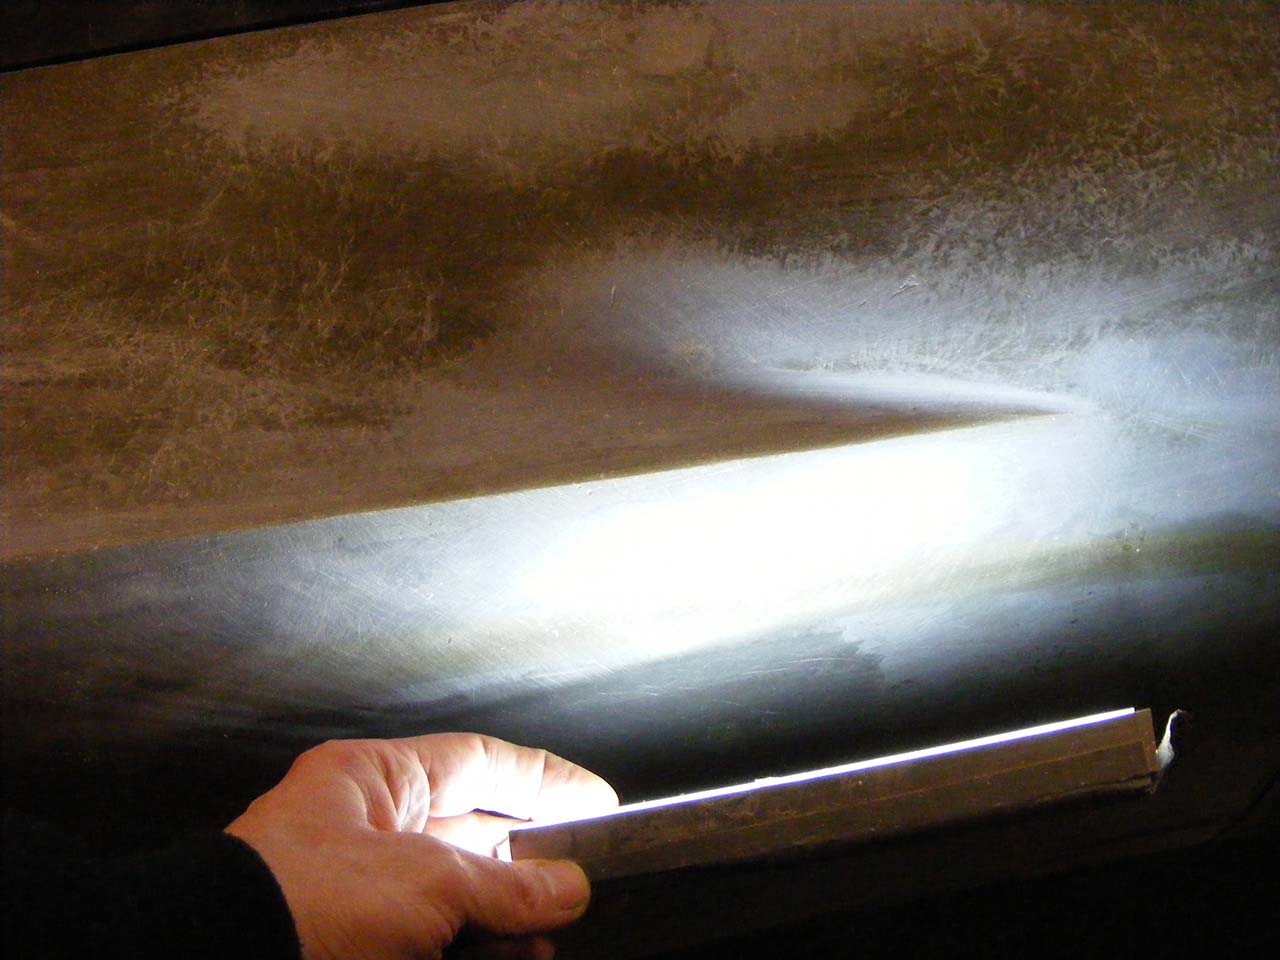
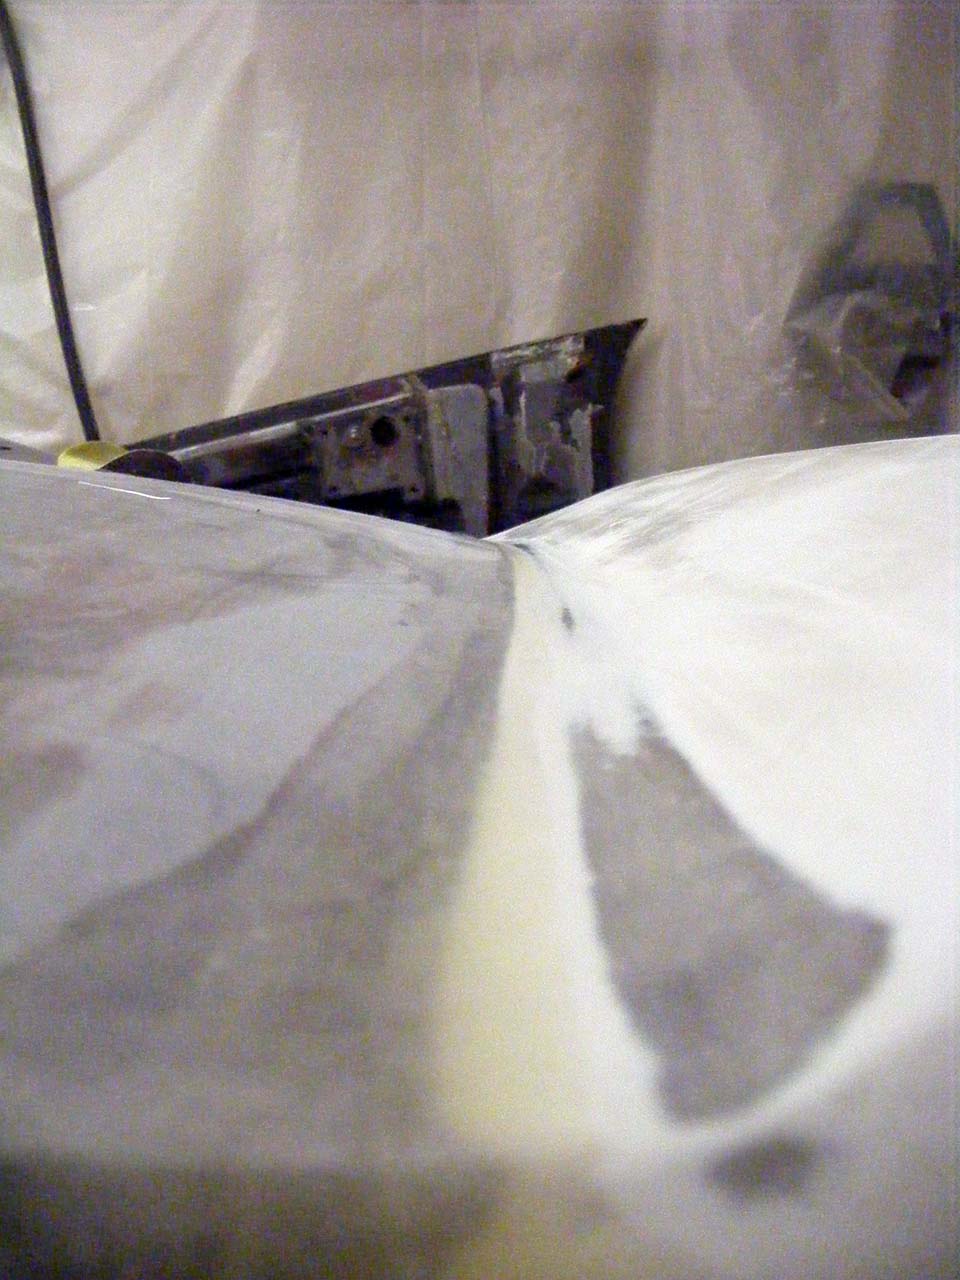
And now, the edge sharpening experiment.
I haven't had much time for this, it's all hand made, takes ages.
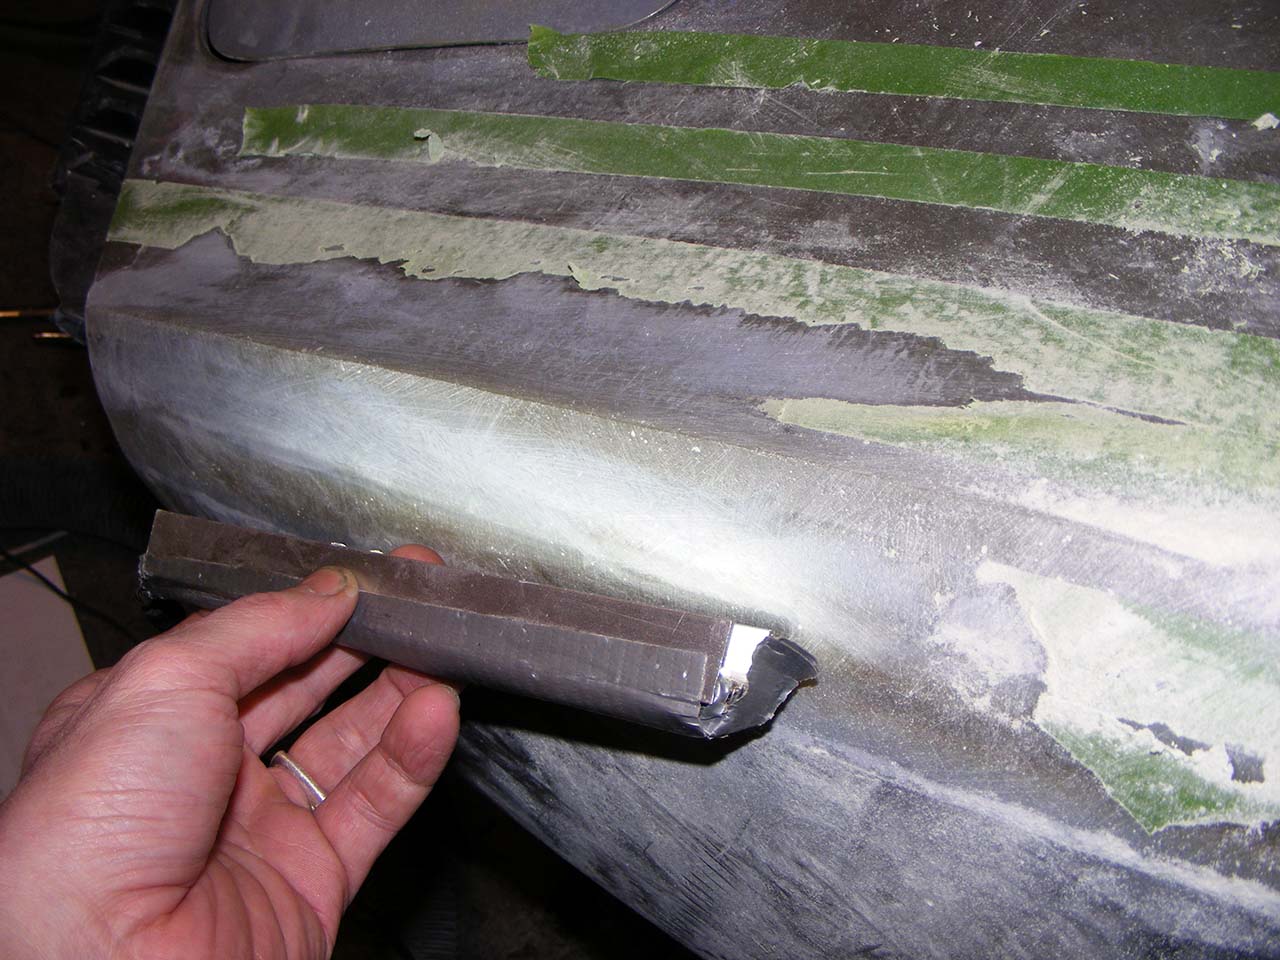
A couple of air bubble, I think I can soak them out in resin.
I will leave them like this for now, wait for some primer to reveal the overall shape, and will adjust from here.
Tomorrow I start glassing the rear bumper, and fab custom bracket for the front bumper cover.
I got estimate for the custum rear window, in 3mm tempered glass, 75$, that kinda seal the deal, I will do it!
The bumper in now glued on, used the infamous 3M 3115.
Fitting is good, minimal glass work
Finished the repair on the door handle :
I've shaved off my bumperette. That was a PITA, 3 cutting disk and a lot of nasty smoke.
Also made a rough cut on the bumper cover, but I think I will do the glass work once installed, so I can take advantage of all the space I can grab.
I will just had a backing layer on the top.
And now, the edge sharpening experiment.
I haven't had much time for this, it's all hand made, takes ages.
A couple of air bubble, I think I can soak them out in resin.
I will leave them like this for now, wait for some primer to reveal the overall shape, and will adjust from here.
Tomorrow I start glassing the rear bumper, and fab custom bracket for the front bumper cover.
I got estimate for the custum rear window, in 3mm tempered glass, 75$, that kinda seal the deal, I will do it!
Last edited by Denpo; 08-17-2017 at 11:23 PM.
 01-19-2013, 04:34 AM
#285
Drifting
Thread Starter
Member Since: Aug 2010
Location: Kanuckistan
Posts: 1,617
Received 127 Likes
on
68 Posts
2022 C3 of the Year Finalist - Modified
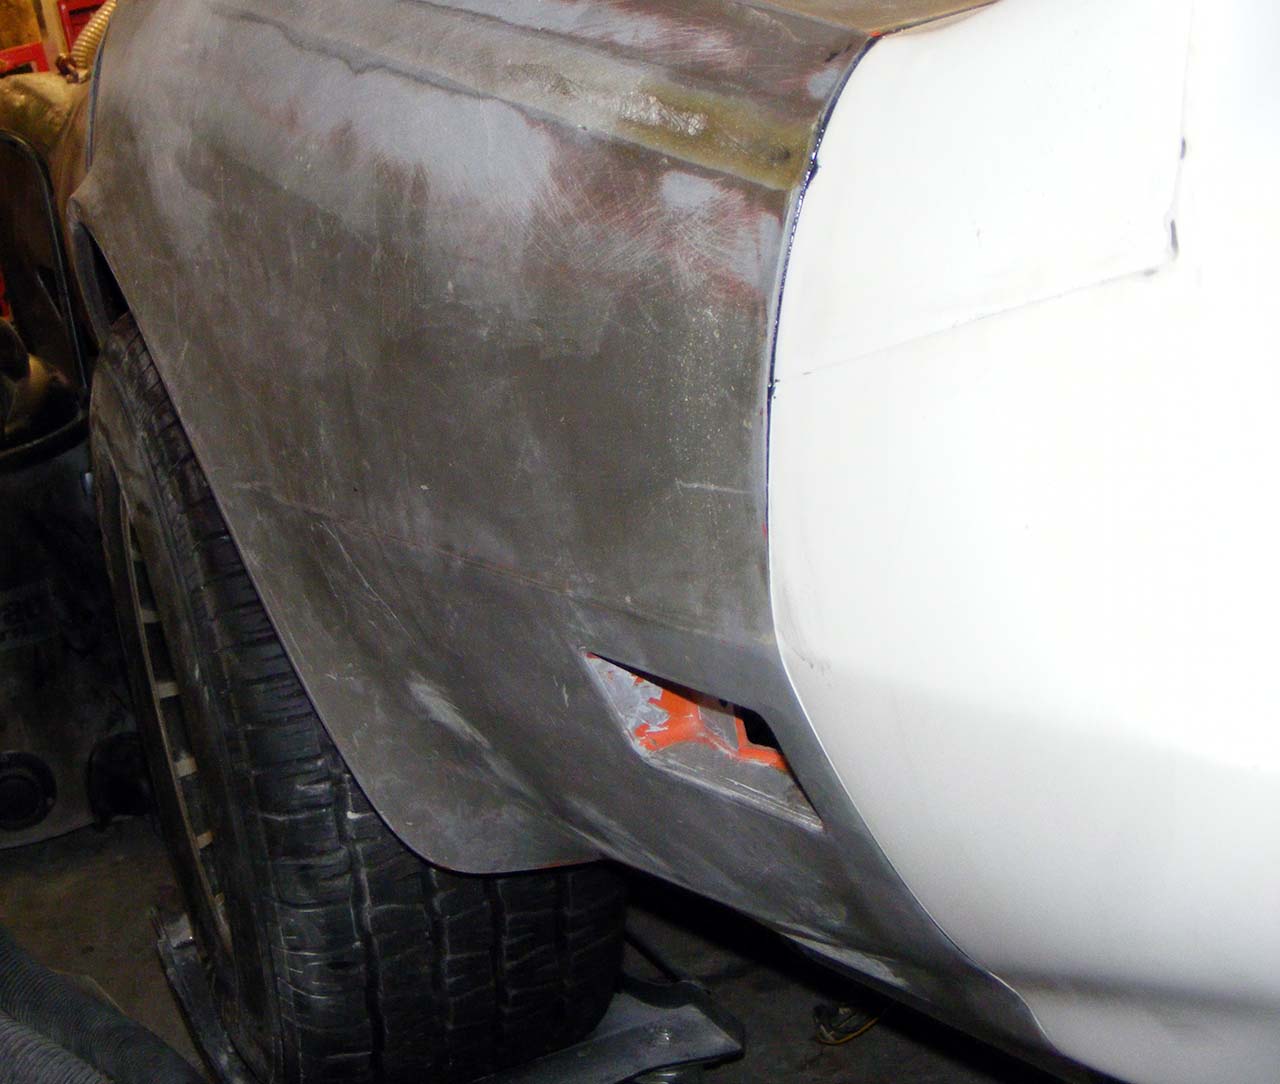
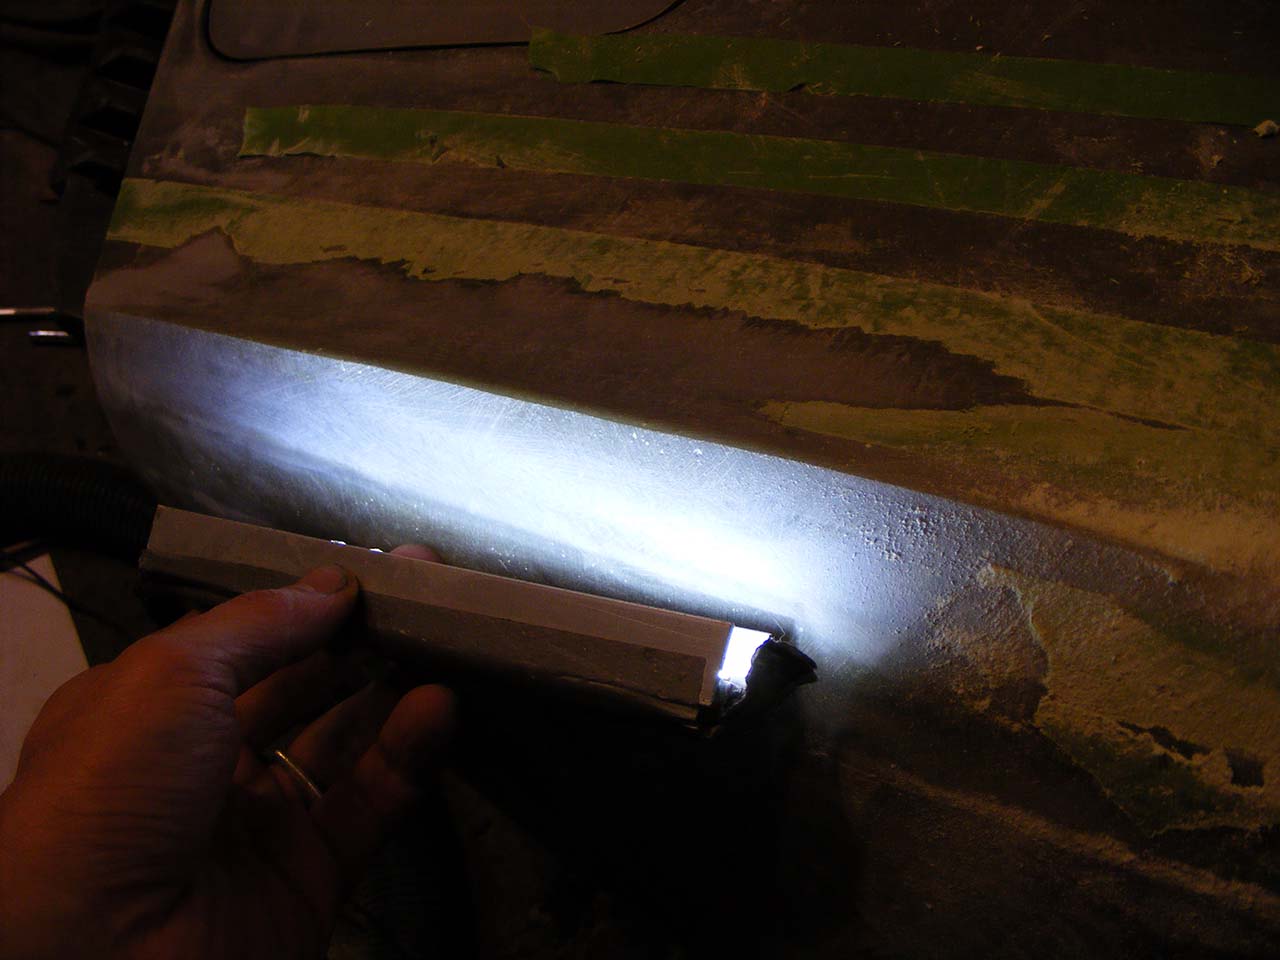
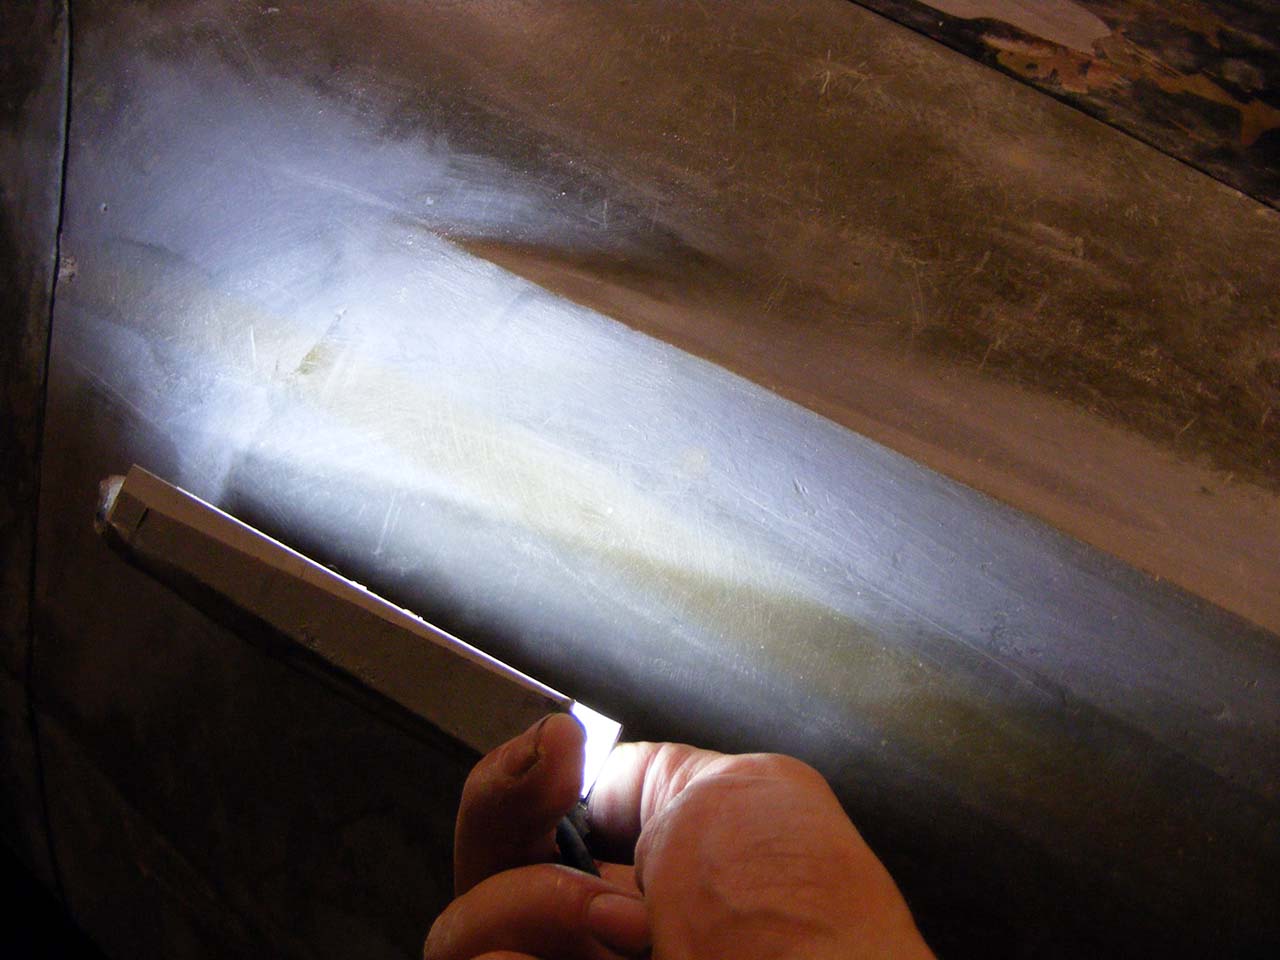
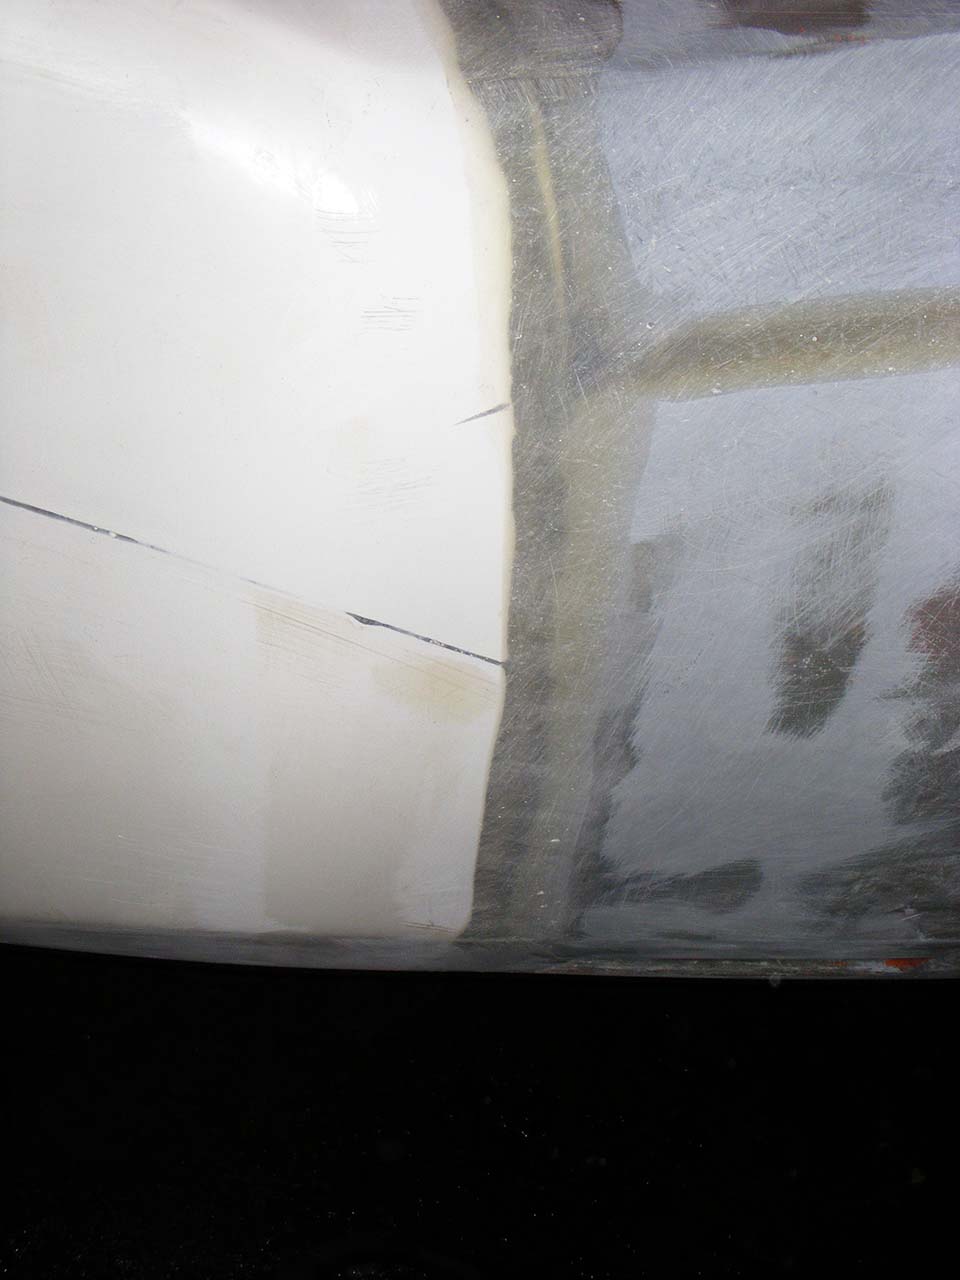
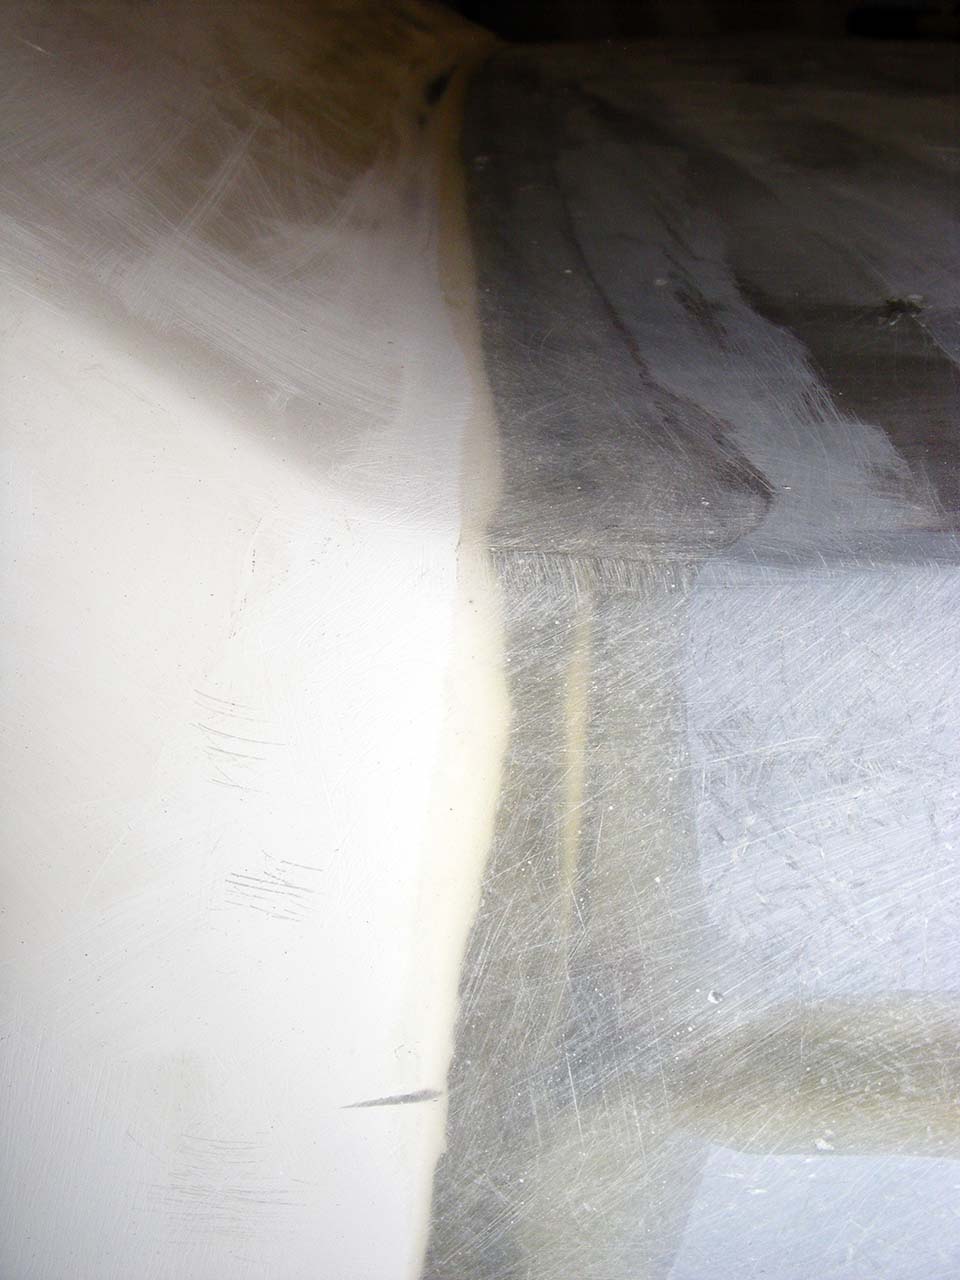
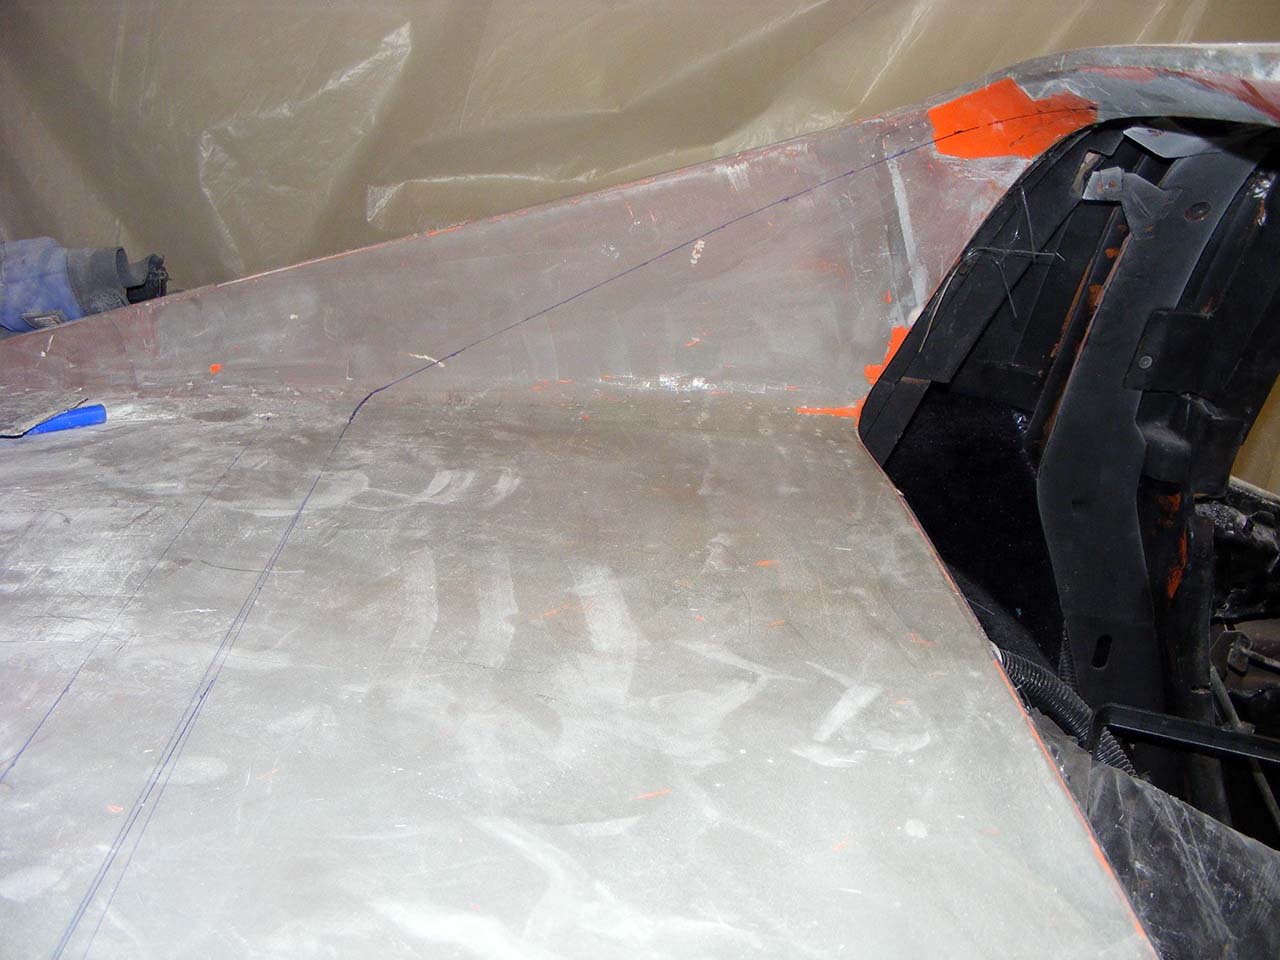
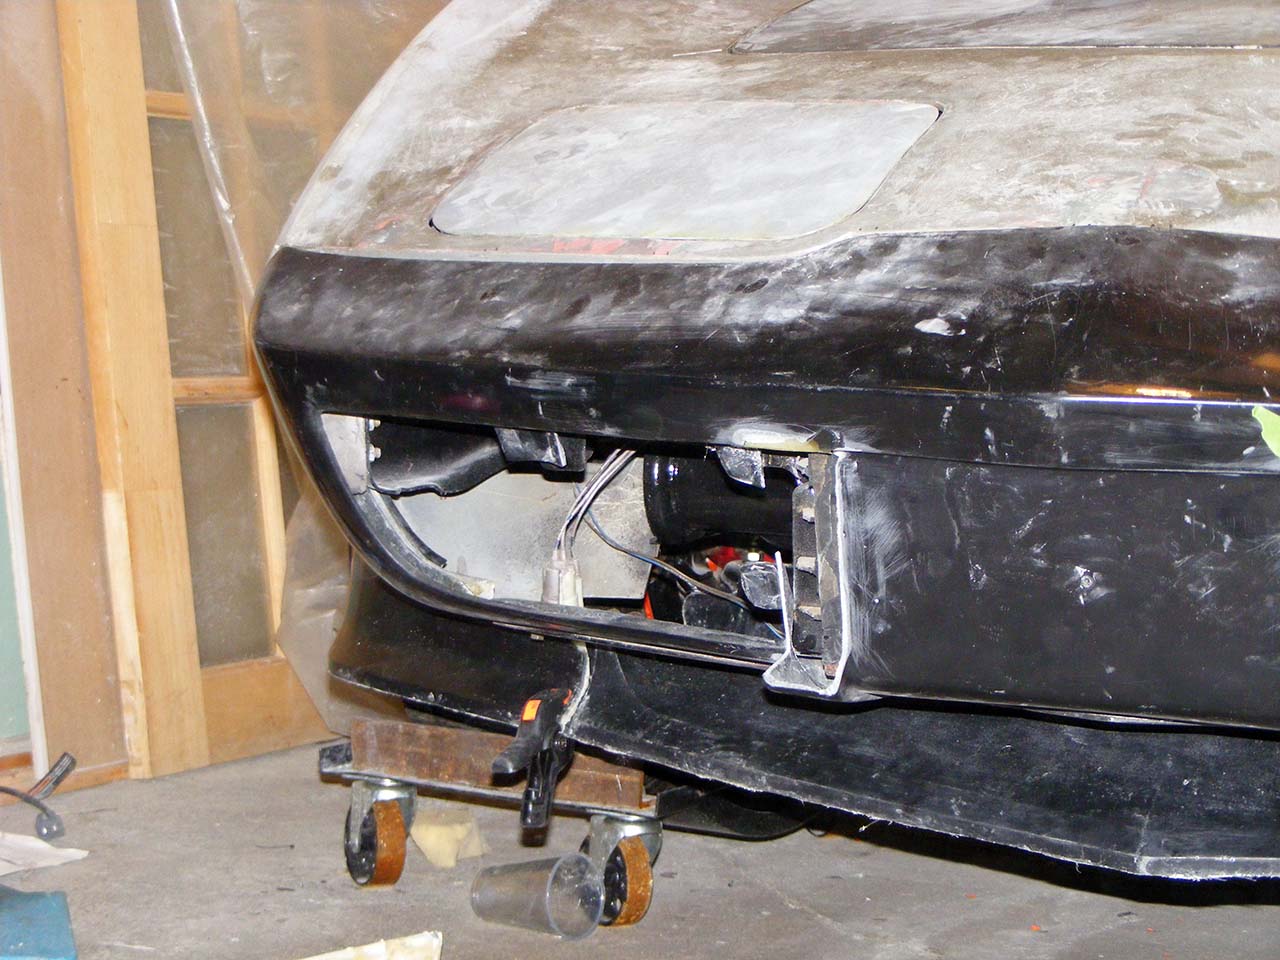
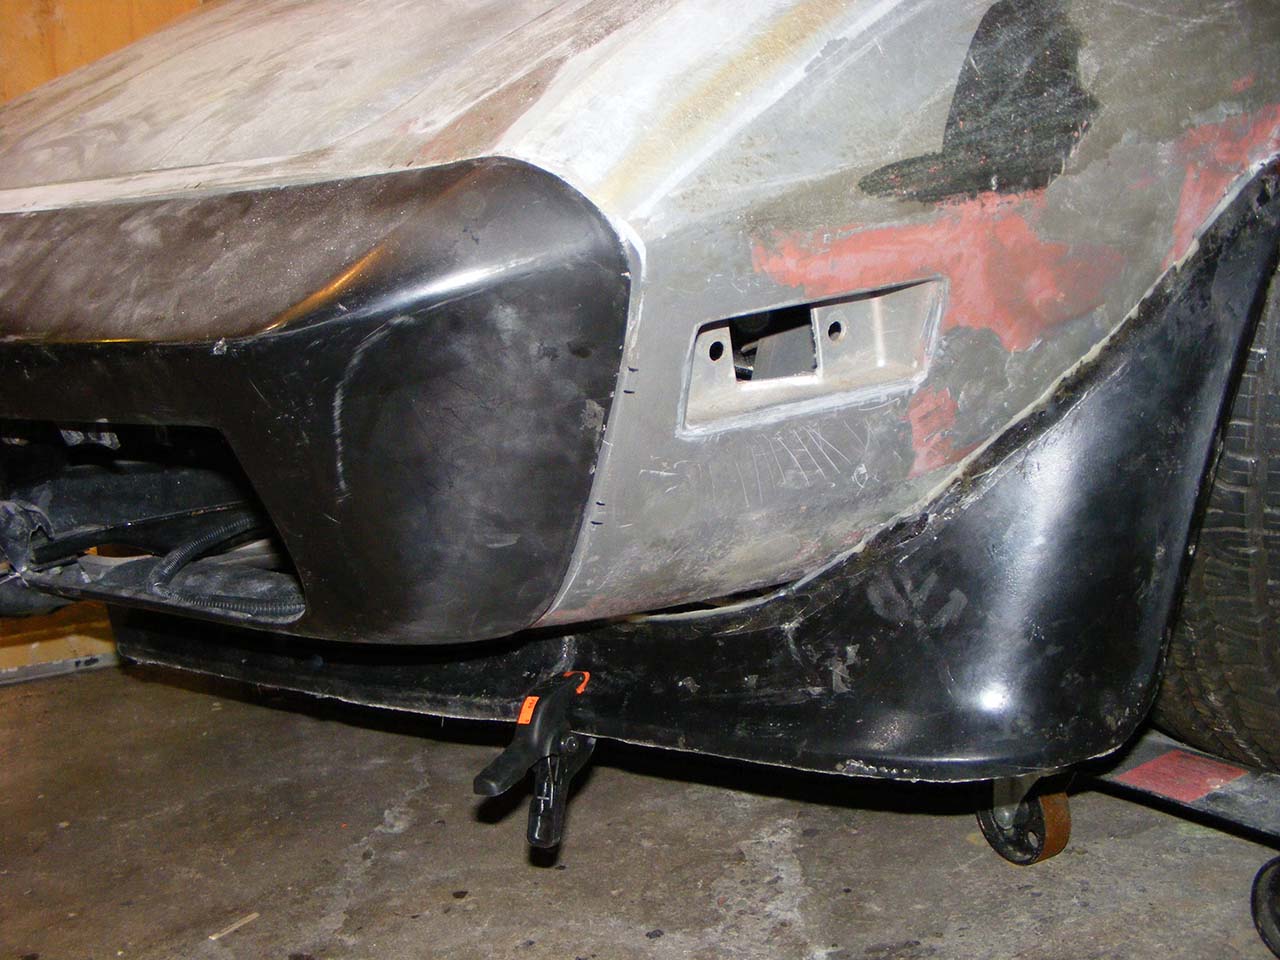
Front fender edge done. Still a bit rought, but couldn't wait to show them off 
Overall impression is good, the body looks much more defined.
But it's still a shoot in the dark, until I get a smooth uniform coat on top of that. Too many 'lines' in the body to really tell if it's classy or goofy.
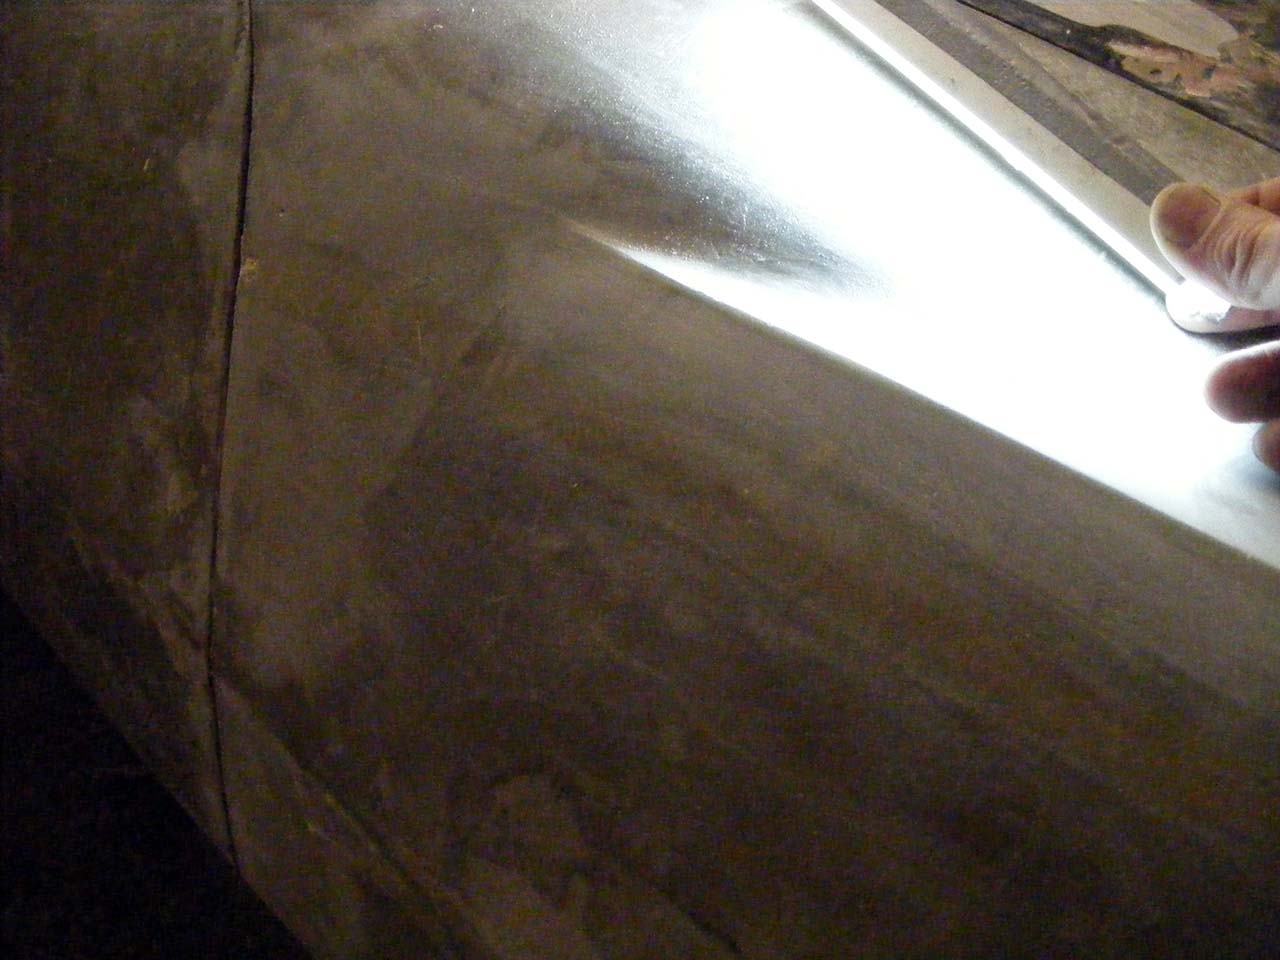
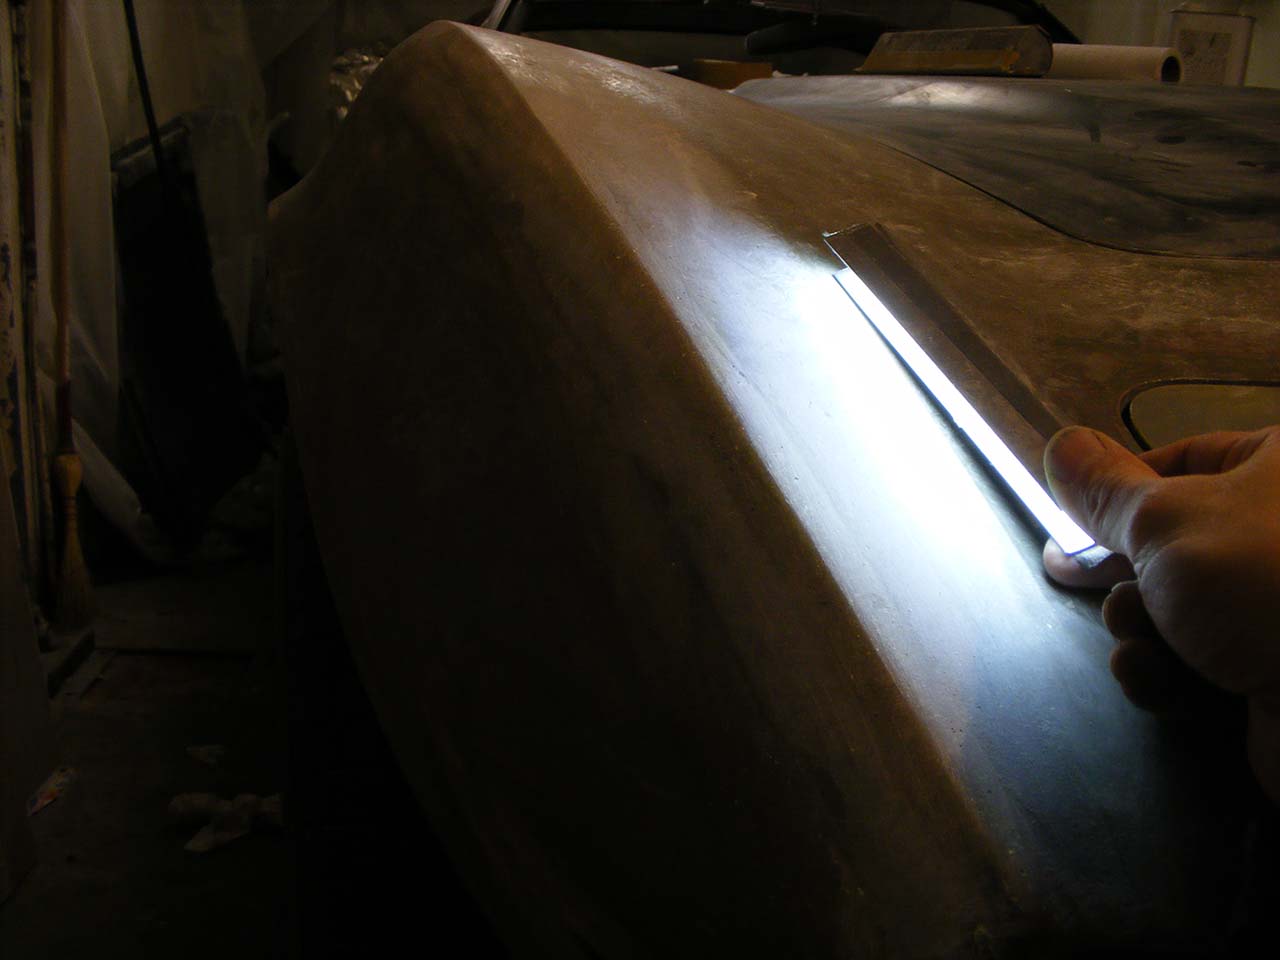


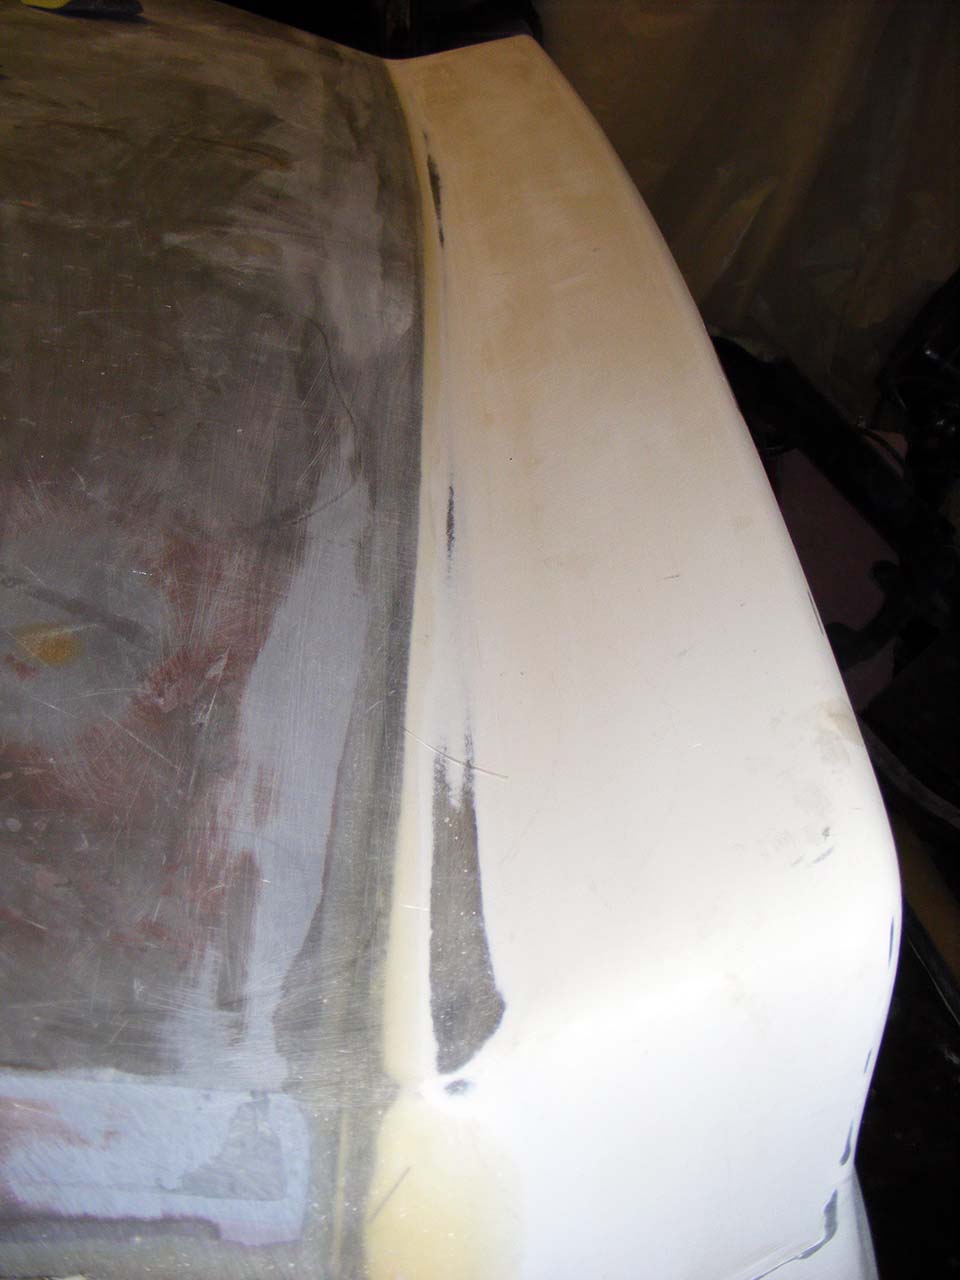
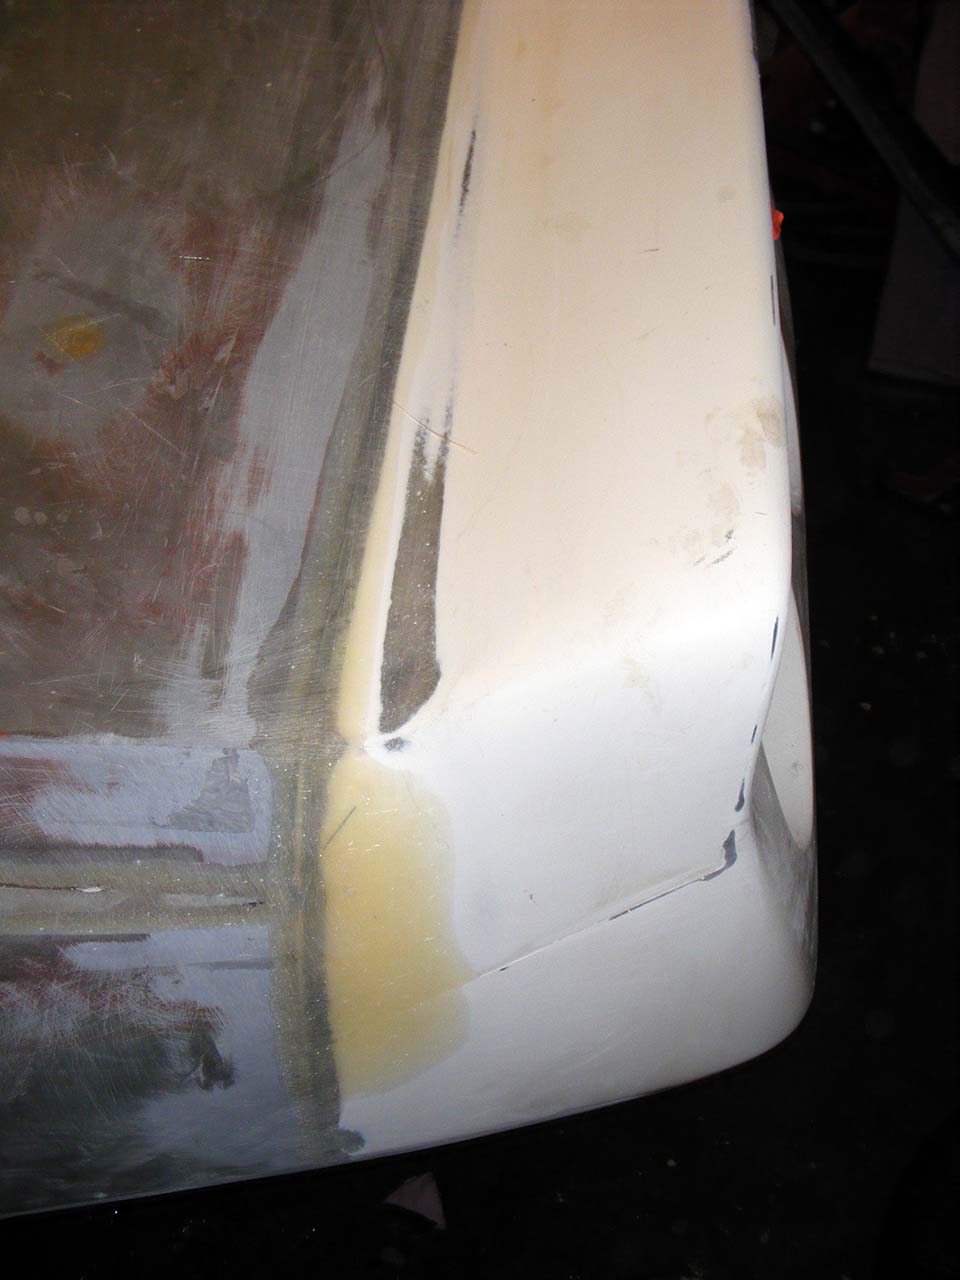
By the way, I'm looking into redoing the central body line, and possibly sharpening it a little bit.
But I just don't see how to proceed, it's a very open angle over the flat surfaces.
Any hints/tricks/idea?
Overall impression is good, the body looks much more defined.
But it's still a shoot in the dark, until I get a smooth uniform coat on top of that. Too many 'lines' in the body to really tell if it's classy or goofy.
By the way, I'm looking into redoing the central body line, and possibly sharpening it a little bit.
But I just don't see how to proceed, it's a very open angle over the flat surfaces.
Any hints/tricks/idea?
Last edited by Denpo; 08-17-2017 at 11:26 PM.
01-19-2013, 02:20 PM
#286
Safety Car

01-26-2013, 06:47 PM
#287
Drifting
Thread Starter
Member Since: Aug 2010
Location: Kanuckistan
Posts: 1,617
Received 127 Likes
on
68 Posts
2022 C3 of the Year Finalist - Modified
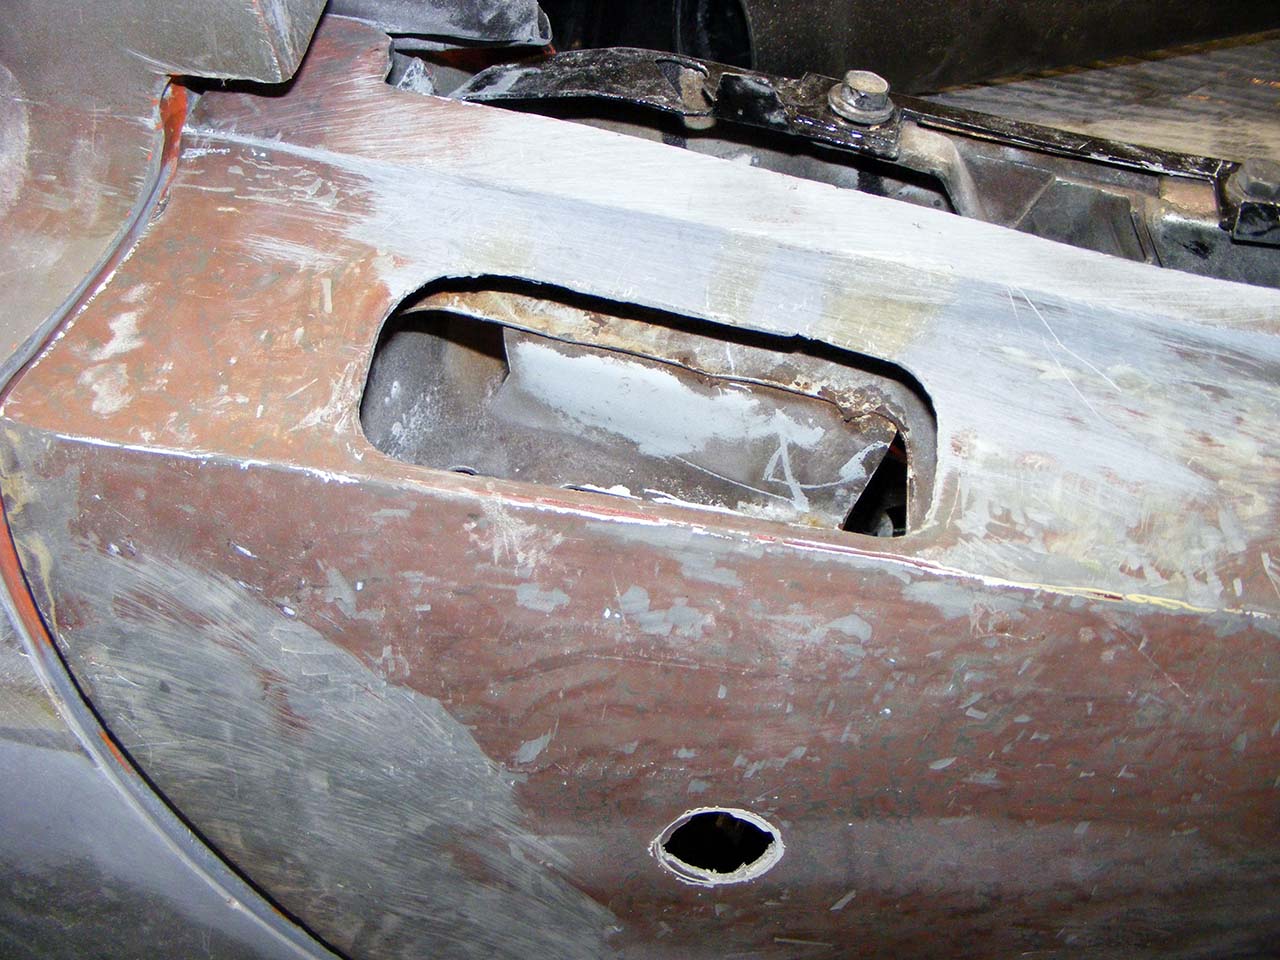
Rear bumper finally glassed, took longer because of the sidetrackings.
Now, I'm dealing with a major mod, the rear window.
I wanted to have the exact cutting line, so I came up with this ghetto laser level.
A toy laser, a dc motor, some hot glue, wire and old 9v battery.
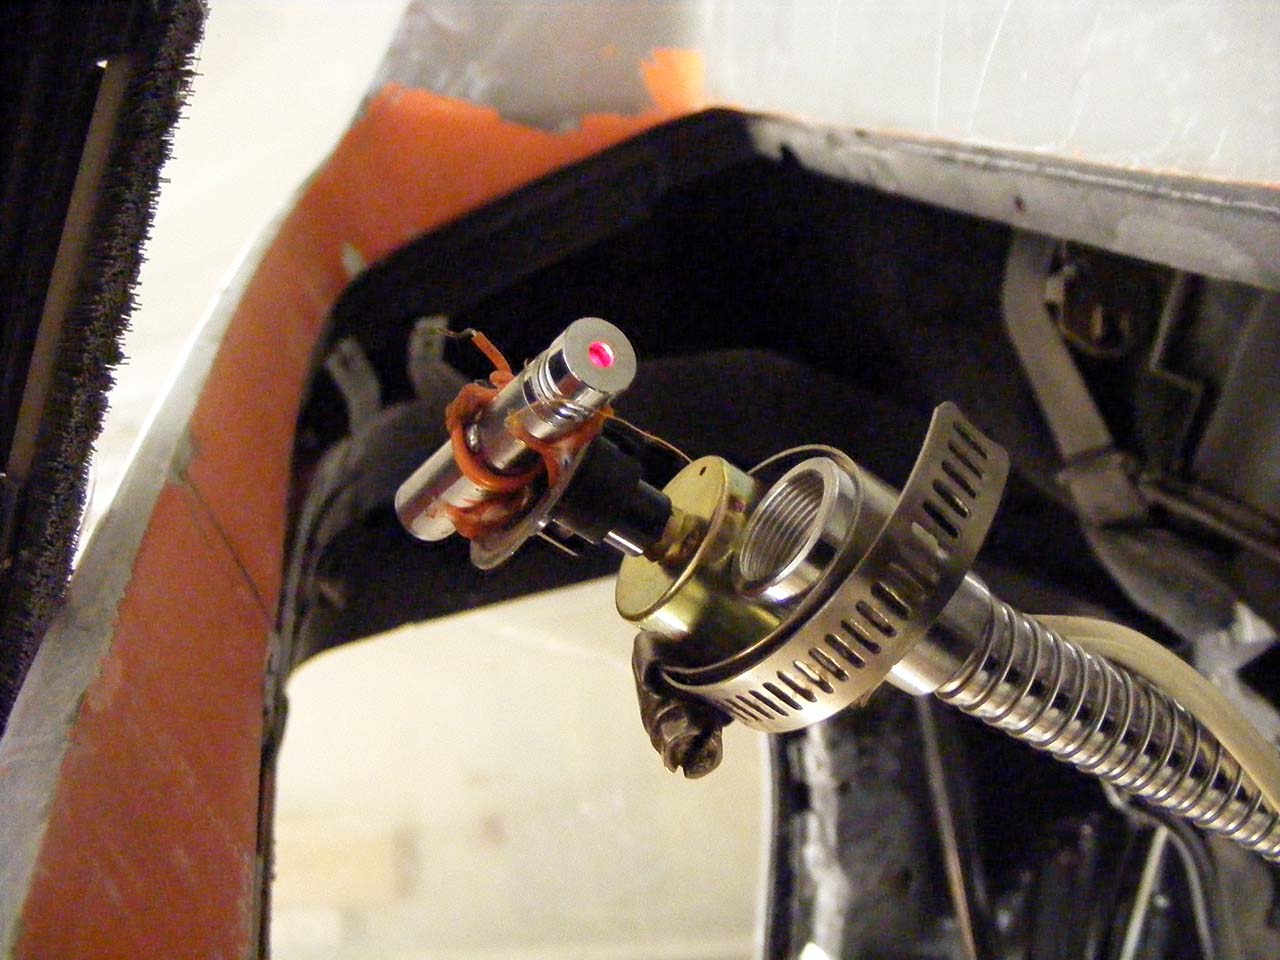
Did the job as intended :
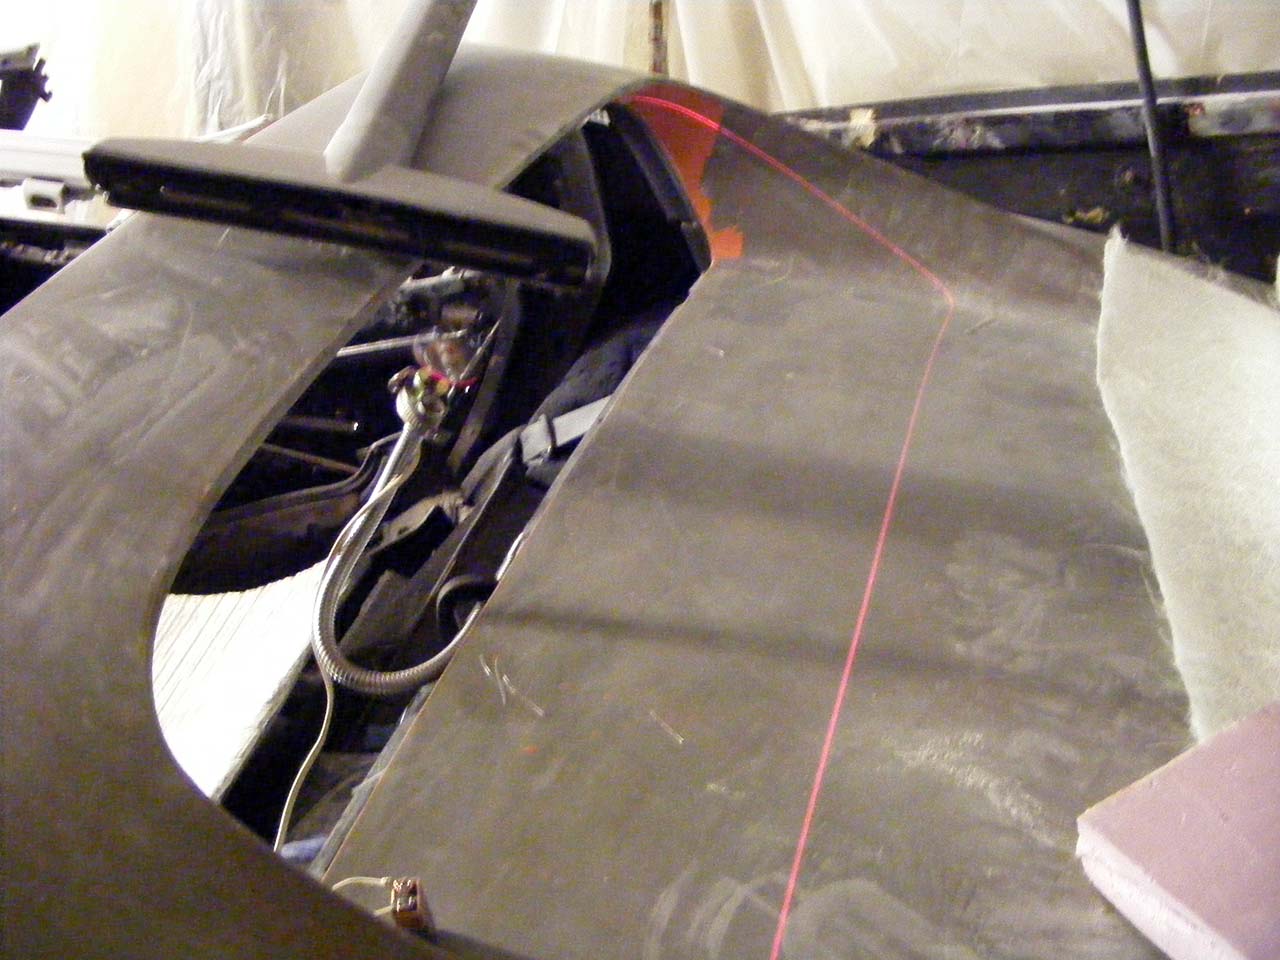
Of course the system was wobbling like hell, but once held, with patience, you finally manage to put the laser within your cutting plane.
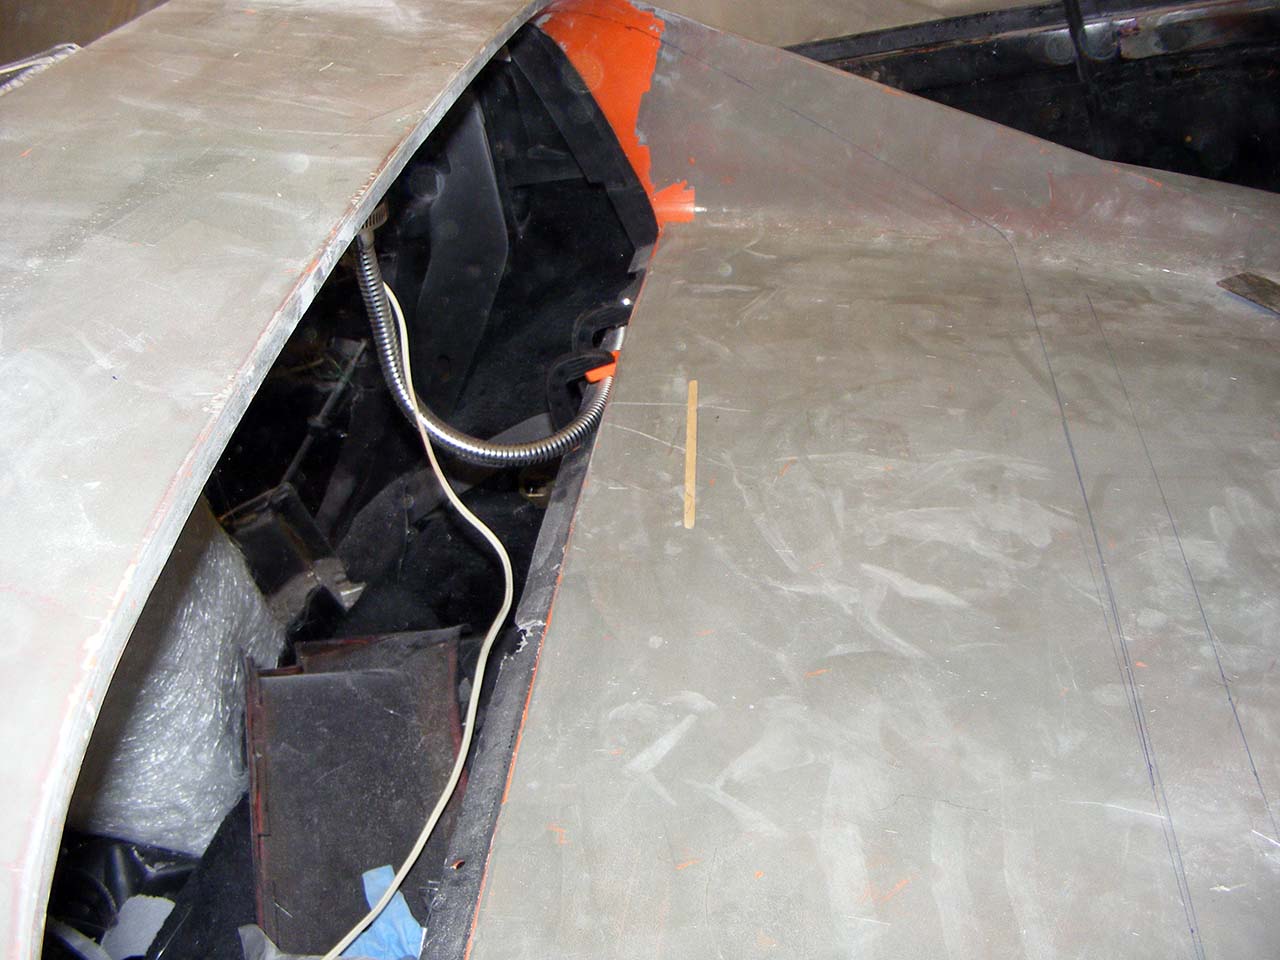
I tried 14" and 12" cutting line, and chooses the 12".
All I need now it the guts to start cutting. Still looking around to make sure I didn't overlook anything.
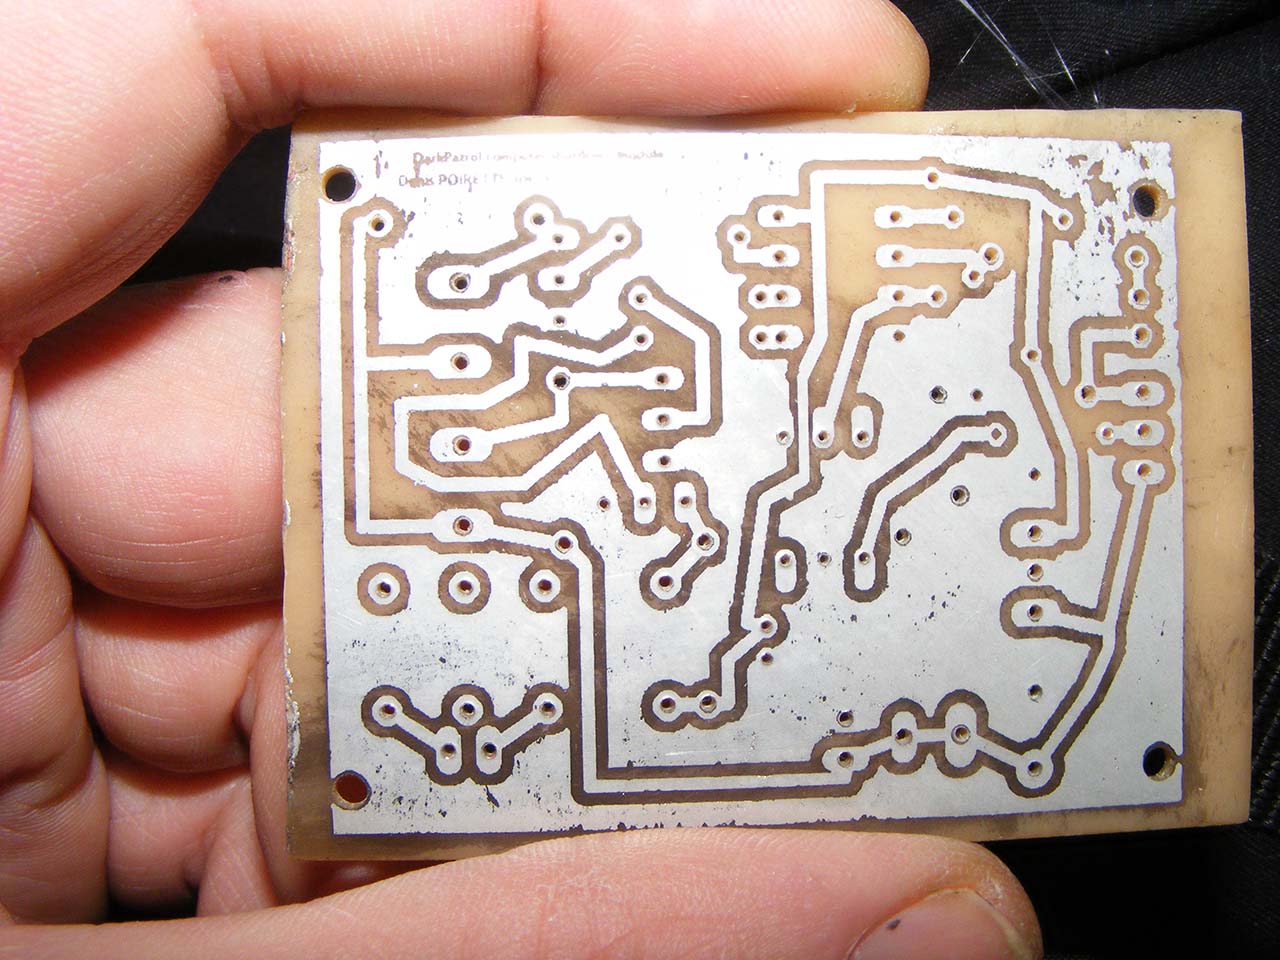
Another side project, the inboard computer. The case is done :
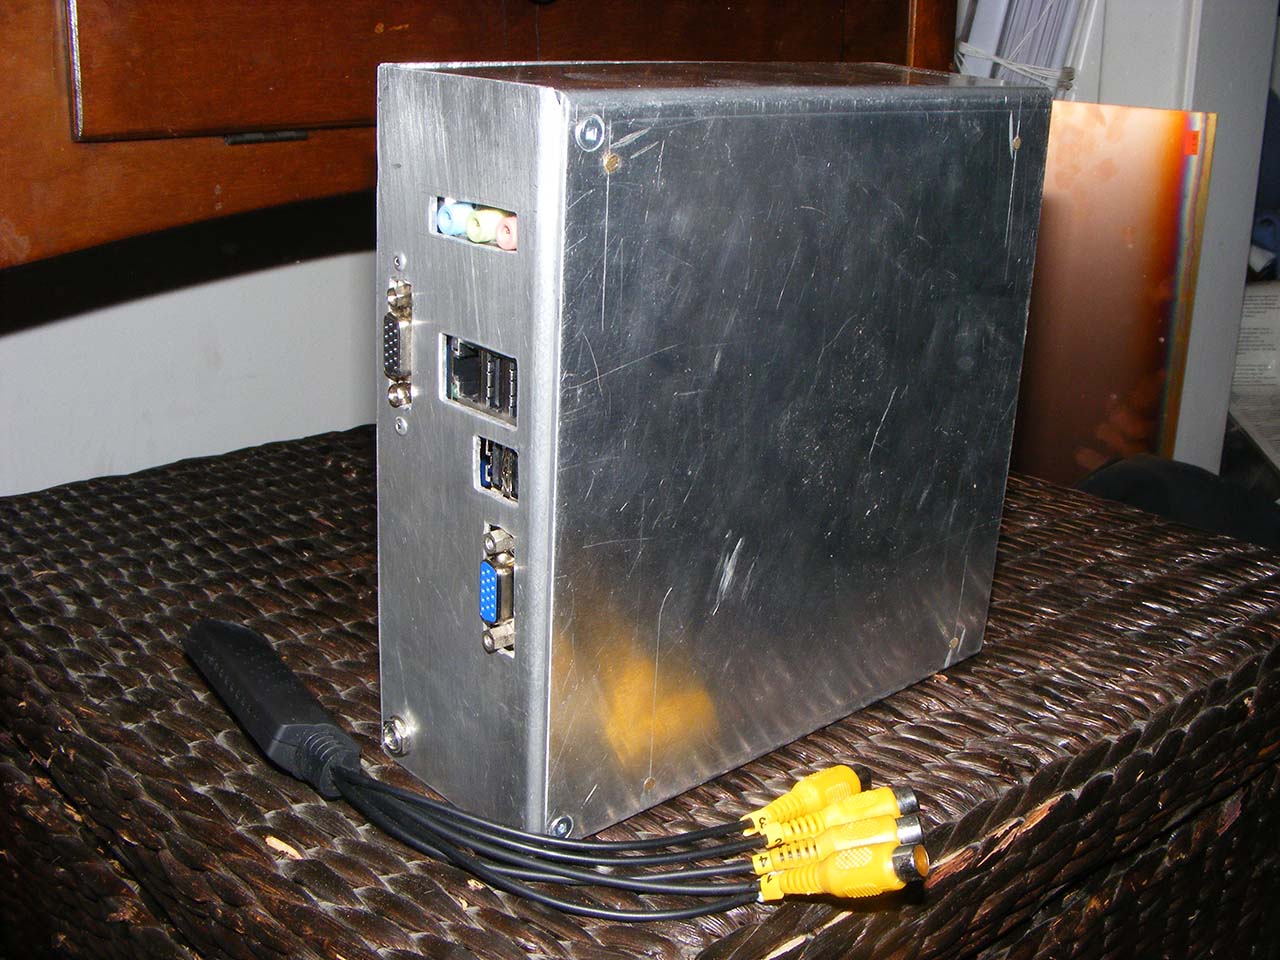
Shows it's hand made, but sturdy and functional.
Now, I'm dealing with a major mod, the rear window.
I wanted to have the exact cutting line, so I came up with this ghetto laser level.
A toy laser, a dc motor, some hot glue, wire and old 9v battery.
Did the job as intended :
Of course the system was wobbling like hell, but once held, with patience, you finally manage to put the laser within your cutting plane.
I tried 14" and 12" cutting line, and chooses the 12".
All I need now it the guts to start cutting. Still looking around to make sure I didn't overlook anything.
Another side project, the inboard computer. The case is done :
Shows it's hand made, but sturdy and functional.
Last edited by Denpo; 08-17-2017 at 11:28 PM.
01-26-2013, 08:01 PM
#289
Safety Car
Dennis, never use any markers on body panels...not even on metal panels. There is a possibility of the pigment bleeding through the finished product, even once sanded. Only use HB pencil.
Also make sure u check all of your panels for gel coat cracks using wash 'n wipe and a blow gun...not wax and grease remover, that has silicone in it. They are easier to detect before you do any sanding on your new panels.
Also make sure u check all of your panels for gel coat cracks using wash 'n wipe and a blow gun...not wax and grease remover, that has silicone in it. They are easier to detect before you do any sanding on your new panels.
Last edited by stinger12; 01-26-2013 at 08:04 PM.
01-27-2013, 12:09 AM
#290
Drifting
Thread Starter
Member Since: Aug 2010
Location: Kanuckistan
Posts: 1,617
Received 127 Likes
on
68 Posts
2022 C3 of the Year Finalist - Modified
Baldwin when too far in the motion custion IMHO, putting the window flush.
Dennis, never use any markers on body panels...not even on metal panels. There is a possibility of the pigment bleeding through the finished product, even once sanded. Only use HB pencil.
Also make sure u check all of your panels for gel coat cracks using wash 'n wipe and a blow gun...not wax and grease remover, that has silicone in it. They are easier to detect before you do any sanding on your new panels.
Also make sure u check all of your panels for gel coat cracks using wash 'n wipe and a blow gun...not wax and grease remover, that has silicone in it. They are easier to detect before you do any sanding on your new panels.
I'll have a look at the gel coat.
01-27-2013, 07:48 PM
#292
Drifting
Thread Starter
Member Since: Aug 2010
Location: Kanuckistan
Posts: 1,617
Received 127 Likes
on
68 Posts
2022 C3 of the Year Finalist - Modified
Ouch, hurt my back while doing acrobatics yesterday.
The garage, while heated is still a good place to get cold, I stay in the warm for the day.
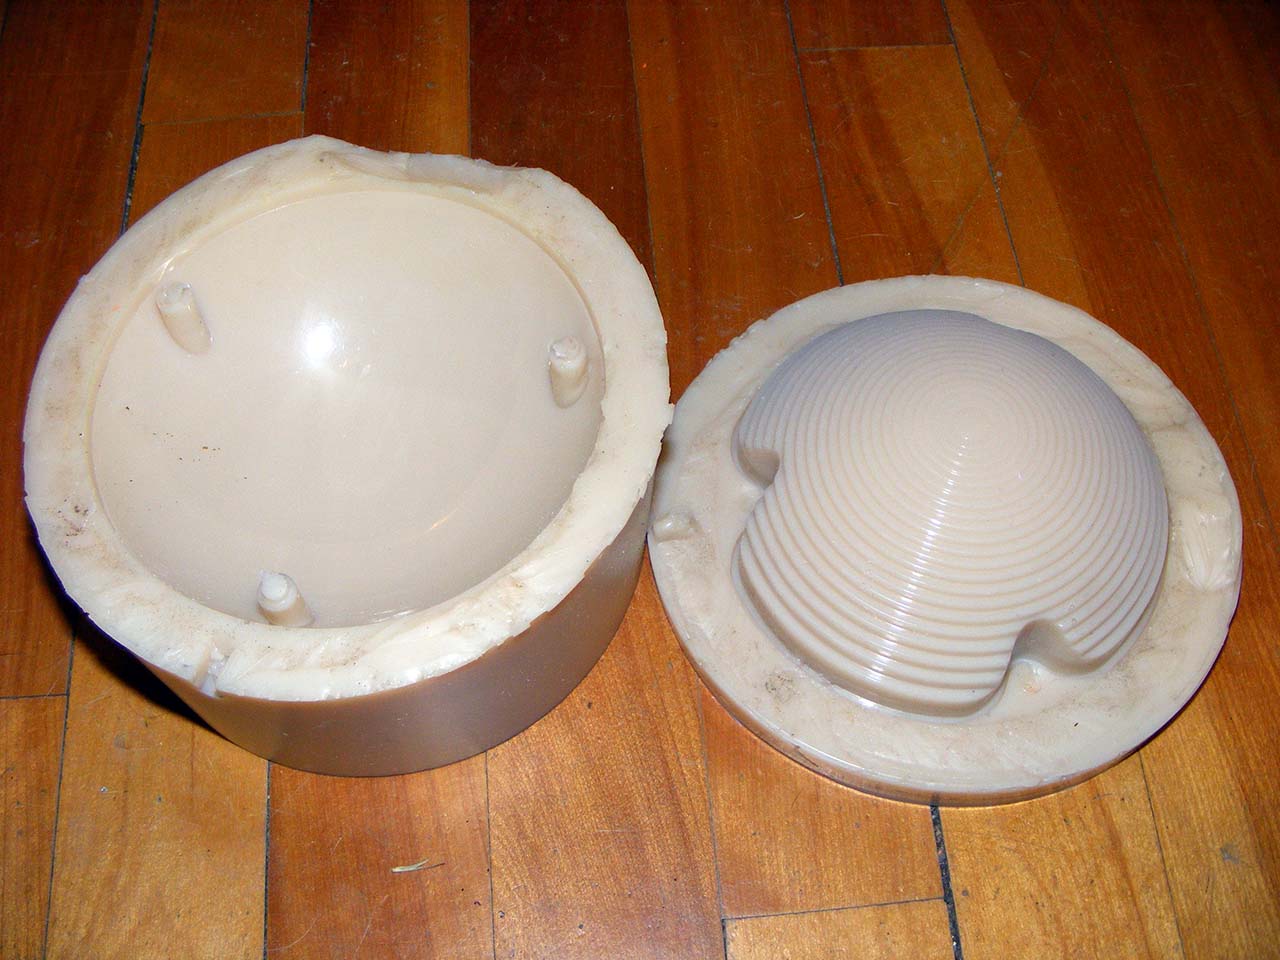
So I booted the clear taillight mod. I like the bubble lens design, but since I'm running colored led, I don't need the red of the lens.
I'm taking inspiration from here :
http://www.alumilite.com/howtos/Tail...oEquipment.cfm
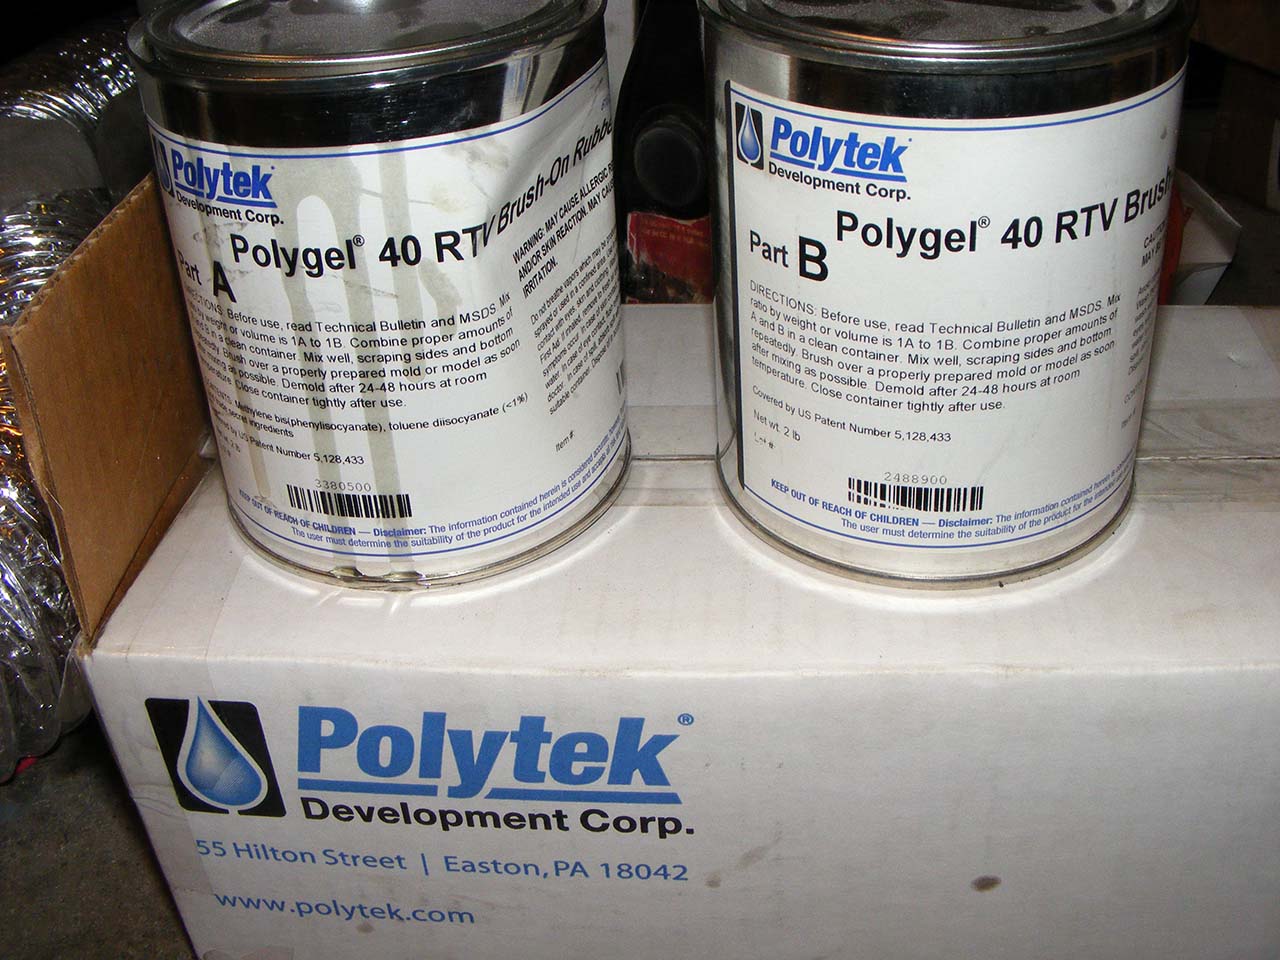
I'm not using their product, it's playdoo instead of the molding clay, and this as rubber casting product, from local resin supplier :
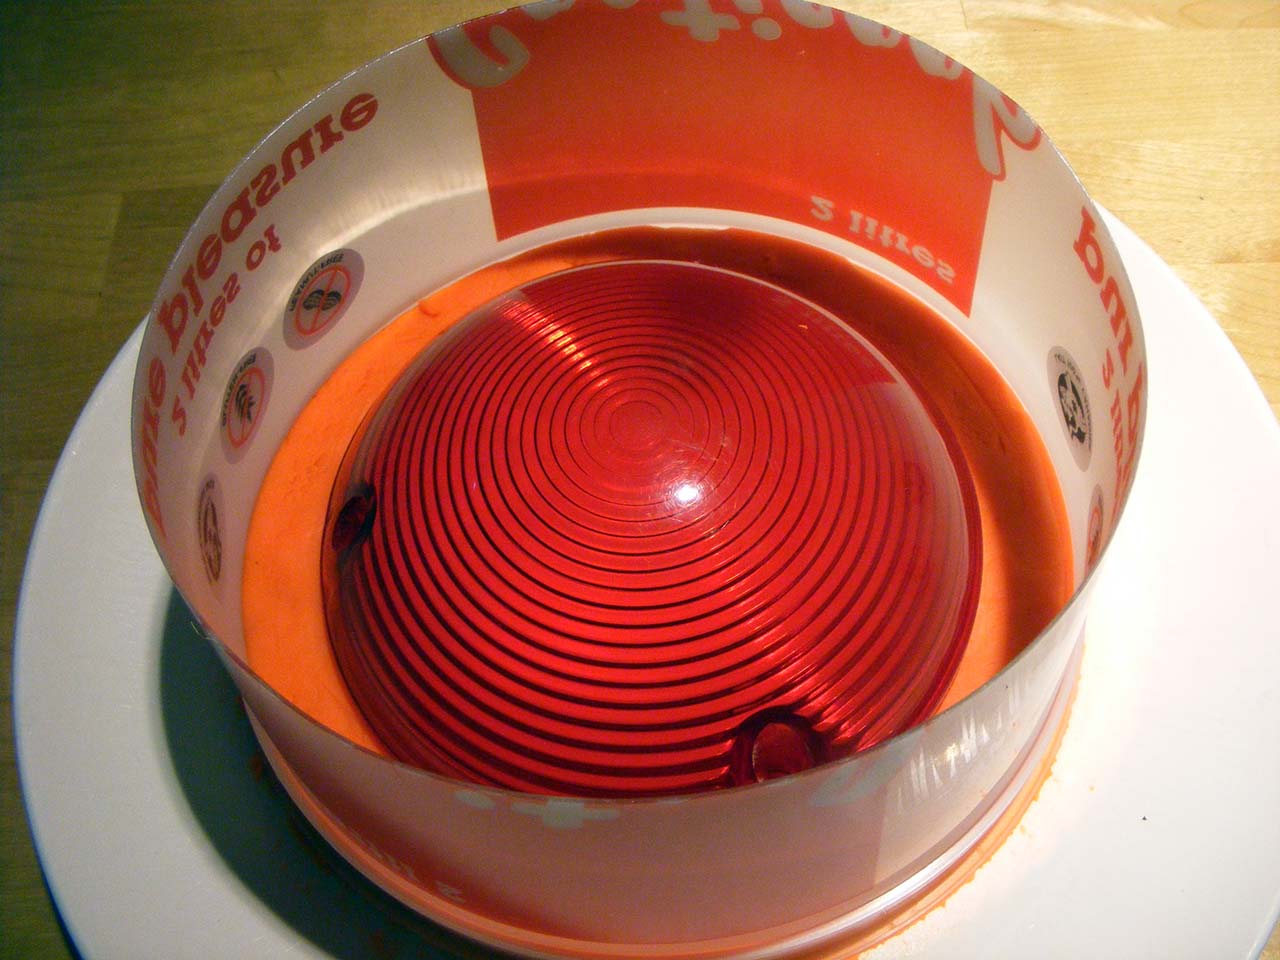
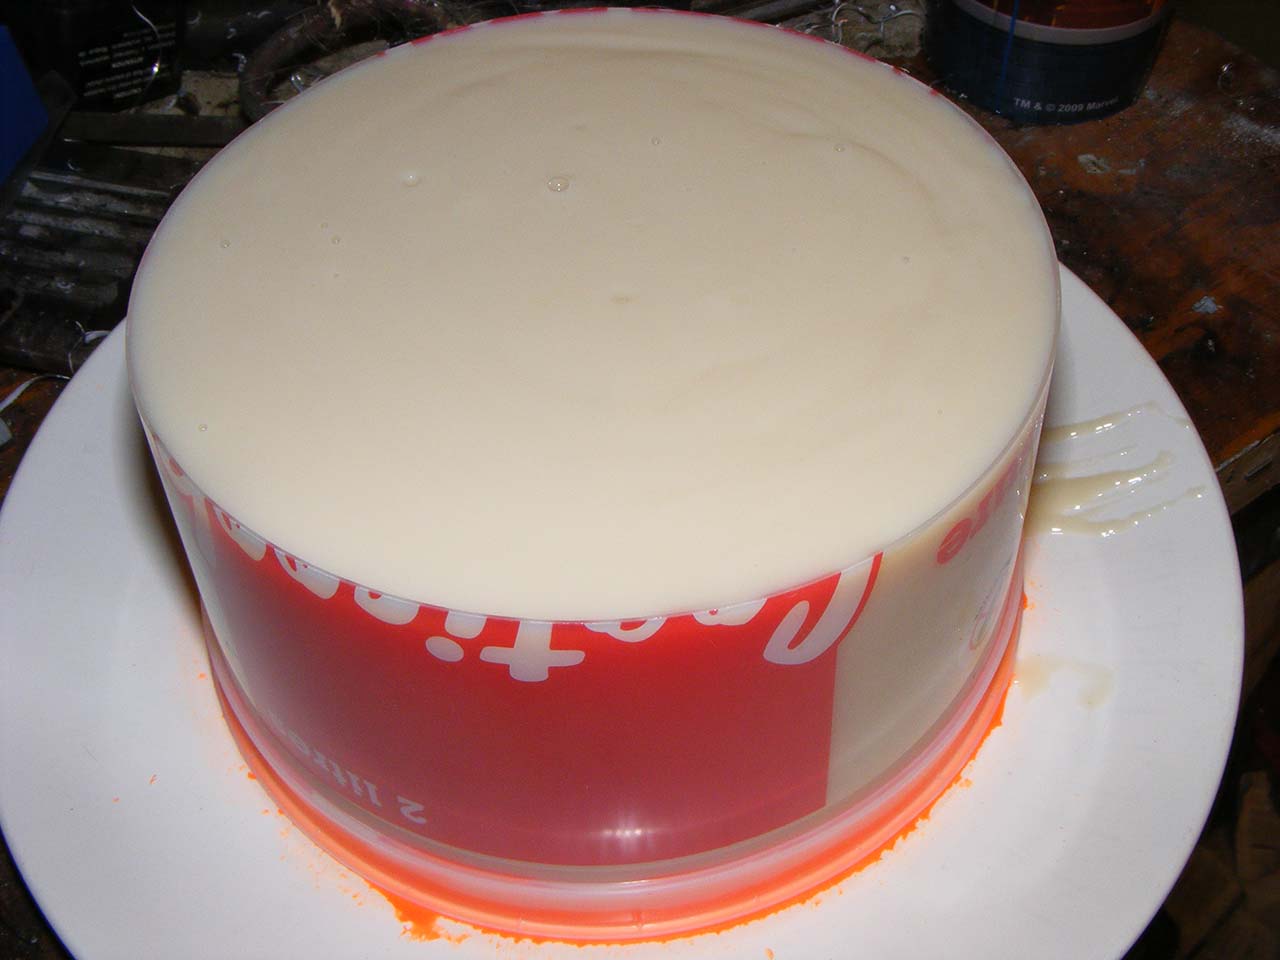
Today I made the first half of the mold :
I know the lens in itself is not perfect, but I was afraid doing worse than better trying to polish it.
I hope it won't show.
Now got to ways 1 to 2 days.... soooo long.
The garage, while heated is still a good place to get cold, I stay in the warm for the day.
So I booted the clear taillight mod. I like the bubble lens design, but since I'm running colored led, I don't need the red of the lens.
I'm taking inspiration from here :
http://www.alumilite.com/howtos/Tail...oEquipment.cfm
I'm not using their product, it's playdoo instead of the molding clay, and this as rubber casting product, from local resin supplier :
Today I made the first half of the mold :
I know the lens in itself is not perfect, but I was afraid doing worse than better trying to polish it.
I hope it won't show.
Now got to ways 1 to 2 days.... soooo long.
Last edited by Denpo; 08-17-2017 at 11:30 PM.
 01-29-2013, 01:05 AM
#294
Drifting

Denpro, I am very impressed with your work, your ability to overcome all the many obstacles you have encountered, and the way you have improvised to make things come together. You're obviously very inventive.
I have been reading this entire thread the past three evenings. It was interesting to learn about your avatar. All along I was thinking it was taken from a Schwarzenegger action film.
I'm looking forward to reading about your first drive in your Corvette .
.

Pete
I have been reading this entire thread the past three evenings. It was interesting to learn about your avatar. All along I was thinking it was taken from a Schwarzenegger action film.
I'm looking forward to reading about your first drive in your Corvette
.Pete
01-29-2013, 05:54 PM
#295
Drifting
Thread Starter
Member Since: Aug 2010
Location: Kanuckistan
Posts: 1,617
Received 127 Likes
on
68 Posts
2022 C3 of the Year Finalist - Modified
Denpro, I am very impressed with your work, your ability to overcome all the many obstacles you have encountered, and the way you have improvised to make things come together. You're obviously very inventive.
I have been reading this entire thread the past three evenings. It was interesting to learn about your avatar. All along I was thinking it was taken from a Schwarzenegger action film.
I'm looking forward to reading about your first drive in your Corvette.
Pete
I have been reading this entire thread the past three evenings. It was interesting to learn about your avatar. All along I was thinking it was taken from a Schwarzenegger action film.
I'm looking forward to reading about your first drive in your Corvette
.Pete
That's so heartwarning to know people have some good time reading my thread.
Not that I'm in such of a need for support or ideas these time, but when things get slow and complicated it's good to know I'm not entirely on my own.
02-01-2013, 06:40 PM
#296
Drifting
Thread Starter
Member Since: Aug 2010
Location: Kanuckistan
Posts: 1,617
Received 127 Likes
on
68 Posts
2022 C3 of the Year Finalist - Modified
Soooo, looks like there is no way I could find a cheap late C3 3 pieces.
Nevermind.
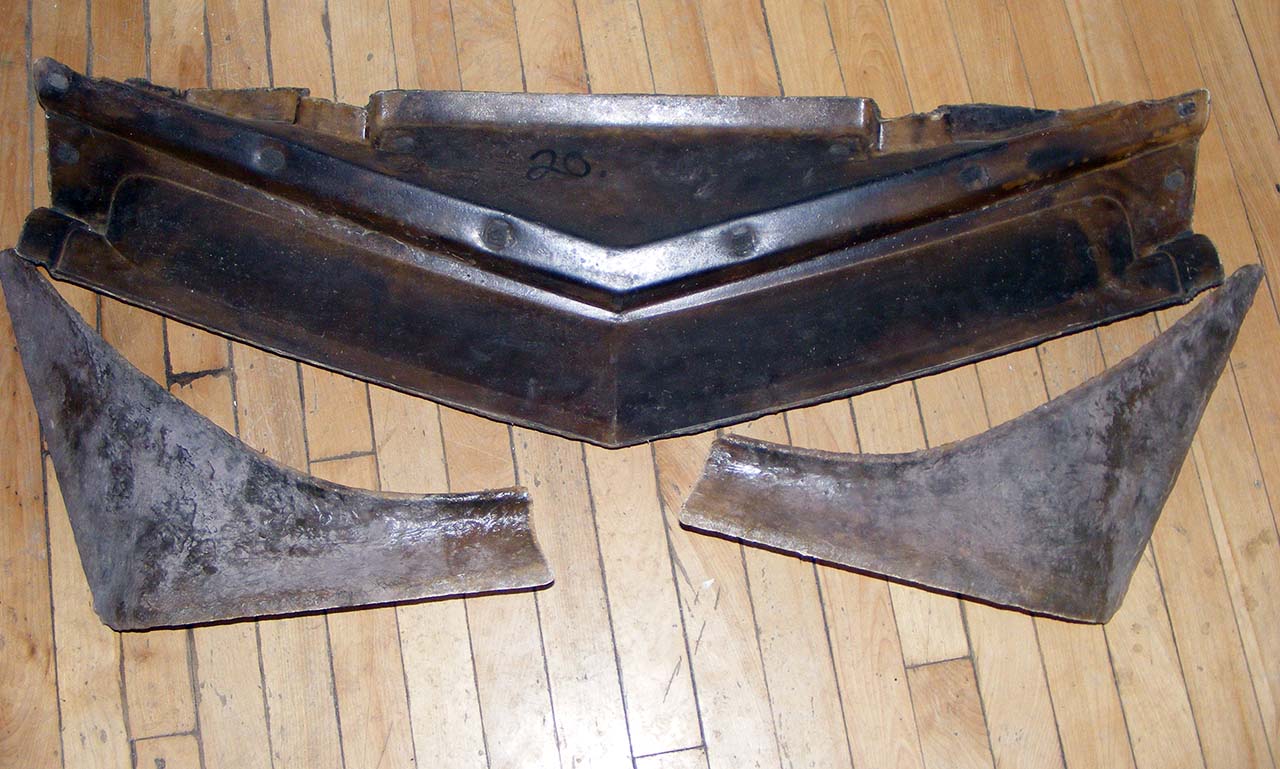
I bought a mold from my local Corvette hoarder, 20$
Nevermind.
I bought a mold from my local Corvette hoarder, 20$
Last edited by Denpo; 08-17-2017 at 11:31 PM.
02-02-2013, 07:03 PM
#297
Drifting
Thread Starter
Member Since: Aug 2010
Location: Kanuckistan
Posts: 1,617
Received 127 Likes
on
68 Posts
2022 C3 of the Year Finalist - Modified
Ok, taillight mold done.
Few problems : my release agent did work at all, I had to cut the contact surface on the outside to set the two part free. So I expect a mess at the flashing surface.
Removing the tailling for the mold have been a real PITA.
Instruction on the webside don't mention the use of release agent when casting, I'm a bit concern the cast part with break upon release. We'll see.
And of course I couldn't entirely get away with bubbles :
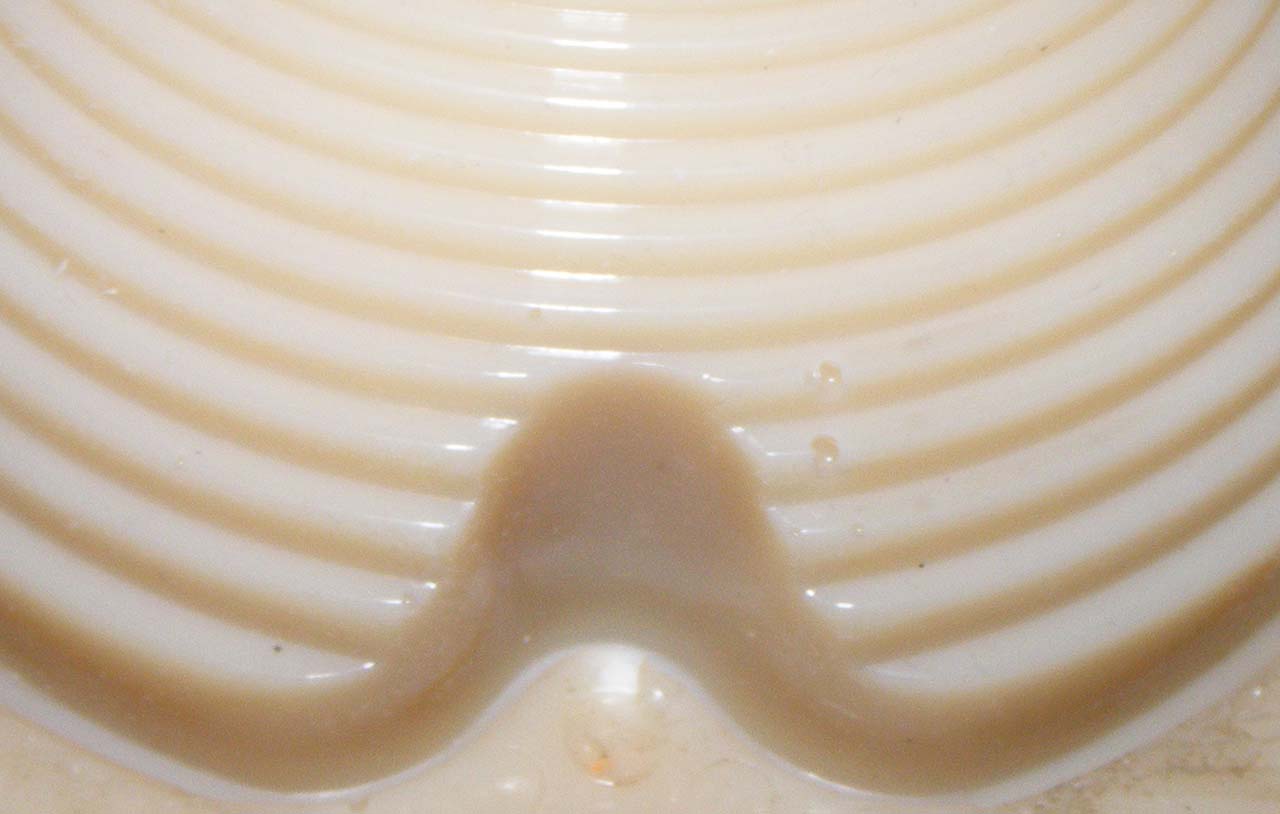
It's still minimal, hopefully the ouside of the taillight will be bubble free.
Can't wait to test it out.
Few problems : my release agent did work at all, I had to cut the contact surface on the outside to set the two part free. So I expect a mess at the flashing surface.
Removing the tailling for the mold have been a real PITA.
Instruction on the webside don't mention the use of release agent when casting, I'm a bit concern the cast part with break upon release. We'll see.
And of course I couldn't entirely get away with bubbles :
It's still minimal, hopefully the ouside of the taillight will be bubble free.
Can't wait to test it out.
Last edited by Denpo; 08-17-2017 at 11:31 PM.
03-01-2013, 03:29 AM
#300
Drifting
Thread Starter
Member Since: Aug 2010
Location: Kanuckistan
Posts: 1,617
Received 127 Likes
on
68 Posts
2022 C3 of the Year Finalist - Modified
Hi guys.
After another unexpected hiatus I'm back in the garage.
I used the crappy molds I bought and got my self a 3-pieces spoiler set.
Pretty much as planned the center piece came out nicely, mold was ok and the shape was simple.
On the other hand the side molds where ugly I had to destroy the mold to get my parts out. And they fit pretty bad....
...especially the driver side.
Not really unexpected, the front clip came from a unfinished restoration and clearly things have been done there before.
I'm a little concerned about the back side of the side spoilers, do they have to follow the wheel arch shape? if so I'm in for some heavy massaging.
That was fun doing those parts. I gained first hand experience with gel coat and mold preparation. The next one will be muuuuch better.... a lt1 hood scoop.
I'm also done with the shutdown controller for the embarked PC.
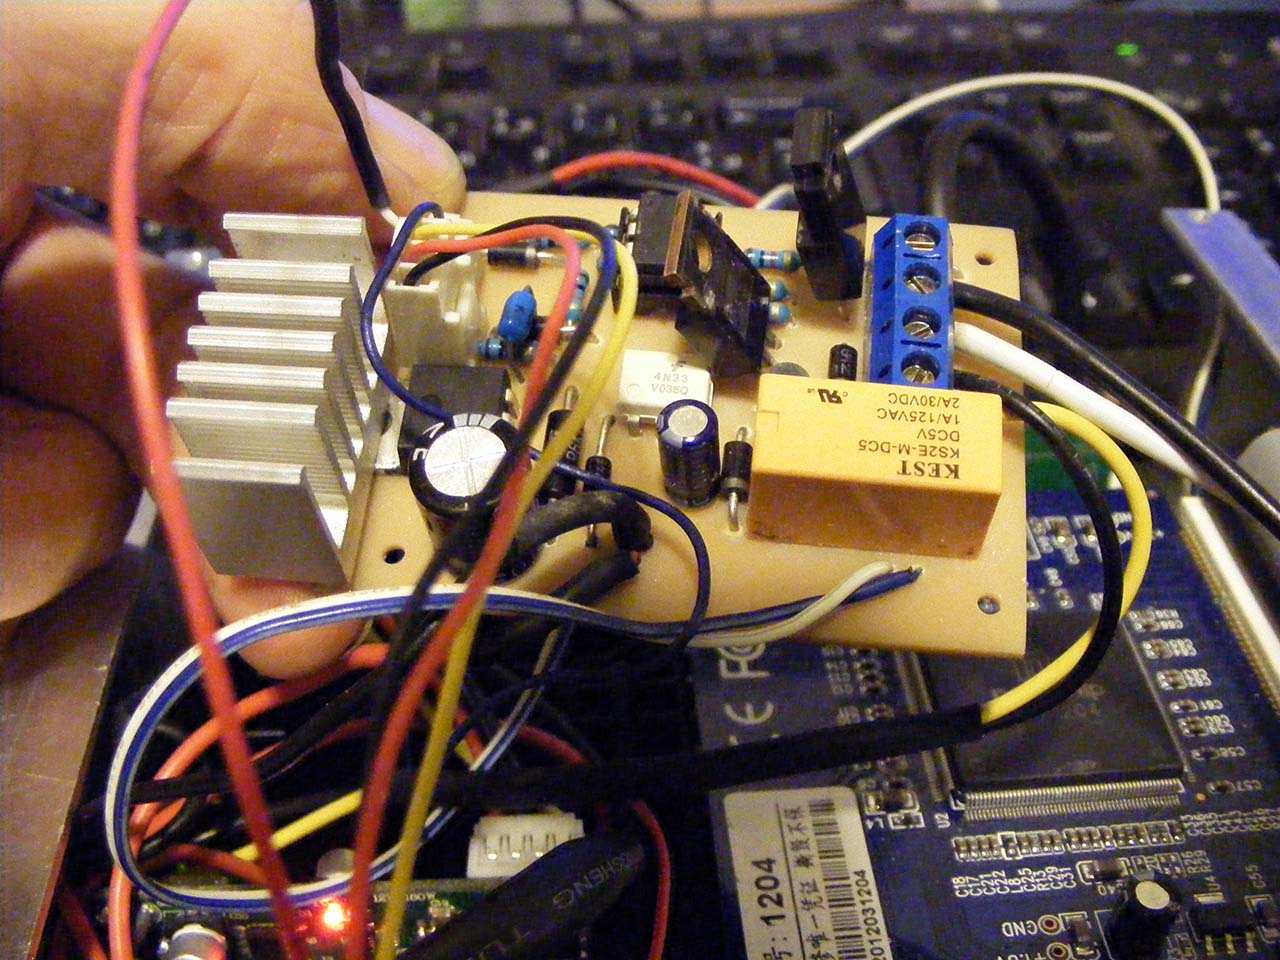
It sense the 12V acc and trigger the boot of the PC. When it stops sensing it, it wait for a couple of seconds, then trigger the shutdown.
It controls the power relay for the computer itself and another for the to-come sound amplifier.
The code in the microcontroller always make sure the computer boot up and shutdown cycles are fully completed.
When the car is off, only the module is powered, I still have to measure it, but the amperage it draws should be negligible.
After another unexpected hiatus I'm back in the garage.
I used the crappy molds I bought and got my self a 3-pieces spoiler set.
Pretty much as planned the center piece came out nicely, mold was ok and the shape was simple.
On the other hand the side molds where ugly I had to destroy the mold to get my parts out. And they fit pretty bad....
...especially the driver side.
Not really unexpected, the front clip came from a unfinished restoration and clearly things have been done there before.
I'm a little concerned about the back side of the side spoilers, do they have to follow the wheel arch shape? if so I'm in for some heavy massaging.
That was fun doing those parts. I gained first hand experience with gel coat and mold preparation. The next one will be muuuuch better.... a lt1 hood scoop.
I'm also done with the shutdown controller for the embarked PC.
It sense the 12V acc and trigger the boot of the PC. When it stops sensing it, it wait for a couple of seconds, then trigger the shutdown.
It controls the power relay for the computer itself and another for the to-come sound amplifier.
The code in the microcontroller always make sure the computer boot up and shutdown cycles are fully completed.
When the car is off, only the module is powered, I still have to measure it, but the amperage it draws should be negligible.
Last edited by Denpo; 08-17-2017 at 11:33 PM.