
71 strip down
 02-25-2009, 01:32 AM
#1
Racer

Thread Starter
Member Since: Jun 2005
Posts: 312
Likes: 0
Received 0 Likes
on
0 Posts
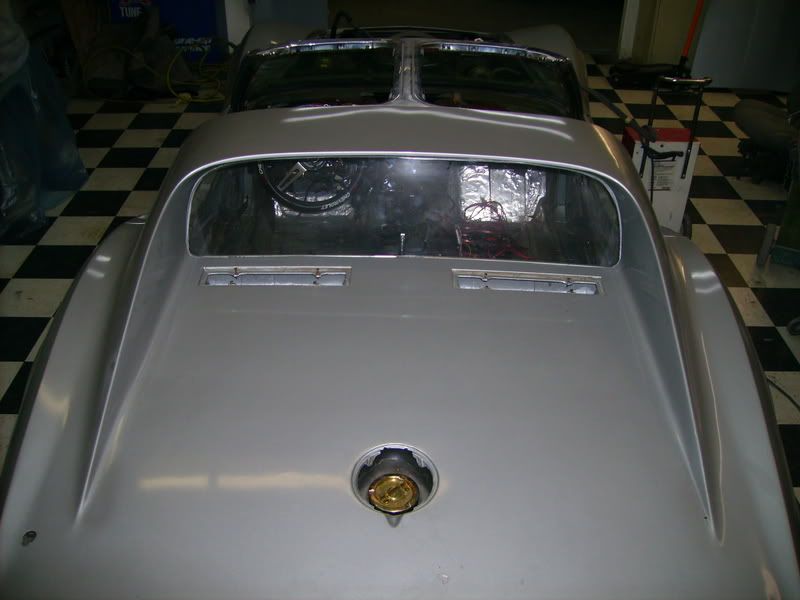
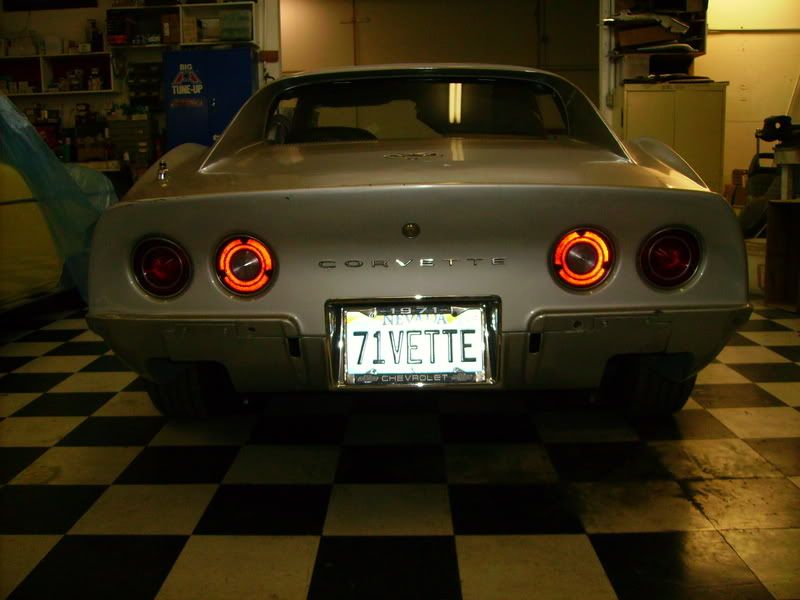
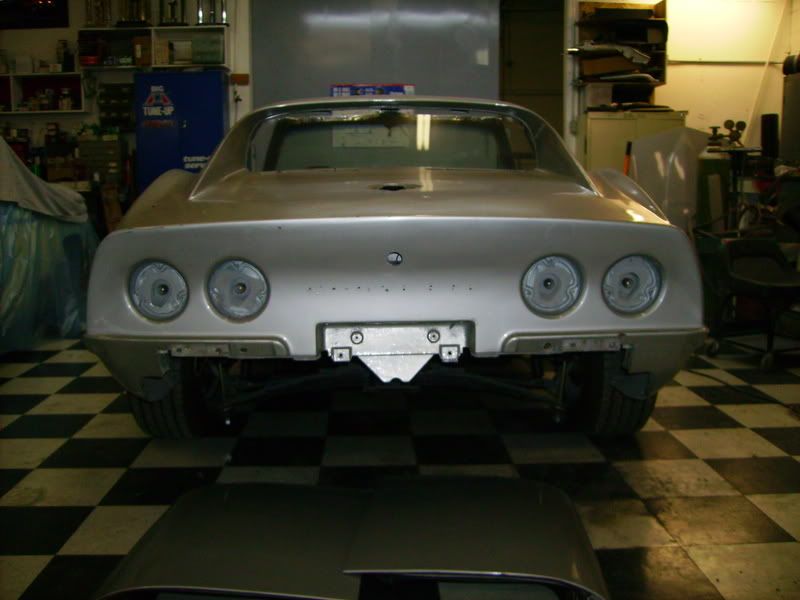
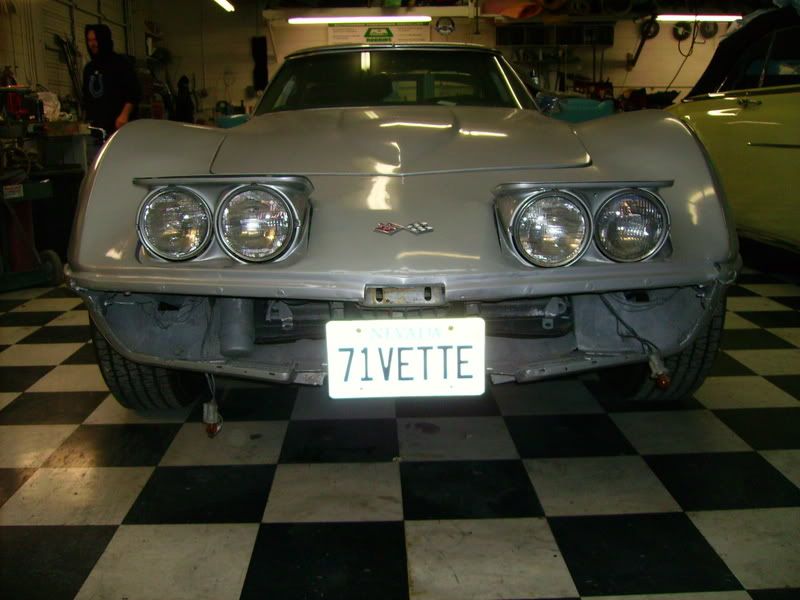
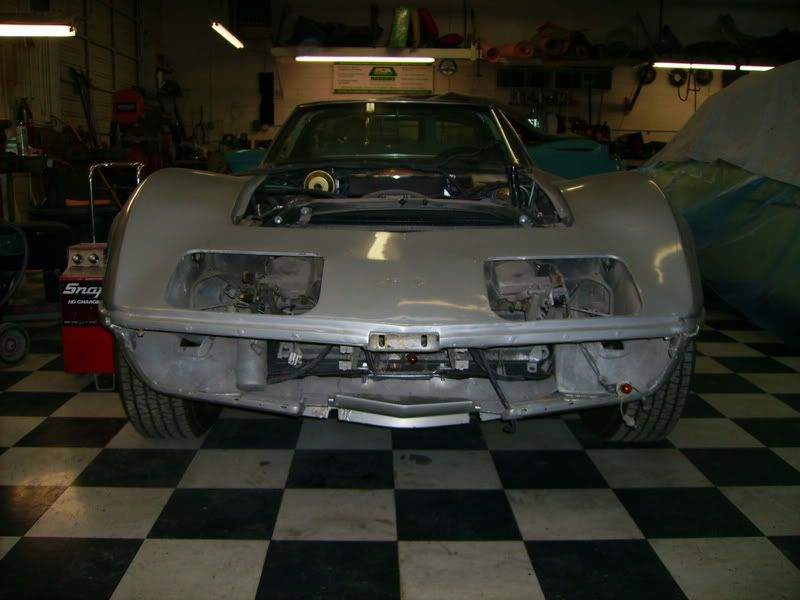
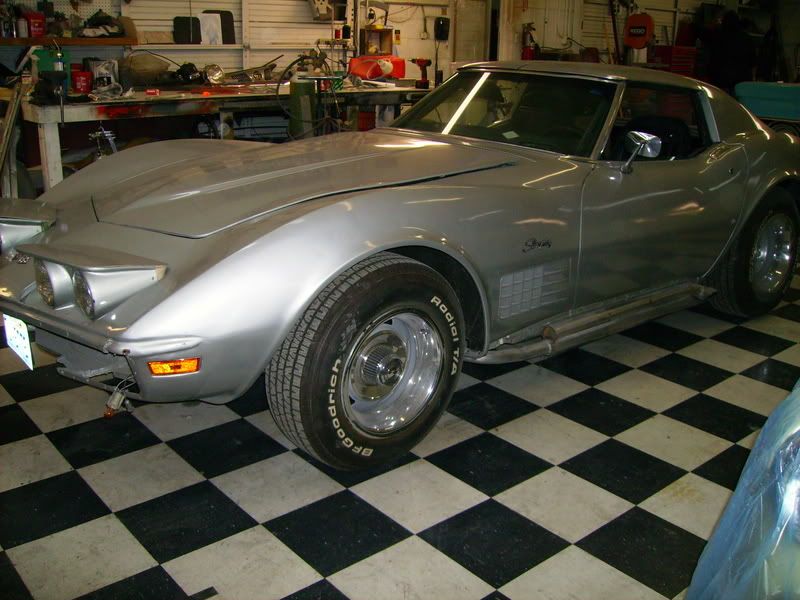
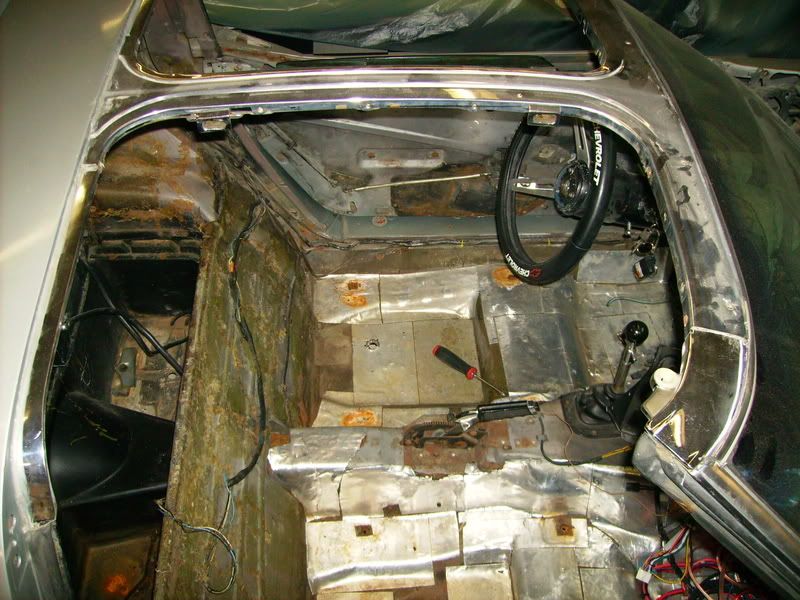
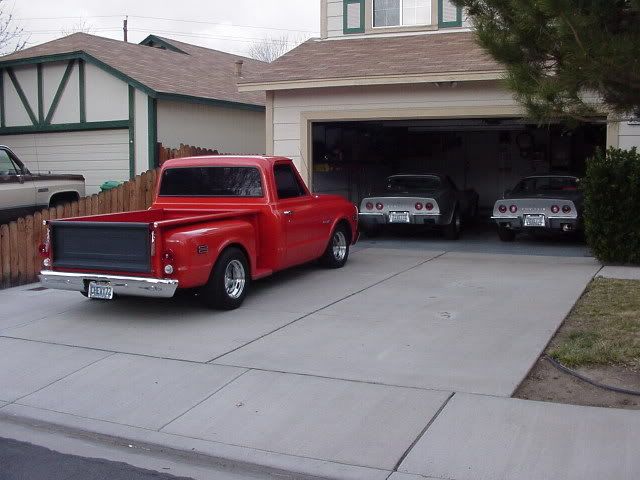
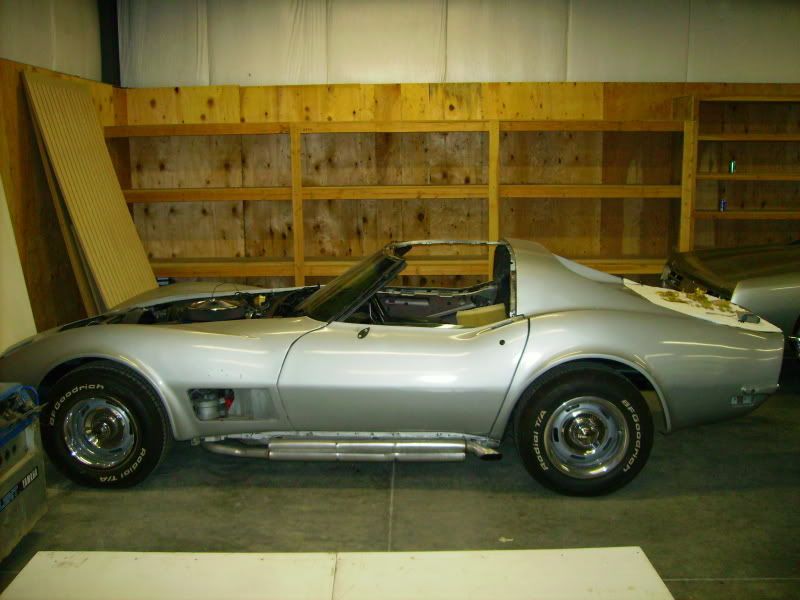
Well today (Feb 17th) I started to strip down and gut the interior of my 1971 coupe. ( I have a 1970 also and the two Chevy trucks and the
Harley!) It took about 6 hrs today to get done. These are before and after pics. I will strip the paint, then fill, sand and eventually paint a Pearl
Silver, its a shade lighter than the Nevada Silver thats on it now. I will have some more pics as time goes on also, wish me luck.

Harley!) It took about 6 hrs today to get done. These are before and after pics. I will strip the paint, then fill, sand and eventually paint a Pearl
Silver, its a shade lighter than the Nevada Silver thats on it now. I will have some more pics as time goes on also, wish me luck.
Last edited by JIMS1970VETTE; 03-01-2009 at 10:13 AM.


 02-25-2009, 05:33 PM
#4
Team Owner

Member Since: Sep 2006
Location: Westminster Maryland
Posts: 30,173
Likes: 0
Received 2,878 Likes
on
2,515 Posts

Hi Jim,
I ALWAYS enjoy looking at a 71.
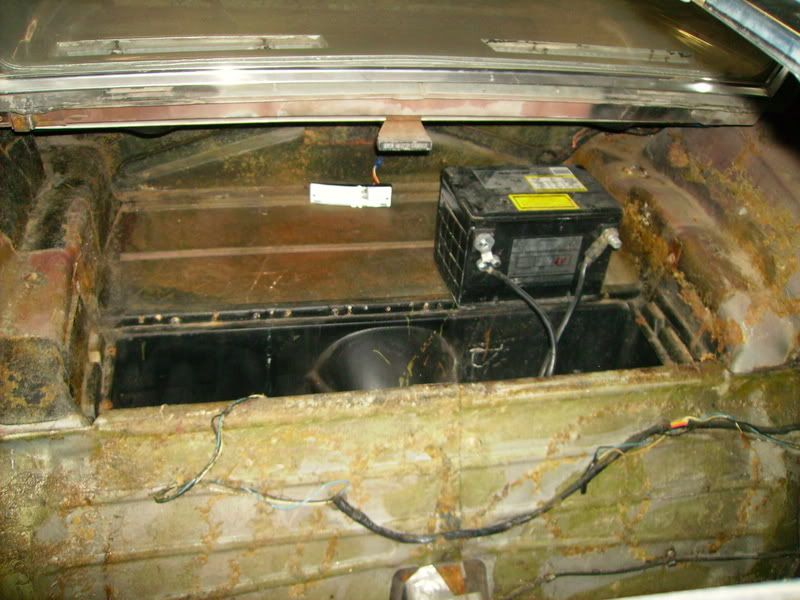
I'd love to see a picture looking down into your jack compartment and also hear what your sequence number is.
Please continue with the pictures as you progress.
Regards,
Alan
I ALWAYS enjoy looking at a 71.
I'd love to see a picture looking down into your jack compartment and also hear what your sequence number is.
Please continue with the pictures as you progress.
Regards,
Alan
02-26-2009, 11:11 PM
#5
Racer
Thread Starter
Member Since: Jun 2005
Posts: 312
Likes: 0
Received 0 Likes
on
0 Posts
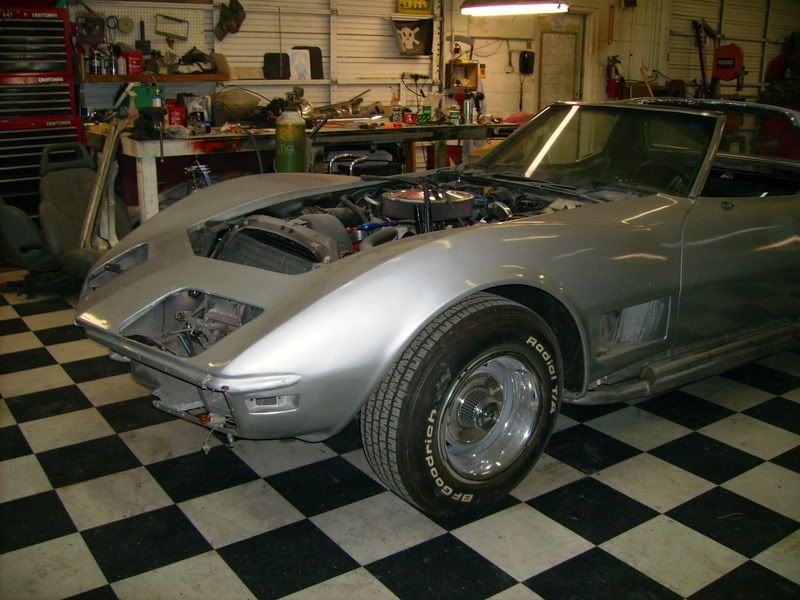
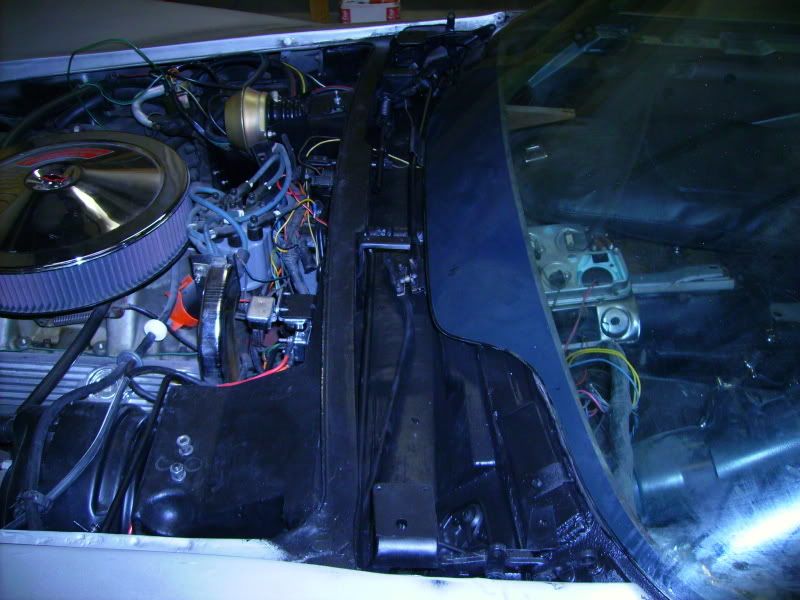
I have cleaned and beadblasted a LOT of parts in the last two days, I am hoping on starting to strip the paint off the body on Friday the 27th. I am lucky my friend is letting me use his shop and paint booth, more pics to come.
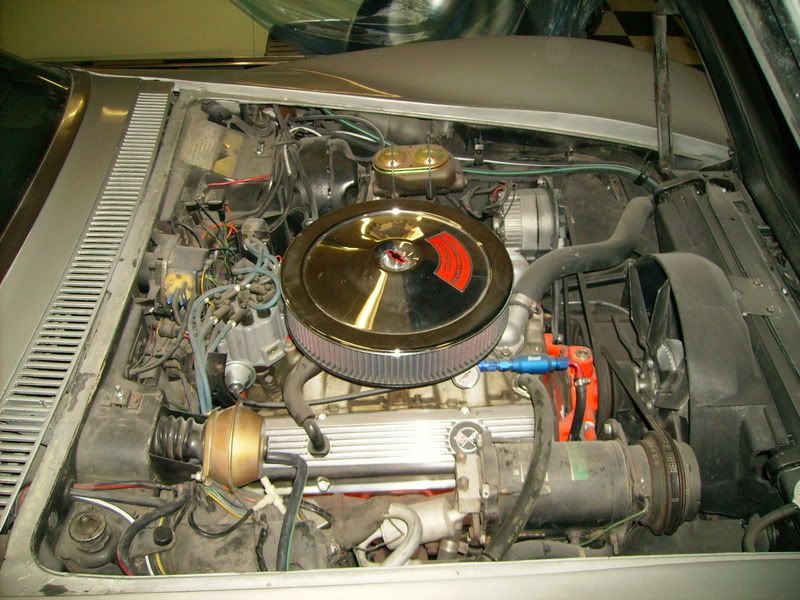
Finally getting the hang of submittin pics, the 3rd pic is my 1970 engine bay, I will have the 1971 as clean!
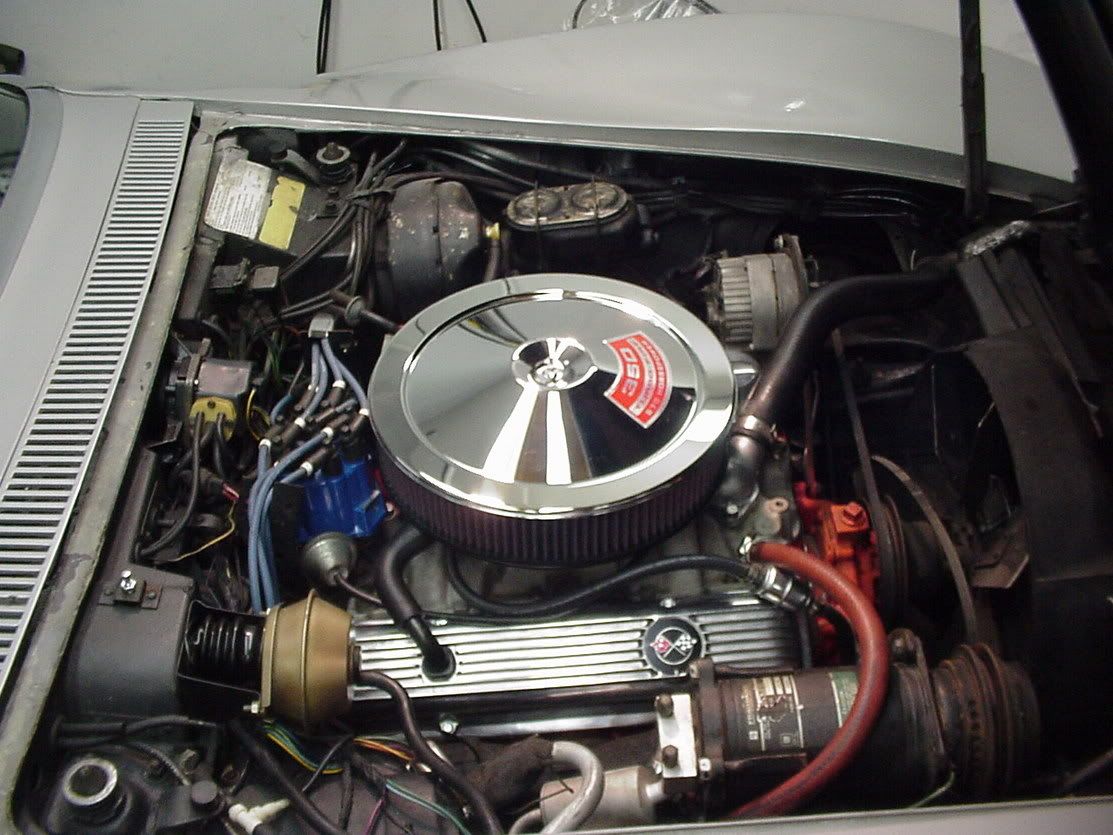
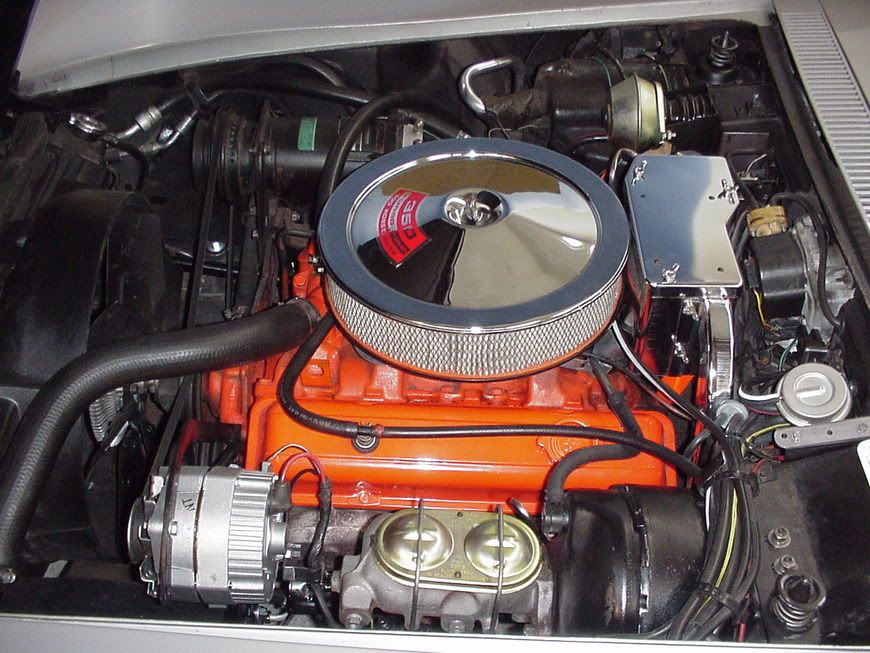
Finally getting the hang of submittin pics, the 3rd pic is my 1970 engine bay, I will have the 1971 as clean!
Last edited by JIMS1970VETTE; 03-01-2009 at 10:11 AM.
03-01-2009, 01:25 AM
#7
Racer
Thread Starter
Member Since: Jun 2005
Posts: 312
Likes: 0
Received 0 Likes
on
0 Posts
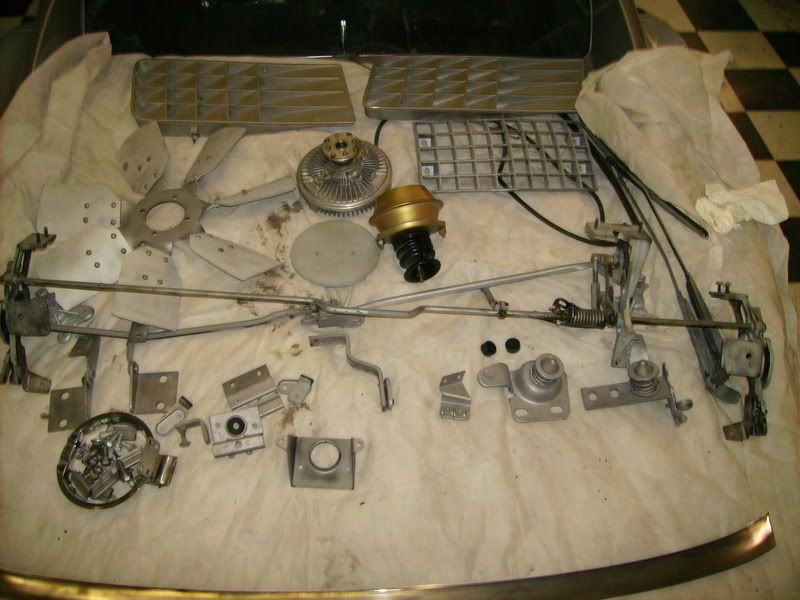
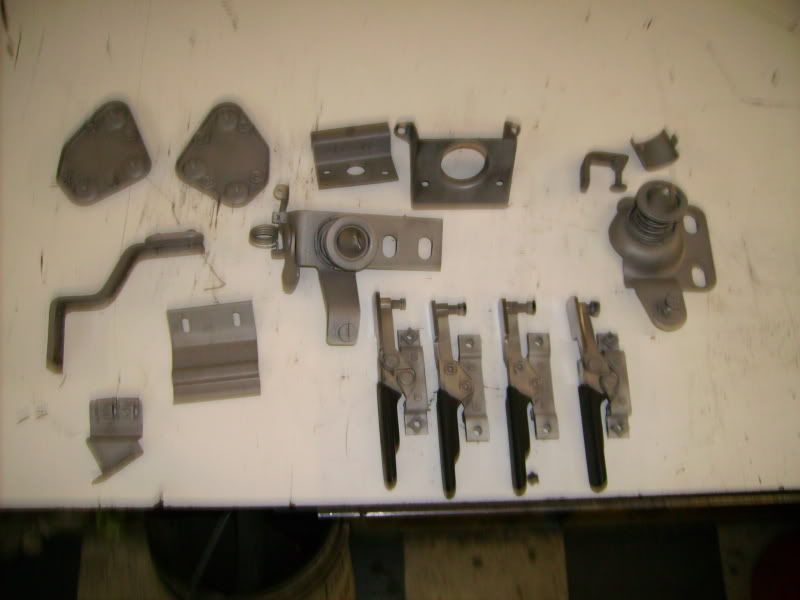
Here are some of the beadblasted parts, some the paint came off easily, others took a long time (grilles). I will also be able to polish up the aluminum and stainless steel.

 03-01-2009, 01:41 PM
#9
CF JASOC Member

Lookin' Good! Be waiting for the mid-way and after shots.
03-08-2009, 12:18 AM
#10
Racer
Thread Starter
Member Since: Jun 2005
Posts: 312
Likes: 0
Received 0 Likes
on
0 Posts
Well today I did some more work, stripping of the mouldings around the t-tops and taking off the parts off the tops and cleaning them. A lot of work but it will be worth it in the end.And I get to polish all this stuff too - Time consuming.
03-11-2009, 06:04 PM
#11
Racer
Thread Starter
Member Since: Jun 2005
Posts: 312
Likes: 0
Received 0 Likes
on
0 Posts
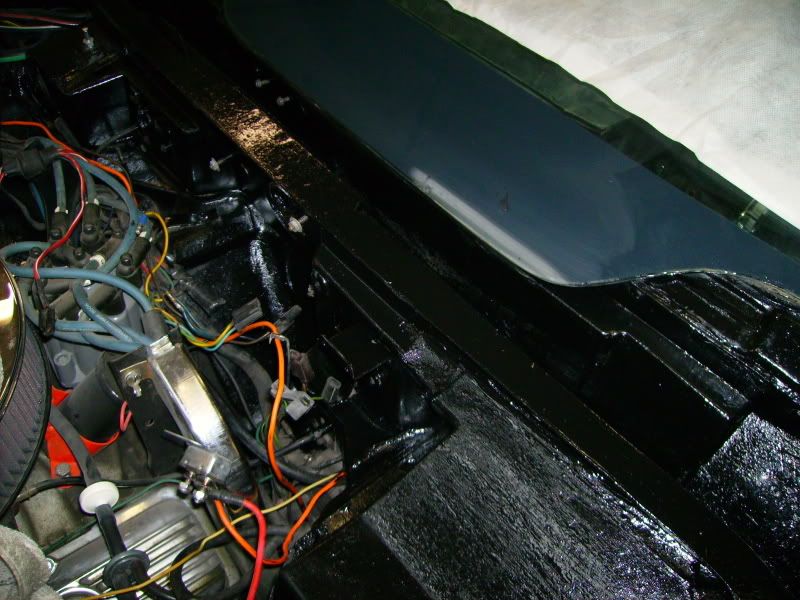
Well today, (March 11th) I went in to do some cleaning and polishing and applied a second coat of POR-15 to the windshield wiper bay, this stuff is awesome! I can only get in to work on my car between shifts at work, so the progress is slower, but progressing. Here are some more pics.


03-14-2009, 01:45 AM
#12
Racer
Thread Starter
Member Since: Jun 2005
Posts: 312
Likes: 0
Received 0 Likes
on
0 Posts
Today I finished up with the POR-15 and will paint over this with a "trim black" paint and washed and cleaned all the parts that now need to be painted. I am interested in Cadmium plating some of the parts, has anyone dealt with Burbank Plating in Southern Calif?
03-18-2009, 09:55 AM
#13
Racer
Thread Starter
Member Since: Jun 2005
Posts: 312
Likes: 0
Received 0 Likes
on
0 Posts
Yesterday I started painting some of the items I removed with "trim black" paint. This is a nice kind of satin finish. Also I am having some of my electric motors refurbished, w/s washer motor and the power window motors. I already had the starter, alternator and distributor rebuilt.
03-28-2009, 10:03 AM
#14
Racer
Thread Starter
Member Since: Jun 2005
Posts: 312
Likes: 0
Received 0 Likes
on
0 Posts
Well it has been 5 weeks now, work is progressing slowly and I have been reinstalling some of the parts that were blasted and painted, what a difference! So much cleaner and nicer looking, nothing like what keeps you motivated. I had a headlight bucket that was cracked and repaired it with "contracters cement", unbelivable stuff, Cleaned up the excess and repainted, looks like new. The owner of the shop where the car is moving, so that will impact my restoration, but only slightly.I am grateful for him letting me use his space and tools.I will post some more pics as time goes.
I will post some more pics as time goes.
04-03-2009, 11:14 AM
#15
Racer
Thread Starter
Member Since: Jun 2005
Posts: 312
Likes: 0
Received 0 Likes
on
0 Posts
My car is out at the new shop and the shop is really nice. Got my cadimum plated parts back from "Burbank Plating" and they look really nice along with some chrome plated pieces from "Ogden Chrome" (801-394-9449) and was really pleased with the work they did, in fact I will be sending them more work. Pics to follow
04-03-2009, 02:50 PM
#16
Team Owner
Member Since: Sep 2006
Location: Westminster Maryland
Posts: 30,173
Likes: 0
Received 2,878 Likes
on
2,515 Posts
Progress is a LOT more interesting with PICTURES!!!
Regards,
Alan
Regards,
Alan
04-03-2009, 05:01 PM
#17
Racer
Thread Starter
Member Since: Jun 2005
Posts: 312
Likes: 0
Received 0 Likes
on
0 Posts
Here are a couple more pics, the w/s wiper bay is harder to see but it cleaned up nicely, along with the firewall. The chrome is from Odgen Chrome and the cadimum plating is from Burbank Plating in Southern California


Last edited by JIMS1970VETTE; 04-03-2009 at 05:04 PM.
04-08-2009, 07:24 PM
#18
Racer
Thread Starter
Member Since: Jun 2005
Posts: 312
Likes: 0
Received 0 Likes
on
0 Posts
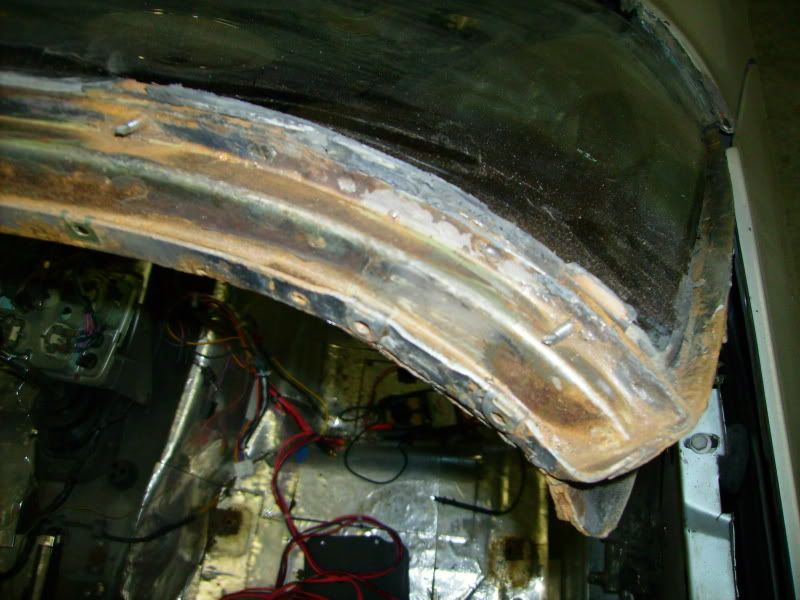
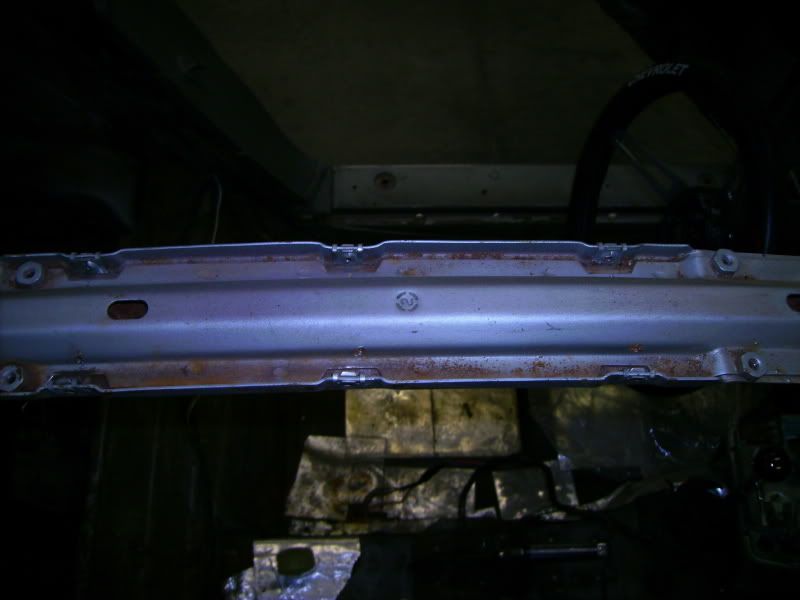
I was cleaning the windshield header along with the t-top header and found some rust and some that rusted through. Here are a few pics, any input on a corrective action would be appreciated.The t-top header and right side are in good shape but the drivers side will need some work.


Here are a few pics, any input on a corrective action would be appreciated.The t-top header and right side are in good shape but the drivers side will need some work.
04-08-2009, 08:45 PM
#20
Instructor
Member Since: Jun 2006
Location: Baltimore MD
Posts: 214
Likes: 0
Received 0 Likes
on
0 Posts
[QUOTE=JIMS1970VETTE;1569562747]Here are a couple more pics, the w/s wiper bay is harder to see but it cleaned up nicely, along with the firewall. The chrome is from Odgen Chrome and the cadimum plating is from Burbank Plating in Southern California
Those pieces look great! If you don't mind me asking, how much did that run you? I need to have the same thing done.
Those pieces look great! If you don't mind me asking, how much did that run you? I need to have the same thing done.