Rookie's first attempt at a restoration...
 01-22-2010, 12:54 AM
#1261
Safety Car

Thread Starter

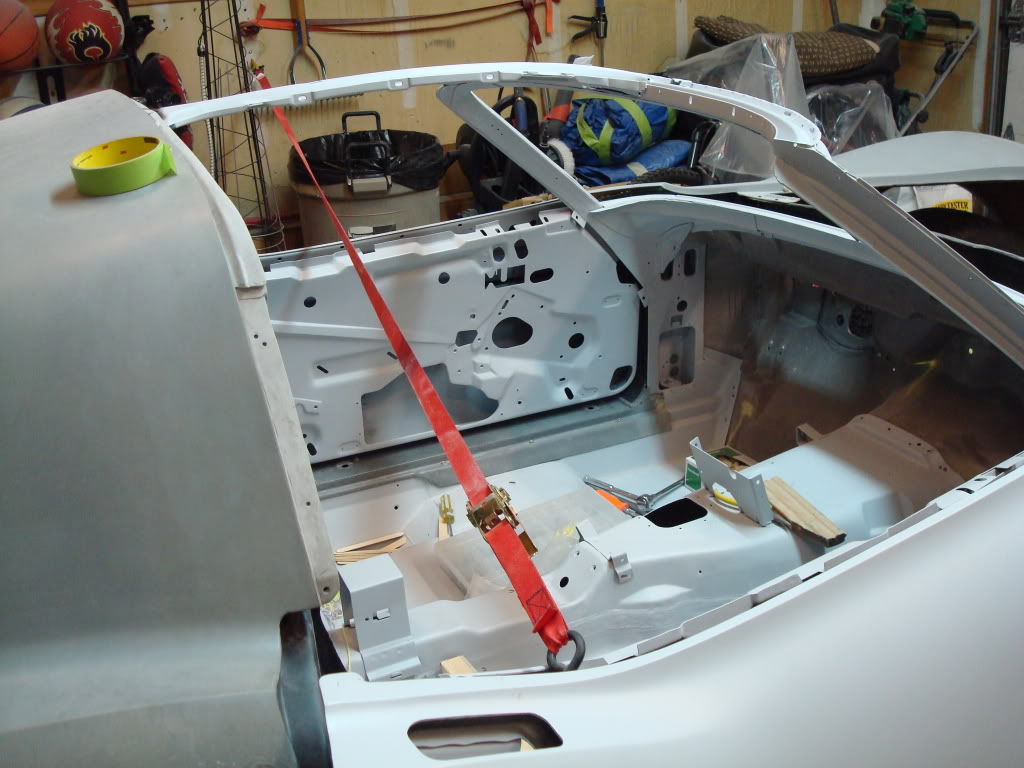
One more update. I started working on the passenger side tonight, and sure enough, I ran into a snag. The bottom of the door was too far inward in relation to the dogleg, yet it was almost flush at the top. But if I added shims to the bottom of the door, then the front end would no longer fit the contour of the the door...it was a catch 22.
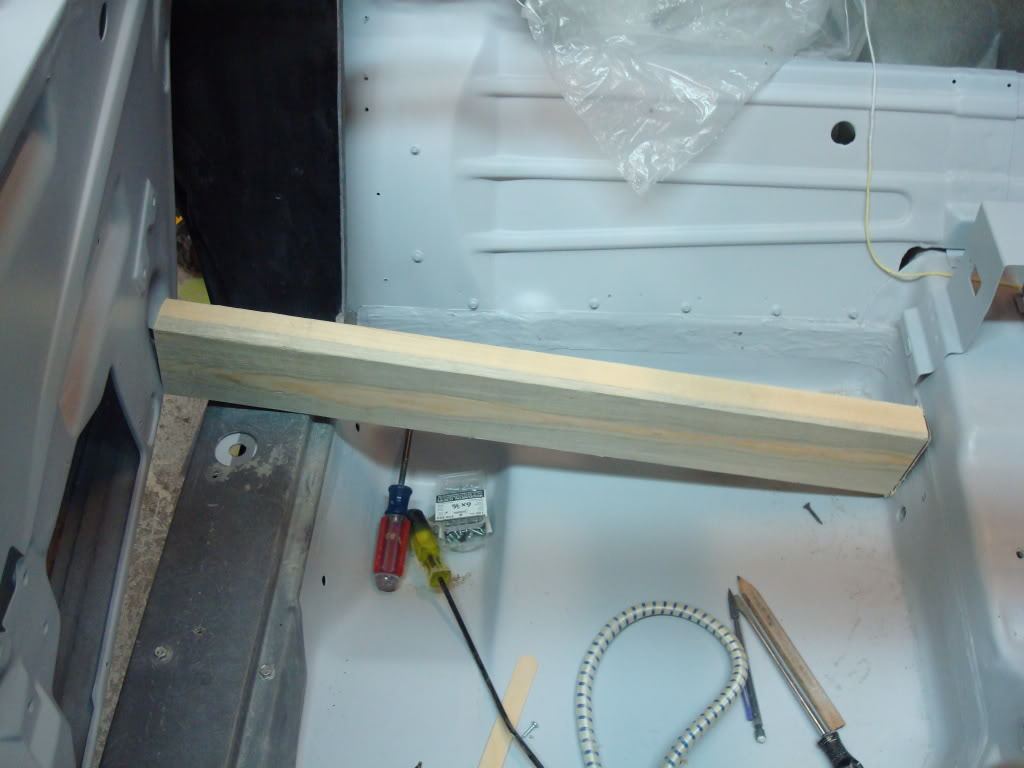
A phone call to Mike solved that issue. He told me to twist the door. I said "What...are you serious?" Then he says "Yes. get a ratchet strap, hook it on top of the door frame, and pull it to one side of the garage. Jamb a 2X4 between the floor pan and the bottom of the door frame, and start pulling." Well, sure enough it worked without affecting the front end alignment. It still needs lots of fitting, but its a start in the right direction. Dammit Mike...how many more tricks do you have up your sleeve???? I can't believe that this actually worked...still in awe that the guy knows all this stuff. I'm gonna keep all these tricks with me for the rest of my life!!!!!!!!!!!!!!!!!!


Time to get some sleep - 6 hours on the vette is enough for me
A phone call to Mike solved that issue. He told me to twist the door. I said "What...are you serious?" Then he says "Yes. get a ratchet strap, hook it on top of the door frame, and pull it to one side of the garage. Jamb a 2X4 between the floor pan and the bottom of the door frame, and start pulling." Well, sure enough it worked without affecting the front end alignment. It still needs lots of fitting, but its a start in the right direction. Dammit Mike...how many more tricks do you have up your sleeve???? I can't believe that this actually worked...still in awe that the guy knows all this stuff. I'm gonna keep all these tricks with me for the rest of my life!!!!!!!!!!!!!!!!!!
Time to get some sleep - 6 hours on the vette is enough for me
 01-22-2010, 09:12 AM
#1262
Melting Slicks

Looking good Jeremy, I hope you're remembering all this for when you go work for Stan. Your phone bill must be high talking with Mike so often. It's great to have such an experienced mentor. Most of us never had that.
01-22-2010, 10:34 AM
#1263
Race Director


That's a fancy way to do it. On mine we just twisted it by hand. The C3 doors are surprisingly flimsy. I expect to have to twist mine a little more once I have all the weight back in them. I'm sure the weight will flex the doors a bit.
01-22-2010, 11:50 AM
#1264
Safety Car
Thread Starter
yeah, I tried twisting it by hand, and it did work...but it stopped giving in after about five minutes. I had to resort to using the ratchet strap...it took quite a bit of cranking to get everything lined up.
01-22-2010, 07:08 PM
#1265
Safety Car
That's very cool! I would of thought, bending/twisting the door would of cracked the fiberglass.
This is why, I don't understand body work, but I'm learning a lot thanks to you.
This is why, I don't understand body work, but I'm learning a lot thanks to you.
01-23-2010, 12:53 PM
#1266
Safety Car
Thread Starter
Nope. These doors are extremely flexible. I twisted it about 1/4'' without any cracking. The best part about all of this is you will never be able to tell if it is twisted or not.
01-23-2010, 01:09 PM
#1267
Race Director
One thing that surprised me was how much you can bend the headlight lids without cracking. Mine did not fit the new surround well. No fault of the surround, the lids were damaged in some wreck back in the 70's. Mike grabbed them and bent them back. We're talking over 1/4", close to 3/8", left to right!
Last edited by zwede; 01-23-2010 at 01:13 PM.
01-23-2010, 01:12 PM
#1268
Safety Car
Thread Starter
One thing that surprised me was how much you can bend the headlight lids with cracking. Mine did not fit the new surround well. No fault of the surround, the lids were damaged in some wreck back in the 70's. Mike grabbed them and bent them back. We're talking over 1/4", close to 3/8", left to right!
 01-24-2010, 05:28 AM
#1270
Racer

01-24-2010, 08:34 AM
#1271
Safety Car
Thread Starter
The front bumper is also going to get modified. I'm cutting the center out of it and removing those ugly "bumperettes". I will be installing a custom blacked out grill in the opening. I'll also be bonding the front bumper on, and glassing the seams. Lots and lots of work.
01-24-2010, 03:33 PM
#1272
Racer

Member Since: Apr 2009
Location: Gurley Alabama
Posts: 354
Likes: 0
Received 0 Likes
on
0 Posts
I think I will probably be making them, as they are quite expensive.
The front bumper is also going to get modified. I'm cutting the center out of it and removing those ugly "bumperettes". I will be installing a custom blacked out grill in the opening. I'll also be bonding the front bumper on, and glassing the seams. Lots and lots of work.
The front bumper is also going to get modified. I'm cutting the center out of it and removing those ugly "bumperettes". I will be installing a custom blacked out grill in the opening. I'll also be bonding the front bumper on, and glassing the seams. Lots and lots of work.
01-24-2010, 03:59 PM
#1273
Safety Car
Thread Starter
That project is probably last on my list. I have a billion other things I need to finish first...I'm going crazy just thinking about it. Its actually kinda depressing...seems like nothing is getting done, but I keep pushing myself through the projects. I want to drive this thing already.
01-24-2010, 04:21 PM
#1274
Drifting

Member Since: Jul 2006
Location: Sault Ste. Marie Ontario
Posts: 1,871
Likes: 0
Received 6 Likes
on
6 Posts
That project is probably last on my list. I have a billion other things I need to finish first...I'm going crazy just thinking about it. Its actually kinda depressing...seems like nothing is getting done, but I keep pushing myself through the projects. I want to drive this thing already.
I finished mine last summer and I miss building it.
With winter here, all I have to do with my spare time is paint and organize the garage
 01-25-2010, 11:45 PM
#1275
Safety Car
Thread Starter
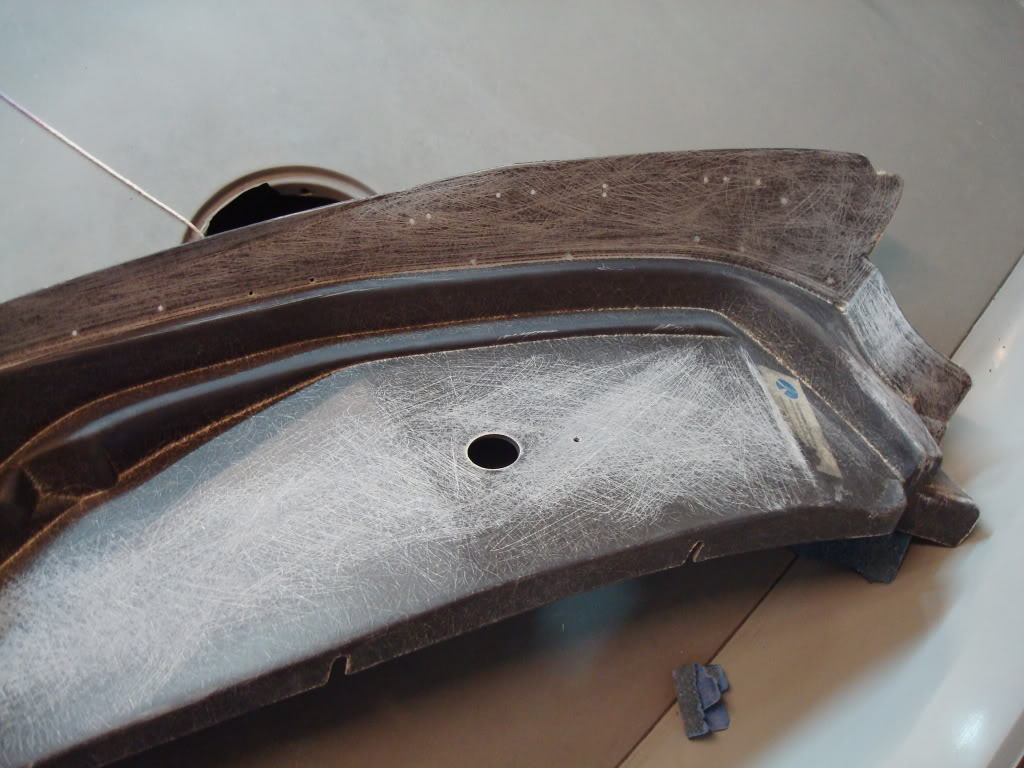
Today was a very, very, veeeeeeeeerrrrrrrrrrryyyyyy long day. I pushed myself all day in the garage...started at 6 am, and just finished for the night. I have done an incredible amount of fitting on this body...and its only the beginning. Mike doesn't use body filler on any of his edges, and neither will I. This is why panel fitment is so important. The strongest edge is a raw fiberglass edge with no filler. Everyone has their own techniques. Mike's motto - use as little body filler as possible, no filler on edges, and no sanding on original glass, unless you add glass to the underside of the panel.
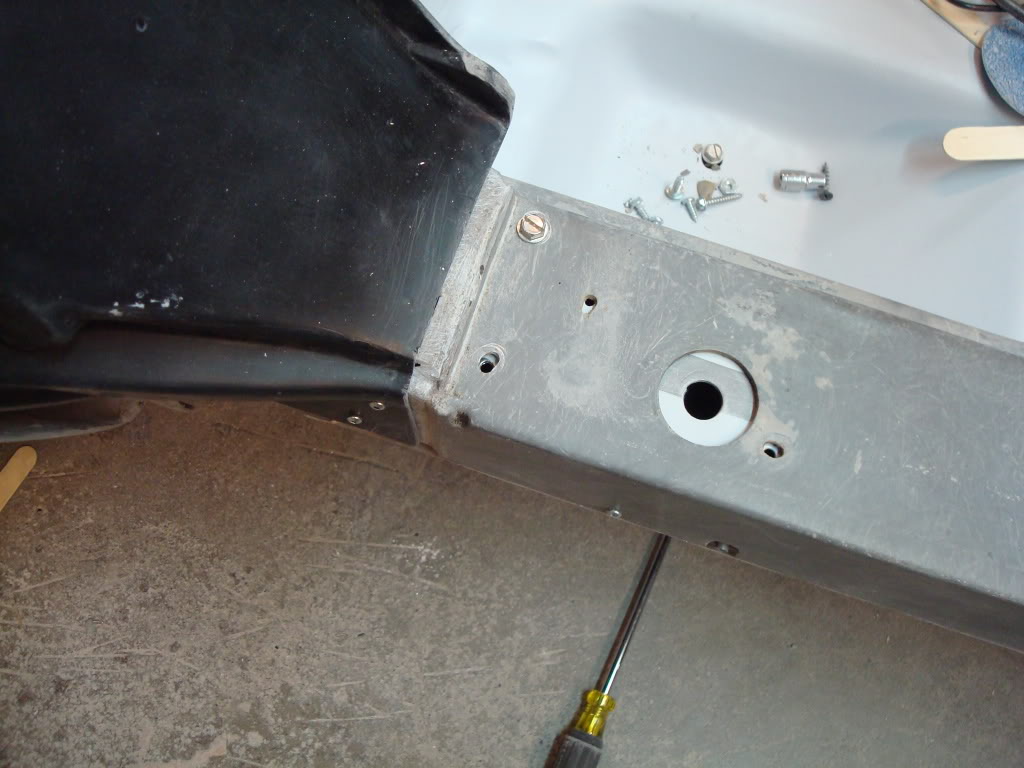
First thing I did was use scotch-brite and lacquer thinner to scuff the lock pillar plates. The manufacturers first coat their molds with release agent, then they fiberglass over that, and pop it loose. You don't want that release agent on there - it needs to come off before you do any prepping. Once you do the washdown with thinner and scotchbrite, finish it off with hot soapy water and a scotch brite pad (yes, I did this when it was -15 Celcius outside...you've gotta do whatcha gotta do ).
).
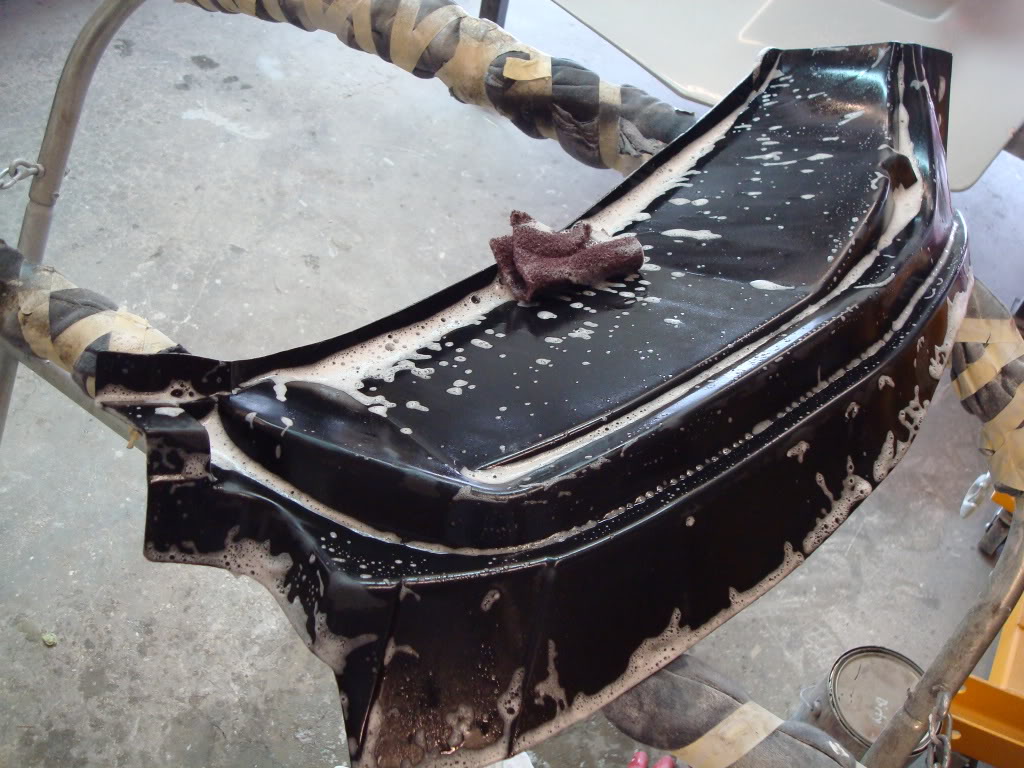
Next was prepping all surfaces for bonding. You need to do this before any fitting of the panels. Why? Because sanding on bare glass changes its shape and thickness of the panels (not by much, but it does remove material, and that could mess with your panel fitment).
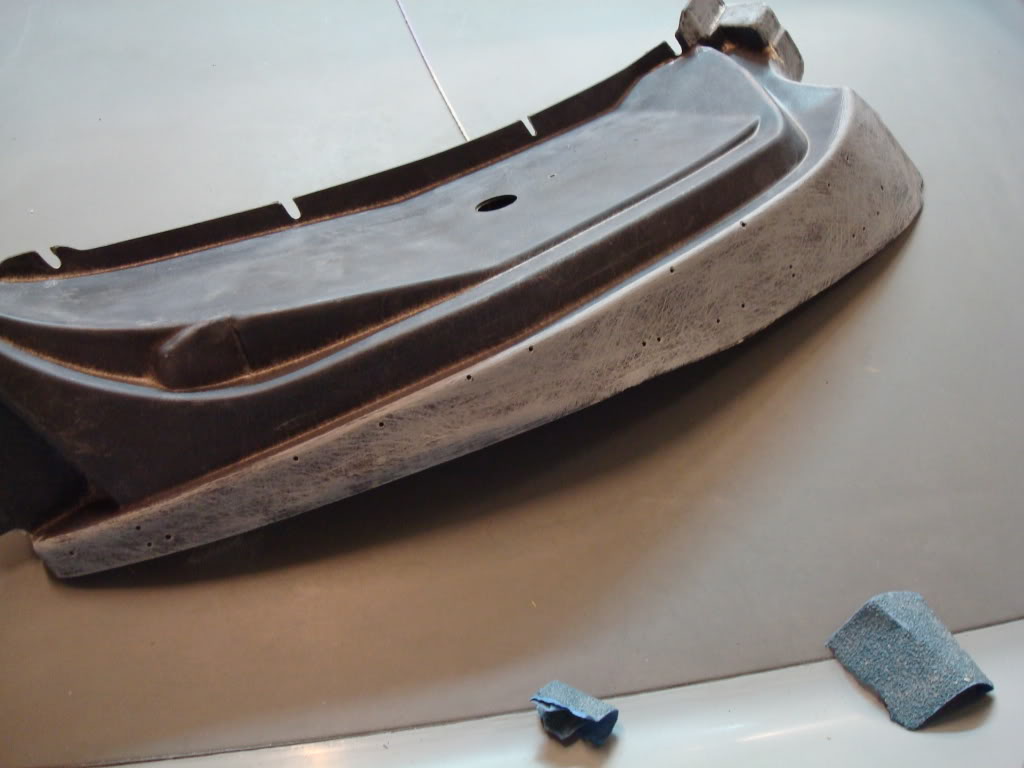
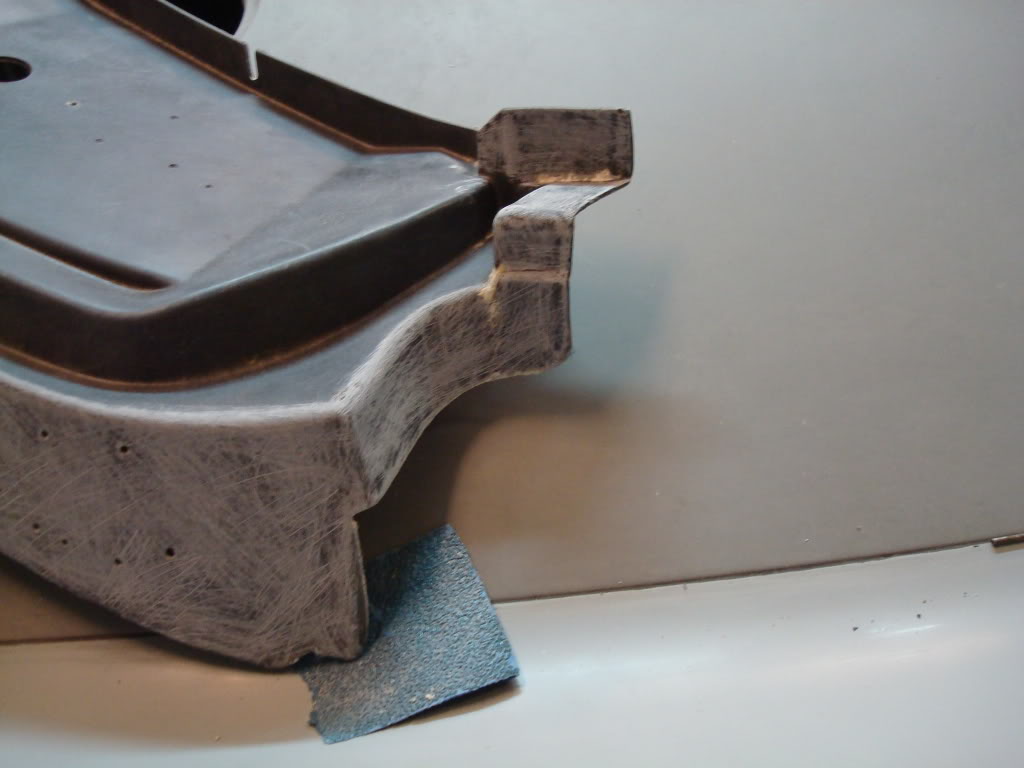
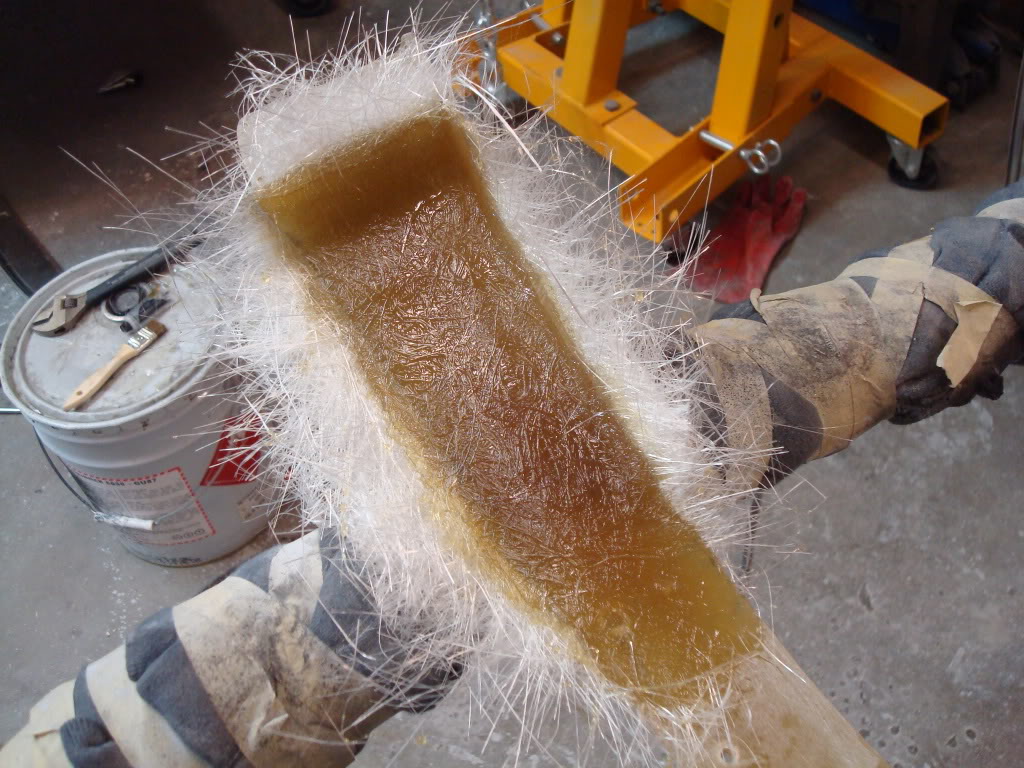
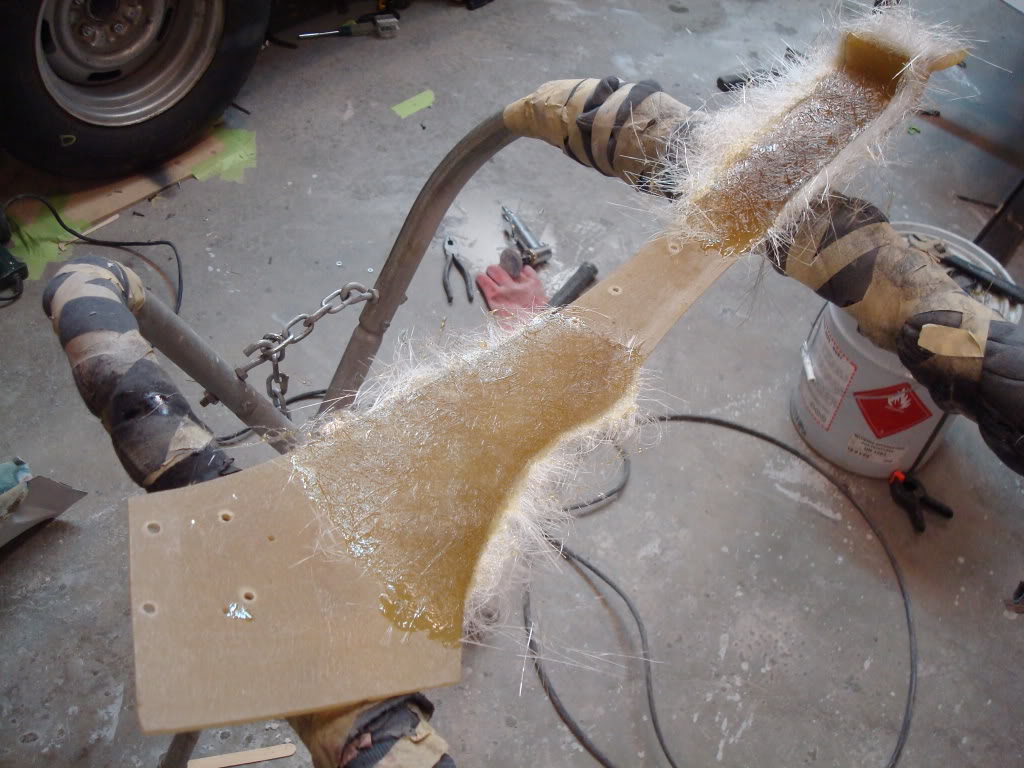
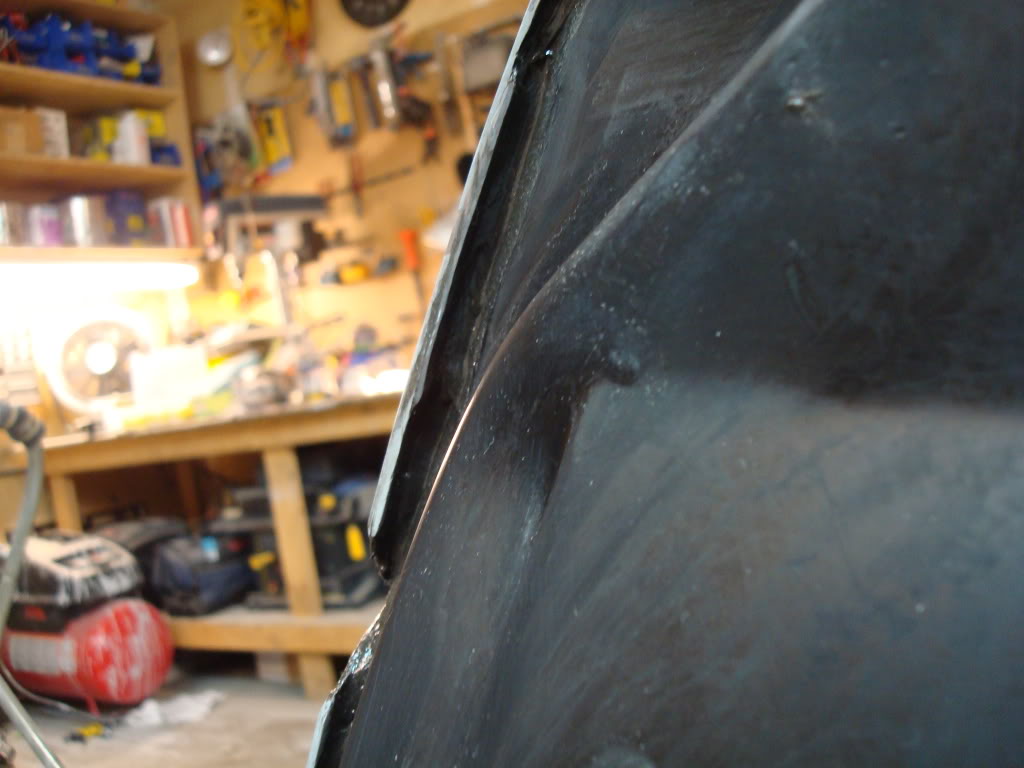
Next was prepping the bonding sufaces on the rear deck, and b-piller. These were pita to do. This is the tool I use to get into tight places (tool tip is courtesy of Mike)
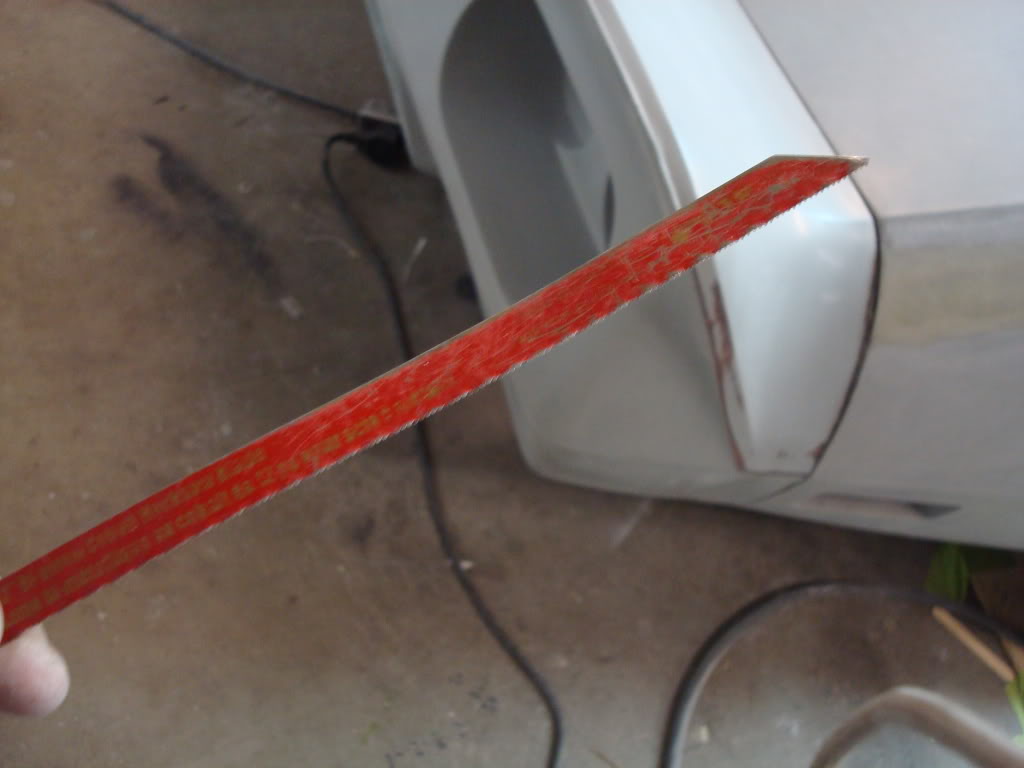
The teeth of the hacksaw blade will scratch any surface that it comes in contact with...this is how you prep those impossible to reach areas for bonding. This took a lot of work...

Next step is to double check your rocker channel sides. They need to be straight. You might have to bend and reshape them a bit...I had to on mine.
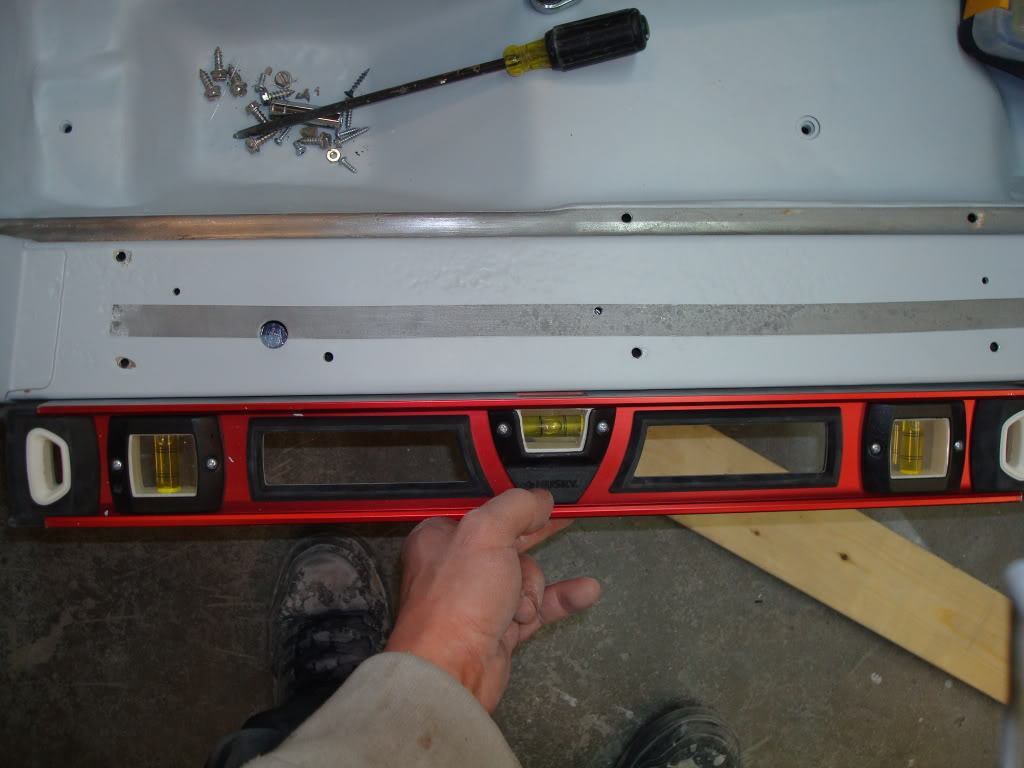
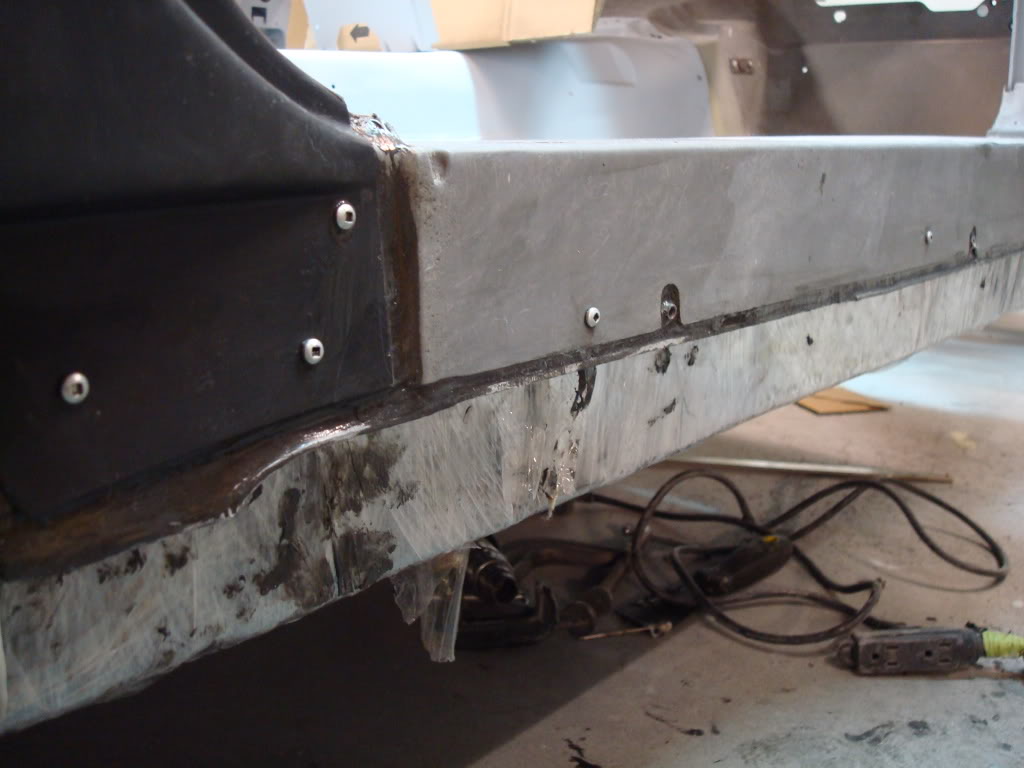
Now you need to prep your rocker covers for bonding. Sorry...don't got a pic for this one guys. Remember those pieces of masking tape I put on the rockers before I painted the birdcage? Well, those a my "bonding strips". I scuffed the panel up wherever I masked the rocker off.
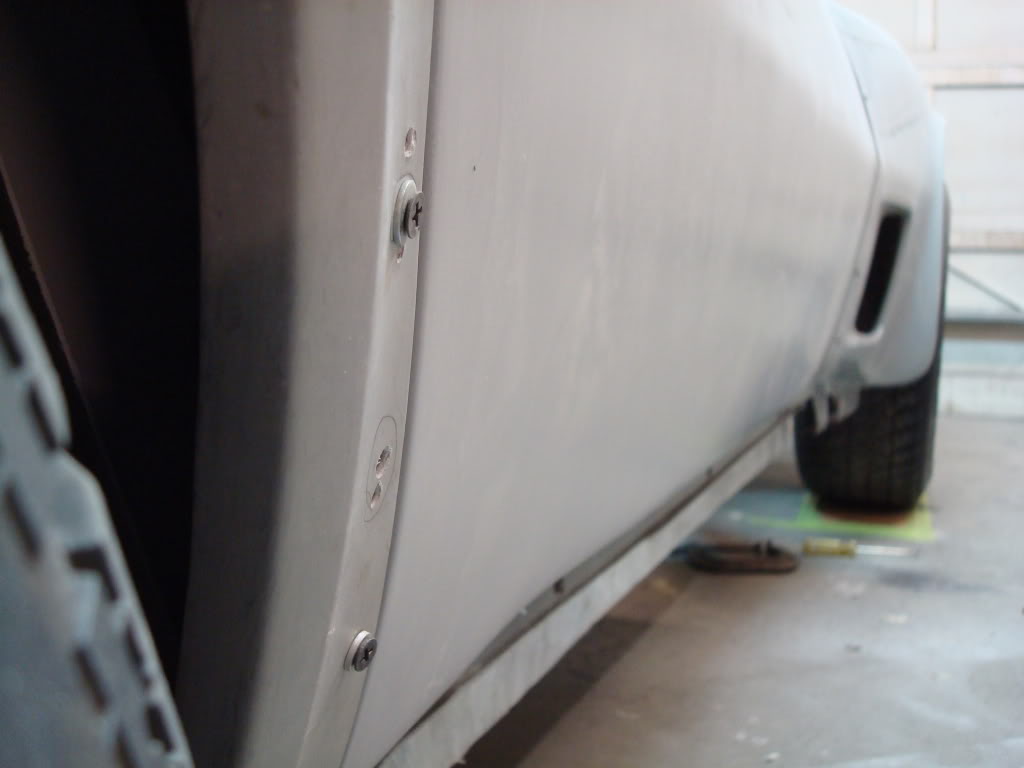
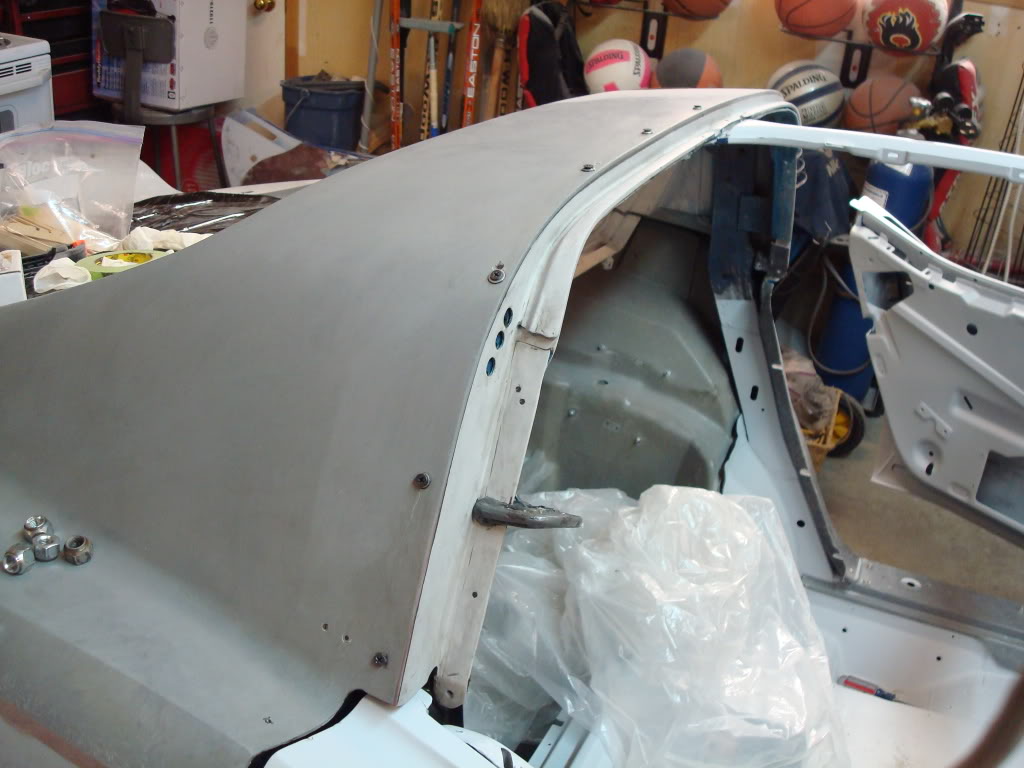
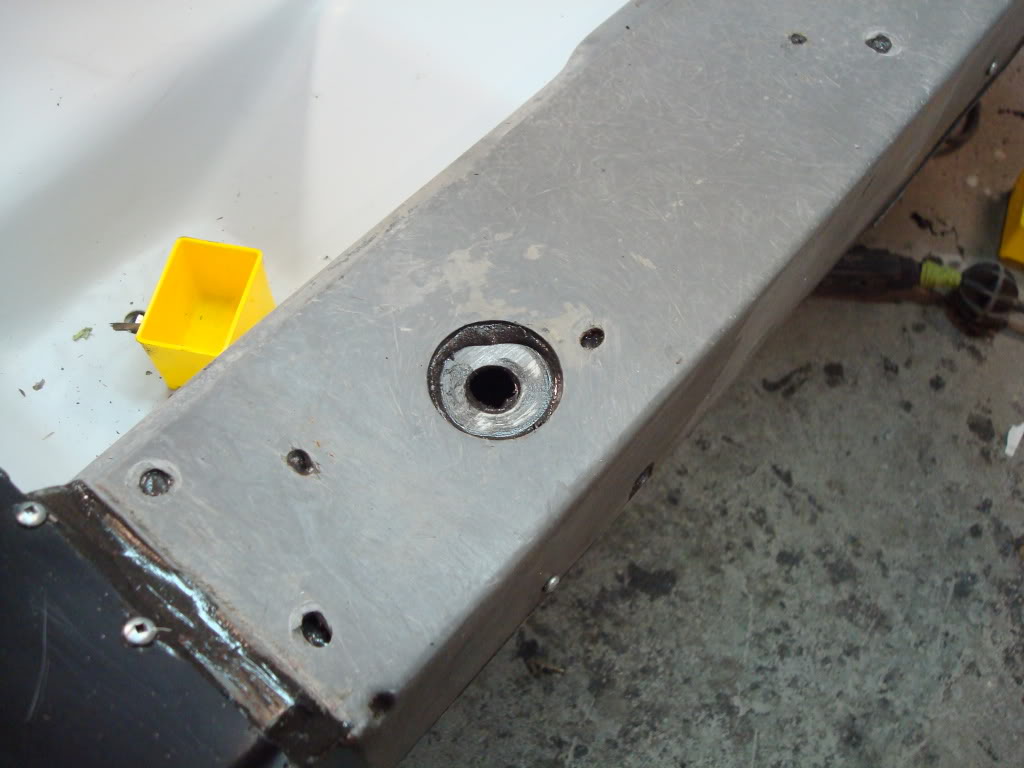
Screw your rocker covers in place, and then screw your lock pillar in place, at the bottom of the rocker, and near the striker bolt hole...
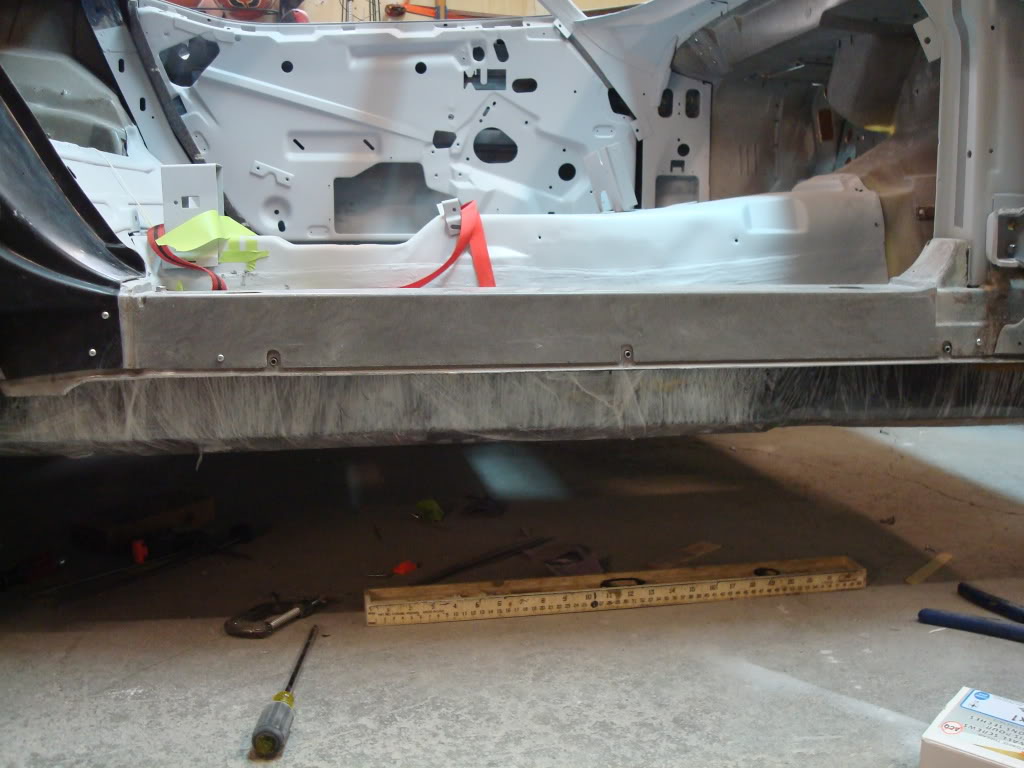
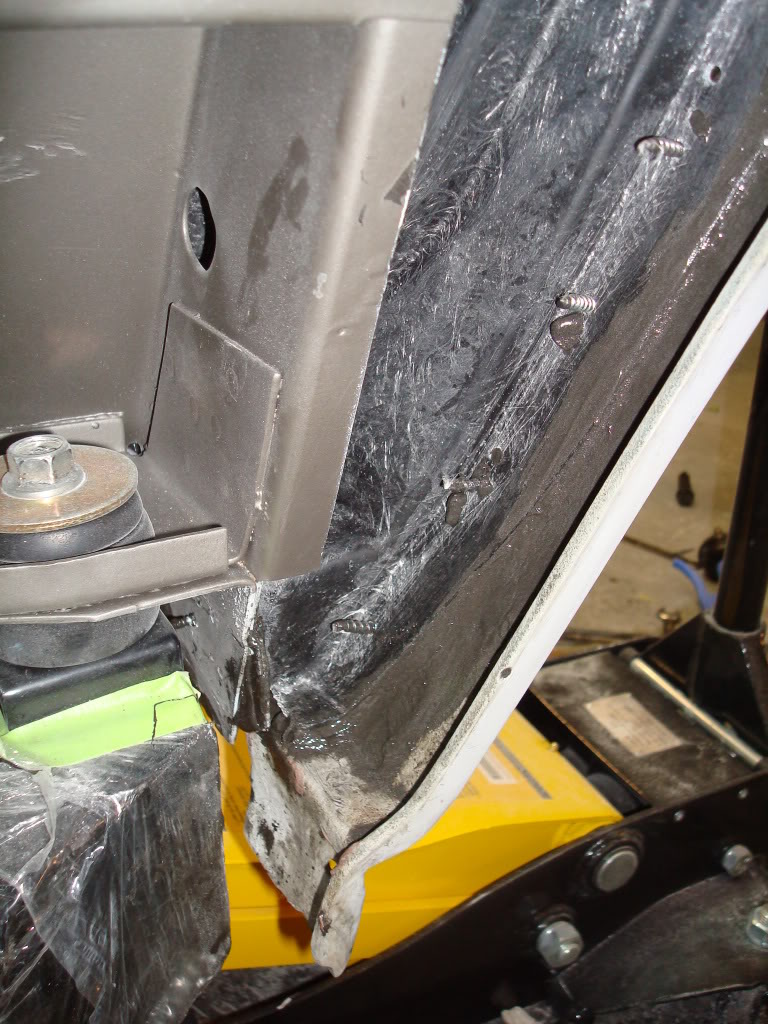
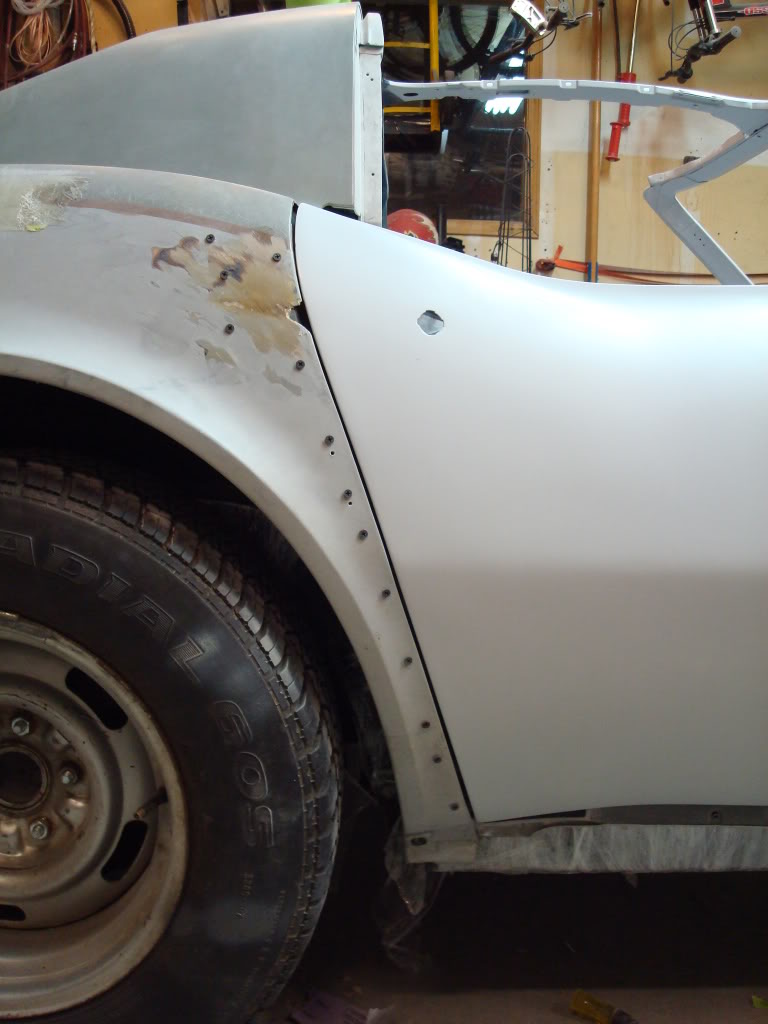
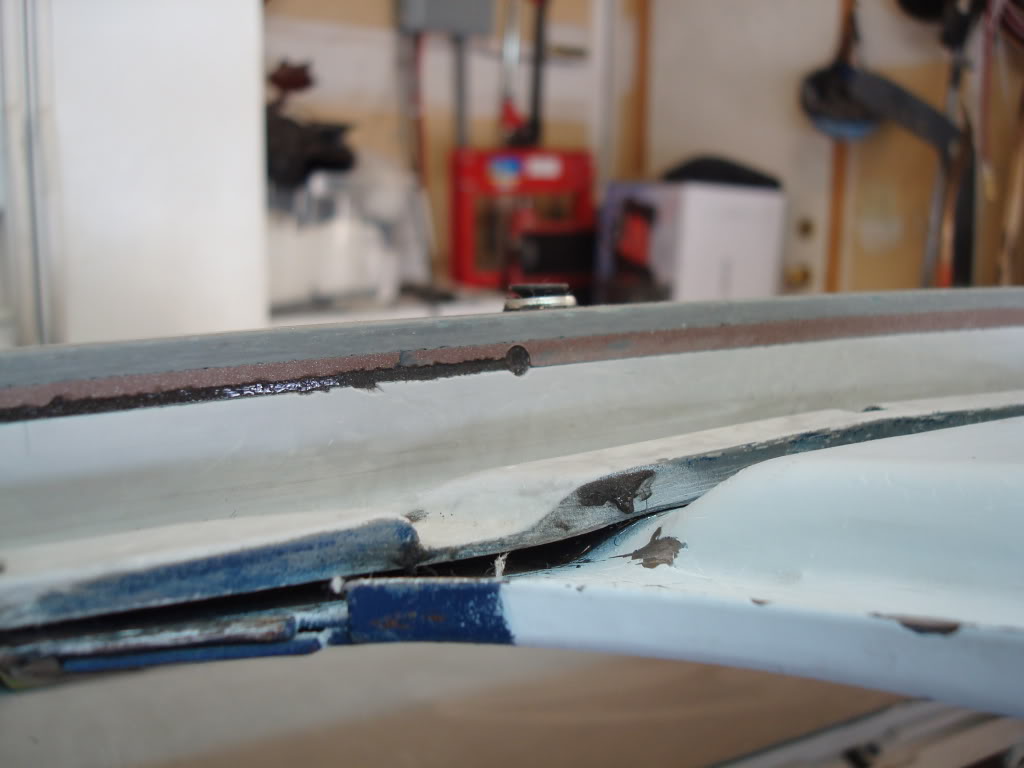
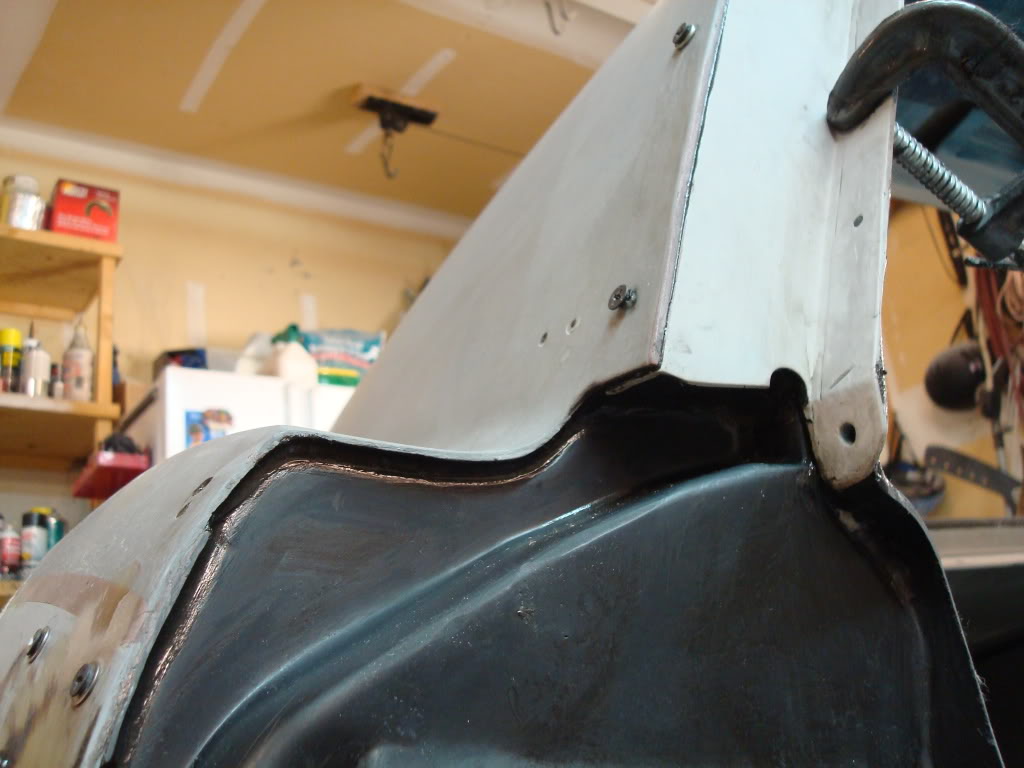
Now its time to start fitting those doglegs...yay (this job just plain sucks).It took a lot of work to get these to fit right...hours upon hours of fitting, grinding, disassembly, reassembly...you get the idea. Its extremely boring, and very tedious. Its all in the details.
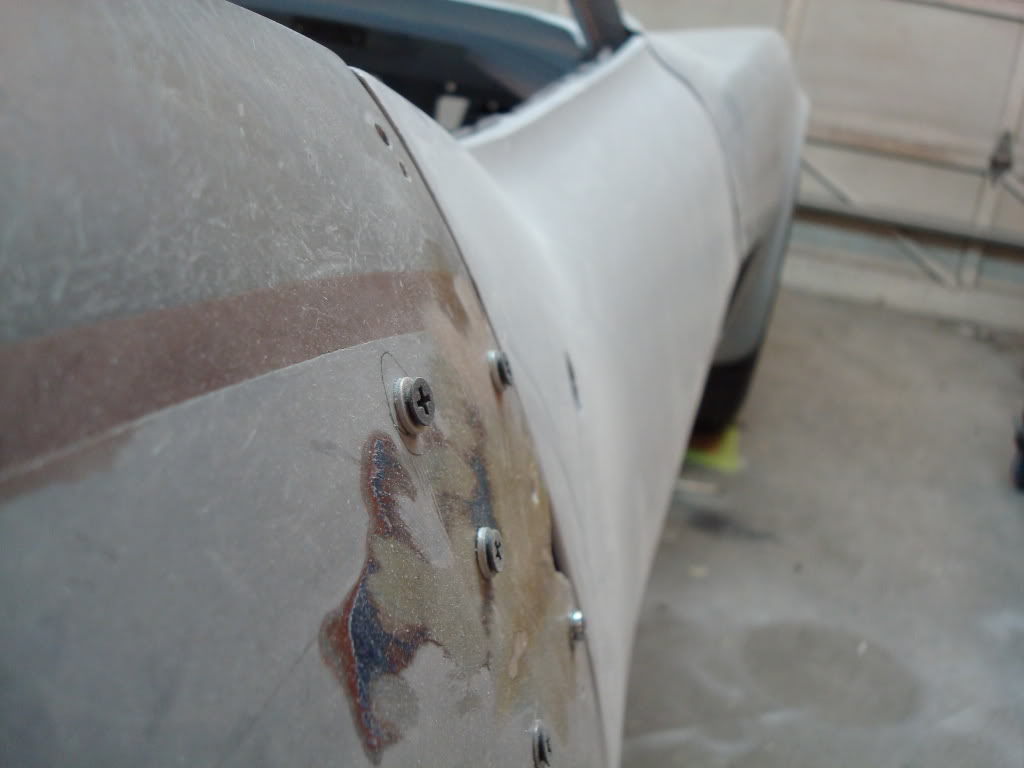
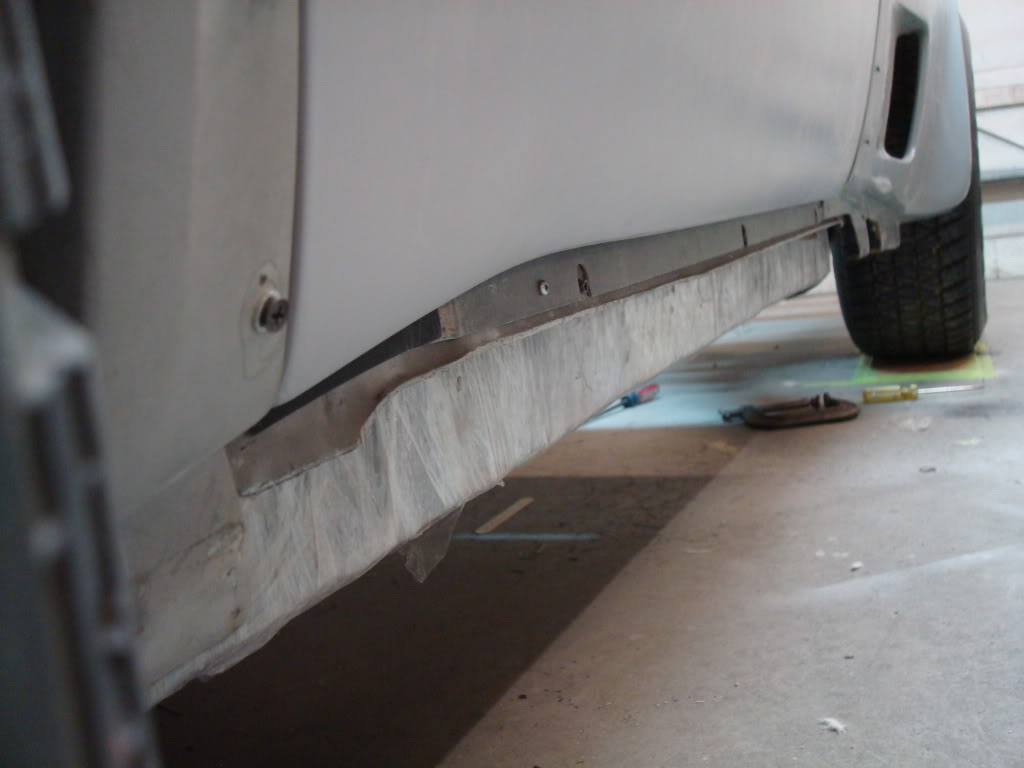


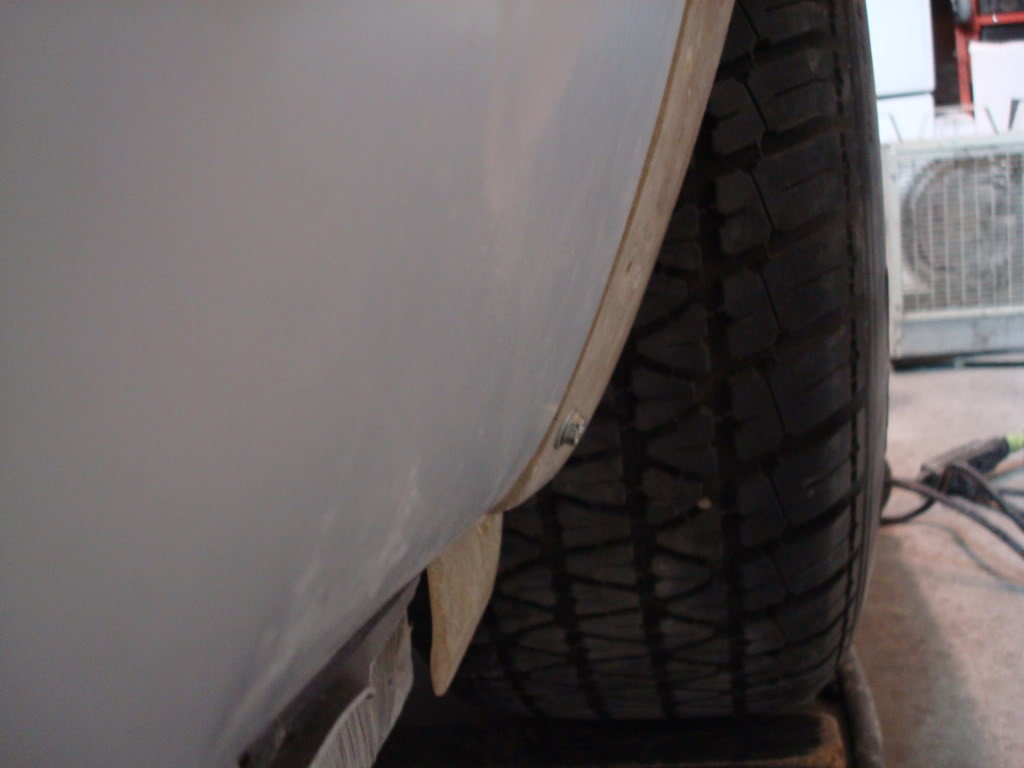

Lucky me! I had to reglass an area on the inside of the panel, so that I could grind the outside of the panel to match the door. Once again, a ton of test fitting and sanding...
All the door gaps will be reglassed and reshaped once everything is bonded together.
First thing I did was use scotch-brite and lacquer thinner to scuff the lock pillar plates. The manufacturers first coat their molds with release agent, then they fiberglass over that, and pop it loose. You don't want that release agent on there - it needs to come off before you do any prepping. Once you do the washdown with thinner and scotchbrite, finish it off with hot soapy water and a scotch brite pad (yes, I did this when it was -15 Celcius outside...you've gotta do whatcha gotta do
).Next was prepping all surfaces for bonding. You need to do this before any fitting of the panels. Why? Because sanding on bare glass changes its shape and thickness of the panels (not by much, but it does remove material, and that could mess with your panel fitment).
Next was prepping the bonding sufaces on the rear deck, and b-piller. These were pita to do. This is the tool I use to get into tight places (tool tip is courtesy of Mike
)The teeth of the hacksaw blade will scratch any surface that it comes in contact with...this is how you prep those impossible to reach areas for bonding. This took a lot of work...
Next step is to double check your rocker channel sides. They need to be straight. You might have to bend and reshape them a bit...I had to on mine.
Now you need to prep your rocker covers for bonding. Sorry...don't got a pic for this one guys. Remember those pieces of masking tape I put on the rockers before I painted the birdcage? Well, those a my "bonding strips". I scuffed the panel up wherever I masked the rocker off.
Screw your rocker covers in place, and then screw your lock pillar in place, at the bottom of the rocker, and near the striker bolt hole...
Now its time to start fitting those doglegs...yay (this job just plain sucks).It took a lot of work to get these to fit right...hours upon hours of fitting, grinding, disassembly, reassembly...you get the idea. Its extremely boring, and very tedious. Its all in the details.
Lucky me! I had to reglass an area on the inside of the panel, so that I could grind the outside of the panel to match the door. Once again, a ton of test fitting and sanding...
All the door gaps will be reglassed and reshaped once everything is bonded together.
01-27-2010, 06:07 PM
#1276
Safety Car
Thread Starter
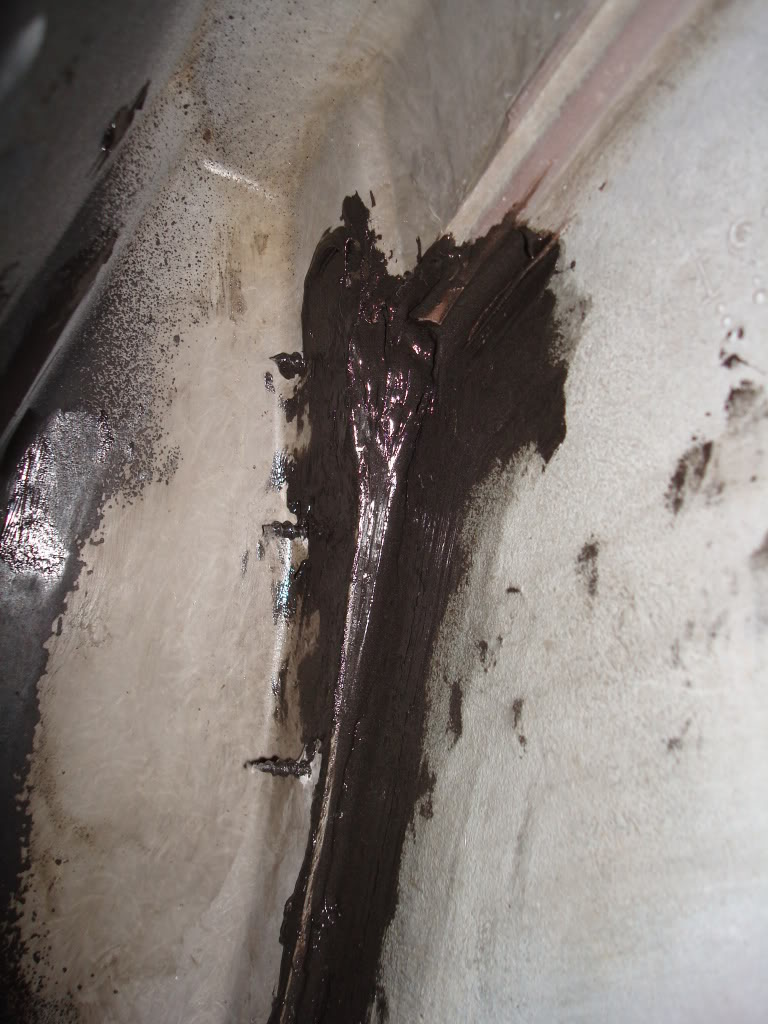
I bonded all the panels on the right side today...then I ran out of bonding adhesive The only place here that had marinetex wanted a ridiculous amount of cash for it, and you only get half as much.


The only place here that had marinetex wanted a ridiculous amount of cash for it, and you only get half as much.
Last edited by stinger12; 03-13-2011 at 04:38 PM.
01-27-2010, 10:13 PM
#1277
Drifting
Wow! You have to be excited to be getting that far. The work may suck right now, but it's really coming together. (Literally) You gonna lay some paint tomorrow??!! lol, j/k!
01-28-2010, 12:35 AM
#1278
Safety Car
Thread Starter
I'm very excited. I've probably put in 40+ hours fitting, cleaning, grinding and bonding these lock pillar plates, rocker covers and doglegs. That is no exaggeration...that's how much work it took to get these things absolutely perfect. You should have seen what they looked like before I put that many hours in on them...the fit was terrible on the right side. It was a lot of work, but it needed to be done. Thes best part is that I don't think I could have physically got it fitting any better than I did. I always make sure that every panel I bond on is fit dead on - even if it takes me aabsolutely forever to get it to fit right. The feeling of a job well done is awesome! Hopefully I will have more marinetex by late next week so I can finish the left side. Then I need mike to send me my rear tires I ordered so I can mount them on my rear rims and start mocking up the back flares.
Last edited by stinger12; 01-28-2010 at 09:44 AM.