When you click on links to various merchants on this site and make a purchase, this can result in this site earning a commission. Affiliate programs and affiliations include, but are not limited to, the eBay Partner Network.
Well I found my bucket list car - in pieces and not running.
When I was an elementary school kid in the 60's my next door neighbor had a 64 coupe. The mom would drive her son and myself to school in it. I got to sit in the area behind the seats. I loved the car. They had it for years. After a number of years they decided to sell it when I was in high school in the early seventies. The owner had tried to paint it in his garage and it didn't turn out well. It was also overheating. So they sold it for under $2000. I was dying I couldn't get it.
Fast forward several decades. I have had a number of C3's and actually briefly had a 63 convertible. But a C2 coupe has always eluded me.
Several weeks ago I learned to a C2 coupe that was for sale that had been donated by the original owner to a local charity. It appears that he took the car apart to paint himself in the late 1980's. There were some issues with the paint and he never finished the job and never put the car back together. I went and took one look at the car. Yes it had issues but has never been hit and it had a solid frame. It also was 63 split window.
This came at an inopportune time. I currently was on about my 3rd year with a body off nut and bold restoration on a 69. I still had not installed the engine or transmission, so how could I sell a car like that? And I also had a 71 big block that I had just gotten back from paint, and while it still had the engine in it,
the interior and other parts of the car were gutted as well.
Not being a man of means, and having a narrow two car garage to work in, and consulting with my super supportive wife, we decided to sell both the 1969 and the 1971 and every C3 car part we had, which were many, and get the 1963. Since I am in my 60's I could see this being my last big project.
There is a parable of a merchant that found a great pearl and sold all the other pearls he had to buy the pearl of great price. Because of that, we are pondering naming the car "Pearl" (and the car is white as well)
The really neat thing about this car is that it came with a lot of paperwork, including dates and mileage and receipts. I am eager to go through them in the coming days and discover the car's story.
On the 69 I did extensive documentation on my build thread in the C3 section. I probably won't go into as much detail here, but I found doing that was invaluable in keeping track of what I did and when. I also love the super helpful and encouraging people that would comment and advise on the thread
On that build I kept agonizing on whether to pull the body. I resisted at first, but eventually did. We got it down to the frame. Looking back, and really glad that I did that on that car. But having done that, I am reluctant to go that route again. As you all know, once the body comes off, it adds years to the restoration and much money as well due to due project creep. I want to be able to drive this car while I can still enjoy doing so. LOL. So we shall see.
It took a lot of work to sell the C3 cars and stuff, so I have only had about a week to poke around on the 63. I love what I see, but this project could go in a number of different directions, and I would love to get your input as we go along.
More to come soon.
Glenn in San Diego
Last edited by gleninsandiego; 11-14-2019 at 12:09 AM.
Now it was time to focus on the headliner and upper inside trim
This could have been a whole lot easier if the new headliner fit to begin with, but alas, it did not, and apparently that is the case for most
About a half inch needed to be trimmed from each side
We started by taking poster board and cutting it to size in the car to make a template
My wife Glenda has skills when it comes to making patterns like this
I tried metal shears at first to trim the headliner, but the plastic was too tough.
So out came the Dremel with a cut off wheel, which worked pretty good
It took a couple of iterations of holding it up in the car to get the final fit, but in the end looked pretty good
Before the black metal trim went on in order to hold the headliner up, I needed to prep the sun visors and rear view mirror
The old visors were split and nasty so I got new ones
The screws that tighten the turning resistance of the visor and the other hardware needed to be installed
It turned out the metal clips were pre drilled but the vinyl was not
Thanks to help on the forum I was able to do this
I cut away the vinyl with a small drill bit and then installed the hardware
I needed to pinch the inside metal together to make the screws fit
I had ordered a new rear view mirror and mounting post
Notice the little clip inside the part coming out from the mirror
However, when I tried to put it all together in the car, the mirror drooped
I changed the screw to one that was not machined all the way and was slightly larger in diameter that I had previously ordered from a corvette supplier
After I tightened it on the work bench to get it good and snug it worked fine
With those parts ready, the first piece of metal trim to go on was the front top windshield
While I waited to tighten everything down until all the metal trim pieces were fitted, this screw is the first to go on and needs to be tightened before the sun visors go on
The behind the seat halo panel goes on next
Next the side pieces and back pieces go on
Even though I had pre fit the pieces before, it did take a bit of tweaking to get everything to fit, especially the A pillar trim
I am pleased how it came out.
Finally, the inside trim on the rear windows needed to be installed
Here is where the hat pin proved invaluable to find the holes hidden behind the vinyl
It was a little more cramped back here then it was when I was a kid riding back here to elementary school in the next door neighbor's corvette
Here in the back, pre fitting the pieces made all the difference
Ignoring the smudge marks and tape residue, which will be cleaned off tomorrow, it came out looking pretty good
It's hard to get it all in one picture, but now the halo bar, headliner, front, middle and rear metal trim, sun visors and rear view mirror are all installed
Finally, a day of good forward progress with no major setbacks, for which I am thankful
Boyan is exactly right there is only one way to do it! It may not suit him or it may not suit me or anyone else here but please do it to suit yourself. It's your car and your money so build your restomod the way you like it. I'll be following along.
No matter what anybody says, its never "never been hit" until you have it down to raw fiberglass....and see for yourself.
Great project and if its your last do what you want with it, there is never only "one way to go"...
You don't have to do a "body off" to get the car to a point you can enjoy it.....unless you're going the full restomod route...
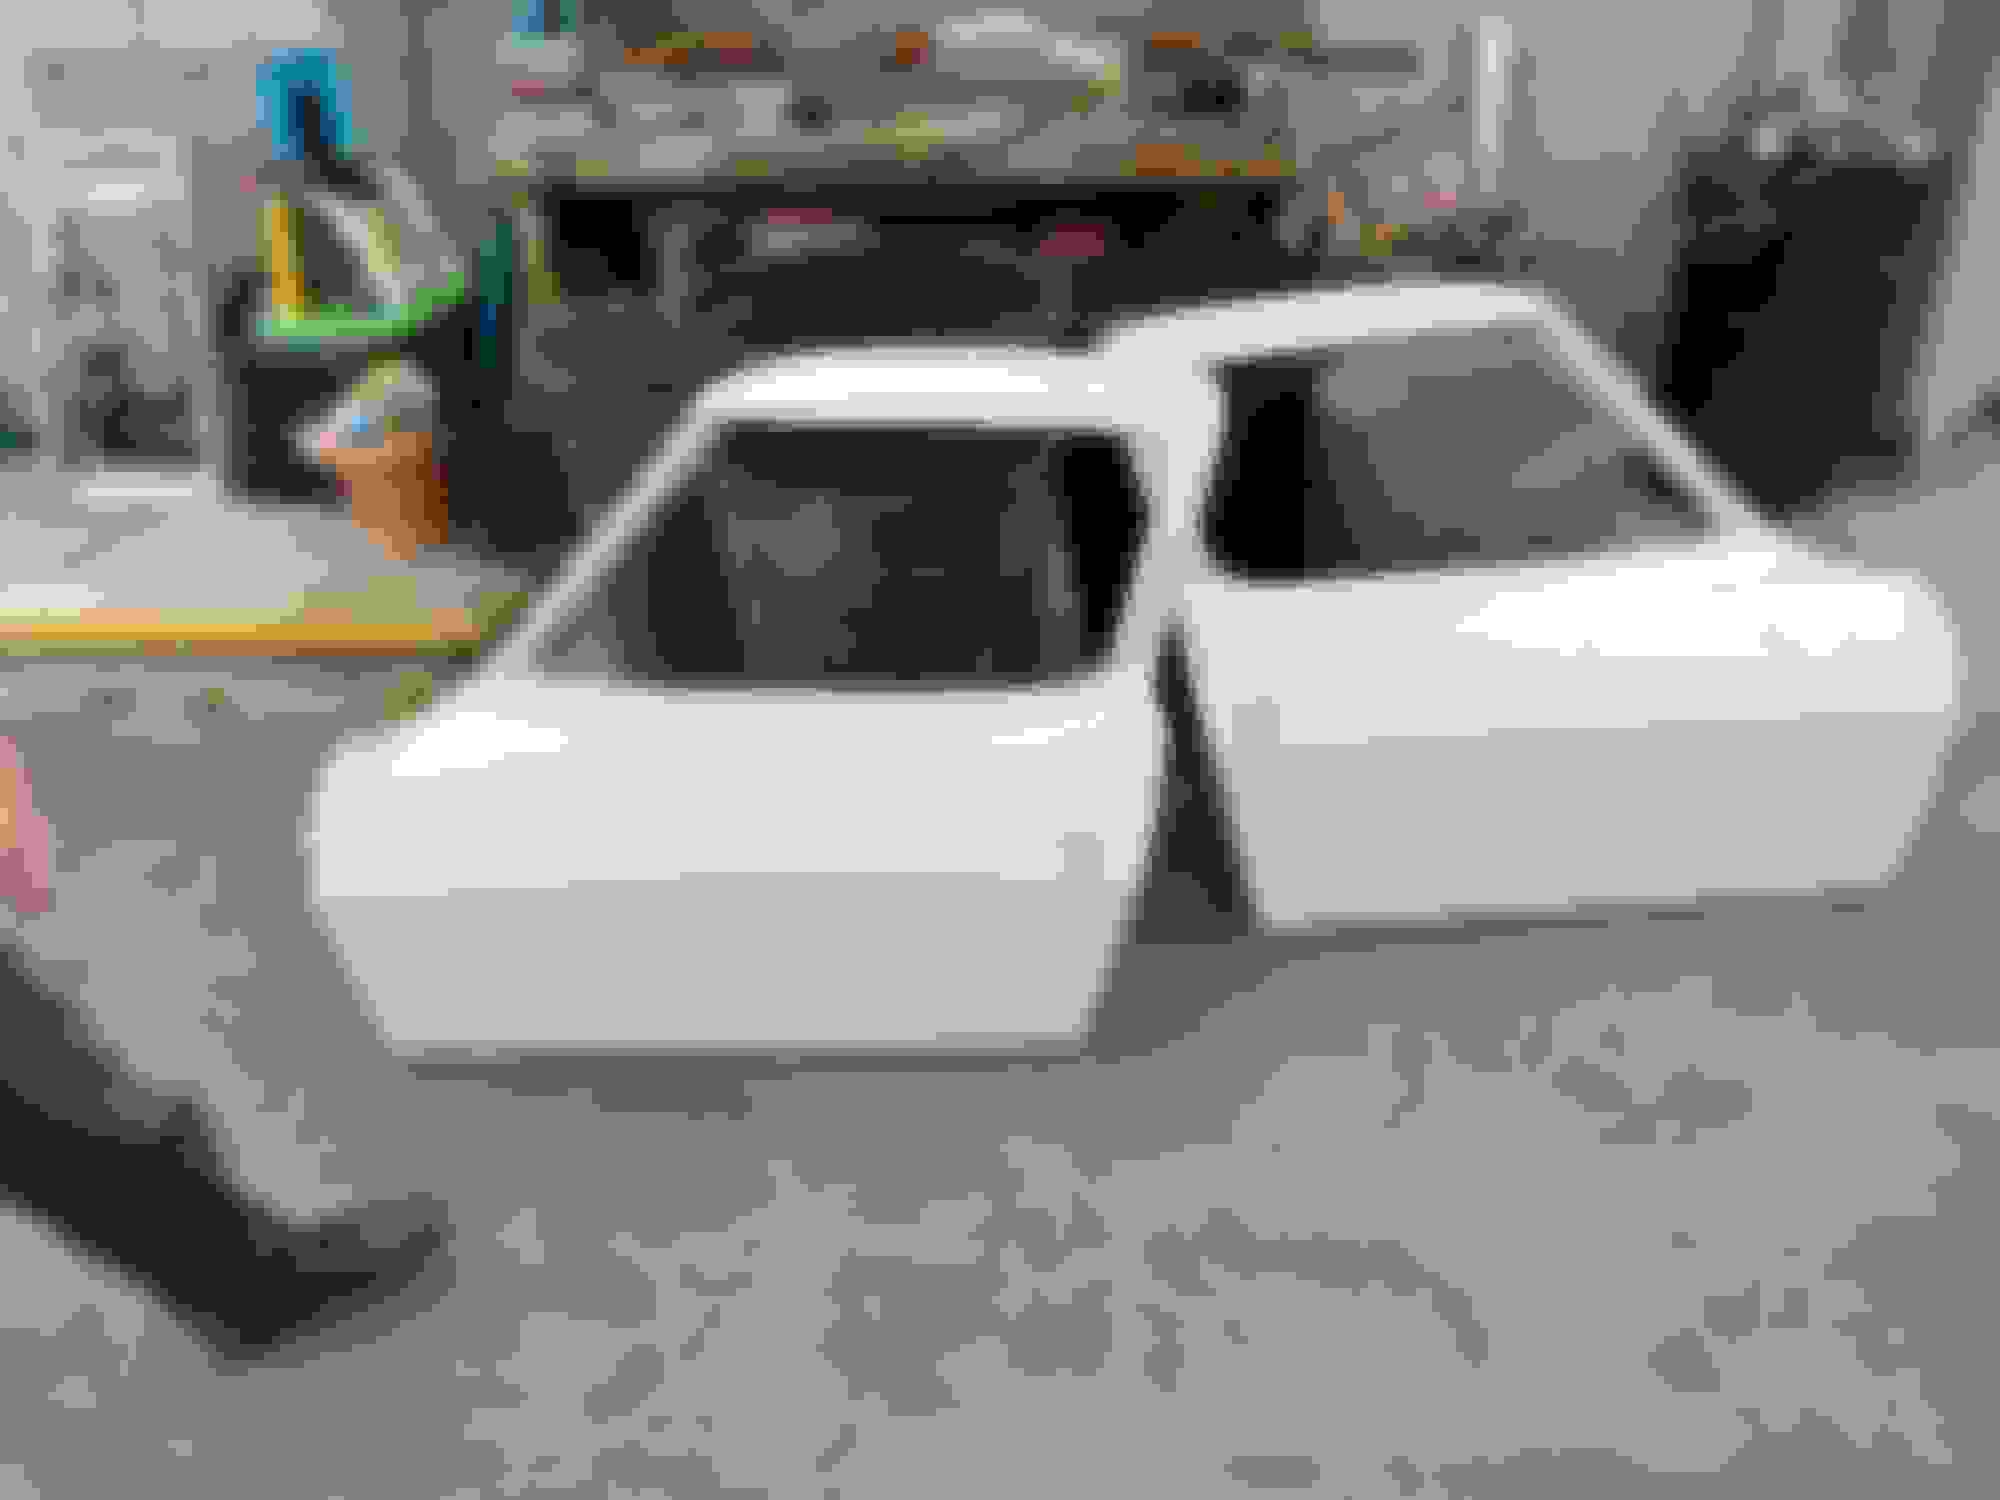
I hope you have the doors with the car and they were just removed for painting...
No matter what anybody says, its never "never been hit" until you have it down to raw fiberglass....and see for yourself.
Great project and if its your last do what you want with it, there is never only "one way to go"...
You don't have to do a "body off" to get the car to a point you can enjoy it.....unless you're going the full restomod route...
I hope you have the doors with the car and they were just removed for painting...
Very cool, Glenn, and you did the right thing---you followed your heart. You've wanted one of these all of your life, and now you have one. Doesn't get any better than that. Since it's white, you should go with a red interior!!
You're much farther ahead of the game with the collection of the trim parts....
Having to purchase them separately would flat out hurt your feelings and your pocketbook...
I know you have tons on your mind about this at the moment. But the first thing I would do is send the shifter plate out for restoration. I don't even know the guys name, FTF does. But I've read where he's retiring and that is a focal point of the entire car to me.
Great life story and love your association to Matthew 13.
It's possible to find a shop to affordably restore your frame so all your work that rests on it has a solid healthy foundation. Here's my frame that was (I think) very cost effectively restored which probably saved me a year toward driving time.
Let me know if you'd like the contact to my restorer.
Also..... I'd humbly suggest... don't call her "Pearl", folks will immediately think Minnie.
Call her "The Pearl".
Looking forward to the "rest of the story". Blessings
 08-11-2019, 11:20 PM