63 Split Window Restomod SRIII Build Thread
 07-30-2013, 11:41 PM
#41
Safety Car

Thread Starter

57 hours
Im starting to work on some of the interior items in anticipation of the SRIII chassis and 63 hood arriving soon.
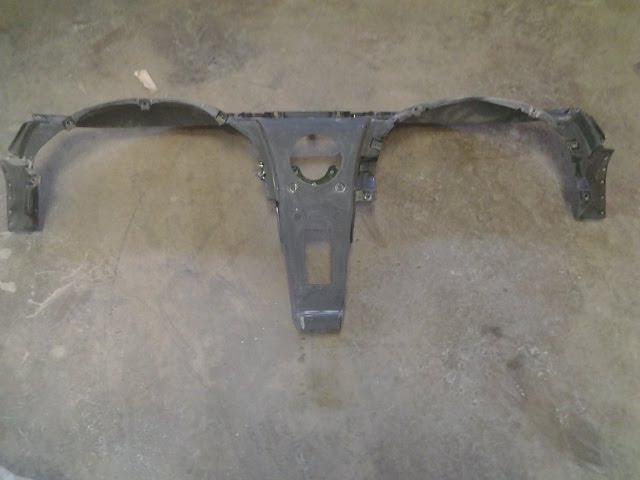
I wet sanded the dash, primed it in areas where i had rubbed through eliminating drips, and then repainted it with SEM hot rod black.
Wet Sanding
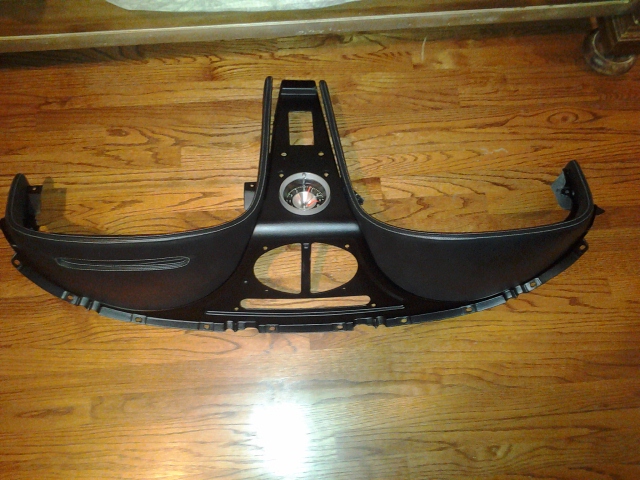
New Black Leather Dash Pads with French stitching option
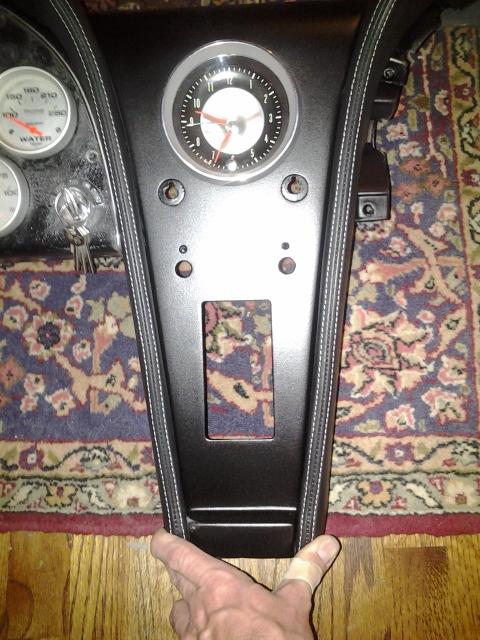
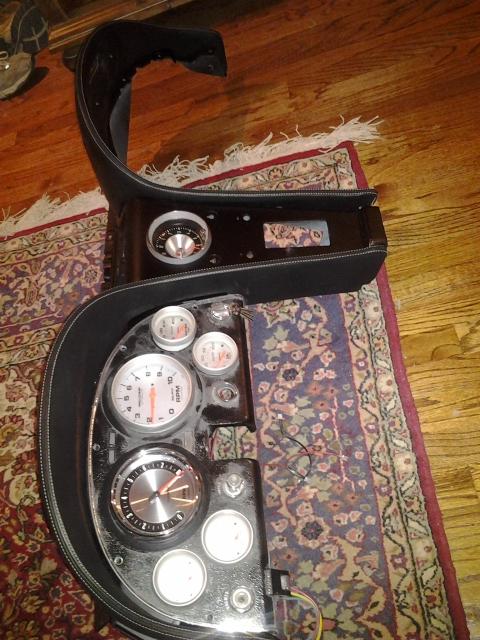
Here (on the left, not the other gauges) you can see what the Autometer American Muscle gauges will look like with the original clock. I sold the cluster shown with the stock chassis. The new one will have the autometer gauges recessed behind the original cast in bezels.
Im starting to work on some of the interior items in anticipation of the SRIII chassis and 63 hood arriving soon.
I wet sanded the dash, primed it in areas where i had rubbed through eliminating drips, and then repainted it with SEM hot rod black.
Wet Sanding
New Black Leather Dash Pads with French stitching option
Here (on the left, not the other gauges) you can see what the Autometer American Muscle gauges will look like with the original clock. I sold the cluster shown with the stock chassis. The new one will have the autometer gauges recessed behind the original cast in bezels.
Last edited by 65silververt; 07-31-2013 at 10:39 AM.


 07-31-2013, 08:49 AM
#43
Instructor

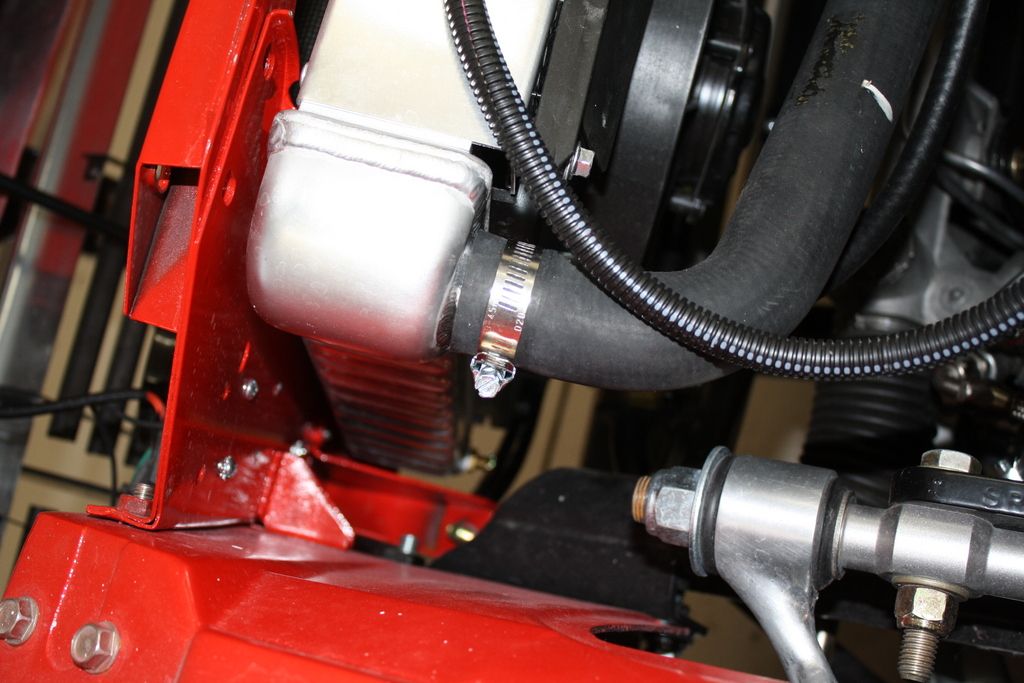
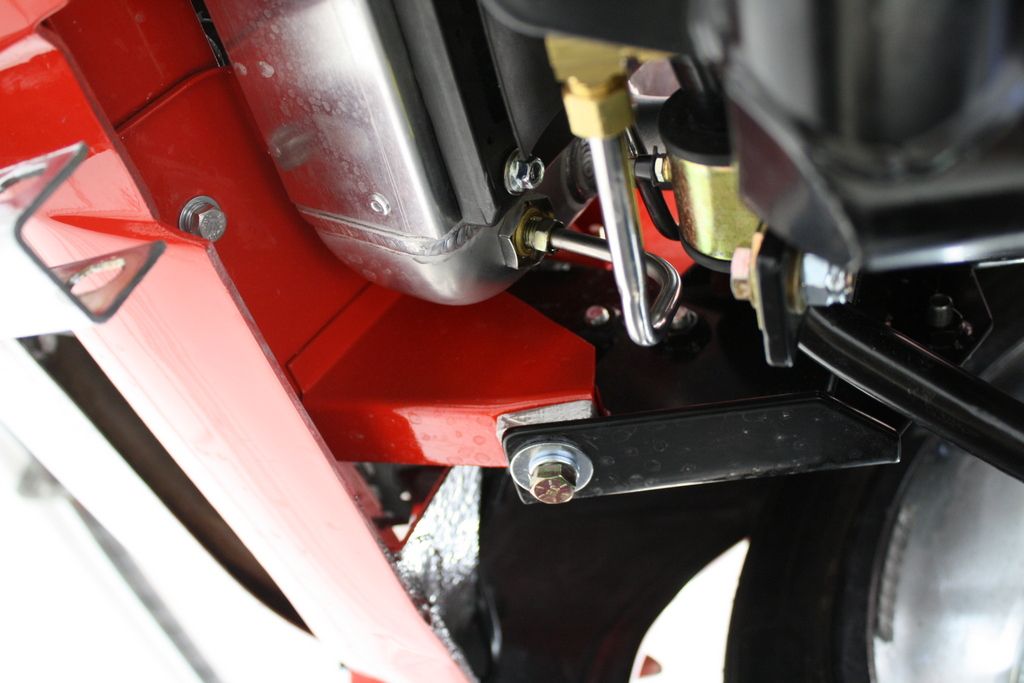
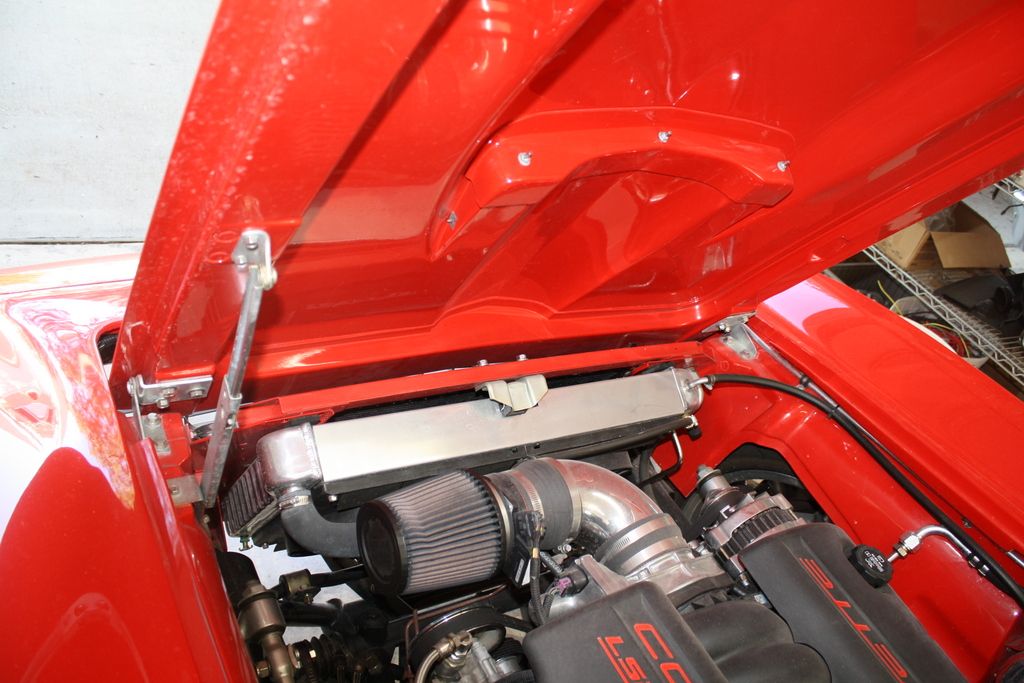
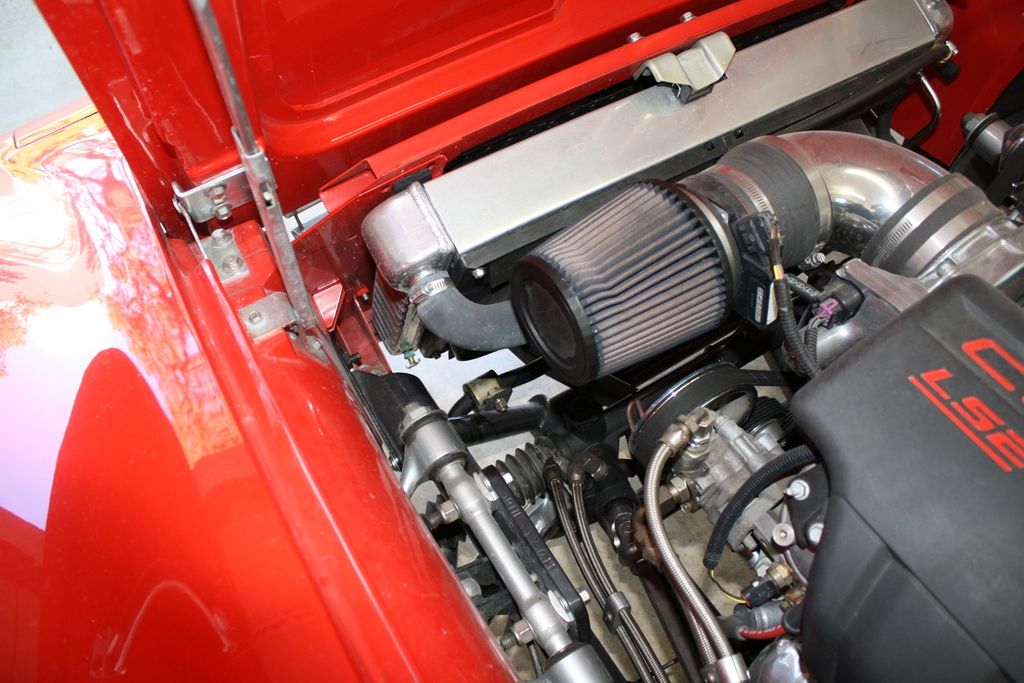
The first 5 pics are of single pass Dewitts LS radaitor mounted in a smallblock 67 style support in my current 65 coupe project. This radiator uses the welded on mounting points at the top, to keep the top of the radiator clean. it is also a side tank radiator with fill cap. This one does not have to use the OEM style expansion tank like the one in my 65 convertible You can see how much further the 67 style radiator is angled forward at the bottom, than early C2 radiators.
The swaybar clearance is good, but you will have to replace the headlight support rods and front valance mounting clips
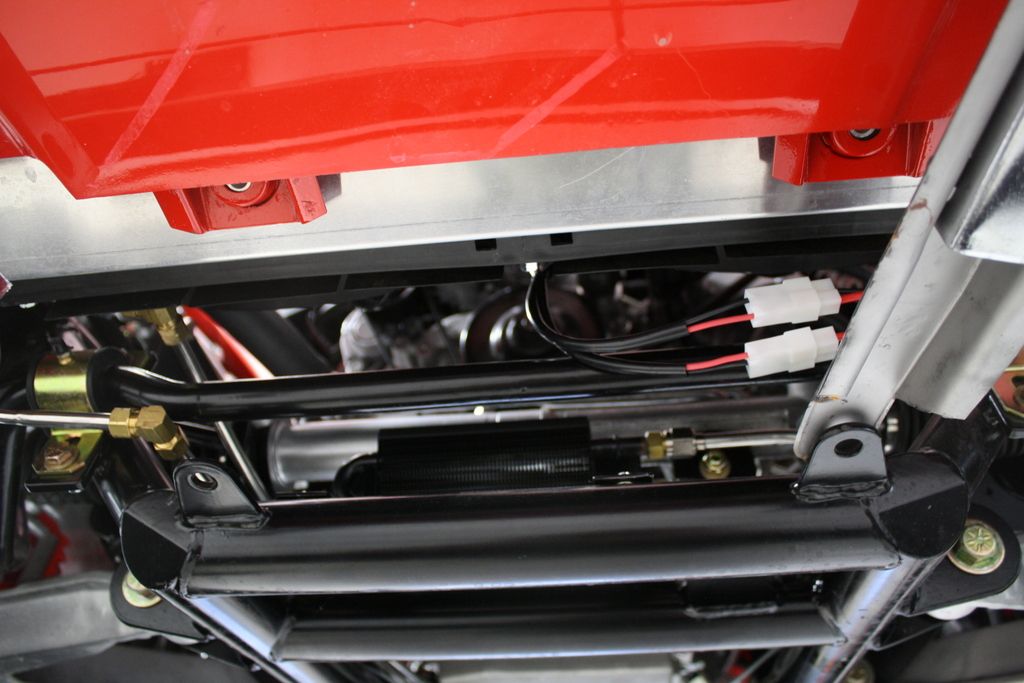
The last 2 pics show a single pass Dewitts radiator mounted in a 67 style support on my 65 convertible. This unit uses the top clamp mount, like OEM. I just cut off the part of the top clamp that used to mount to the shroud.
Regards, John McGraw
The swaybar clearance is good, but you will have to replace the headlight support rods and front valance mounting clips
The last 2 pics show a single pass Dewitts radiator mounted in a 67 style support on my 65 convertible. This unit uses the top clamp mount, like OEM. I just cut off the part of the top clamp that used to mount to the shroud.


Regards, John McGraw
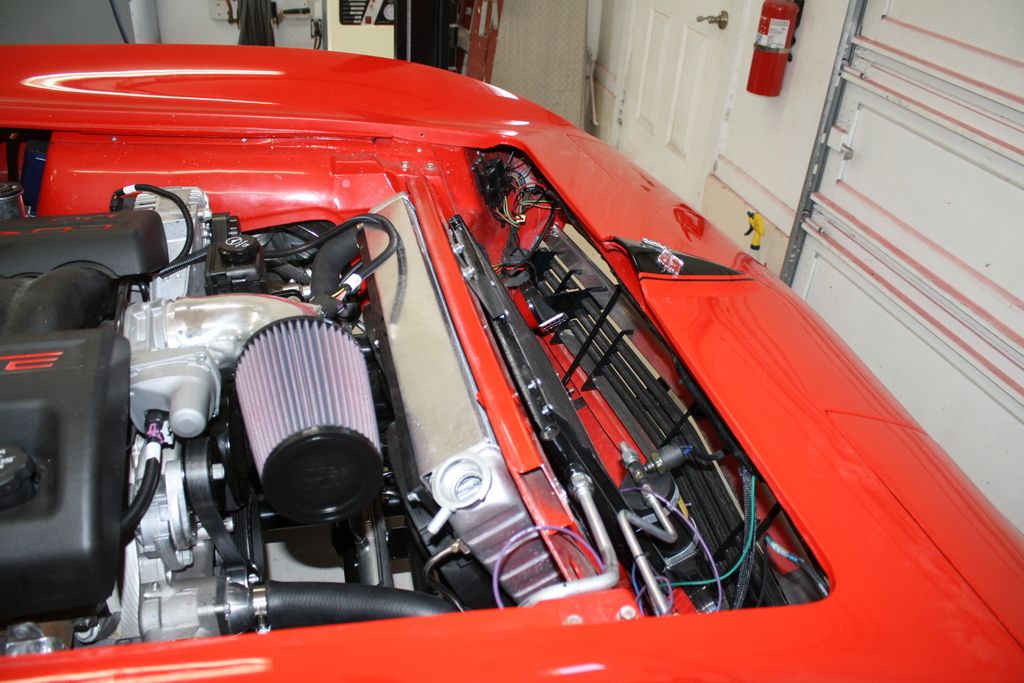
In one of these pictures you show an electrical device mounted on the wheel well just behind the driver side headlight bucket. What is this device?
Thanks,
Charlie
07-31-2013, 10:29 AM
#44
Safety Car

Charlie,
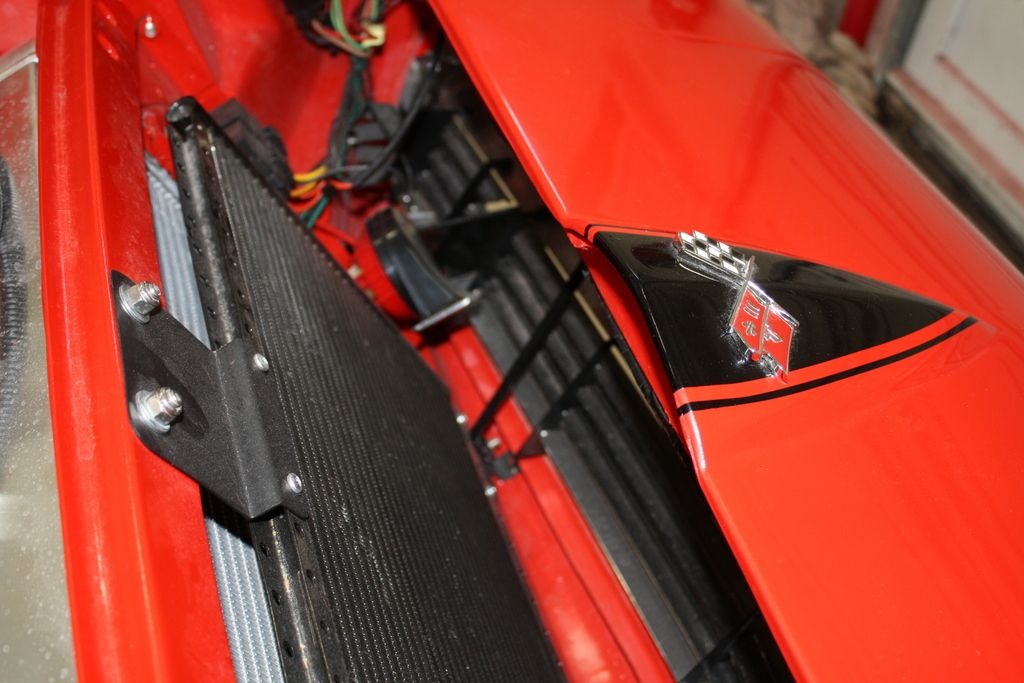
Those are the relays for the H1/H4 halogen lights I used, and the relays for the dual cooling fans Nice wateproof relays from American Autowire. On the other side, I mounted the control module for the DSE headlight motors. Both of these should almost unnoticeable, once the hood is on.
Regards, John McGraw
07-31-2013, 10:36 AM
#46
Safety Car
Thread Starter
Thanks! I noticed them in VetteRodders website on the link to the Autometer Gauge conversion bracket kit. At first i was going to sell the original clock and make a custom dash and console, but custom usually expires after a few years and is very subjective to ones personal taste. So, I decided to find gauges that match the clock and theme of the original units as best as possible. Since redline wants 1600.00 just to convert original gauges to electronic (that price does not include any cosmetic restoration work) i decided again that aftermarket gauges would be best.
08-21-2013, 11:59 PM
#47
Safety Car
Thread Starter
64 hours
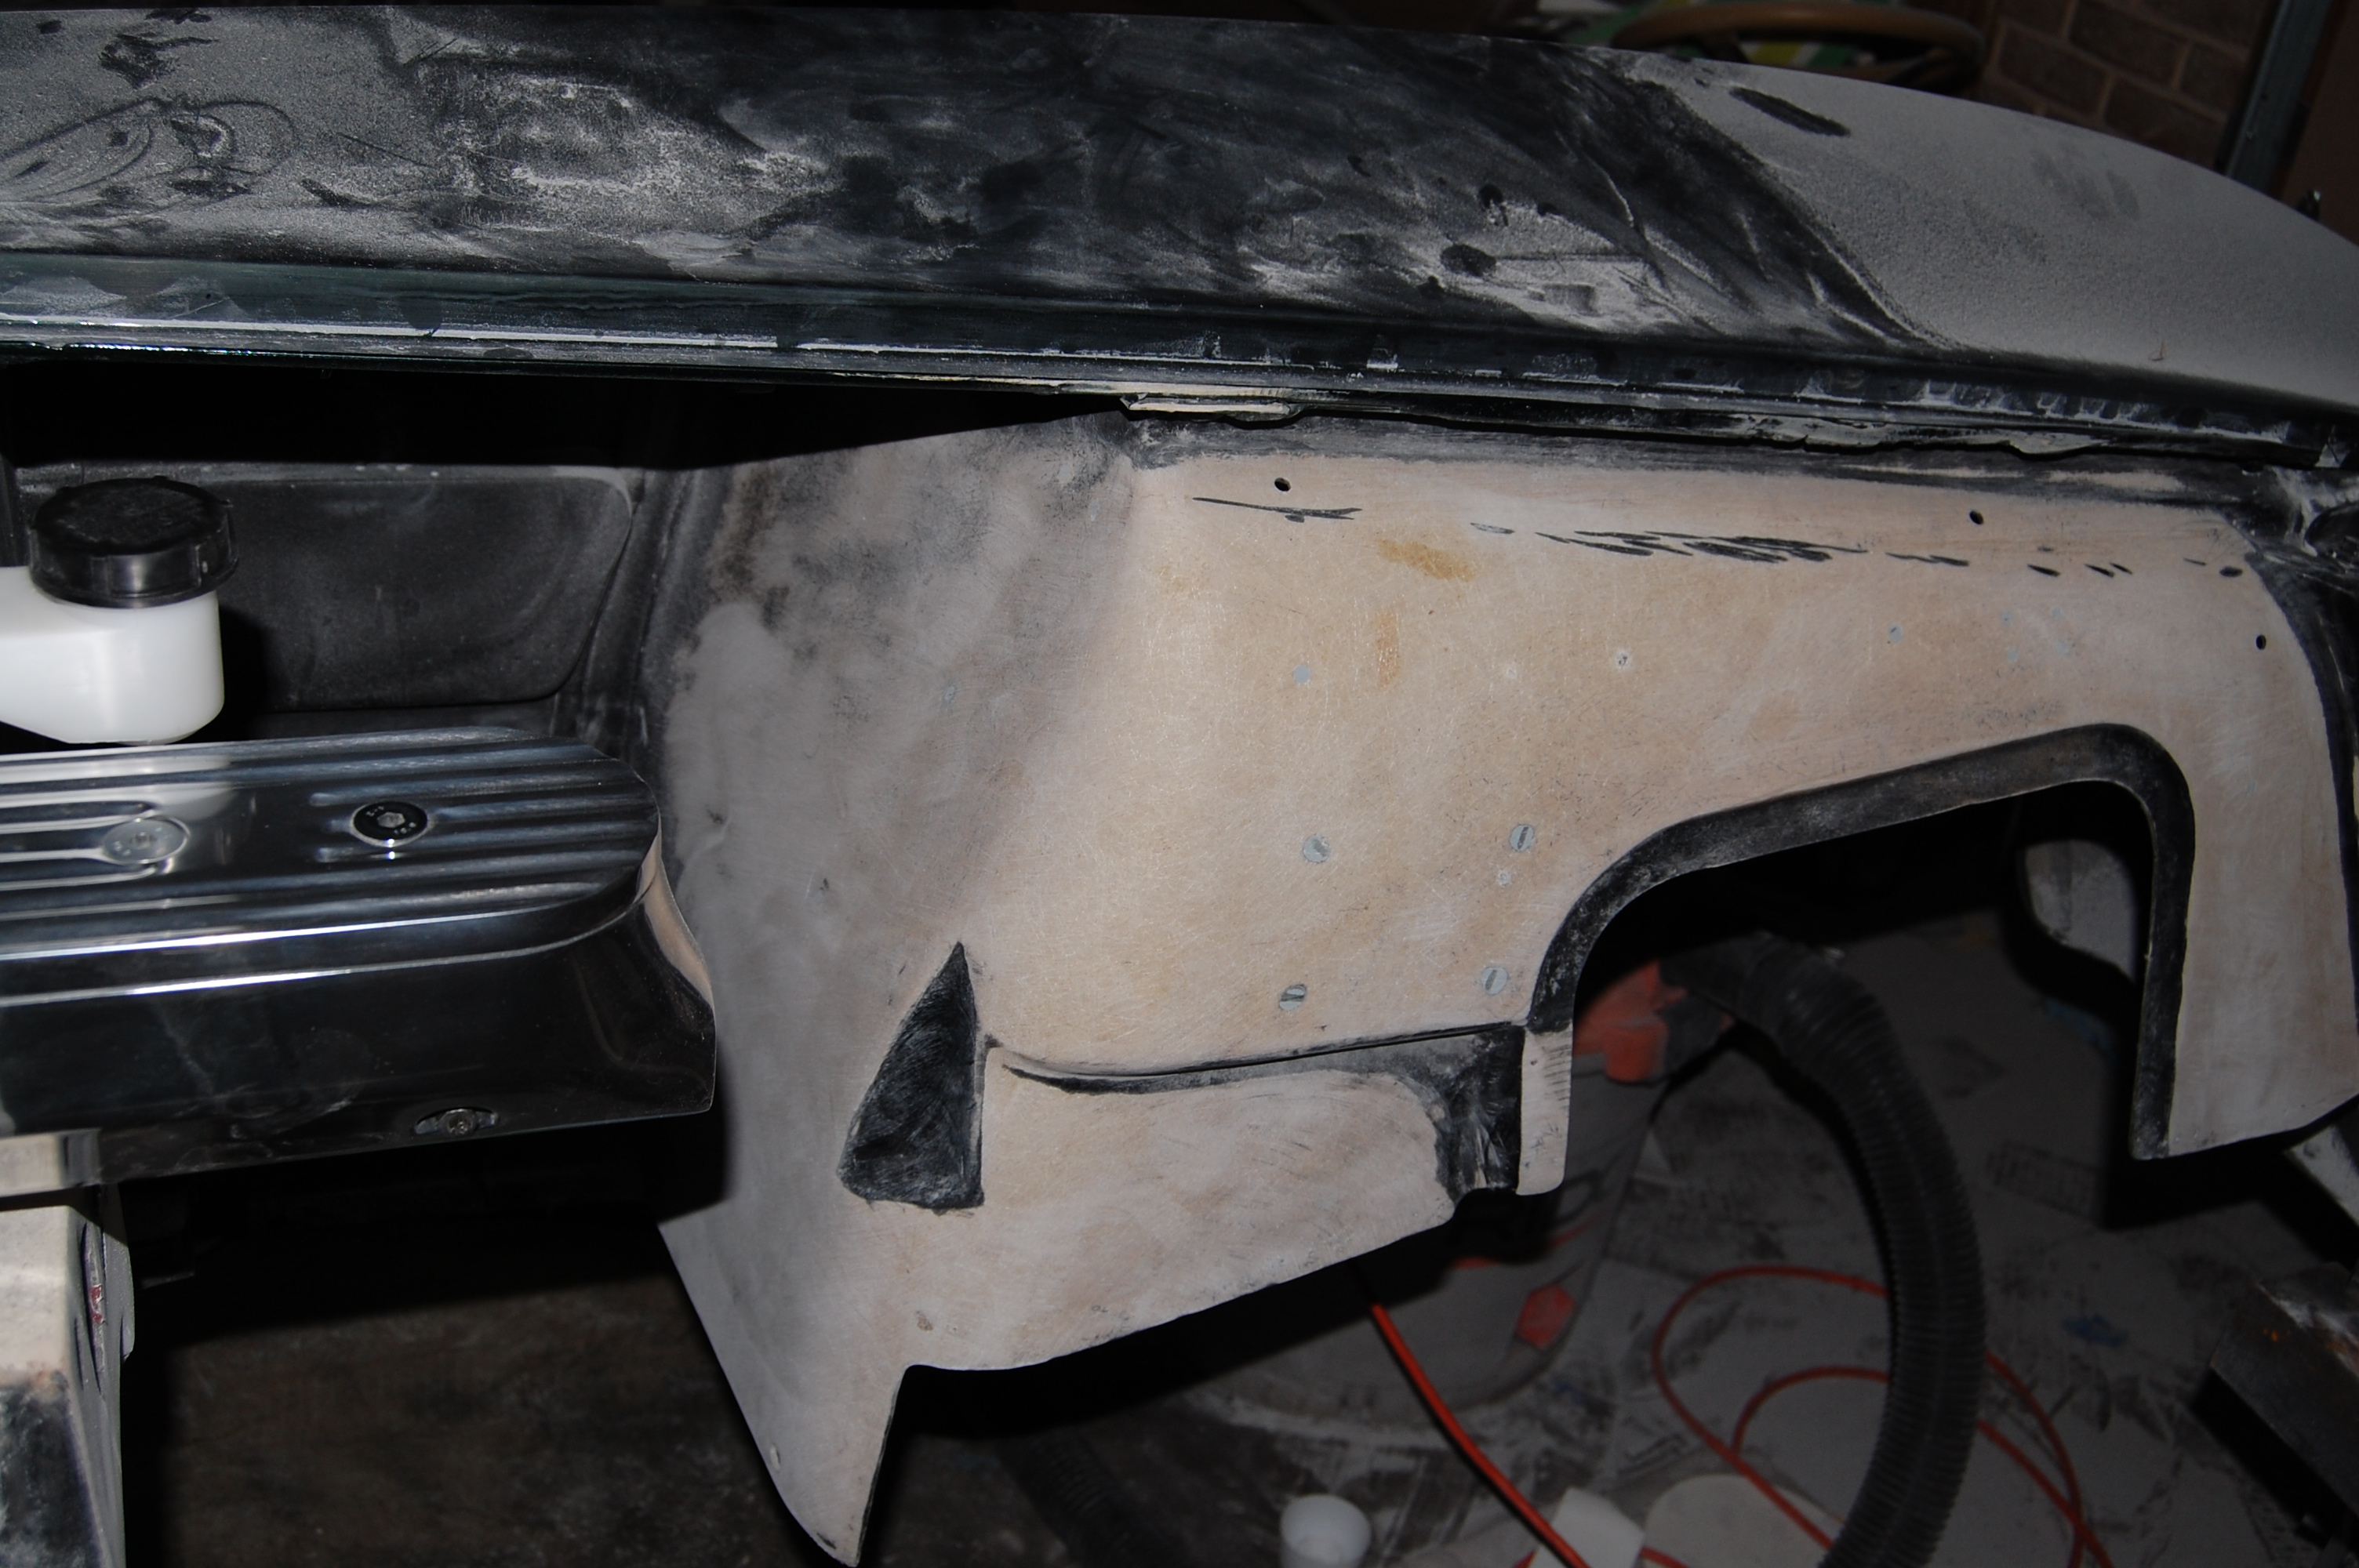
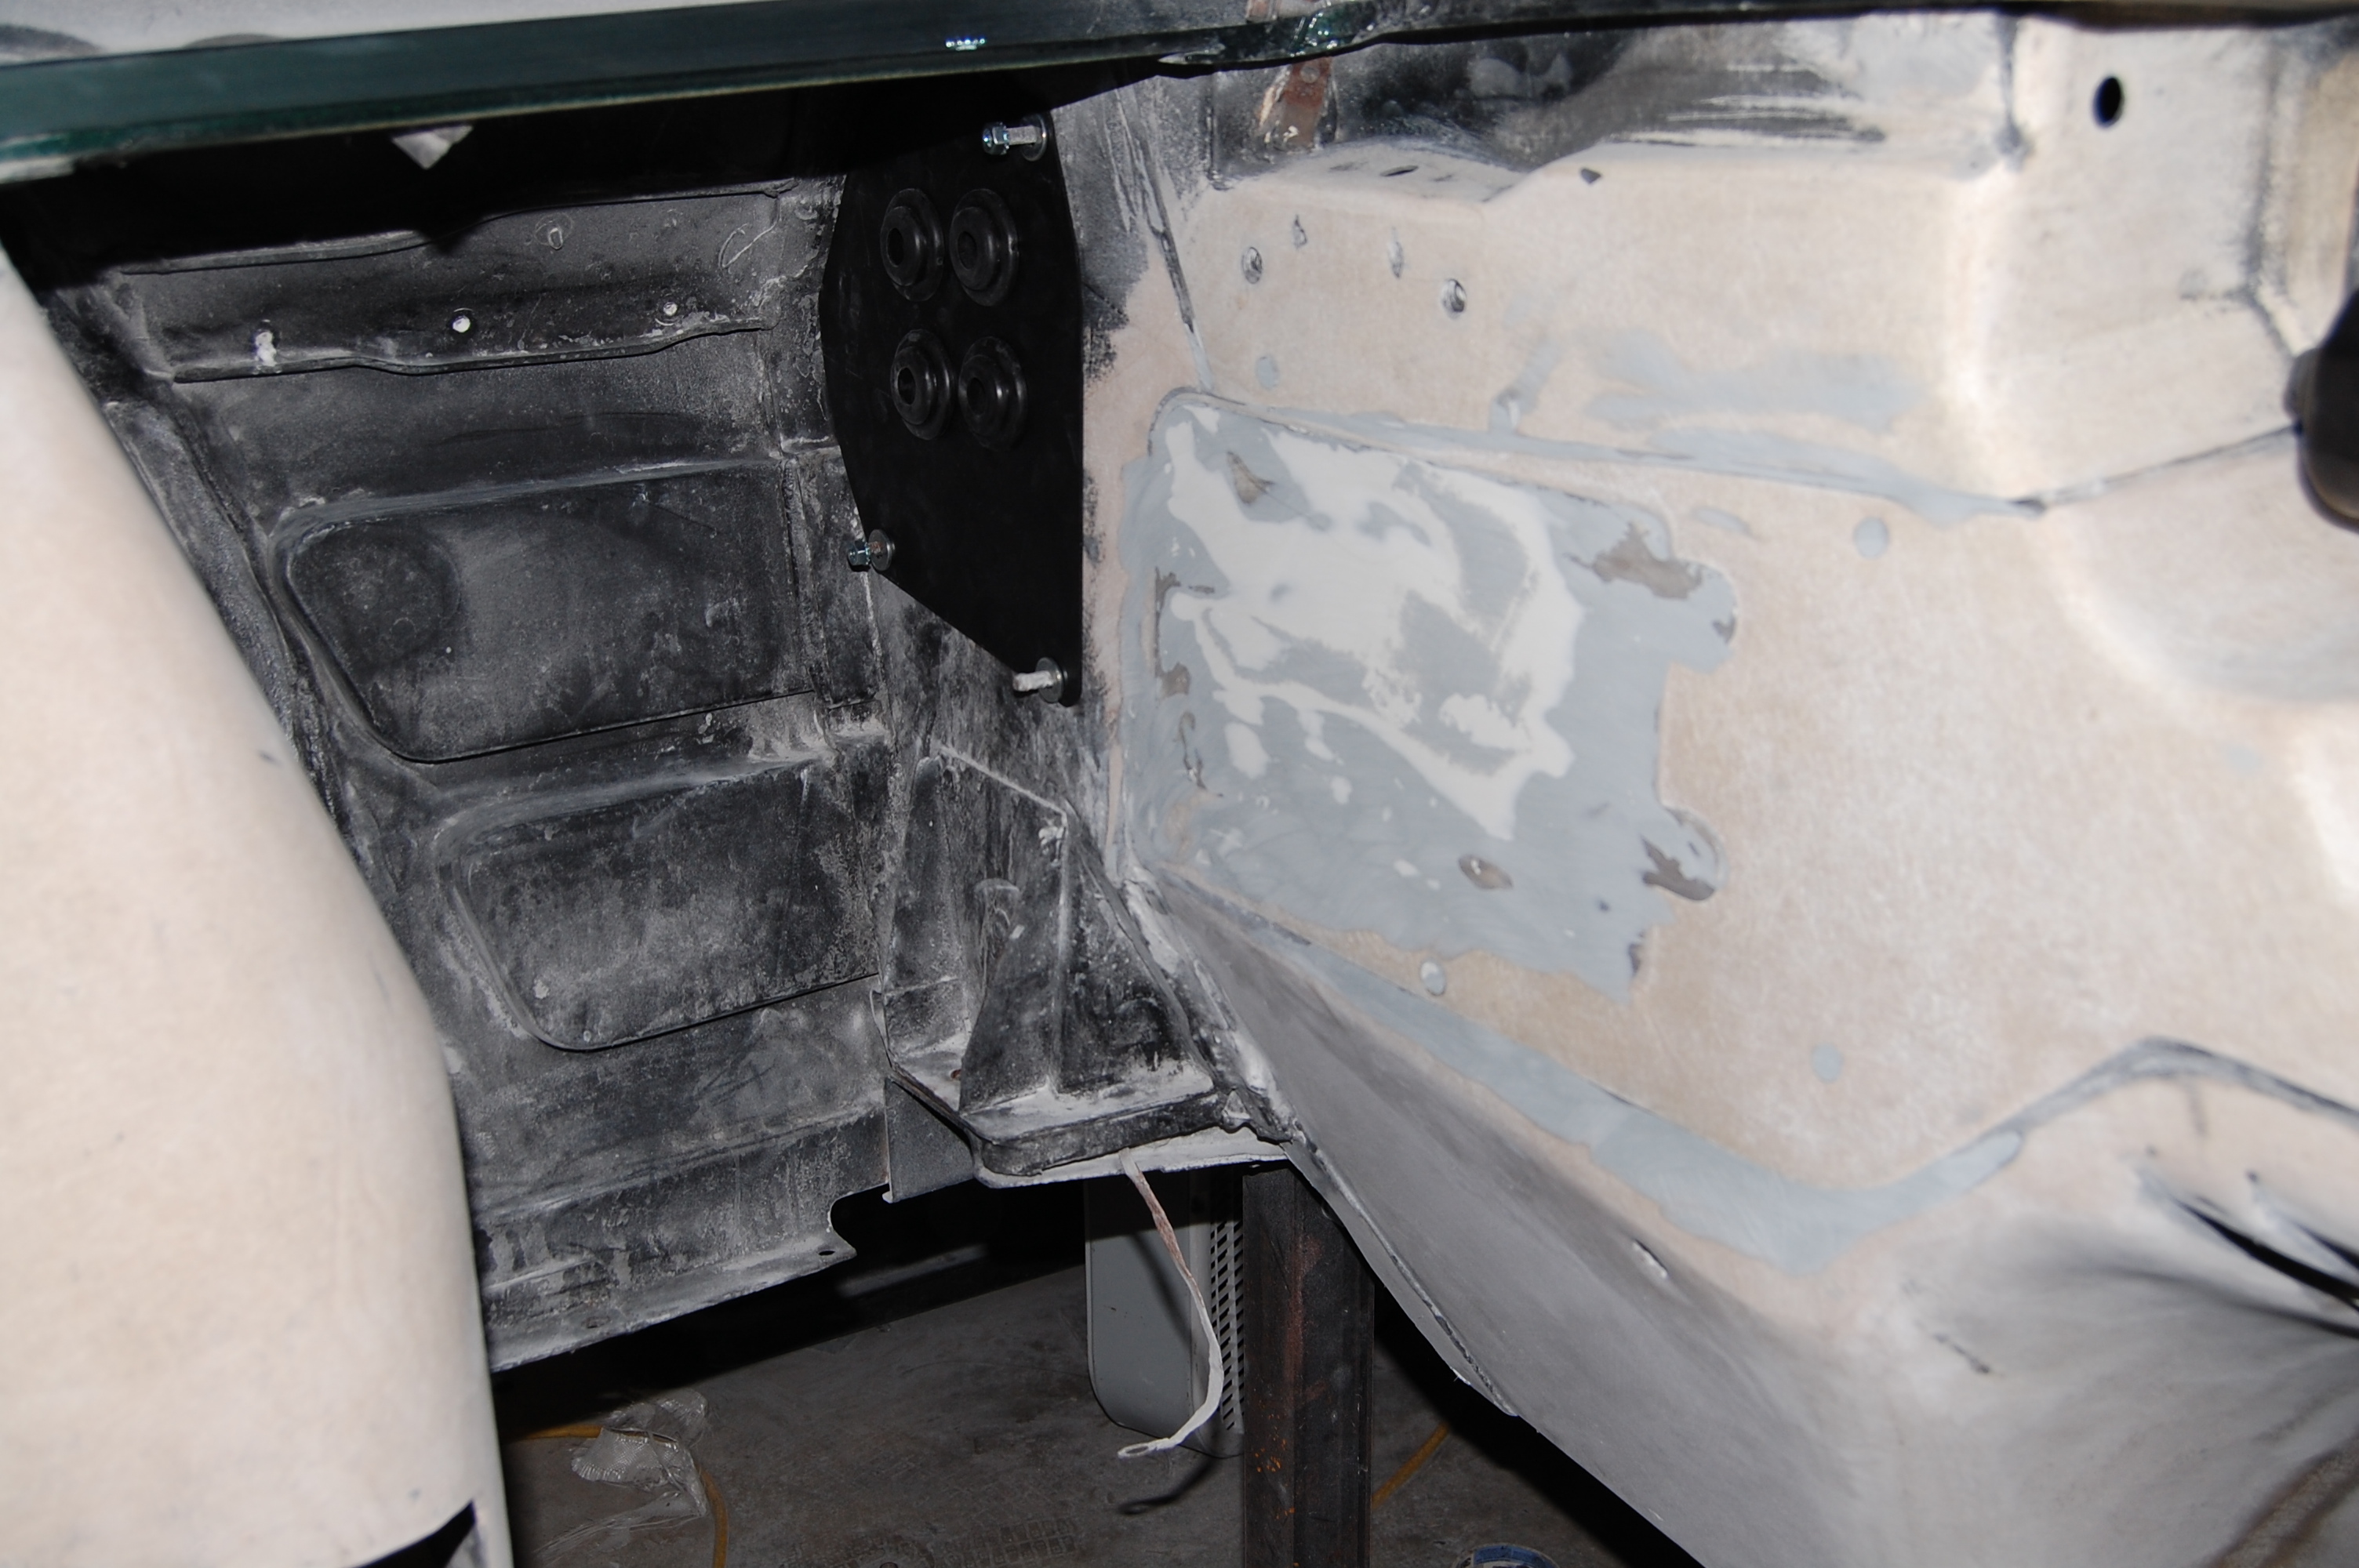
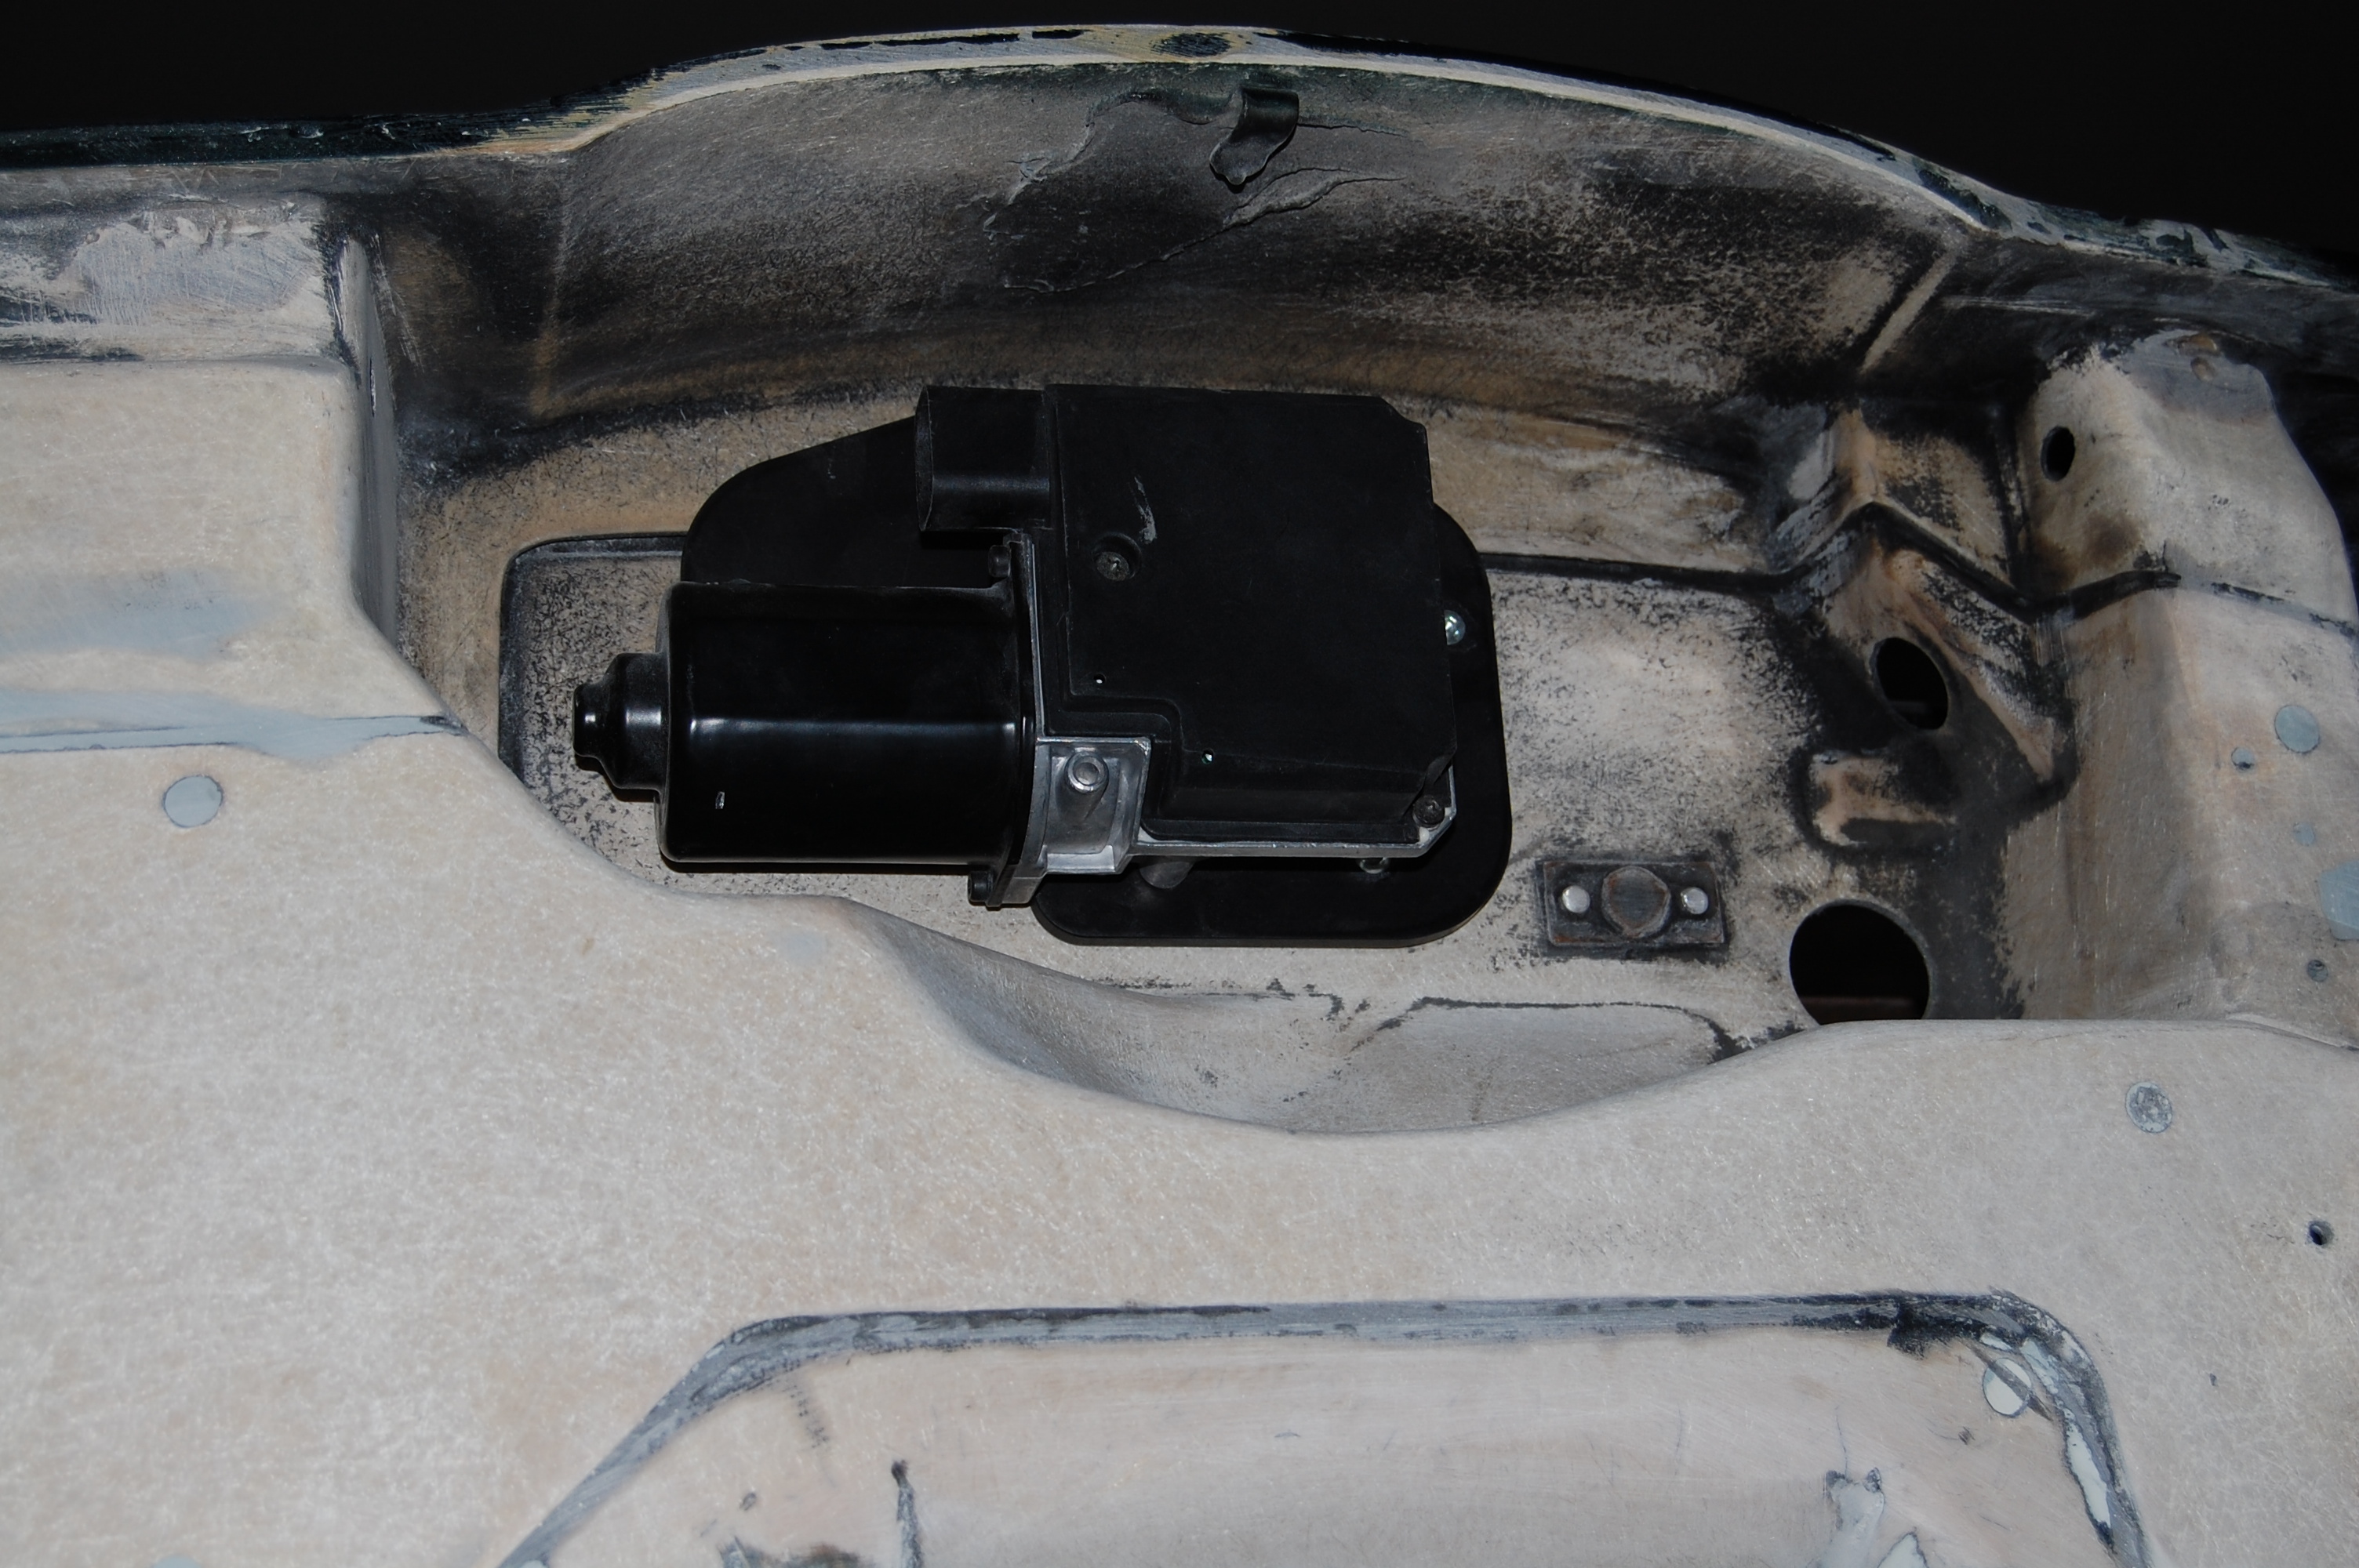
I've removed a large majority of the old paint from the firewall and fender skirts, but still a lot to go before epoxy primer. I am also in the process of fitting the new components on the firewall and in the engine bay to insure everything fits correctly. Hopefully that will help the assembly process after paint go smoothly.
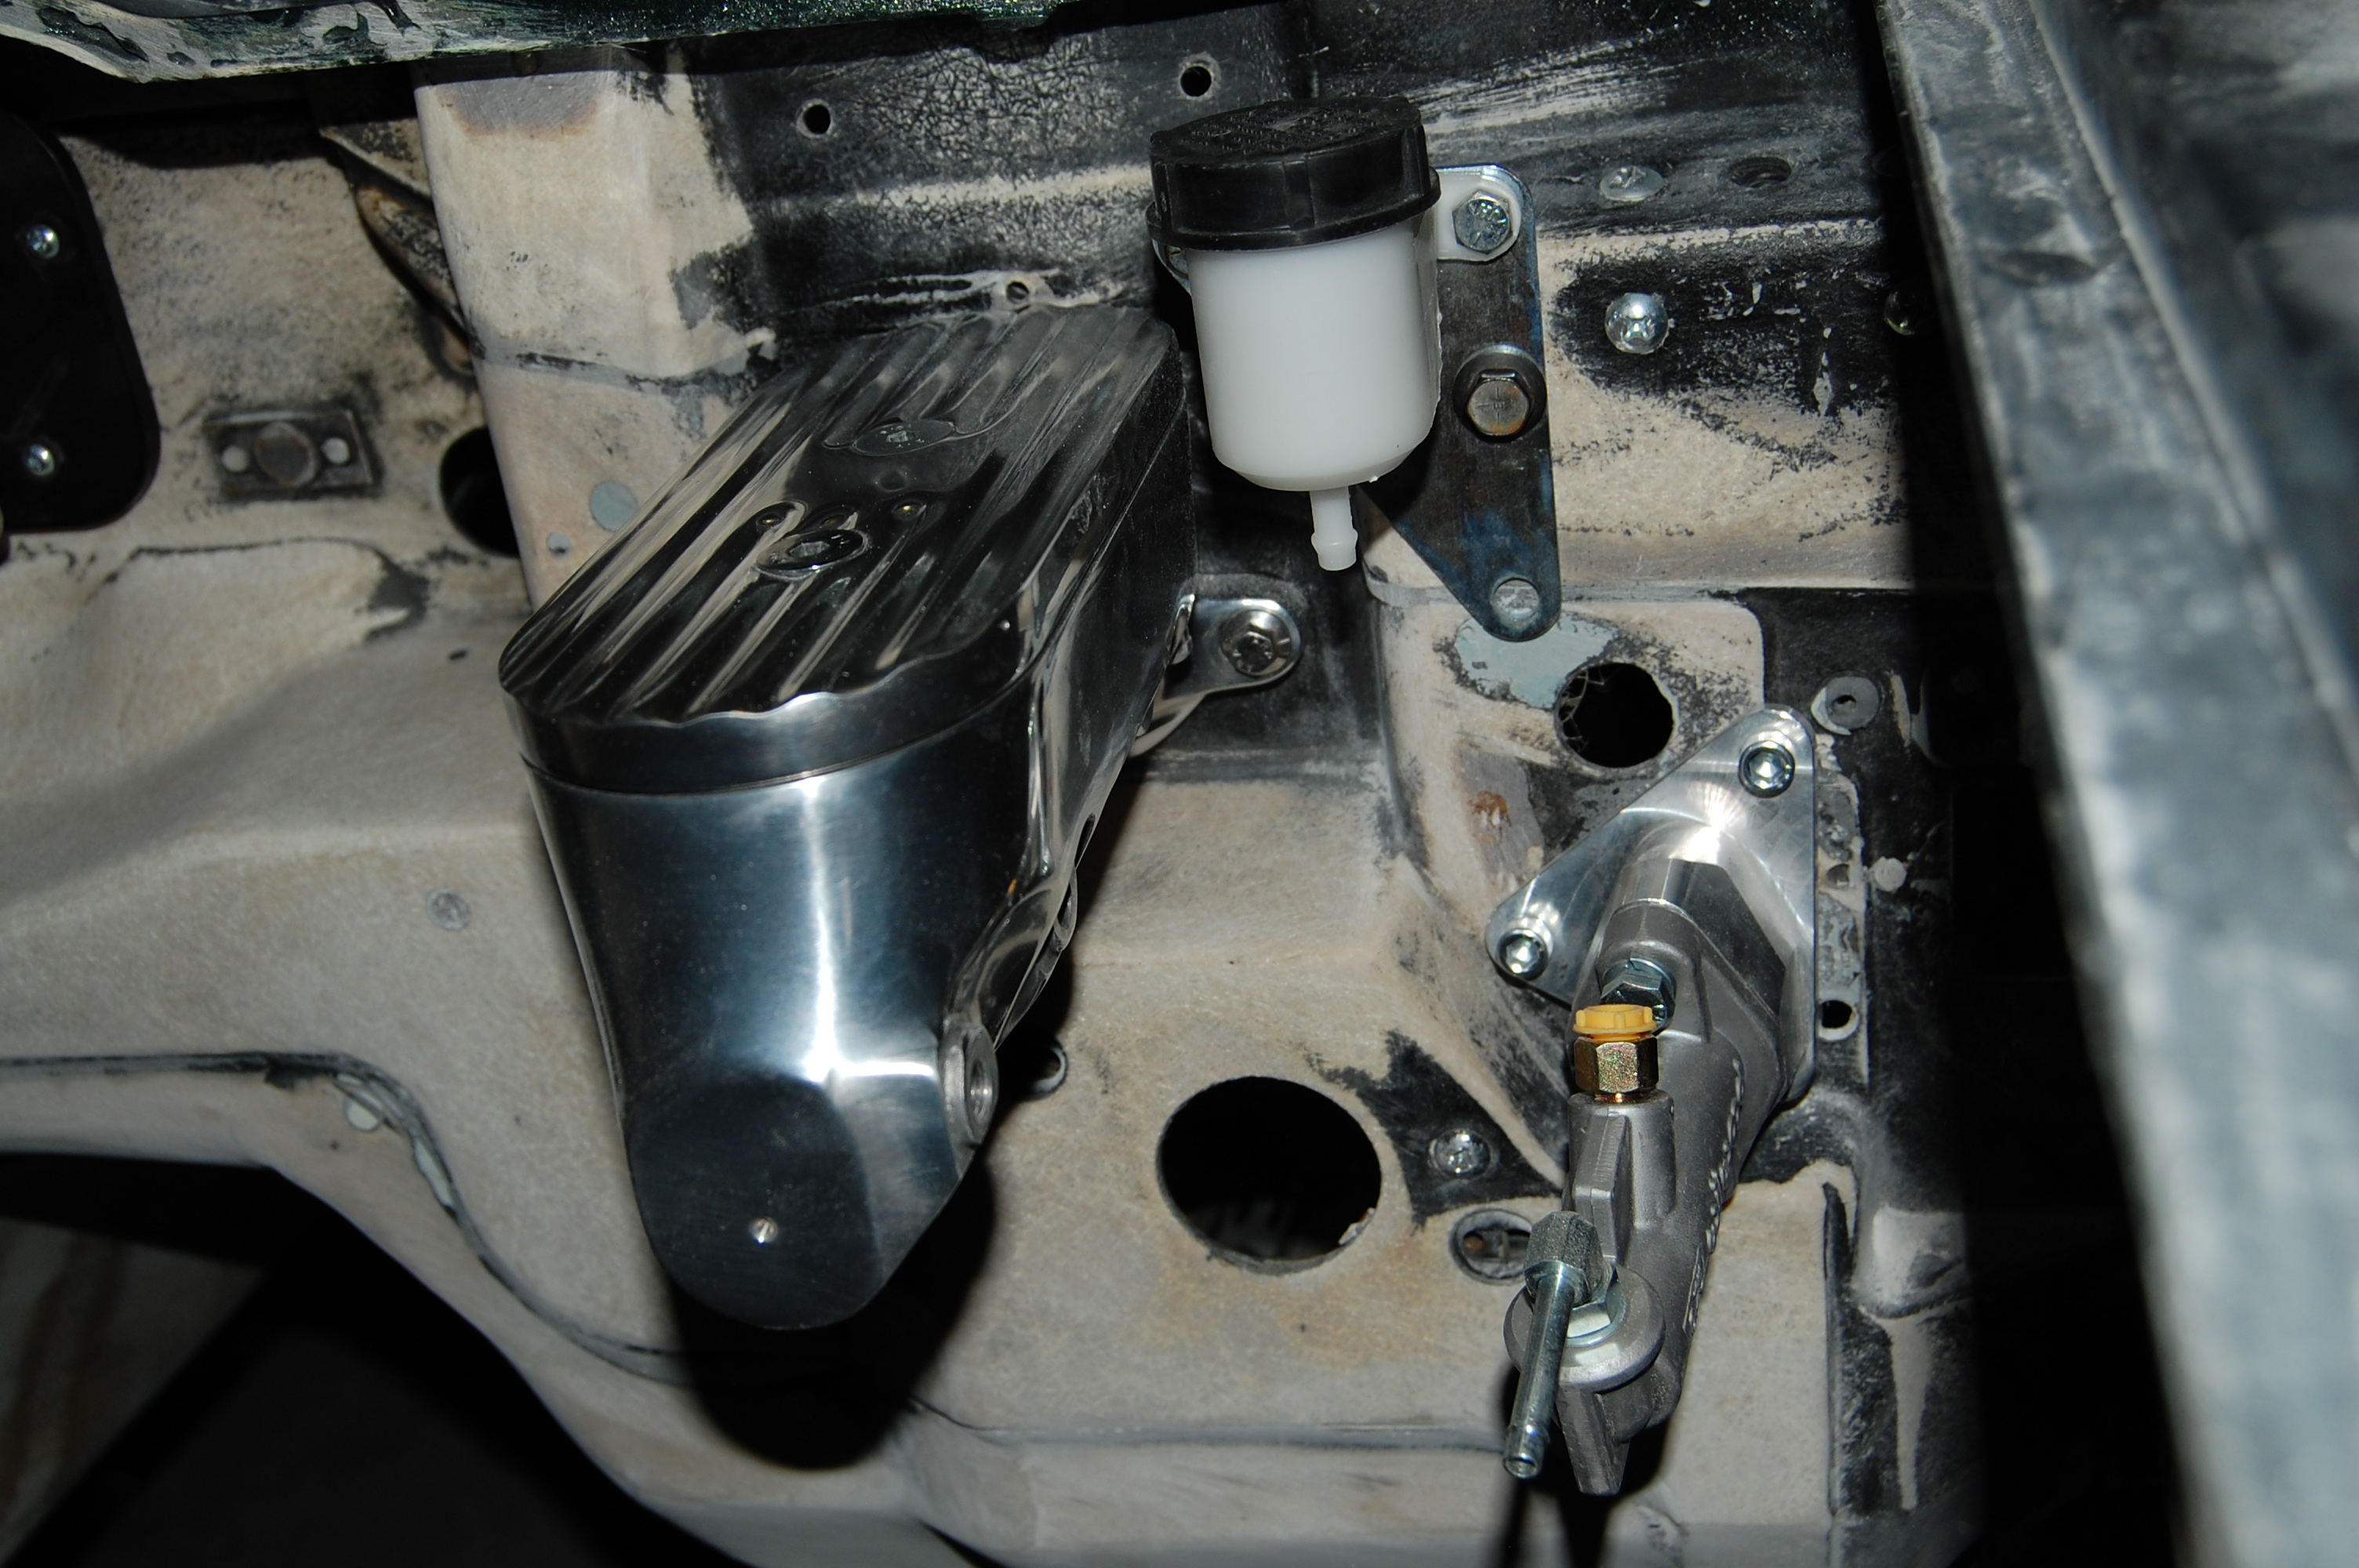
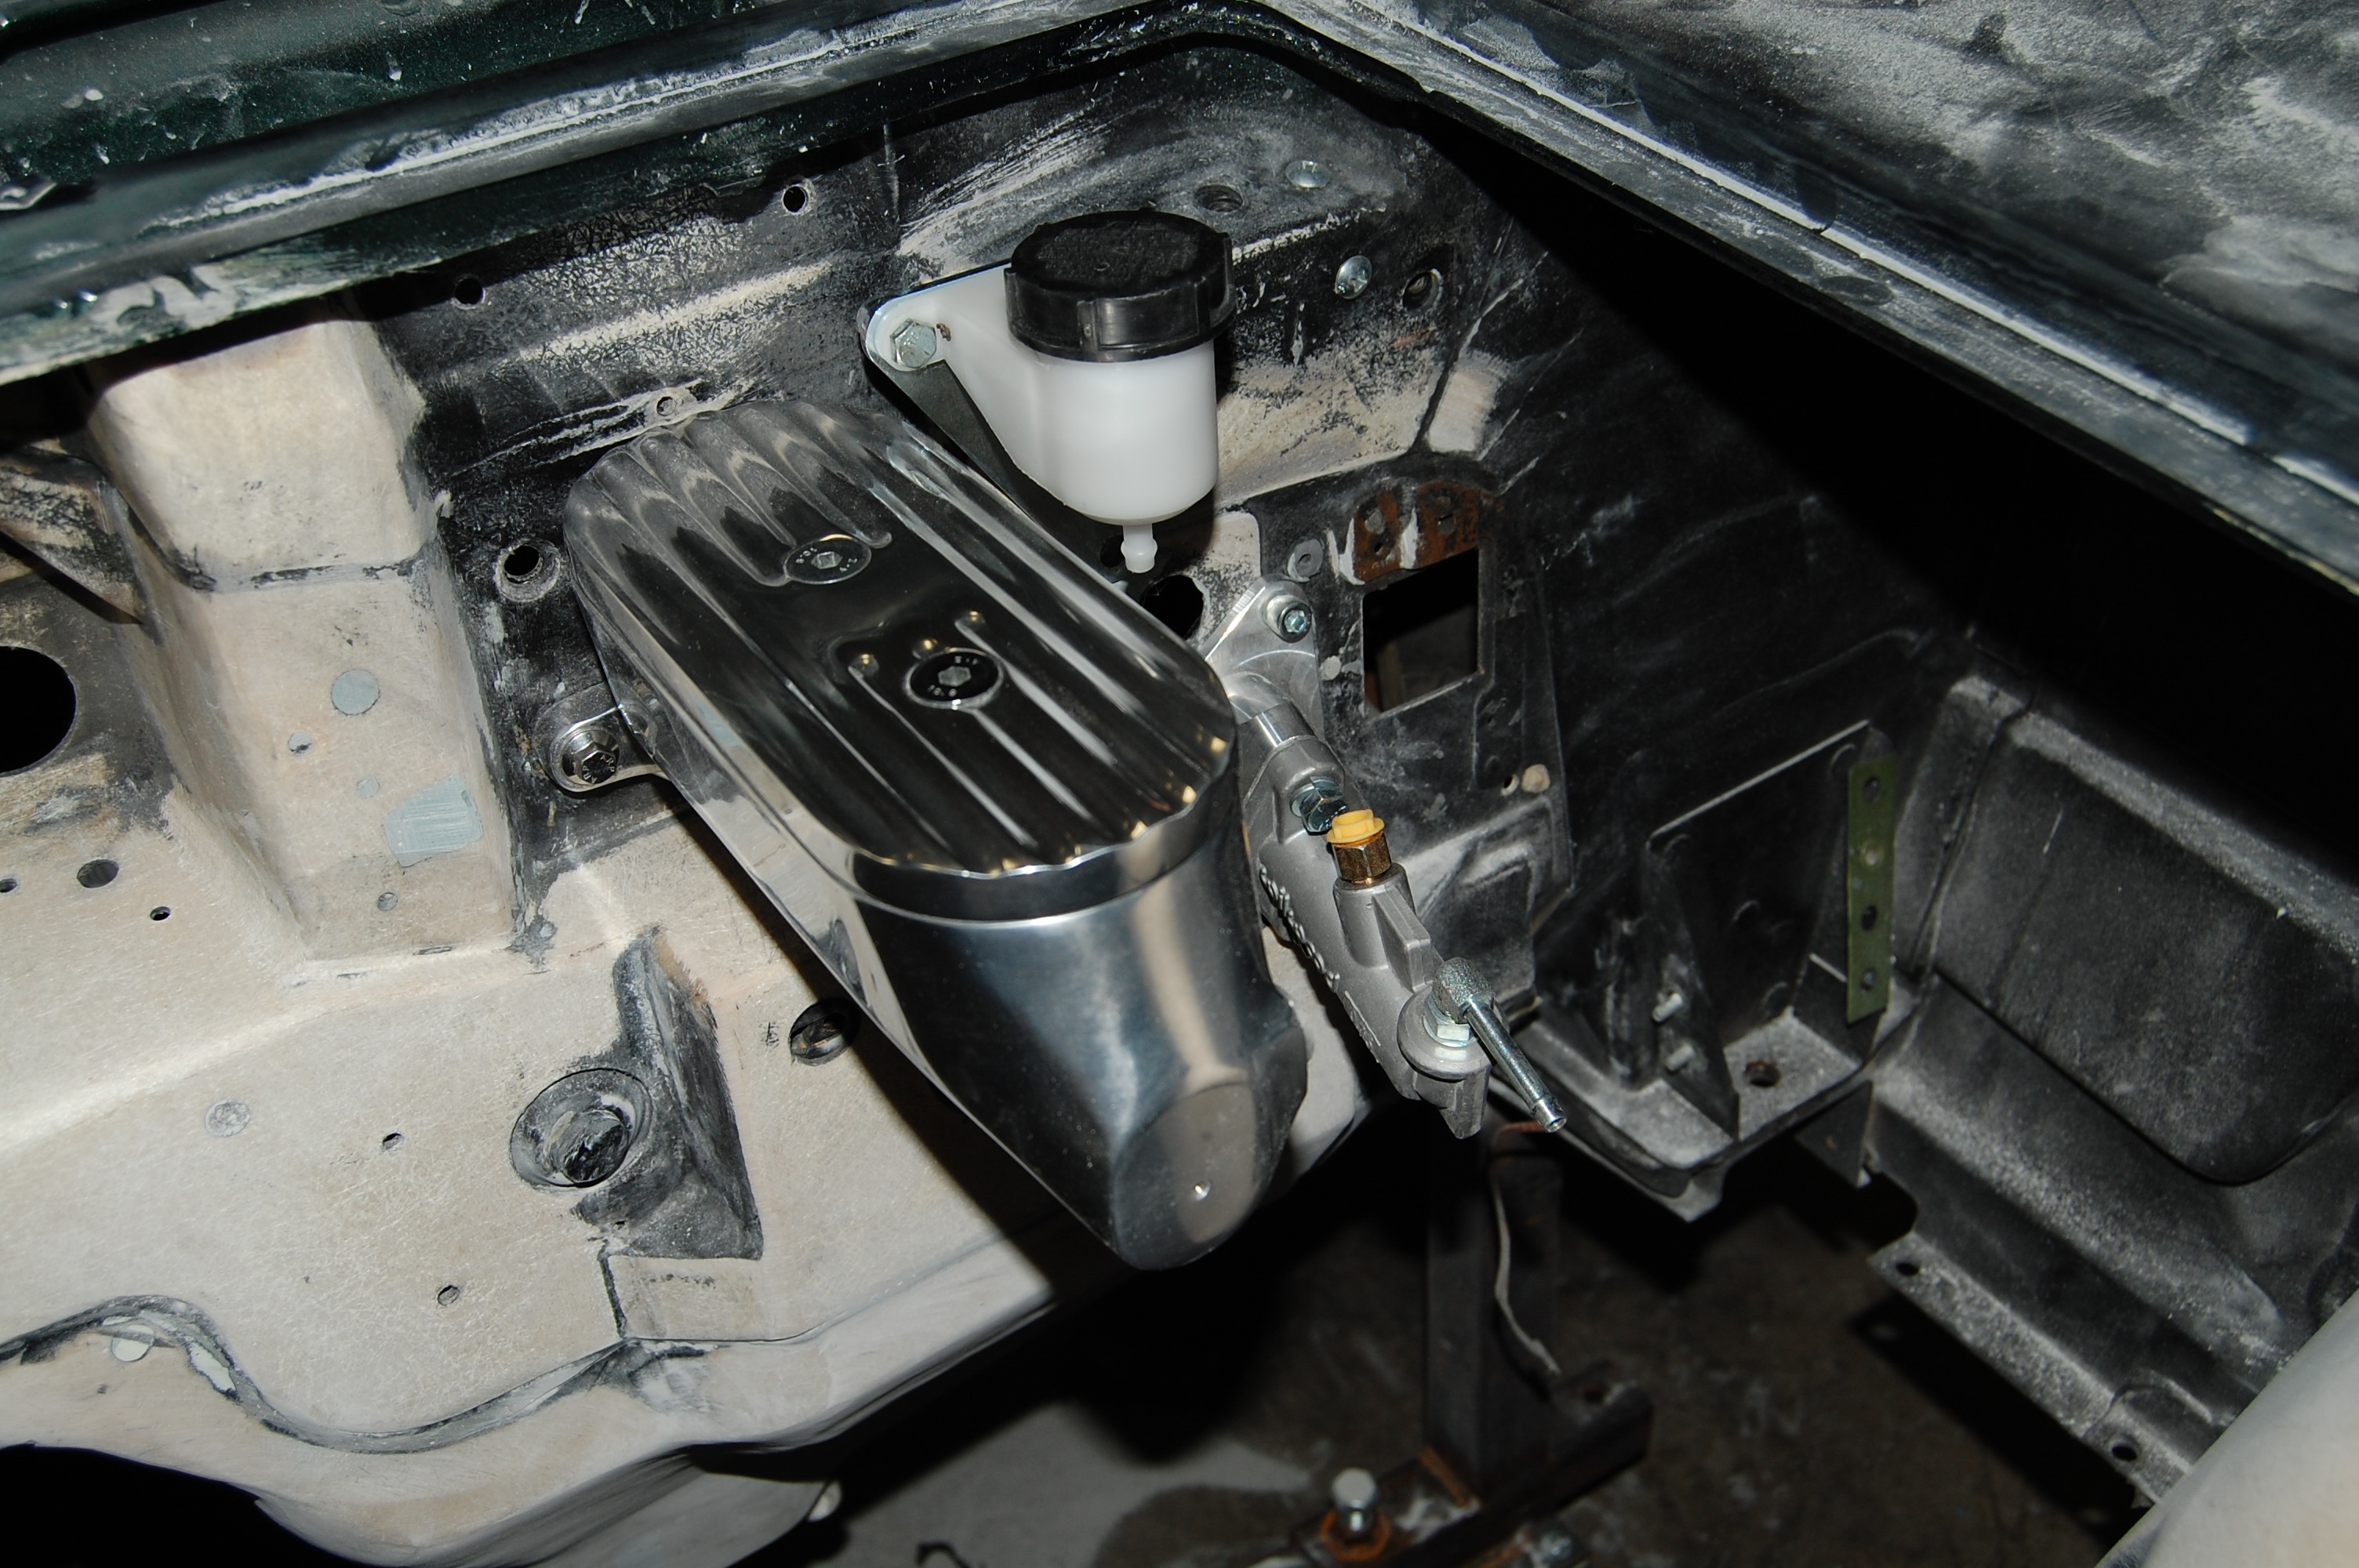
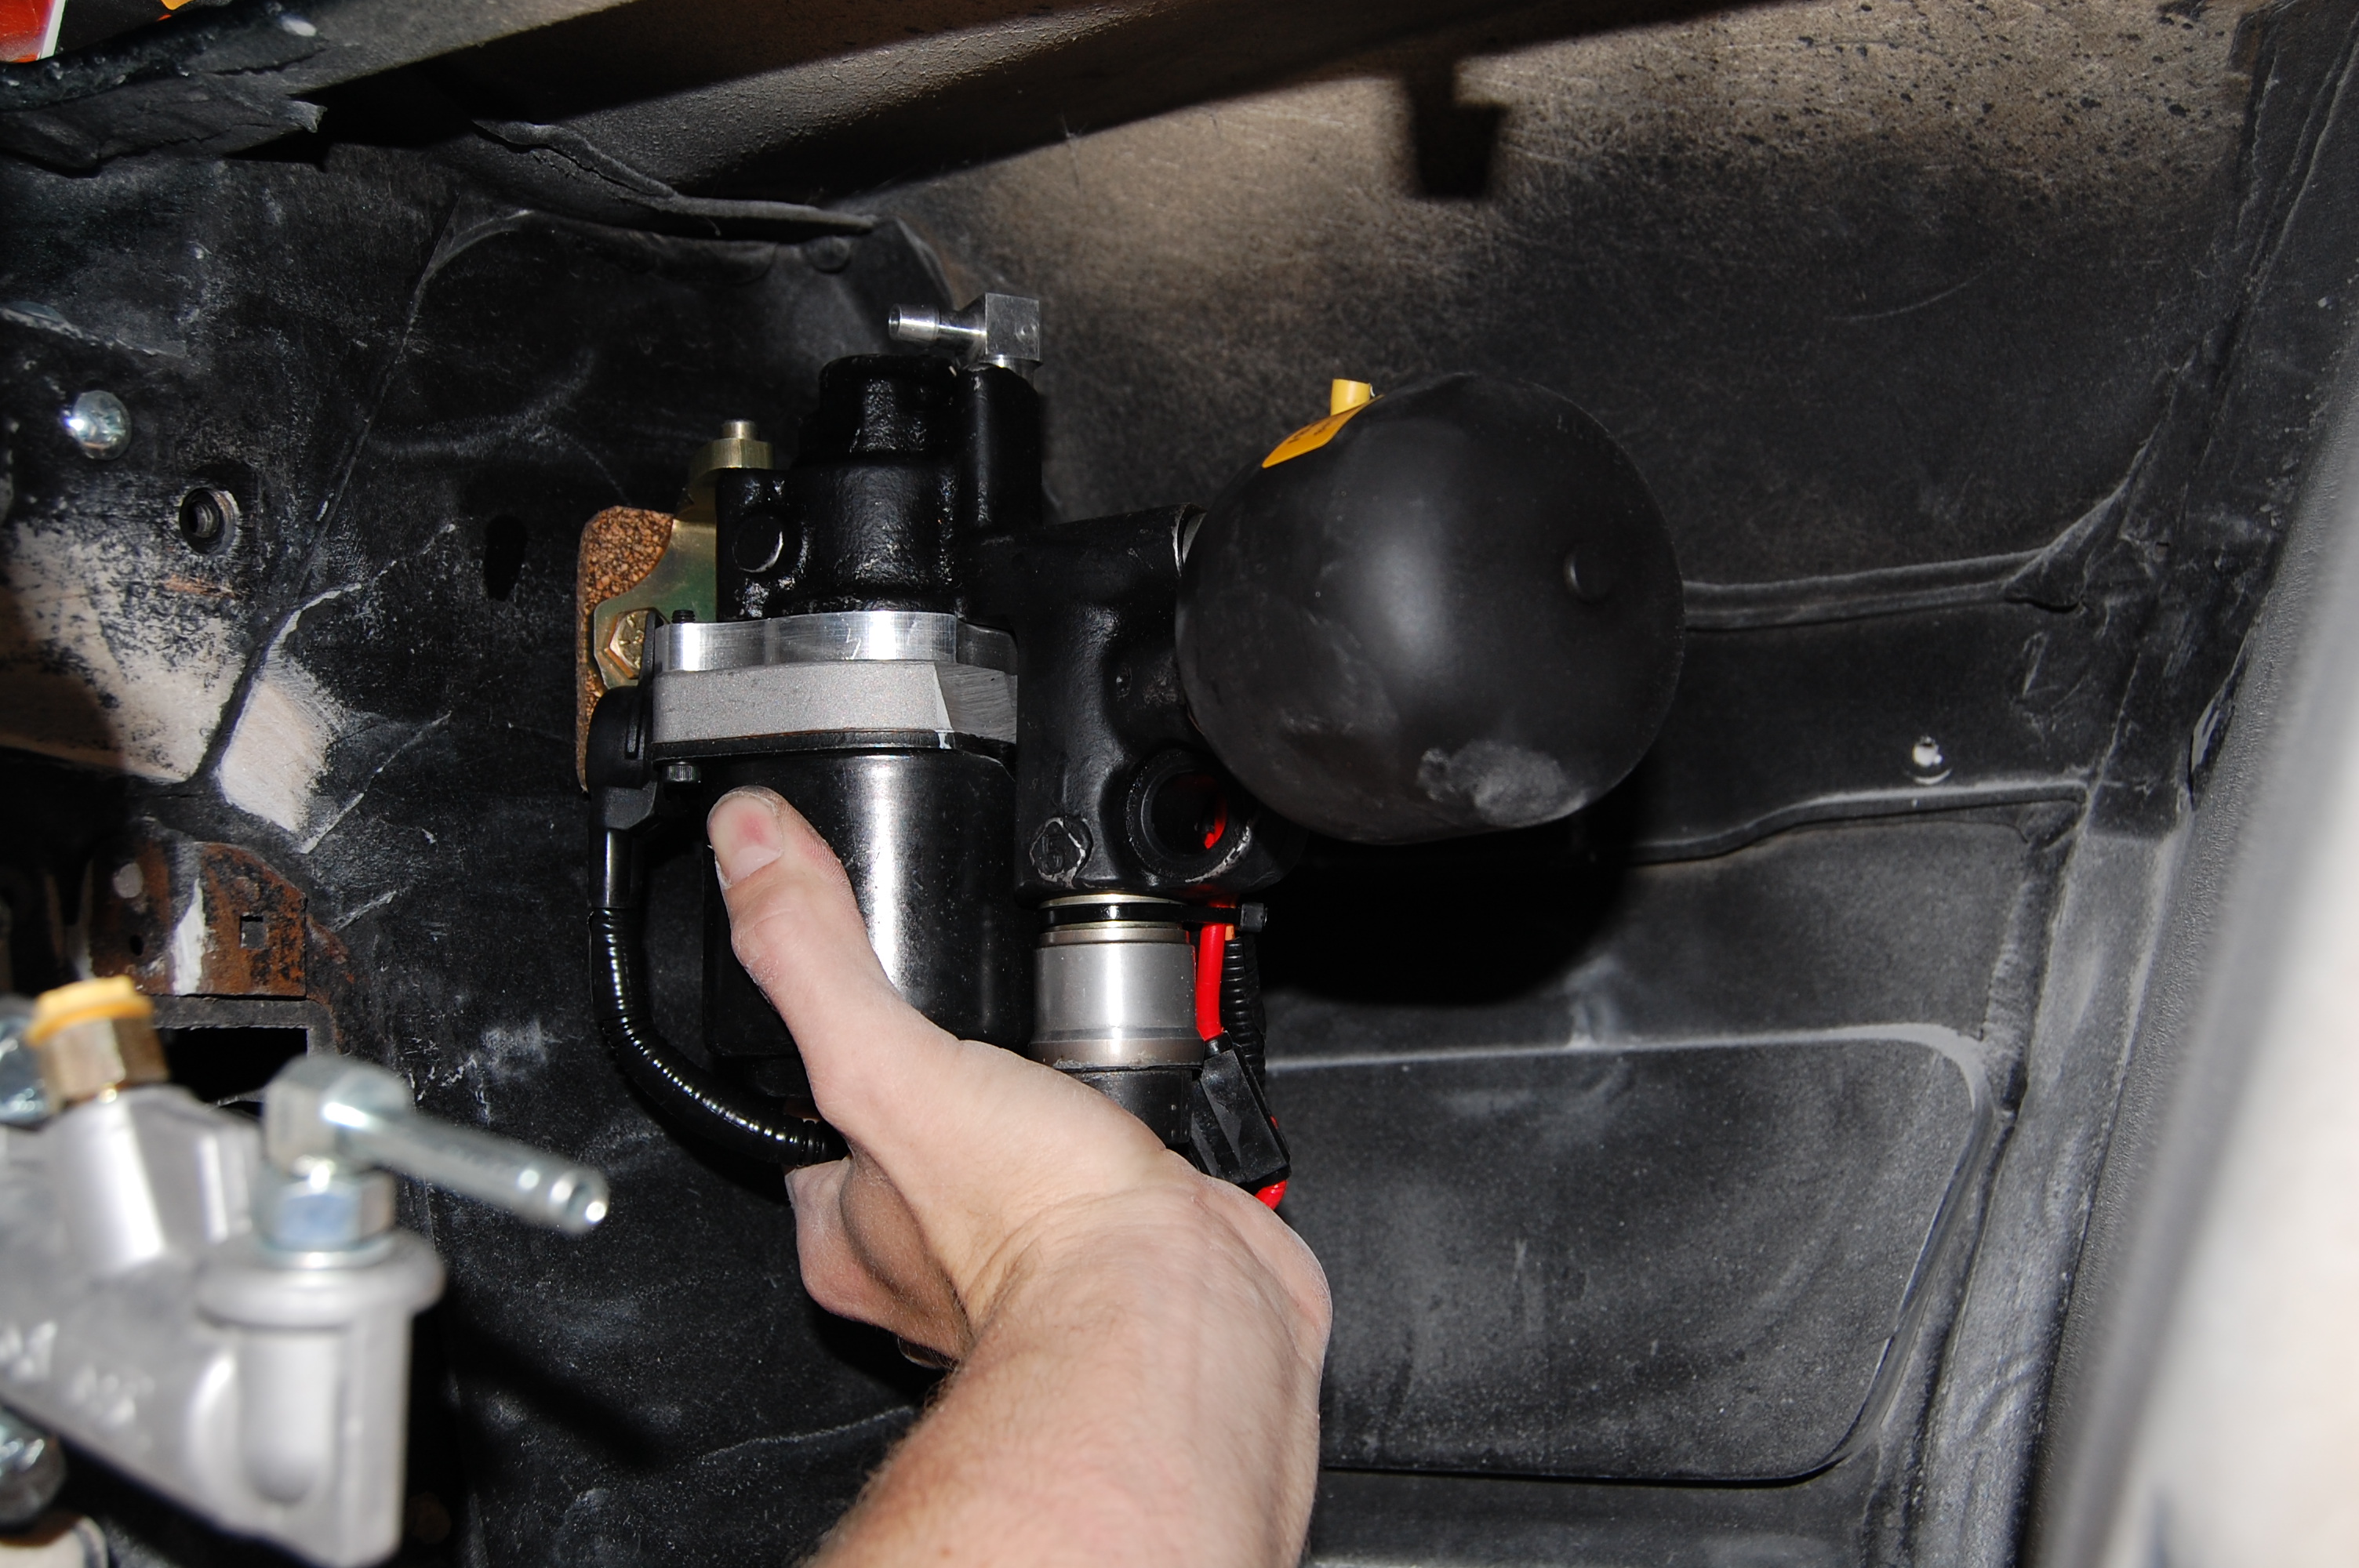
This is where i am going to mount the electric booster after i fabricate a large reinforcing bracket to go on the backside in the wiper well.
Making sure everything lines up with the new vintage air system. Still a good bit of body work to do on the firewall where i deleted the heater box cut out.
New Detroit speed wiper motor
I've removed a large majority of the old paint from the firewall and fender skirts, but still a lot to go before epoxy primer. I am also in the process of fitting the new components on the firewall and in the engine bay to insure everything fits correctly. Hopefully that will help the assembly process after paint go smoothly.
This is where i am going to mount the electric booster after i fabricate a large reinforcing bracket to go on the backside in the wiper well.
Making sure everything lines up with the new vintage air system. Still a good bit of body work to do on the firewall where i deleted the heater box cut out.
New Detroit speed wiper motor
Last edited by 65silververt; 08-22-2013 at 12:04 AM.
08-22-2013, 09:33 AM
#48
Racer
Member Since: Sep 2007
Location: DERRY NH
Posts: 298
Likes: 0
Received 0 Likes
on
0 Posts
Just came across this thread, don't know how I missed it. Great looking build. Don't know if you solved your radiator glitch, but I've run into the same SRIII clearance issue. I use the Dewitts LS swap radiator and have Dewitts relocate the lower outlet 3" higher, they are more than happy to do it (great guys). Solves the problem every time.
John
John
 08-22-2013, 02:40 PM
#52
Racer
Member Since: Sep 2007
Location: DERRY NH
Posts: 298
Likes: 0
Received 0 Likes
on
0 Posts
Thanks! I noticed them in VetteRodders website on the link to the Autometer Gauge conversion bracket kit. At first i was going to sell the original clock and make a custom dash and console, but custom usually expires after a few years and is very subjective to ones personal taste. So, I decided to find gauges that match the clock and theme of the original units as best as possible. Since redline wants 1600.00 just to convert original gauges to electronic (that price does not include any cosmetic restoration work) i decided again that aftermarket gauges would be best.
John
08-22-2013, 02:55 PM
#53
Safety Car
Thread Starter
Thanks for that info! I actually think the gauges i picked match the original clock very well and since it has already been rebuilt, i am just going to keep it as is.
08-22-2013, 03:04 PM
#55
Racer
Member Since: Sep 2007
Location: DERRY NH
Posts: 298
Likes: 0
Received 0 Likes
on
0 Posts
I have a 3D printer, we print the parts out of ABS then re-enforce with fiberglass then upholster. The process is long and expensive. I have a vaccum former and plan to make molds to produce them cheap, but finding time is a bitch.
08-22-2013, 03:09 PM
#56
Safety Car
Thread Starter
Very Nice! I was actually referring to the shifter surround console. It looks like you modified a stock unit or did you make that as well?
What is the chrome lever looking device where the ashtray would normally be located?
What is the chrome lever looking device where the ashtray would normally be located?
08-22-2013, 03:35 PM
#57
Racer
Member Since: Sep 2007
Location: DERRY NH
Posts: 298
Likes: 0
Received 0 Likes
on
0 Posts
Oh, sorry, well that is a custom fiberglass console cover to make room for the ZF 6spd Bruce used in his car, required major mods to the tunnel and made using the original cover impossible. The emblem is a sting ray, It' kind of a trademark in the cars I build, except now that chevy will be using it in the C7 I guess I have to re-think that. In the case of that car though, we used it to bling-up the boring console cover, it's just on with adhesive tape in case he gets sick of it. By the way have you used the hydraulic clutch throwout in a build before?
08-22-2013, 04:11 PM
#59
Safety Car
Thread Starter
First time using a hydraulic clutch in a midyear. After using the ill fitting mechanical components from street shop on the last build, which cost almost as much as the hydraulic clutch kit from kiesler, i will not use a mechanical linkage again on an LS motor. Im going to assume that i need to fabricate a bigger bracket for the clutch master to reinforce the firewall? Im i right?
08-22-2013, 04:29 PM
#60
Racer
Member Since: Sep 2007
Location: DERRY NH
Posts: 298
Likes: 0
Received 0 Likes
on
0 Posts
First time using a hydraulic clutch in a midyear. After using the ill fitting mechanical components from street shop on the last build, which cost almost as much as the hydraulic clutch kit from kiesler, i will not use a mechanical linkage again on an LS motor. Im going to assume that i need to fabricate a bigger bracket for the clutch master to reinforce the firewall? Im i right?

