Want a Removable Trans crossmember?


 12-12-2012, 05:24 AM
#2
Melting Slicks


simple and efficient!
I had many parts done like that for my previous build (a Cobra replica). Most of the work is in the CAd drawing. Could you share the DXF file for the flange? I am doing a body off and would like to include this item
I had many parts done like that for my previous build (a Cobra replica). Most of the work is in the CAd drawing. Could you share the DXF file for the flange? I am doing a body off and would like to include this item

 12-12-2012, 10:47 AM
#5
Race Director


Member Since: Jan 2002
Location: Close to DC
Posts: 14,554
Received 2,133 Likes
on
1,471 Posts
C2 of the Year Finalist - Modified 2020

E-mail has been sent. Dennis
Dennis
 12-12-2012, 12:55 PM
#9
Drifting


A lot less expensive and easier than installing a C3 crossmember. Been there, done that. I bought a frame that had been under a race car. They did a similar mod using four plates and just butt welded them. This looks more professional. Just make sure the cuts are square.
01-18-2013, 10:35 PM
#14
Melting Slicks
When I made my removable cross member, I took a much simpler approach.. 4" aluminum square tube fits snug on the bottom side of the cross member. I cut in approximately the same two places as shown above, then cross drilled two holes each side of both cuts and simply bolted it back together with the square tube. No welding.
To cut, I used a saws-all, but had to lift the body a few inches to gain the necessary clearance to cut through the top of the cross member which is very close to the body. You could use your four post lift and three screw jacks to accomplish the slight body lift. I just put 2x4's across the body floor to distribute the load on each screw jack.
I also intentionally cut mine at angles, so that the top was narrower than the bottom. This eases installation later.
All that said, if I could have done the mod with the body off, I'd like the approach shown above. Or modify to the C3 removable member. I think the trickiest part of the approach above is getting things square. My approach with the overlapping square tube (c channel) leaves lot of room for margin.
01-18-2013, 11:10 PM
#15
Melting Slicks
I
When I made my removable cross member, I took a much simpler approach.. 4" aluminum square tube fits snug on the bottom side of the cross member. I cut in approximately the same two places as shown above, then cross drilled two holes each side of both cuts and simply bolted it back together with the square tube. No welding.
When I made my removable cross member, I took a much simpler approach.. 4" aluminum square tube fits snug on the bottom side of the cross member. I cut in approximately the same two places as shown above, then cross drilled two holes each side of both cuts and simply bolted it back together with the square tube. No welding.
01-19-2013, 07:33 AM
#16

I think this would be awfully difficult to accomplish with the body on!
When I made my removable cross member, I took a much simpler approach.. 4" aluminum square tube fits snug on the bottom side of the cross member. I cut in approximately the same two places as shown above, then cross drilled two holes each side of both cuts and simply bolted it back together with the square tube. No welding.
To cut, I used a saws-all, but had to lift the body a few inches to gain the necessary clearance to cut through the top of the cross member which is very close to the body. You could use your four post lift and three screw jacks to accomplish the slight body lift. I just put 2x4's across the body floor to distribute the load on each screw jack.
I also intentionally cut mine at angles, so that the top was narrower than the bottom. This eases installation later.
All that said, if I could have done the mod with the body off, I'd like the approach shown above. Or modify to the C3 removable member. I think the trickiest part of the approach above is getting things square. My approach with the overlapping square tube (c channel) leaves lot of room for margin.
01-19-2013, 07:05 PM
#17
Melting Slicks
I made a removable crossmember as well using 4" square steel tubing with 3/16" wall. Total material cost was $15.00. I got the idea from forum member SilverSlashStreak who made one for his 63 Coupe many years ago.
Roy
Roy
01-20-2013, 10:28 PM
#19
Melting Slicks
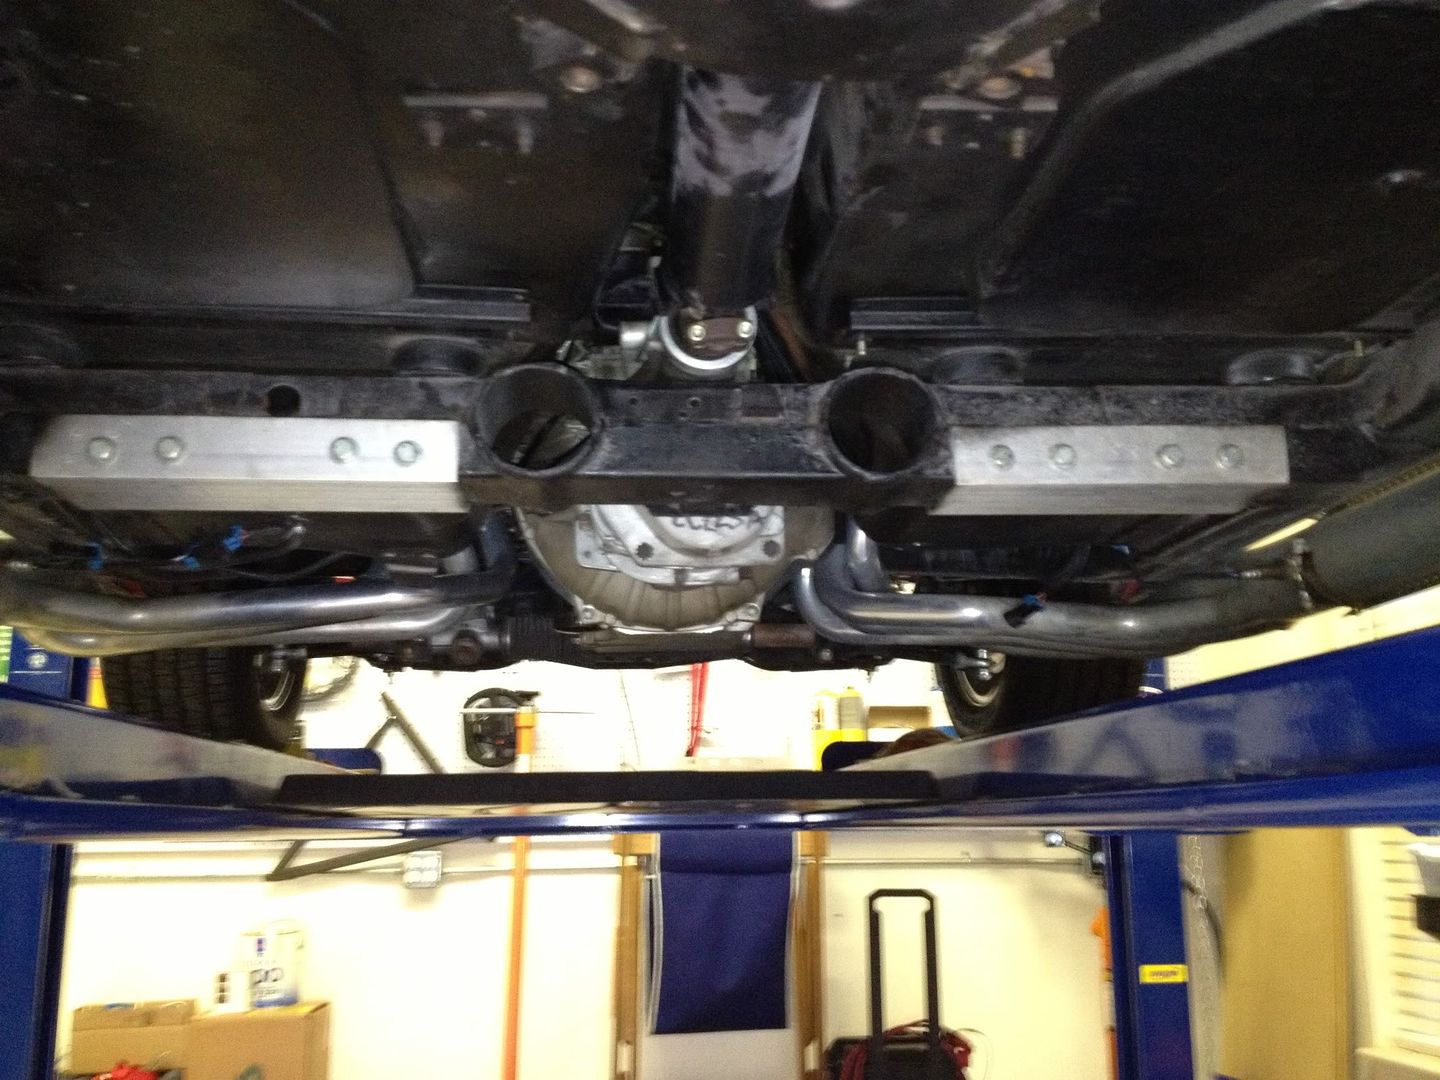
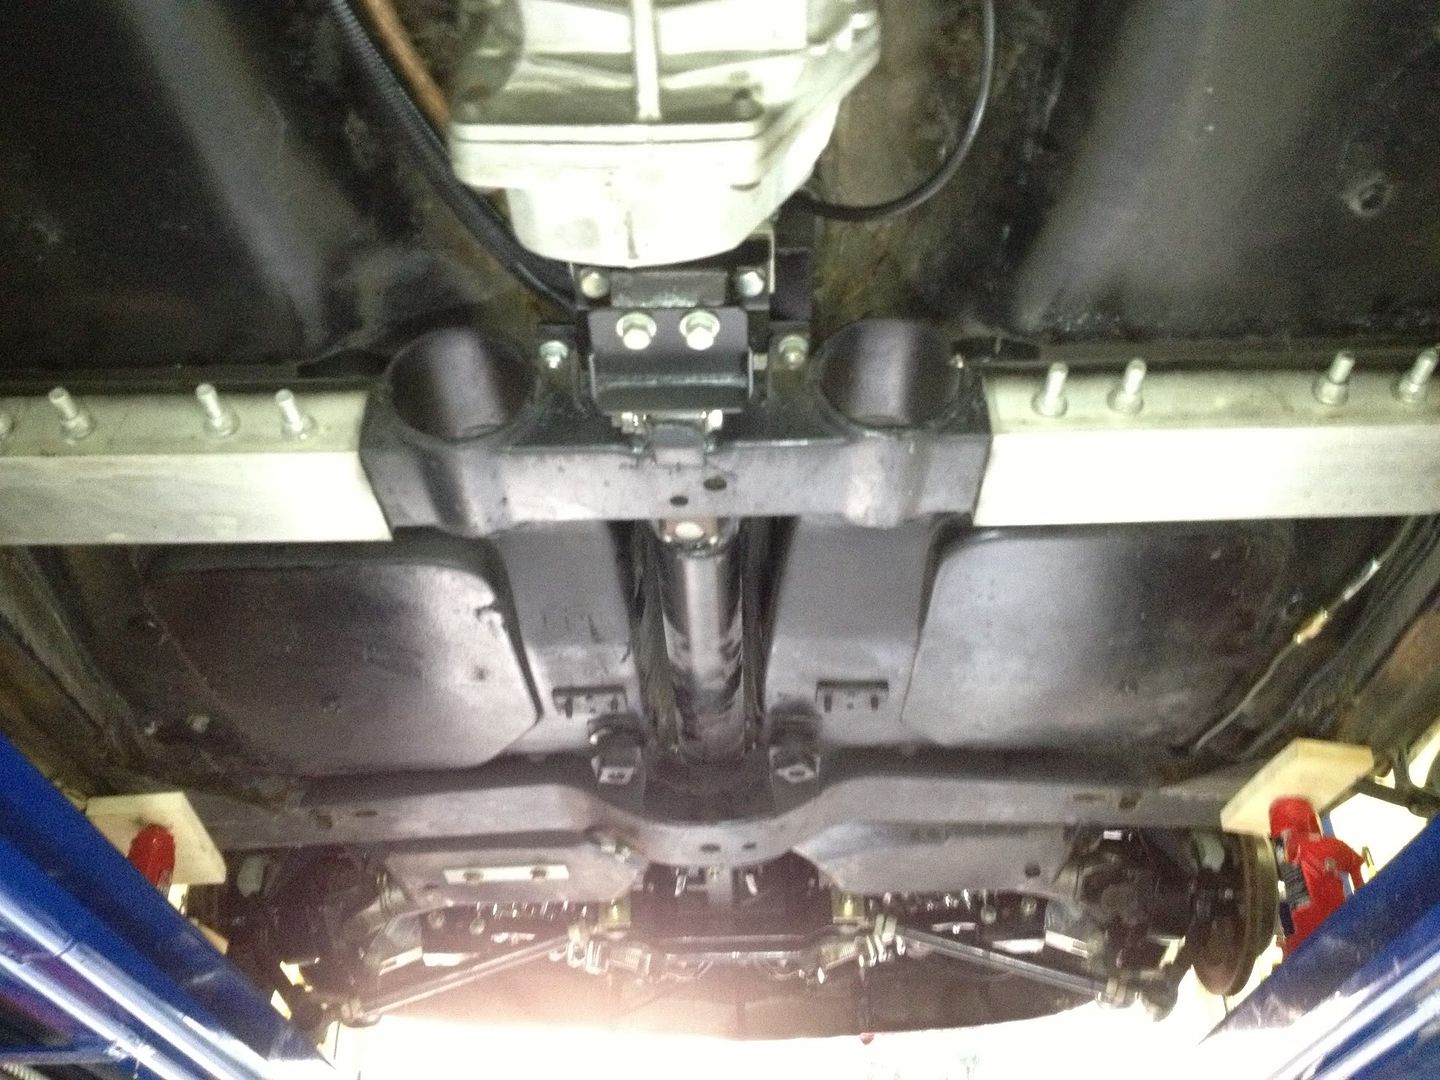
Here's pics of my 4" aluminum channel.. 10,000 miles and still going strong!
I got it, not as "neat" as the welded end plates bolted together, but it was quick, easy, and I could do it myself! Welding is not a skill I possess.
I might even paint it black this year if I have time

I got it, not as "neat" as the welded end plates bolted together, but it was quick, easy, and I could do it myself! Welding is not a skill I possess.
I might even paint it black this year if I have time
