1965 restoration
 03-31-2014, 12:09 PM
#901
Drifting

Thread Starter
Member Since: Jun 2010
Location: Ball Ground Georgia
Posts: 1,324
Likes: 0
Received 1 Like
on
1 Post
yeah, there is a lot of discussion on finishes for the underbody brackets. BTW that bracket in the pic is in the center of the rear tub upright, not one of the front seat brackets.
Now if you really want to get into the fine hairs...someone please tell me the finish of the rear blower ductwork brackets on the 65 coupe. I found zinc plating on one, no plating on another and black primer on a third.
Also, the backing plates for the blower motor (3 small rectangular plates that the bolt go into) appear to be natural finish like the ones under the seats as called out in the judging guide.
I guess I'll just zinc primer those blower duct brackets, just in case any moisture from the wheel well gets around them. Also they had some black sealant much like the brackets on the tunnel for the dash. Waterproofing material
 03-31-2014, 01:33 PM
#902
Melting Slicks

how to glue the body back together with decent alignment?
Are you going to use the frame (with original shim stacks) as your bonding "fixture"?
Mike
Are you going to use the frame (with original shim stacks) as your bonding "fixture"?
Mike
03-31-2014, 02:23 PM
#903
Drifting
Thread Starter
Member Since: Jun 2010
Location: Ball Ground Georgia
Posts: 1,324
Likes: 0
Received 1 Like
on
1 Post
Do you think I need to do that as well putting the roof/deck panel back on? My assumption was that I could do that on the body dolly but all the side panels need to be done on the frame to get the lines and the gaps correct....
since the rear bonding strips, panel and tub have not been apart and I made sharpie marks on both areas to facilitate top installation, I thought I could just glue the top on given proper mark alignment....
anyone have thoughts on this?
04-01-2014, 11:24 AM
#904
Drifting
Thread Starter
Member Since: Jun 2010
Location: Ball Ground Georgia
Posts: 1,324
Likes: 0
Received 1 Like
on
1 Post
Running a separate thread on bonding advice...when I get the input then I'll be continuing here with the updates. Didn't want to make this thread any longer than it already is plus it will be searchable easier as a separate topic.
plus it will be searchable easier as a separate topic.
04-02-2014, 12:17 AM
#905
Drifting
Thread Starter
Member Since: Jun 2010
Location: Ball Ground Georgia
Posts: 1,324
Likes: 0
Received 1 Like
on
1 Post
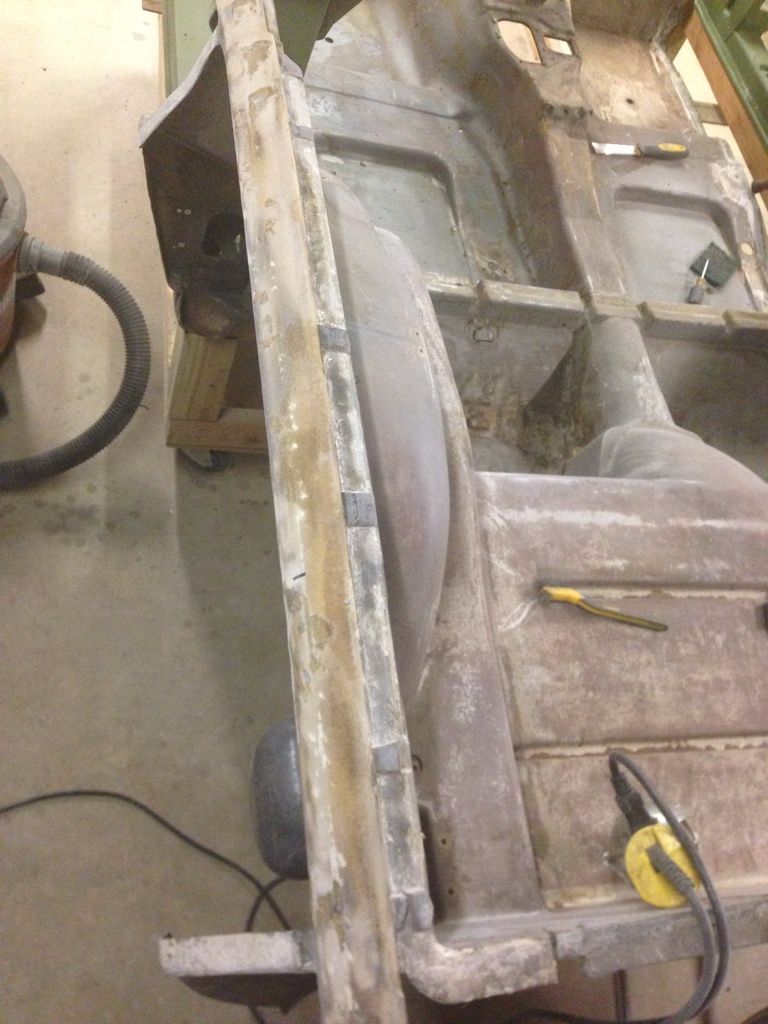
got some great insight/advice on the bonding thread. I started cleaning out the old material on the upper quarters tonight. Leaving some small squares to act as shims for fitment. I can take them out if not needed but several suggested this approach.
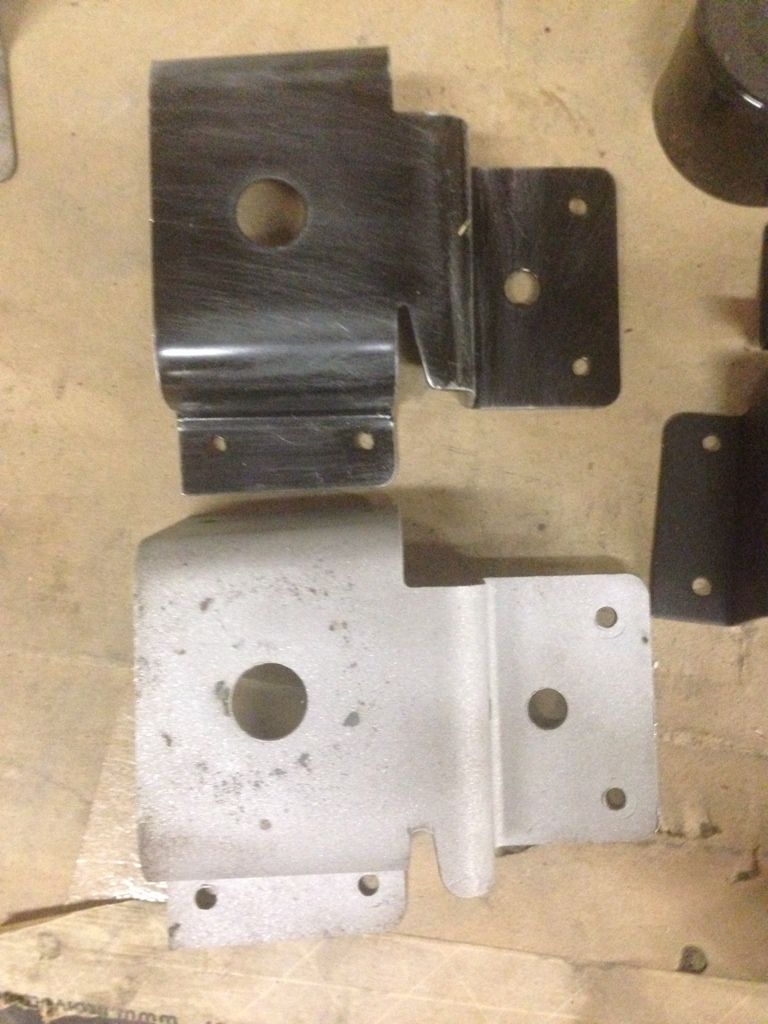
the replacement #4 body mount brackets arrived. They do have a slight difference in the stamping...very little but it can be seen. I am still using the repro ones because my original ones had some pitting on the body facing side. I had scuffed the new one for paint here.
the replacement #4 body mount brackets arrived. They do have a slight difference in the stamping...very little but it can be seen. I am still using the repro ones because my original ones had some pitting on the body facing side. I had scuffed the new one for paint here.
04-04-2014, 09:50 AM
#906
Drifting
Thread Starter
Member Since: Jun 2010
Location: Ball Ground Georgia
Posts: 1,324
Likes: 0
Received 1 Like
on
1 Post
I have the rear tub and quarter panel bonding strips prepped for installation of the roof/rear deck. I have not riveted on any brackets yet because I wanted all the prep work completed first. I then realized that without the firewall and rocker channel fiberglass installed I would not be able to crawl into the floor area when aligning the rear deck insides. So I am finishing the prep on the front floor board bonding areas along with the firewall bonding areas. I have some fiberglass repair to do along the firewall lip areas. I also need to assemble the vent oval sleeves back into the firewall before installation. But at least it is building/repairing not disassembly.
04-09-2014, 09:03 AM
#907
Drifting
Thread Starter
Member Since: Jun 2010
Location: Ball Ground Georgia
Posts: 1,324
Likes: 0
Received 1 Like
on
1 Post
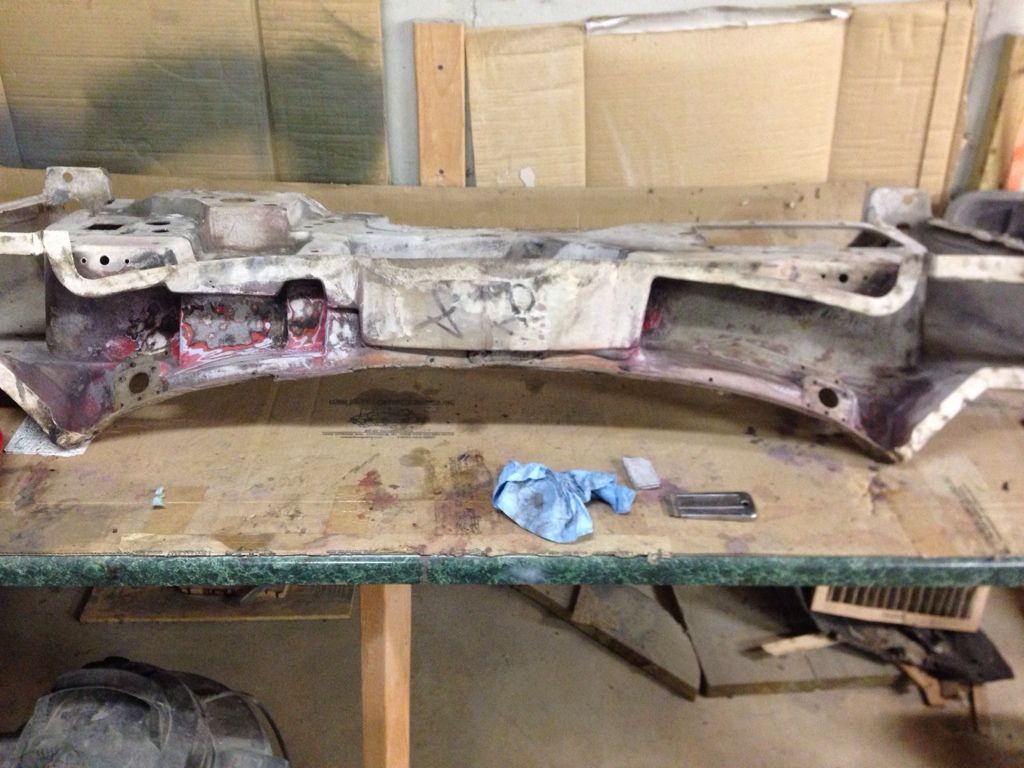
Last week was spring break for the school so any free time was taken with other activities. So back in the shop finally this week again. Tedious is the only word that comes to mind when getting the old paint out of the nooks and crannies of the firewall...specifically the upper cowl recesses. I have tried lacquer thinner, acetone, mineral spirits, goof off with scuff pads with limited success. 3" disc sander got some of it but you can't get into the corners. Also razor blade has same problem. At the end of the day it comes down to sanding by hand...ugh
It doesn't help that it has layers and layers (original primer, original finish coat, original blackout...then new primer on top of that, then new finish coat, then new blackout.) There is about 7-8 layers of paint in this area...redrum! redrum!
Anyway, about 2 hours of effort last night just to clean out the right side, left side will be tonight hopefully.
couldn't post last night was getting a database error, glad to see the forum didn't crash...which reminds me that i need to print all this sh*t just in case
04-10-2014, 09:08 AM
#908
Drifting
Thread Starter
Member Since: Jun 2010
Location: Ball Ground Georgia
Posts: 1,324
Likes: 0
Received 1 Like
on
1 Post
Just a couple of status pics of the firewall cleanup. Hand sanding has proven to be the best way to get off the layers of both glue and paint.
here is the right half sanded, the glue on the inside of the f/w was extensive...lot of elbow grease to get to this point.
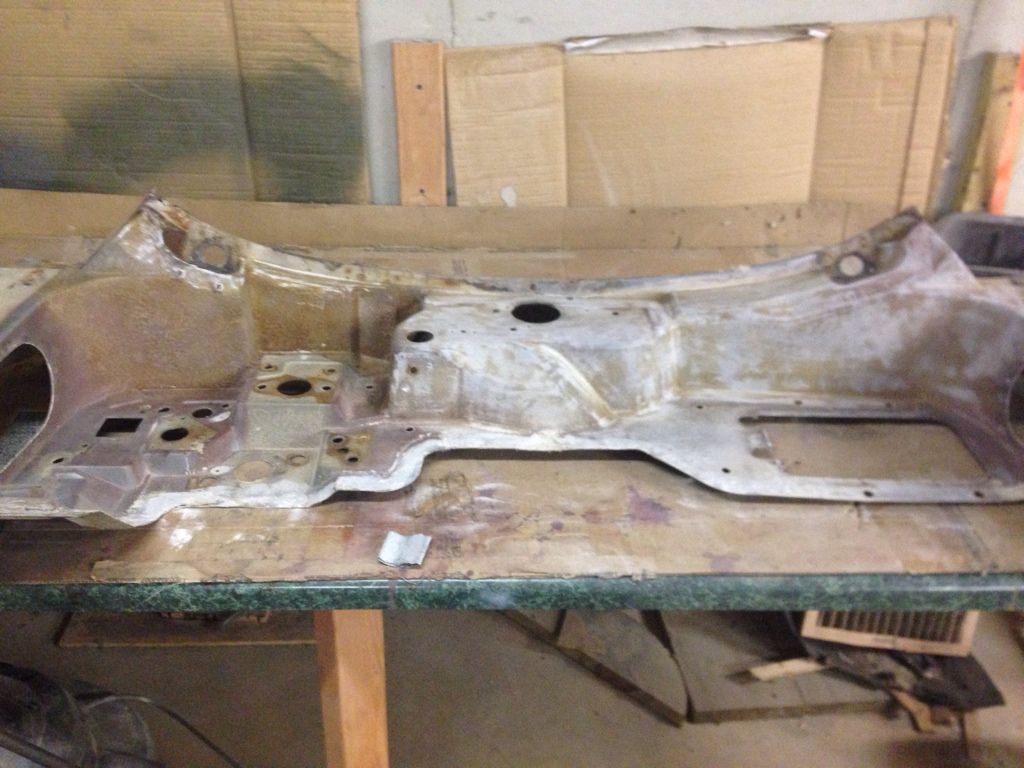
after sanding I took goof off and a scuff pad to clean any small remnants of glue or paint. Some of the original primer is still on the left side. Since there are so many edges and corners in this area i am just going to leave it since it will just get primer overspray again anyways.
I have a lot of fiberglass repair work to do on the top lip. It was cracked and de-laminated. Also a few areas need fiberglass around the lower lip that attaches to the floor pans. creeping steadily towards installation readiness....
here is the right half sanded, the glue on the inside of the f/w was extensive...lot of elbow grease to get to this point.
after sanding I took goof off and a scuff pad to clean any small remnants of glue or paint. Some of the original primer is still on the left side. Since there are so many edges and corners in this area i am just going to leave it since it will just get primer overspray again anyways.
I have a lot of fiberglass repair work to do on the top lip. It was cracked and de-laminated. Also a few areas need fiberglass around the lower lip that attaches to the floor pans. creeping steadily towards installation readiness....
04-12-2014, 06:29 AM
#909
Drifting
Thread Starter
Member Since: Jun 2010
Location: Ball Ground Georgia
Posts: 1,324
Likes: 0
Received 1 Like
on
1 Post
One of the lip areas in need of repair was the corner. Quite a challenge as the fiberglass broke out entirely during removal. I cut strand to fit (several layers) then took painters tape and put sticky sides facing each other so that the slick side of the tape would be the backstop for the resin. 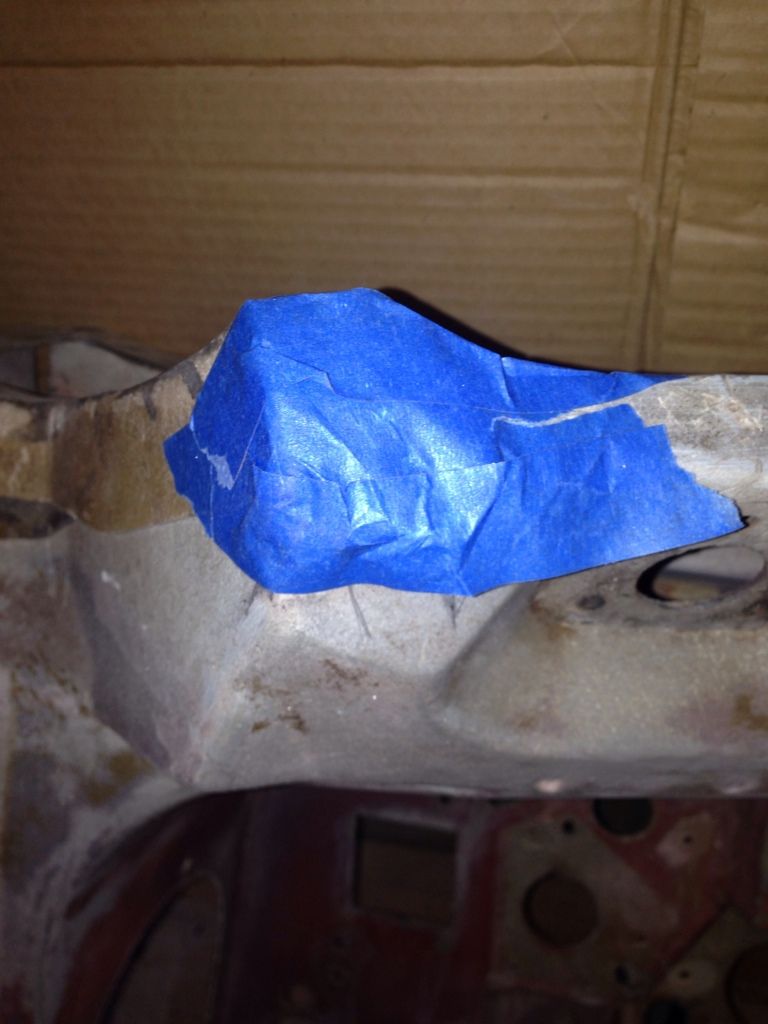 Then I flipped it over so gravity could help with the process of applying the resin. Drizzled and dabbed it in get good penetration into the strand mat.
 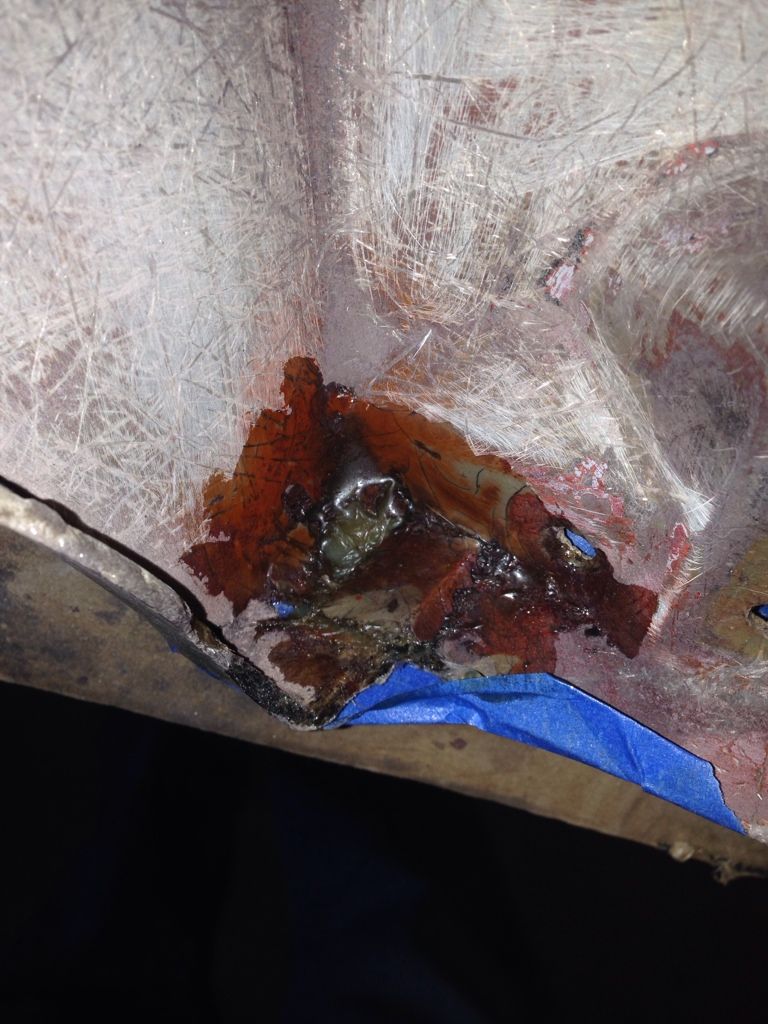 After it cures the tape backstop pulls right off without sticking and both sides are now ready to do finish work
  Several areas of the lip of the firewall are cracked and delaminated. Due to this several areas along the lip have become "floppy"...care will have to be taken on getting this repair done correctly to keep the curved form of lip correct. One tip is to put painters tape on your clamp faces to prevent any resin ooze out from bonding to your clamps.
 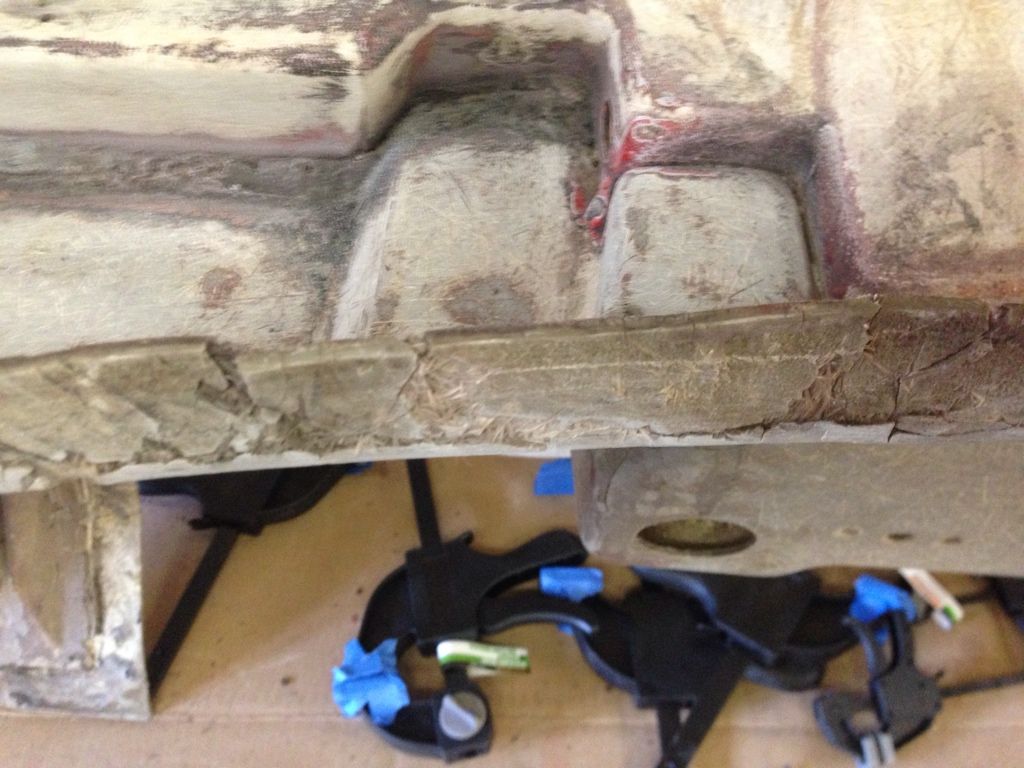 At a horse show as I post this so no updates until at least Sunday night.
Then I flipped it over so gravity could help with the process of applying the resin. Drizzled and dabbed it in get good penetration into the strand mat. After it cures the tape backstop pulls right off without sticking and both sides are now ready to do finish work Several areas of the lip of the firewall are cracked and delaminated. Due to this several areas along the lip have become "floppy"...care will have to be taken on getting this repair done correctly to keep the curved form of lip correct. One tip is to put painters tape on your clamp faces to prevent any resin ooze out from bonding to your clamps. At a horse show as I post this so no updates until at least Sunday night.
Last edited by steveale; 04-12-2014 at 06:33 AM.
04-12-2014, 07:48 AM
#910
Team Owner


Member Since: Apr 2008
Location: Coloring within the lines
Posts: 27,340
Received 1,919 Likes
on
1,332 Posts

Steve, you never ceae to amaze me.
That is all.
That is all.
04-18-2014, 02:54 PM
#911
Drifting
Thread Starter
Member Since: Jun 2010
Location: Ball Ground Georgia
Posts: 1,324
Likes: 0
Received 1 Like
on
1 Post
I think some may find this update interesting. I hope you never have to figure this out but in case you do it is here. I used some video edit software to combine several clips into one.
04-18-2014, 02:58 PM
#912
Team Owner


Member Since: Oct 2000
Location: Washington Michigan
Posts: 38,899
Received 1,857 Likes
on
1,100 Posts

 04-19-2014, 09:01 AM
#915
Drifting
That is some fine work Steve, I have enjoyed following this whole process and will continue to keep watch with great expectations .Thanks for this great documentation ..
04-19-2014, 08:43 PM
#916
Drifting
Thread Starter
Member Since: Jun 2010
Location: Ball Ground Georgia
Posts: 1,324
Likes: 0
Received 1 Like
on
1 Post
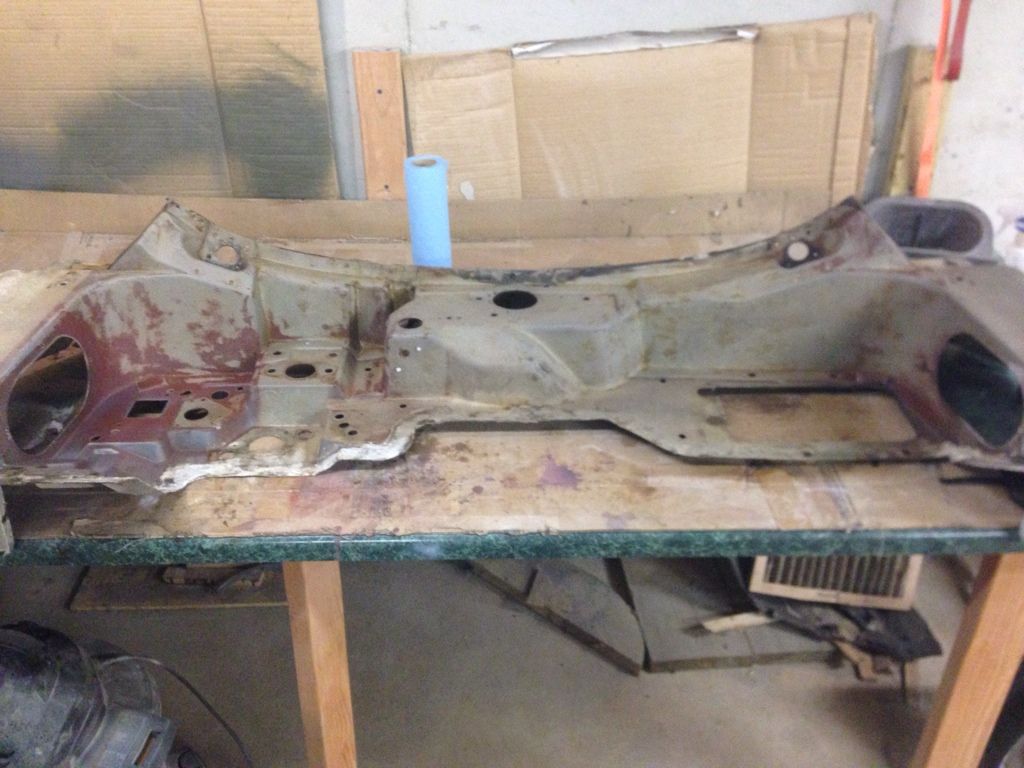
I needed a bit of a mental boost and dry fitting the firewall back to the birdcage was just what the dr ordered. I had to step back, snap a pic and take it in...but just for a moment. Now have to rivet plates and affix stovepipes the it will be time to bond.
04-20-2014, 10:04 AM
#918
Instructor


Member Since: Jan 2009
Location: succasunna nj
Posts: 151
Likes: 0
Received 0 Likes
on
0 Posts
 it was inside with the junk...look hard and you can see glimpses of it in the before photos...
04-20-2014, 11:27 PM
it was inside with the junk...look hard and you can see glimpses of it in the before photos...
04-20-2014, 11:27 PM
#919
Drifting
Thread Starter
Member Since: Jun 2010
Location: Ball Ground Georgia
Posts: 1,324
Likes: 0
Received 1 Like
on
1 Post
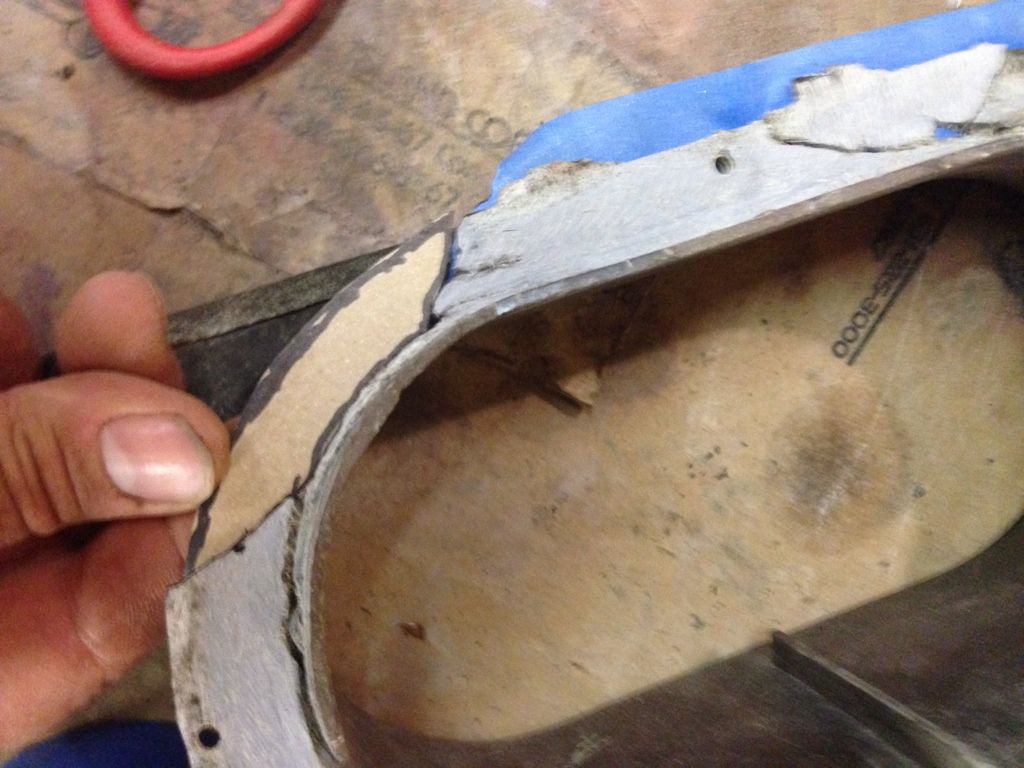
One of the vent stovepipes lip got broken up pretty bad when I removed it. Luckily the other one came out with no issues, so I have to repair one not two.
I was able to keep most parts and just used tape as backing to allow me to re-resin it with just a few glass hairs put in for extra strength.
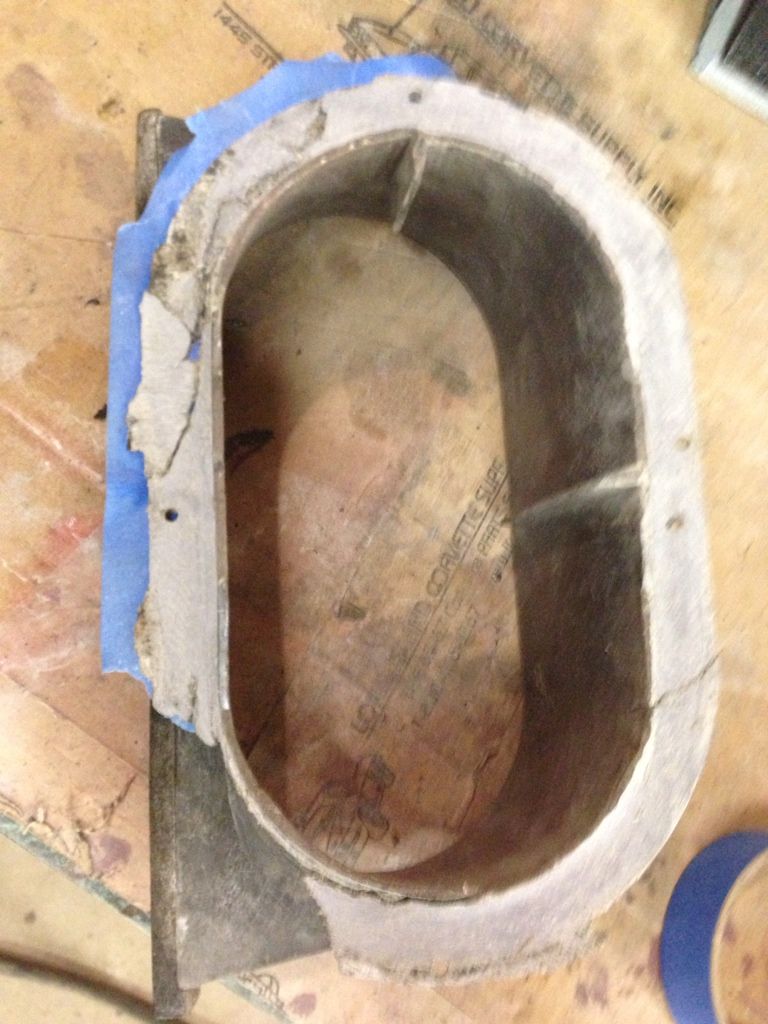
However, one section broke out and was lost...so I had to go the template route.

It's funny how you can't see the glass after you wet it with the resin but it's in there.
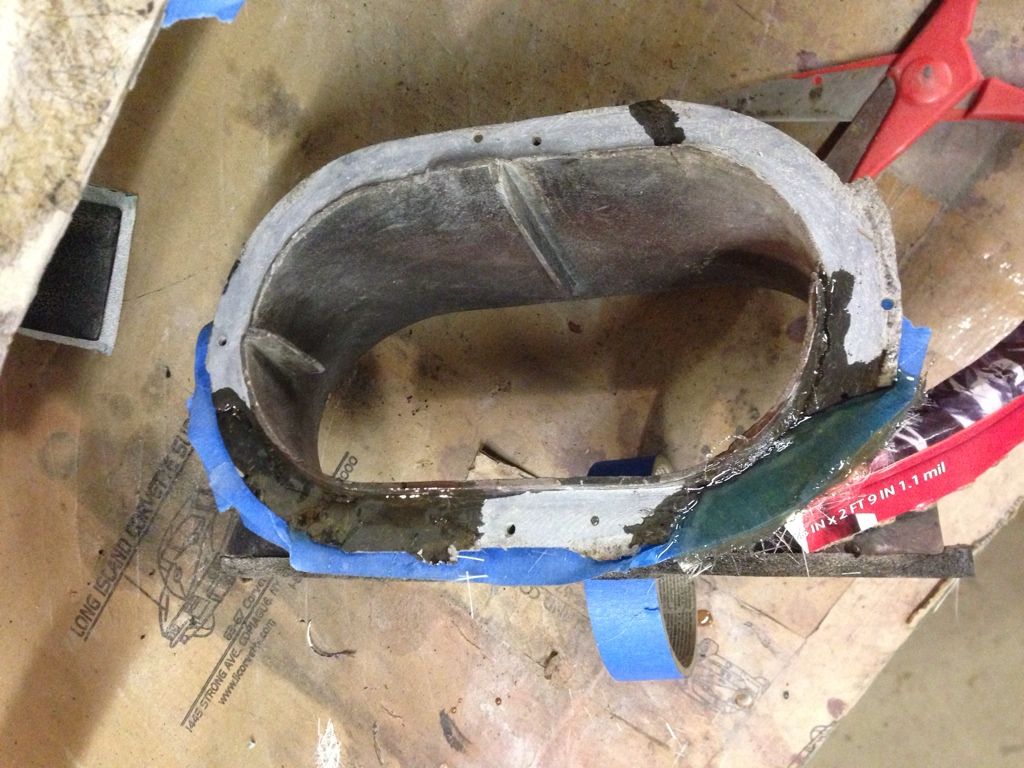
once it cures I'll have to find some charcoal paint since the glass will be yellowish in color. Will have to match it up even though I dont think it will be able to be seen. OCD you know
I was able to keep most parts and just used tape as backing to allow me to re-resin it with just a few glass hairs put in for extra strength.
However, one section broke out and was lost...so I had to go the template route.
It's funny how you can't see the glass after you wet it with the resin but it's in there.
once it cures I'll have to find some charcoal paint since the glass will be yellowish in color. Will have to match it up even though I dont think it will be able to be seen. OCD you know
04-21-2014, 06:41 PM
#920
Le Mans Master


How do you find the over all strength after a repair like this? Does it take multiple applications to build up the thickness or does your blue tape hold the shape and allow you to fill a mold shape to proper thickness. Your work is great.