When you click on links to various merchants on this site and make a purchase, this can result in this site earning a commission. Affiliate programs and affiliations include, but are not limited to, the eBay Partner Network.
It's just like stepping on your own head...
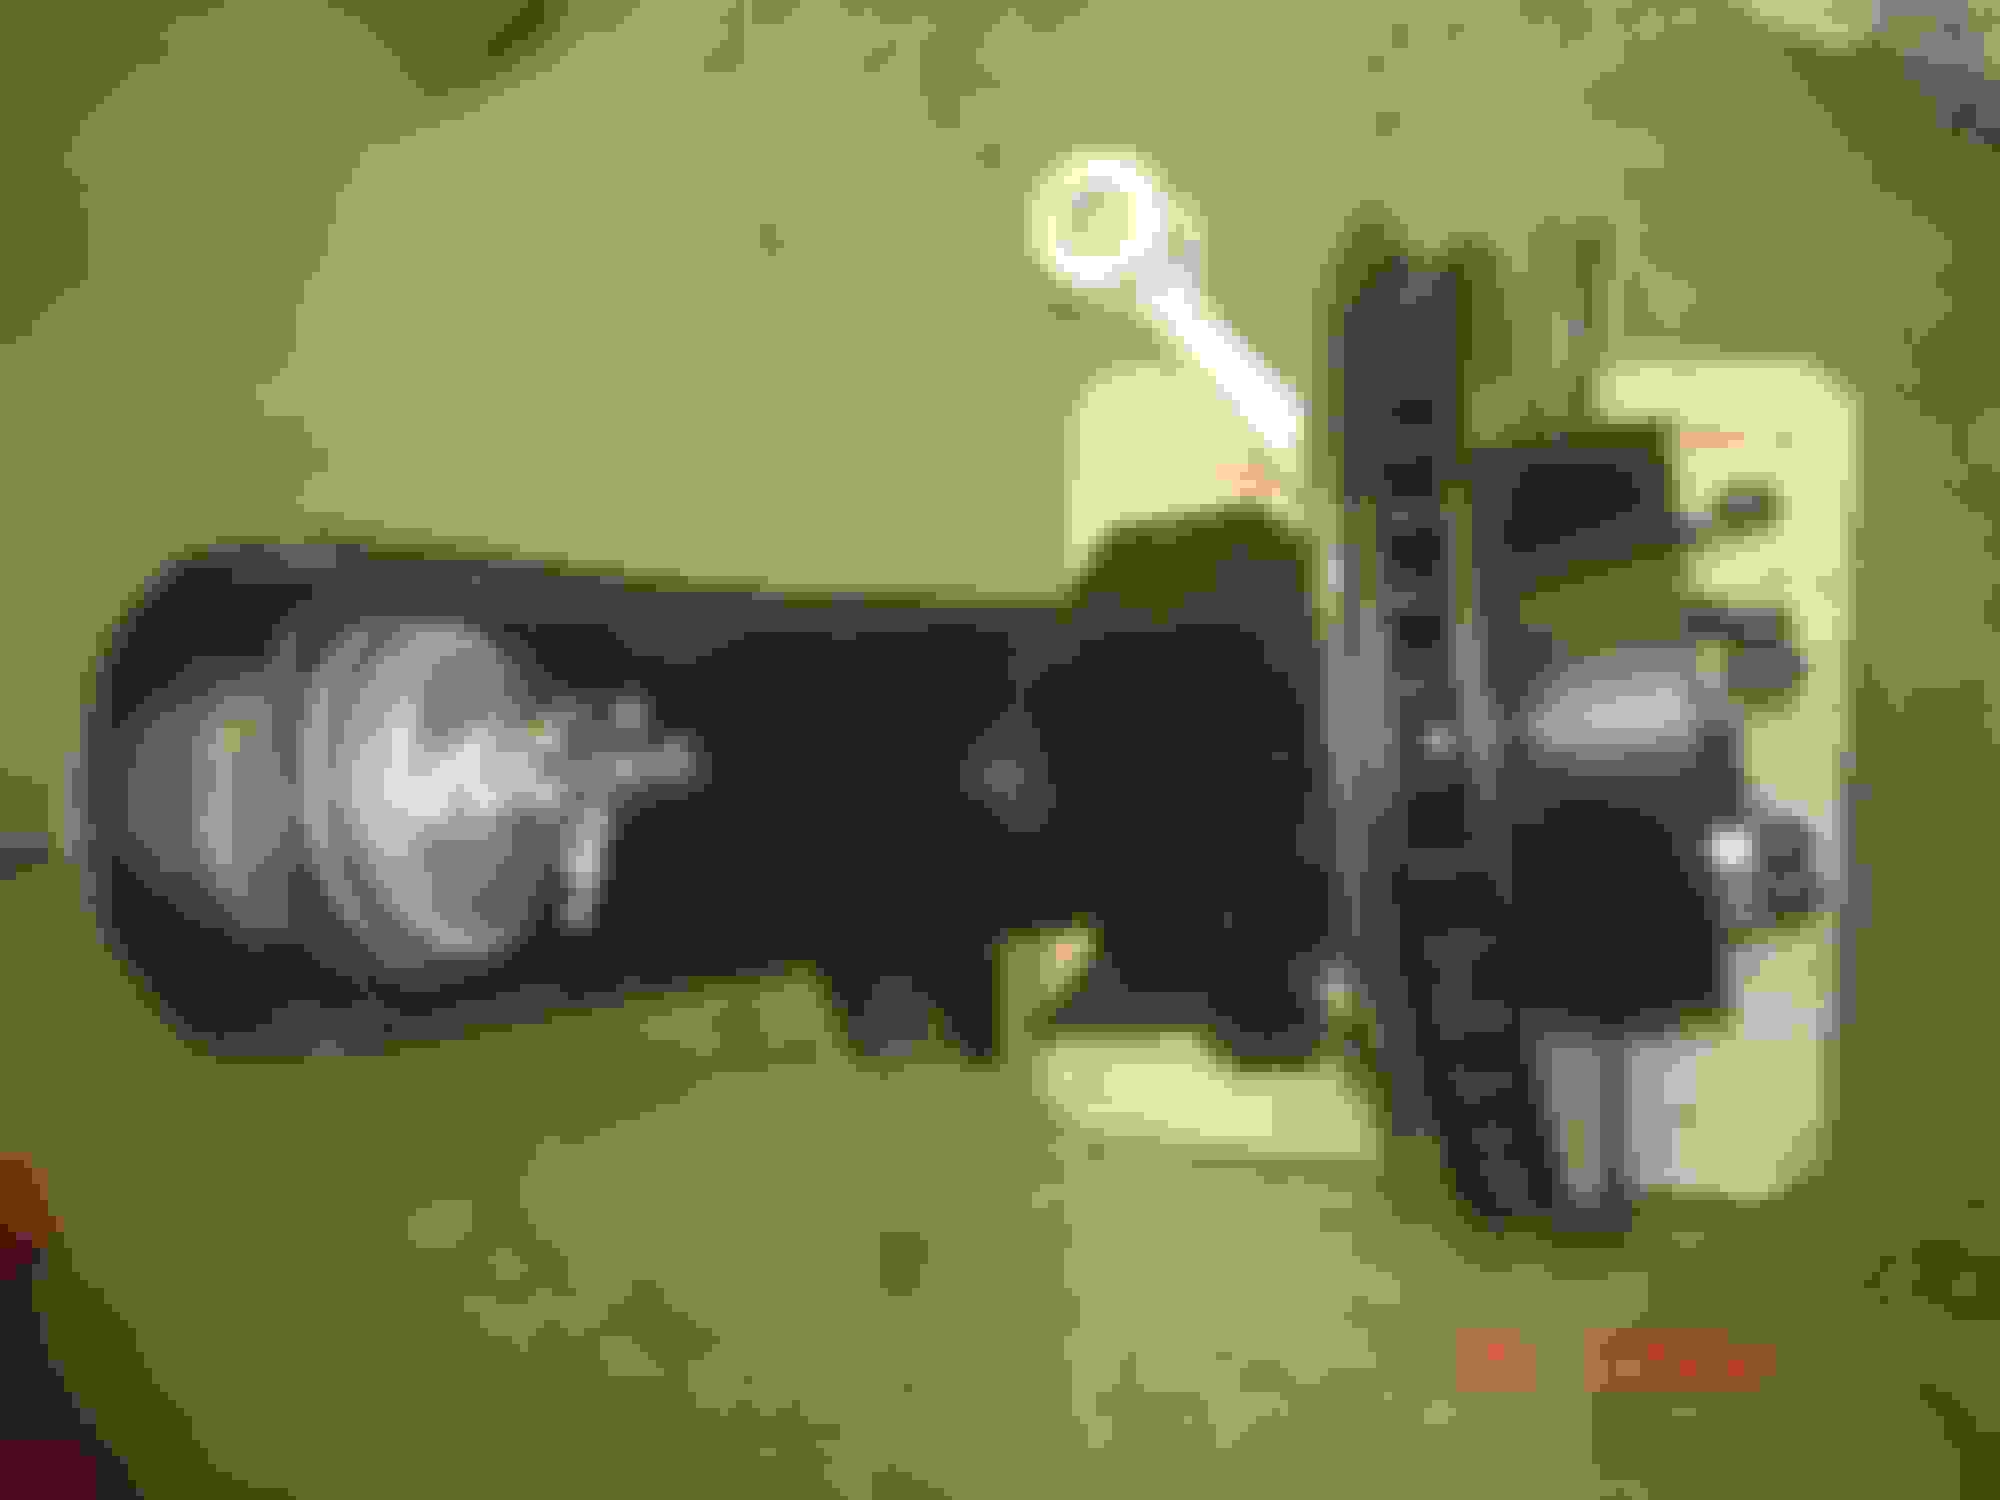
Well today seemed like a good day to put the new spindles onto the T/A's
When I ordered the spindles I already had all of the parking brake pieces (stainless kit from a while ago) and the pads seemed fine (one set new and one set on the car when I bought it for the safety inspection)
Anyways, had to install the parking brake bits with the spindle in place so more or less it's the same PIA as if it was on the car.
Put the one pad in place and while holding it out as far as possible, slip the spring over the pin and using needle nose pliers put the cap on and give it 1/4 turn
Hooked the upper and lower springs onto that pad and looped some strong nylon string to the open ends
Put the second pad in place and using one hand to hold the pin up, use the other hand to hold the pad away as far as possible and use the other hand to put the spring and cap on... oh wait, tried taping the pin up but it doesn't work, ended up using one finger through the vent hole in the shield to hold the pin and the same thumb to manipulate the pad. Again with the needle-nose pliers to put the cap on and turn 1/4 turn
Now, using the string on the spring, pulled the bottom spring out to align with the hole in the pad, small flat screwdriver through the hole in the spindle flange to pop it into place
Same routine for the top spring, much harder to pull since the bottom is in place now, wrapped it around my hand and pried against the pad with my thumb to pull the spring. Same screwdriver through the hole to pop it into place.
Pull the string out and check the actuator arm to make sure it's in the right place
Sneak the long side of the star adjuster under the one pad and then pry them apart slightly to get the short end in, then align the slots with the pad and check everything for being straight and working properly
Not nearly as bad as it was the first time
I've left the adjuster all the way in since I still want to dial in the rotor. Then I'll worry about bringing it out closer to where it should be
Anyway, probably covered lots of time before but it worked pretty good for me so figured I'd post it.
Mooser
Last edited by Mooser; 11-26-2017 at 08:06 PM.
Reason: fix photobucket mess
Too bad all that wasted time for something 99.9 % of the people who drive don't use, nor inspection mechanics don't check!!!! Nice effort though.........
Too bad all that wasted time for something 99.9 % of the people who drive don't use, nor inspection mechanics don't check!!!! Nice effort though.........
inspections in texas it must work, and must hold the car with it in drive
while apply throttle, almost impossible to get it to hold. i gave up this year and registered the car as an antique, no inspections, and 5 yr. registration permit. nice write up, i've done it twice and hated it both times.
just did mine recently also and found out that one of the PO's didn't line the holes up right, so I had to attach the top spring up first, slide the pads on, then (with dental floss putting tension on the springs to about half their length), slid them onto the pins and twisted the caps on. After they were secured, I attached the lower spring coming up from the bottom. After I had that attached, I pried (pry'd? pryed?) the pads apart and slid the adjuster arm thing in.
After all of that....my parking brake still doesn't work. The last thing i have to replace is the upper parking brake wire....if it doesn't work after that, I'm out of ideas. I have to have it working in order to pass safety here in Hawaii. (Plus, I would like all of the systems to work as they did back in the day)
Thanks Mooser!! I for one do appreciate the write up, cause I'll be installing my EB soon and any write up or info other have to share here on the forum helps.
Let us know how your runout checks out.
Thanks.
Got the rotors shimmed today and the brake pads more or less adjusted (a little looser than the 6-8 teeth the manual said, brought them out until they don't touch. I'll fine tune them once the T/A are on and the cables and everything are back on. Pretty easy to adjust through the access holes
Got the runout down to just over .001 and .0017 on the front (.0013 and .0015 on the back, not bad since they weren't re-turned)
.004 shim on the one and .006 on the other so I'm plenty happy with that.
Checked the end-play (PITA!) set by VanSteel on the Hubs and got pretty much .0025 on both
Anyway, looks like both arms are done and I can bag them up ready for re-assembly
( another job off the list)
Last edited by Mooser; 11-26-2017 at 08:10 PM.
Reason: fix photobucket mess
I'd have to go check but I believe the star wheel goes to the right hand shoe. rear on the driver side, front on the passenger
Since there's no auto adjuster on these (like regular drum brakes) I also don't think it matters much
M
I put the adjuster & bottom spring on first.
Instead of using a string to pull the top spring in place, I merely took
a smaller flat blade screw driver & put a "V" notch in it to hook the
spring over & pushed the spring into the hole...purdy easy!
Okay, old thread, but you can never have too many tips for a tedious, frustrating task. This time it went WAY better than when I did it back in the late 80's, pre-Corvette Forum era. The order you install things can make a big difference.
1. Slightly bend out the ends of the upper and lower return springs to make them easier to slip on when ready.
2. Before you remove the actuating arm/mechanism and undo the clip holding the two pieces together, photograph it and/or take notes on its set up. Likewise, if using the stainless steel replacement kit, mark the position what is up, right, left etc. with a Sharpie before taking it apart. The last thing you want to do after this tedious task is find you set up the mechanism on the wrong side, backwards, etc, so now you need to take it all apart again
3. Pre-install the bottom spring and adjuster on the shoes before putting the shoes on the vehicle. One less headache to deal with on the vehicle.
4. Next, the dreaded hold down springs/retaining cups. Floss (NOT waxed, as it slips), fishing line, heavy duty upholstery thread next to hold the springs compressed. The more compressed, the easier it will be, but some slippage/stretching is typical. A torch is easier to remove them instead of trying to cut them in a tight space. It take just a second or two.
5. Use a couple drops of super glue gel to retain the cup to the spring before installation. This way you are not trying to juggle both parts in a tight space.
6. Get a couple of straight and curved hemostats rather then needle nose pliers. Not only are they smaller in this tight space, you can also lock them in position if needed. Also easier to grab the pin.
7. Do the shoe that has the pin blocked by the backing plate first, as the second shoe to be done will have slightly less room to work with. That way you can at least be able to manipulate that pin from the back to compensate for less space to work with.
8. Last tough part. Make sure the actuating arm is properly positioned on the shoes, then tackle the top spring. I found the screwdriver tool with the notches cut in it sold by various vendors helpful, or you can make your own.
The rest of it, like adjusting isn't so bad. I am greatly indebted to the forum for all the help in this not-fun, but gratifying task.
Marc in Indy
72 350/auto coupe
57 283/245 hp 4 speed
One thing pointed out to me by DUB is the place where the cable hooks to the arm on some stainless kits that slot is different size than original so use a drill bit to make it correct size
Wes
I have had this tool for 30 years great way to get rotors true

 02-20-2012, 06:57 PM


 another job off the list)


