
drivers and passenger door gaps ... How wide are yours?
 04-19-2010, 10:41 PM
#1
Safety Car

Thread Starter

I see many and they all vary in gap width. what are the minimums and maximums for this. Some close up pictures would help, my 82 seems to be uniform at about a 1/4 inch on the backs and maybe 1-9 on the front.
This is after shimming the #4 mounts it still looks excessive to me but I have seen other C3's with as wide of gaps. So what were they like when leaving the factory?


This is after shimming the #4 mounts it still looks excessive to me but I have seen other C3's with as wide of gaps. So what were they like when leaving the factory?
 04-20-2010, 11:04 AM
#2
Team Owner


Member Since: Jun 2000
Location: Southbound
Posts: 38,928
Likes: 0
Received 1,470 Likes
on
1,249 Posts
Cruise-In II Veteran

3/16ths all around would be good.

04-20-2010, 11:25 AM
#3
Race Director

They were pretty bad from the factory. Late C3's were the worst, especially the front top part. On some you could stick your finger through the gap!
But there's no reason not to fix it nicely and make an even 3/16' gap.
But there's no reason not to fix it nicely and make an even 3/16' gap.
04-20-2010, 11:50 AM
#4
Safety Car
Thread Starter
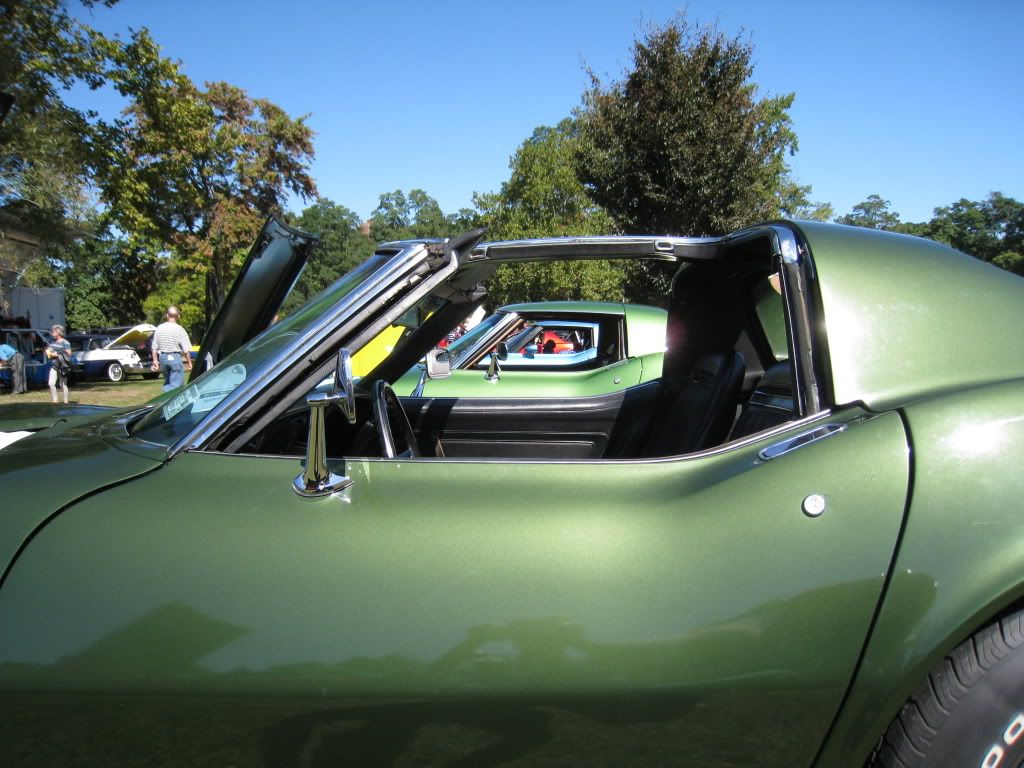
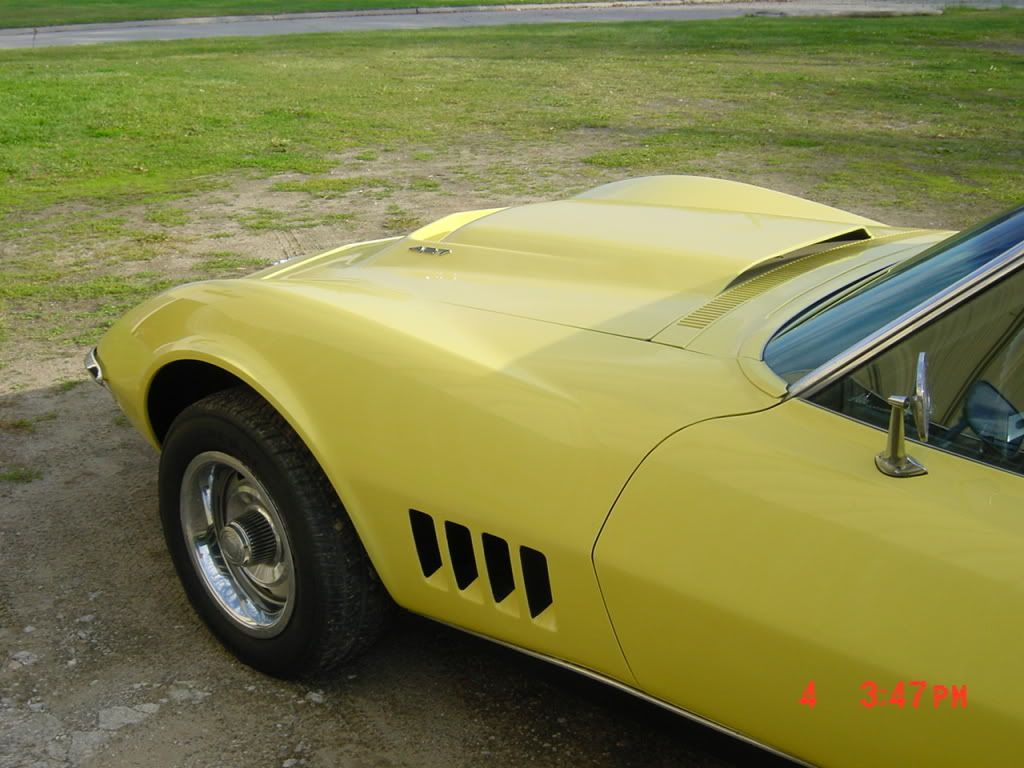
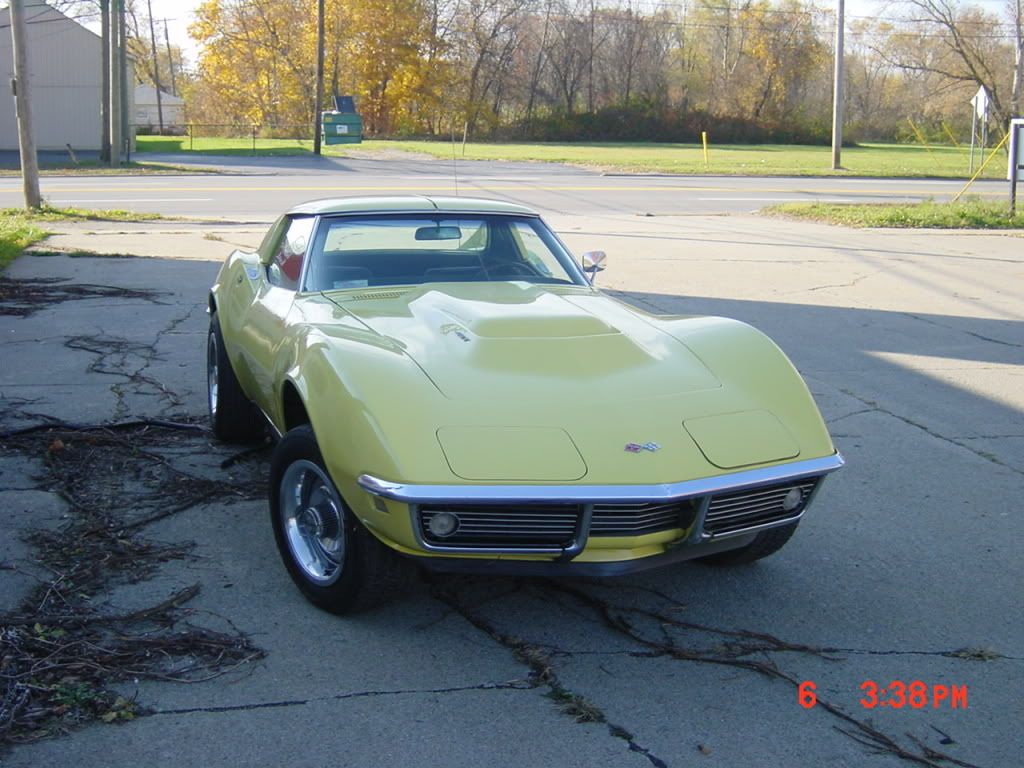
I got these pictures from another members thread and figure this to be the best way to go with my car. I saw his gaps and they appeared to be about the same as mine.
stinger12 ... hope you don't mind me using these pictures.


 04-20-2010, 01:26 PM
#5
Instructor


Member Since: Jul 2004
Posts: 202
Likes: 0
Received 0 Likes
on
0 Posts
So is it best to add additional fiberglass to the doors or to the door jambs? Everything seems to line up on my car, although I would like to add extra glass to the area of the jambs where the weatherstripping seals on the back of the doors, then slide the doors forward to get a nice gap then deal with the back door gaps. I'm not overly worried about the tops fitment as the car will be without it for the most part.
I got these pictures from another members thread and figure this to be the best way to go with my car. I saw his gaps and they appeared to be about the same as mine.
stinger12 ... hope you don't mind me using these pictures.
I got these pictures from another members thread and figure this to be the best way to go with my car. I saw his gaps and they appeared to be about the same as mine.
stinger12 ... hope you don't mind me using these pictures.
 04-20-2010, 02:36 PM
#6
Le Mans Master

Here's a few pics of mine, though not super tight, they are pretty consistent & even. I haven't measured the gap, I estimate 1/4, but no where near what todays cars are like. Now I'm curious and am going to measure mine tonight.
Glenn

A original unrestored 70 LT_1 (Don't remember who owns this, sorry!)

Glenn
A original unrestored 70 LT_1 (Don't remember who owns this, sorry!)
04-20-2010, 03:13 PM
#7
Race Director
Jeremy (stinger12) is doing it right. It's possible to add 'glass to the edges of the door but the panel is thin and you risk having it break off. Better to move the door forward and add it like Jeremy did.
Since the jamb is nice and wide you don't have to use resin & mat like Jeremy. You can use a high-strength filler like dynaglass and it will go quicker. But Jeremy is going all out on his car!
Since the jamb is nice and wide you don't have to use resin & mat like Jeremy. You can use a high-strength filler like dynaglass and it will go quicker. But Jeremy is going all out on his car!
04-20-2010, 03:27 PM
#8
Safety Car
Thread Starter
Jeremy (stinger12) is doing it right. It's possible to add 'glass to the edges of the door but the panel is thin and you risk having it break off. Better to move the door forward and add it like Jeremy did.
Since the jamb is nice and wide you don't have to use resin & mat like Jeremy. You can use a high-strength filler like dynaglass and it will go quicker. But Jeremy is going all out on his car!
Since the jamb is nice and wide you don't have to use resin & mat like Jeremy. You can use a high-strength filler like dynaglass and it will go quicker. But Jeremy is going all out on his car!

At first I figured since this car was a accident car (why it was converted and why it was converted the way it was) it had potential frame/birdcage damage. However when the rear clip was put in place the body mounts lined up, all the convertible "B" pillar top mounts lined up. So I don't think this is a frame/birdcage issue on this car. I remember when I bought it although repaired (really badly) there was always a draft from the passenger door on the back side and it's door gap was wider then the drivers door. After I shimmed the convertible rear clip now they are about the same and uniform.
I have a lot of fiberglass work to do on this car so one more added job to the list won't hurt me ... whats another gallon of resin and a few yards of mat.
Here is the project car though, it is a 1982 vette originally solid white with camel interior. When done it will either be silver on top and black on bottom with black interior or autumn red on top dark claret on bottom with red interior.


Last edited by jeffp1167; 04-20-2010 at 03:49 PM.
04-20-2010, 03:28 PM
#9
Team Owner
Member Since: Sep 2006
Location: Westminster Maryland
Posts: 30,173
Likes: 0
Received 2,878 Likes
on
2,515 Posts

Hi,
I've noticed that even on cars that haven't ever been apart the gap at the top/front of the passengers side door is often the worst on the whole car. It seems like the upper rear area of the passenger's side fender wasn't designed quite correctly. The gap is often .25"+, and the 'shape' doesn't match the door.
In the 71 AIM the door gaps are called out as .16" to .20".
Regards,
Alan
04-20-2010, 04:21 PM
#10
Safety Car
Thread Starter
Hi,
I've noticed that even on cars that haven't ever been apart the gap at the top/front of the passengers side door is often the worst on the whole car. It seems like the upper rear area of the passenger's side fender wasn't designed quite correctly. The gap is often .25"+, and the 'shape' doesn't match the door.
In the 71 AIM the door gaps are called out as .16" to .20".
Regards,
Alan
I've noticed that even on cars that haven't ever been apart the gap at the top/front of the passengers side door is often the worst on the whole car. It seems like the upper rear area of the passenger's side fender wasn't designed quite correctly. The gap is often .25"+, and the 'shape' doesn't match the door.
In the 71 AIM the door gaps are called out as .16" to .20".
Regards,
Alan
04-20-2010, 05:32 PM
#11
Race Director
Here's my '71. Not the best pics, but you can see the gaps are fairly tight. They got a little tighter with paint.

 04-21-2010, 07:21 AM
#13
Safety Car
Thread Starter
When Jeremy took those pics the gaps were not final. He sets them tight and then he will do the final cut to 3/16". That way you get perfectly even gaps with no filler or anything on the edge, just fiberglass.
Here's my '71. Not the best pics, but you can see the gaps are fairly tight. They got a little tighter with paint.
Here's my '71. Not the best pics, but you can see the gaps are fairly tight. They got a little tighter with paint.
04-21-2010, 12:14 PM
#14
Safety Car
I did not shift my doors forward if that is what you guys are thinking. I want you to look at these pics with the trim mounted...


You see the arrow in the above picture? That is where your door gap is. Use it as a guide. The doors front edge must be behind this line. Once again, this is a very important step. If your door is in front of this point, it might bind on the weatherstripping, and it will be very hard to shut the door...or it might not shut at all. Remember, this is just a starting point for your doors...you need to start somewhere before you fit other pieces. You will be mickey mousing with the doors throughout the entire build.
As long as your door is behind that arrow, you will not have any problems with sealing on the front/rear of the doors. I did not even try to get my gaps to look right on the car. I set the door to where it NEEDED to be, then I dealt with it cosmetically using fiberglass and resin.
Another important step is to get the top of the door to line up with the top edge of the deck. This takes precedence over getting the gaps to look good. Remember - you get the door in the proper position first, then you glass the edges shut, creating the perfect door gap. Too many times do people try to get their gaps perfect and get the doors in the wrong spot, creating sealing problems. You have to remember that these cars looked like crap from the factory, so if you try to get perfect gaps and put the door where it is not supposed to be, you are going to have sealing problems because that is not where GM originally set them, and you are altering that.
If you guys need anymore help, just let me know. Here is the final result with the flares screwed in place.
Right side...


Left side...


You see the arrow in the above picture? That is where your door gap is. Use it as a guide. The doors front edge must be behind this line. Once again, this is a very important step. If your door is in front of this point, it might bind on the weatherstripping, and it will be very hard to shut the door...or it might not shut at all. Remember, this is just a starting point for your doors...you need to start somewhere before you fit other pieces. You will be mickey mousing with the doors throughout the entire build.
As long as your door is behind that arrow, you will not have any problems with sealing on the front/rear of the doors. I did not even try to get my gaps to look right on the car. I set the door to where it NEEDED to be, then I dealt with it cosmetically using fiberglass and resin.
Another important step is to get the top of the door to line up with the top edge of the deck. This takes precedence over getting the gaps to look good. Remember - you get the door in the proper position first, then you glass the edges shut, creating the perfect door gap. Too many times do people try to get their gaps perfect and get the doors in the wrong spot, creating sealing problems. You have to remember that these cars looked like crap from the factory, so if you try to get perfect gaps and put the door where it is not supposed to be, you are going to have sealing problems because that is not where GM originally set them, and you are altering that.
If you guys need anymore help, just let me know. Here is the final result with the flares screwed in place.
Right side...
Left side...
Last edited by stinger12; 04-21-2010 at 12:27 PM.
04-21-2010, 07:02 PM
#15
Race Director

These are factory on a no hit body. I dont know whats normal but nothing rubs on any seam and I have received quite a few compliments so some others must be off or I would not have had so many lookers. Probably close to a paint stick gap. I know the hood and wiper door is a 4 corner paint stick wide
.


.