
My DIY A&A install
 02-07-2009, 11:02 AM
#1
Pro

Thread Starter


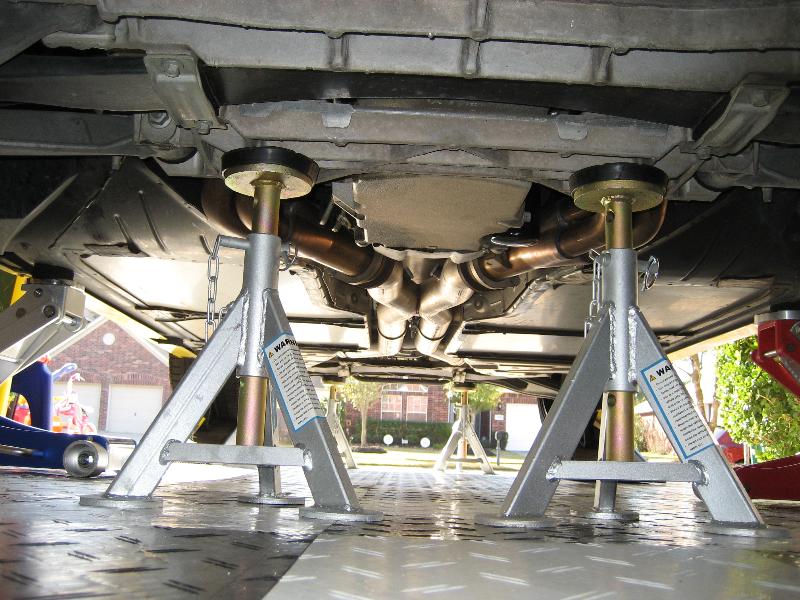
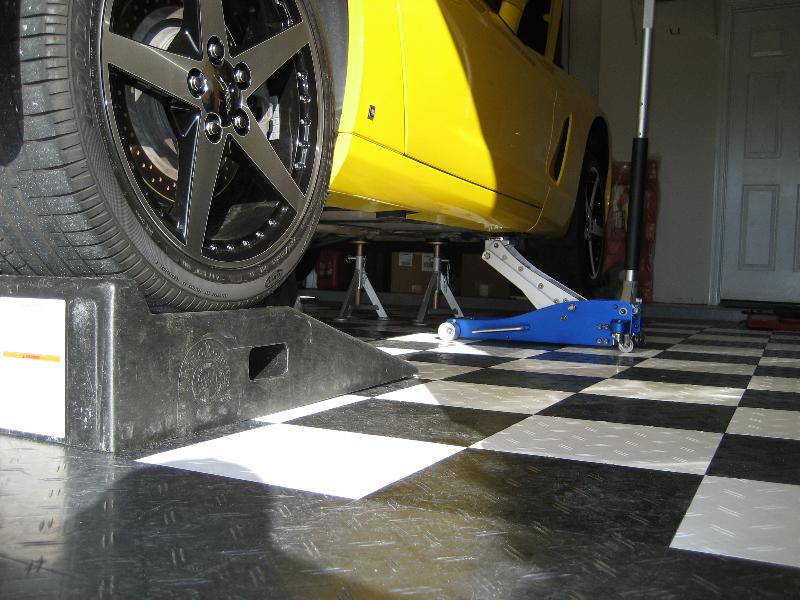
Well I started the install if my A&A V-3 si supercharger. I just got it up on stands and will start tearing into it soon. I am super paranoid working under cars so I put it on 2 stands with ramps on the back and 2 stands and 2 jacks on the front just in case. I will update my progress later.
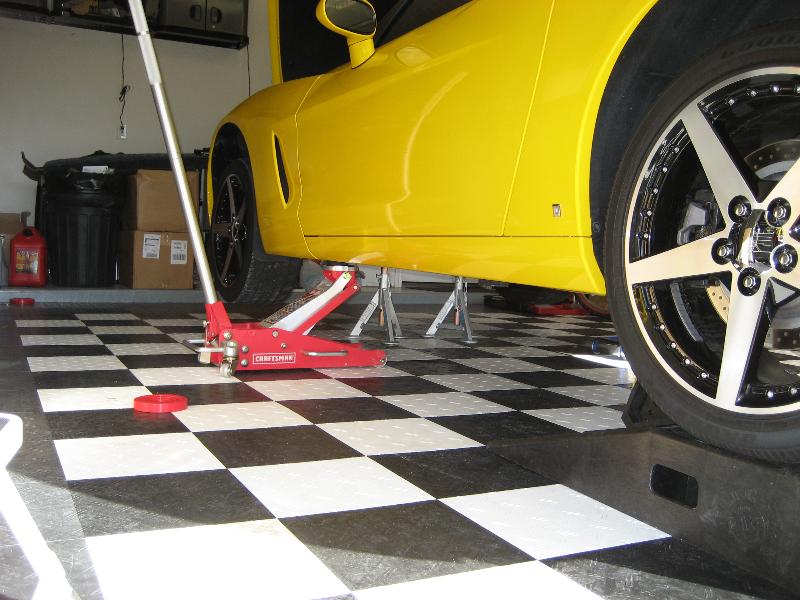
Got the stands under the front
Stands in the rear
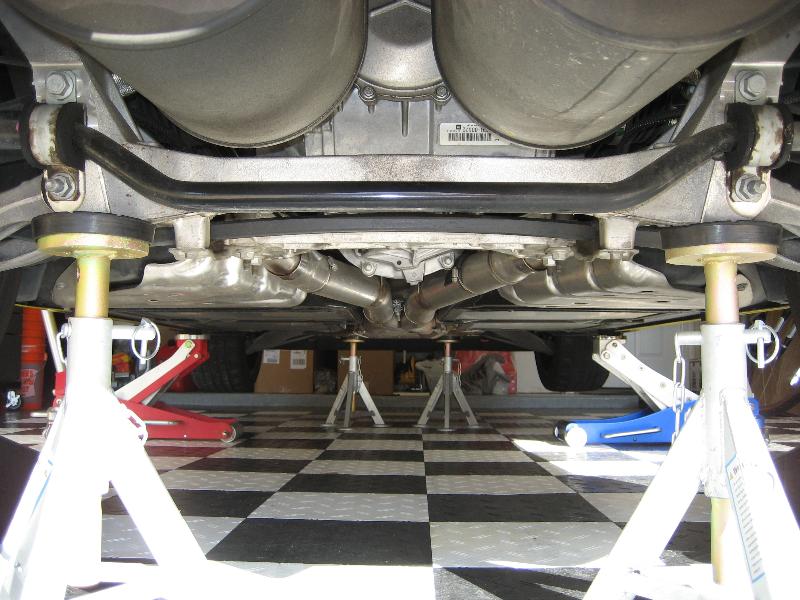
Shot of rear on stands and jacks. The car is fully on the stands and there is still just a hair of travel left to make that the ramps do not take up all the travel
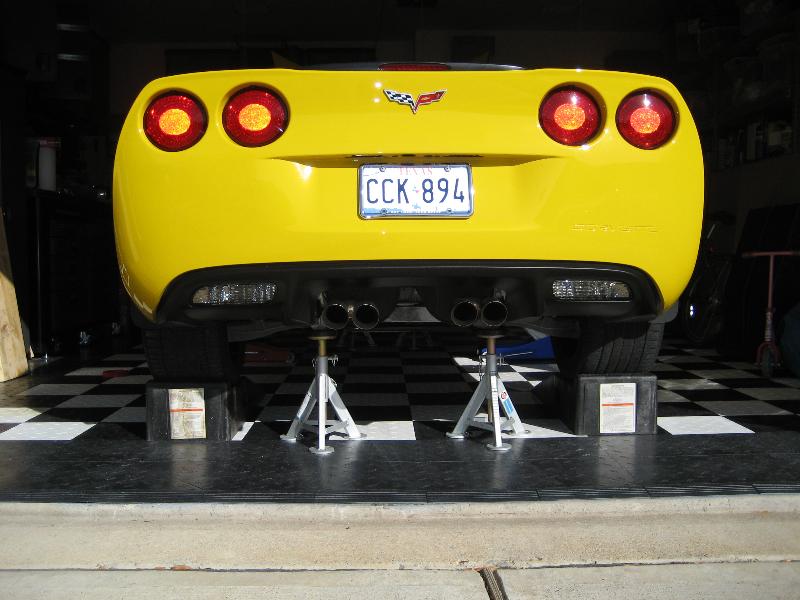
Jacks on the sides for extra safety
Well I am off to get working. Can't wait to get this beast done. I hope to get it done over 2 weekends with maybe a day or two off from work.
Steve
Got the stands under the front
Stands in the rear
Shot of rear on stands and jacks. The car is fully on the stands and there is still just a hair of travel left to make that the ramps do not take up all the travel
Jacks on the sides for extra safety
Well I am off to get working. Can't wait to get this beast done. I hope to get it done over 2 weekends with maybe a day or two off from work.
Steve
 02-07-2009, 11:10 AM
#2
Le Mans Master

Member Since: Oct 2007
Location: Greater Detroit Metro MI, when I'm not travelling.
Posts: 6,149
Likes: 0
Received 10 Likes
on
10 Posts


Damn, you ARE paranoid!
To install my A&A all I needed was the front jacked up. I put the car in gear, pulled the handbrake, and used wheel stops to hold the rear in place, jacked up the font and held it by two jackstands:

BAP install: Jack on a jacking puck driver's side rear and a jack stand underneath the transmission cradle:

 02-07-2009, 12:19 PM
#4
Burning Brakes

Skamp,
I was super paranoid about the jacks and getting under the car as well;
At least at first.
In the two years since the A&A S/C kit install, I installed a new short block, pulled the transmission and rebuilt it with HD parts, installed left and right hardened shafts in the diff, and alot more.
Did it at home in my garage on jacks; no lift.
And no, I'm not a mechanic.
02-07-2009, 02:42 PM
#5
Drifting

Good luck with the install, and PLEASE take tons of pics along the way.
02-07-2009, 04:06 PM
#6
Pro
Thread Starter
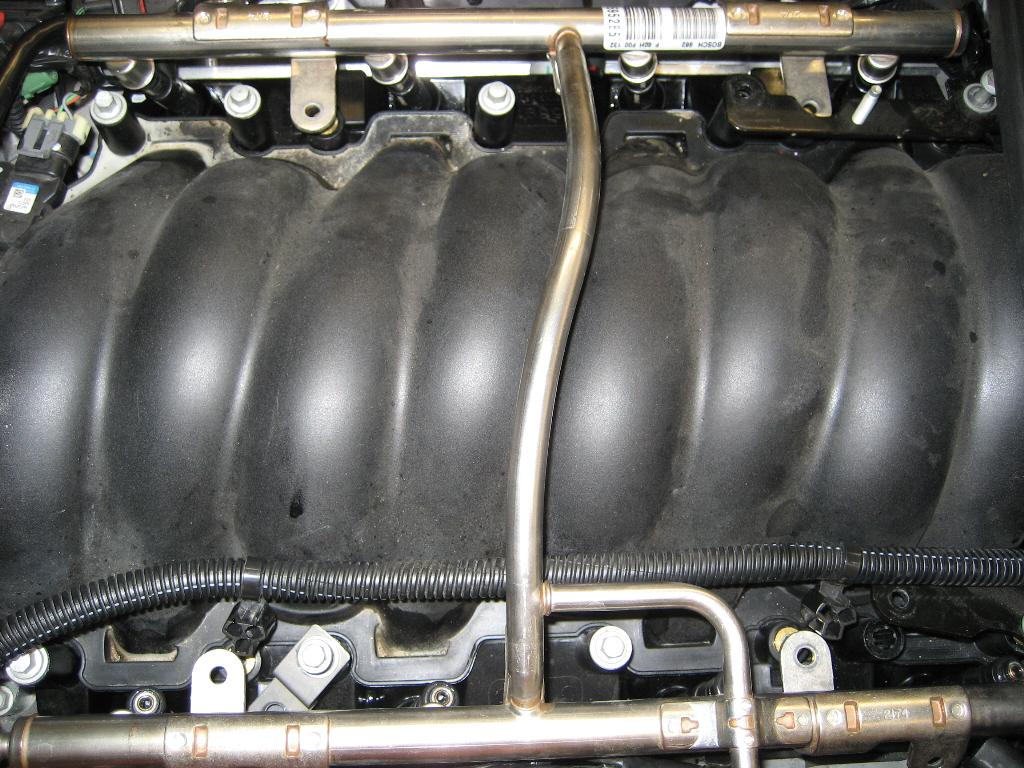
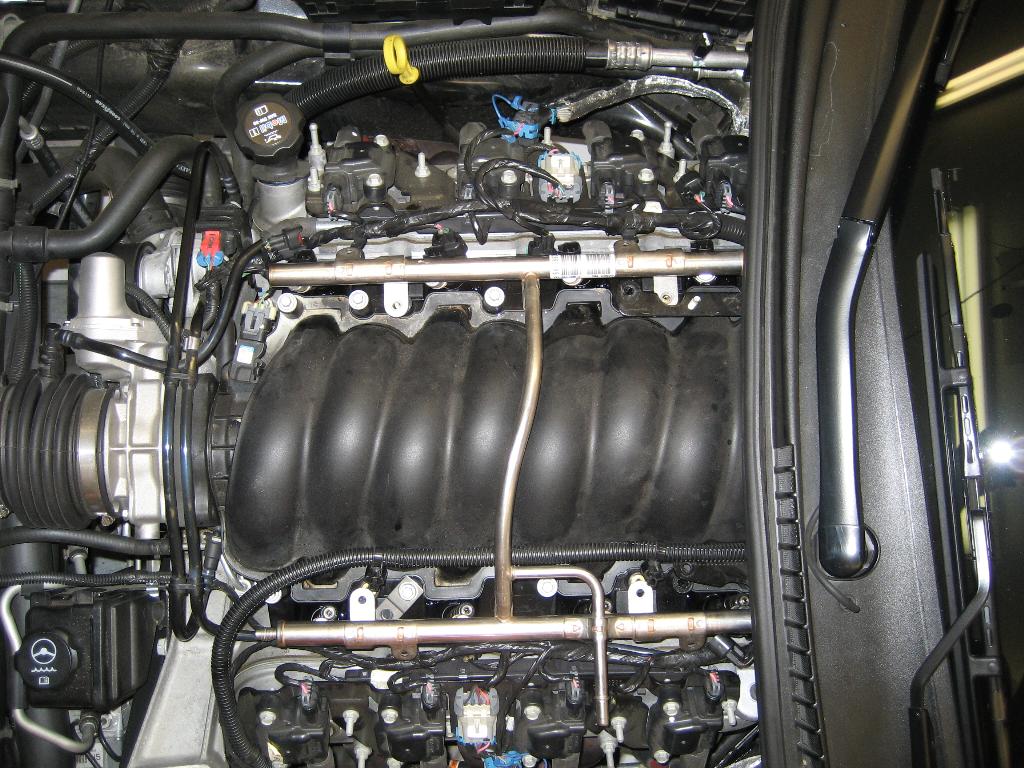
Well I hit my first snag and need some help. I installed the 60# injectors and cannot get the fuel rail back on. I have 2 problems.
1. It seems like the longer injectors will prevent the fuel rail from going on. If i get the rail on one side the other side is off by 1/2"-3/4".
2. The black brackets in the back prevent the rail from being mounted. I have them loose not so I can at least mess with getting the rail back on.
A&A told me to remove the back bracket but you can't get the back screw out because it is too long and hits the top of the windheild cowl. I am posting pictures so Andy or Steve can see what I am saying. It is hard to state in words and sometimes pictures work better. I spoke to the earlier. I am sure I am doing something stupid.


Steve
1. It seems like the longer injectors will prevent the fuel rail from going on. If i get the rail on one side the other side is off by 1/2"-3/4".
2. The black brackets in the back prevent the rail from being mounted. I have them loose not so I can at least mess with getting the rail back on.
A&A told me to remove the back bracket but you can't get the back screw out because it is too long and hits the top of the windheild cowl. I am posting pictures so Andy or Steve can see what I am saying. It is hard to state in words and sometimes pictures work better. I spoke to the earlier. I am sure I am doing something stupid.
Steve
02-07-2009, 04:29 PM
#7
Team Owner


Should follow the instructions,In order, injector's are the last step,
Jumping around will cause trouble. I had no trouble with the injectors about an hour, to swap. Plus you
jack in the middle, The stands go under the jacking pucks. Don't need the jack and the stands! and the ramps
overkill to the max!
Jumping around will cause trouble.
I had no trouble with the injectors about an hour, to swap. Plus you jack in the middle, The stands go under the jacking pucks. Don't need the jack and the stands! and the ramps
overkill to the max!
Last edited by 3 Z06ZR1; 02-07-2009 at 04:34 PM.
02-07-2009, 04:33 PM
#8
Pro
Thread Starter
Ok, so I spoke with Andy (the fact that he answered the phone on Saturday is just great customer service) and he said the injectors need to be in the rail first and then install the whole assembly (just like it says in the instructions). I guess I missed that. I have to do some other stuff today so I had to quit for the day. I removed the brackets in the back by pulling all the bolts to the intake and moving it forward enough to get the back bolts out. I will get the injectors in the rail and put it back in tomorrow. So did everyone else with 60# injectors remove those back brackets?
Steve
Steve
Last edited by skamp; 02-07-2009 at 04:45 PM.
02-07-2009, 04:35 PM
#9
Pro
Thread Starter
Also in my opinion you can never have too much support when you are working under it. Overkill, maybe but it also does not hurt to have backups when you are working under 3000+ lbs. I have seen some pretty nasty pictures of when a car falls on your face and body and I am not taking any chances.
Steve
Last edited by skamp; 02-07-2009 at 04:45 PM.
02-07-2009, 05:22 PM
#10
Burning Brakes
Member Since: Sep 2005
Location: Raleigh NC
Posts: 980
Likes: 0
Received 0 Likes
on
0 Posts
 Being safe doesn't hurt anything, and if he's willing to take a couple of additional safety steps then who cares? Besides, it allows him more space under the car.
02-07-2009, 05:33 PM
Being safe doesn't hurt anything, and if he's willing to take a couple of additional safety steps then who cares? Besides, it allows him more space under the car.
02-07-2009, 05:33 PM
#11
Safety Car


That was going to be my next statement about the injectors, just leave the stock ones in Jay and Owen can swap them out when you go to tune it, only takes a couple of minutes to swap them. I would not both sending out your computer just for that?
02-07-2009, 05:37 PM
#12
Pro
Thread Starter
Steve
02-07-2009, 05:42 PM
#13
Pro
Thread Starter
I am a bit concerned that I had to move the intake to get the back bolts out to remove the fuel rail stop brackets. The factory service manual says not to reuse the gaskets. The fact that I just pulled all the bolts and moved it forward a bit also concerns me that I may have pinched or screwed up a gasket in that process. Anyone have any thoughts on this? Do you think it would be a good idea to pull the whole intake and replace the gaskets or am I just being stupid and paranoid? Thanks!
Steve
Steve
02-07-2009, 05:58 PM
#14
Safety Car
I would think the gasket would be fine maybe just lift the intake to make sure it is ok, one other thing that I learned about from Owen is when you remove the steering rack make sure you put a mark the steering shaft and the joint that it goes into and DO NOT MOVE IT when you take it off. Don't move the steering wheel even slightly, evidently it is critical to get it back exactly because it will break if you don't and ruin the rack and pinion and air bag sensor, atleast that is what I am told.
02-07-2009, 06:06 PM
#15
Safety Car

Gaskets are O-rings and can be reused if not damaged.I would pull intake to inspect and put your fuel rails and injectors back in on a work bench.Why do you have to remove steering rack?We just lower the cradle to remove balencer.
Last edited by Luweegy; 02-07-2009 at 06:09 PM.
02-07-2009, 06:30 PM
#16
Pro
Thread Starter
I would think the gasket would be fine maybe just lift the intake to make sure it is ok, one other thing that I learned about from Owen is when you remove the steering rack make sure you put a mark the steering shaft and the joint that it goes into and DO NOT MOVE IT when you take it off. Don't move the steering wheel even slightly, evidently it is critical to get it back exactly because it will break if you don't and ruin the rack and pinion and air bag sensor, atleast that is what I am told.
Steve
02-07-2009, 07:14 PM
#17
Le Mans Master
Member Since: Oct 2007
Location: Greater Detroit Metro MI, when I'm not travelling.
Posts: 6,149
Likes: 0
Received 10 Likes
on
10 Posts
I am a bit concerned that I had to move the intake to get the back bolts out to remove the fuel rail stop brackets. The factory service manual says not to reuse the gaskets. The fact that I just pulled all the bolts and moved it forward a bit also concerns me that I may have pinched or screwed up a gasket in that process. Anyone have any thoughts on this? Do you think it would be a good idea to pull the whole intake and replace the gaskets or am I just being stupid and paranoid? Thanks!
Steve
Steve
02-07-2009, 08:41 PM
#18
Pro
Thread Starter
One last thing for today. When I pulled the plugs all 8 had a little oil on the threads. The tips looked great and tan. I want to make sure there is no concern here. Here are some pictures.
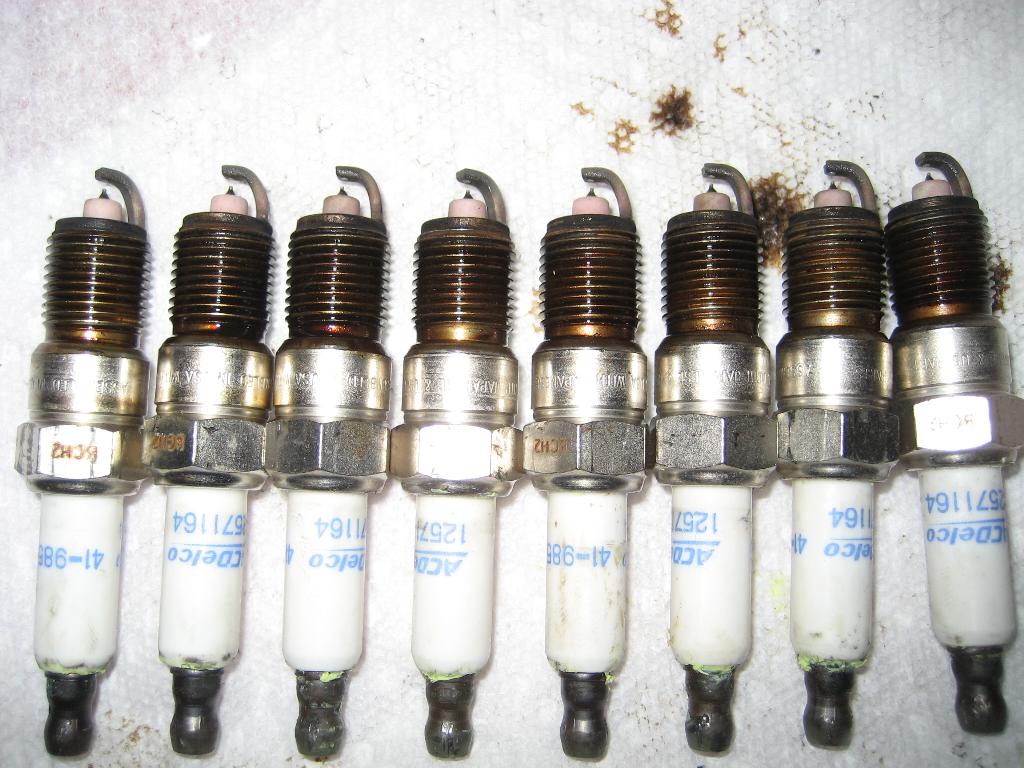
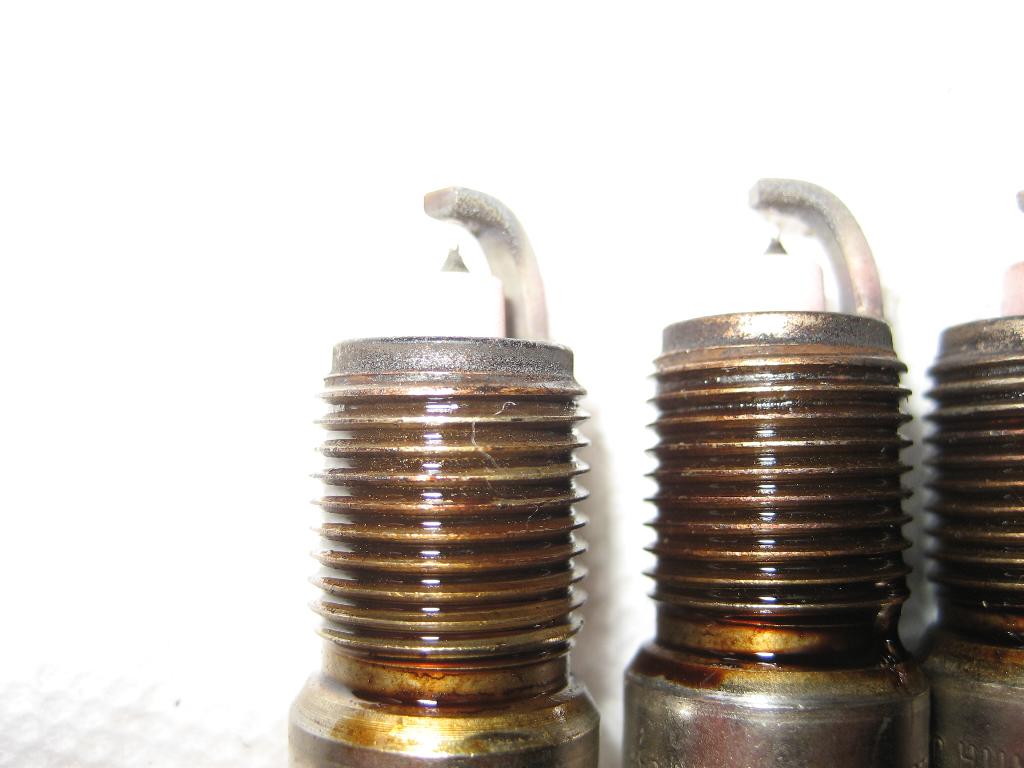
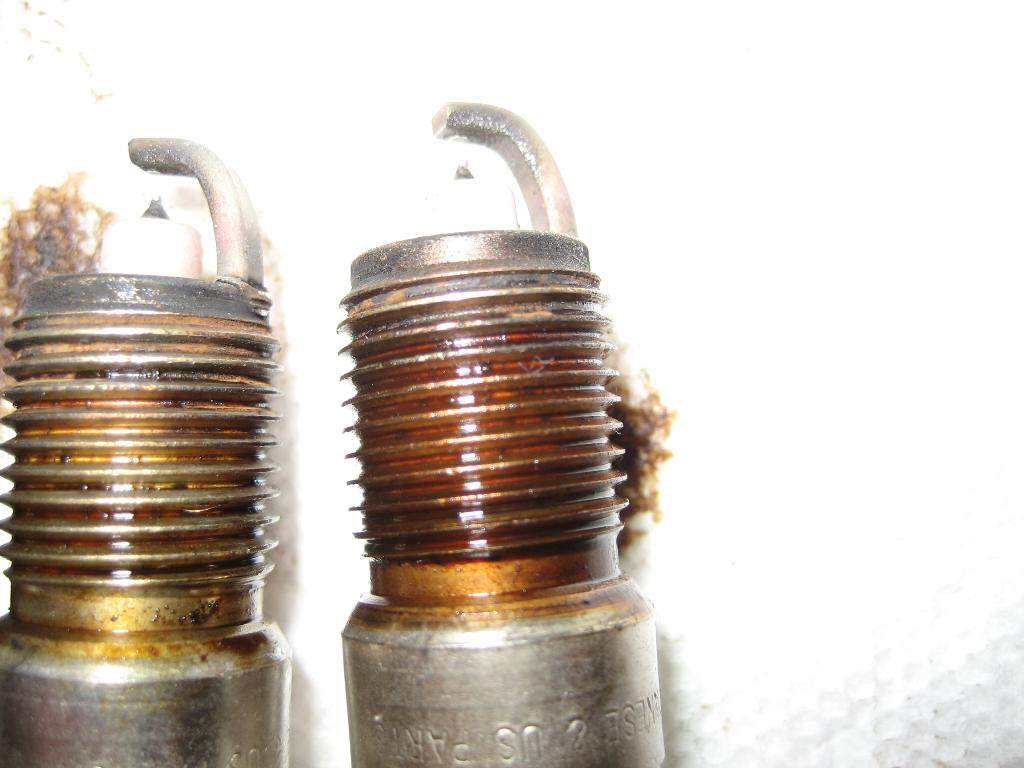
Let me know what you think. Thanks!
Steve
Let me know what you think. Thanks!
Steve
02-08-2009, 02:14 AM
#20
Team Owner
The A&A instructions have you the injectors do it as the 2nd step. First step is the plugs then injectors. I am sending my ECU to A&A to get a base tune so I can drive with the 60#'ers to the tuner.
Also in my opinion you can never have too much support when you are working under it. Overkill, maybe but it also does not hurt to have backups when you are working under 3000+ lbs. I have seen some pretty nasty pictures of when a car falls on your face and body and I am not taking any chances.
Steve
were the last step after the blower installed was completed.
Good luck!