
Body mounts replaced with pics!
 03-03-2009, 08:35 PM
#1
Safety Car


Thread Starter
I have been procrastinating this 'littlle' project for some time. As I have read other accounts and seen pics I prepared for the worse!
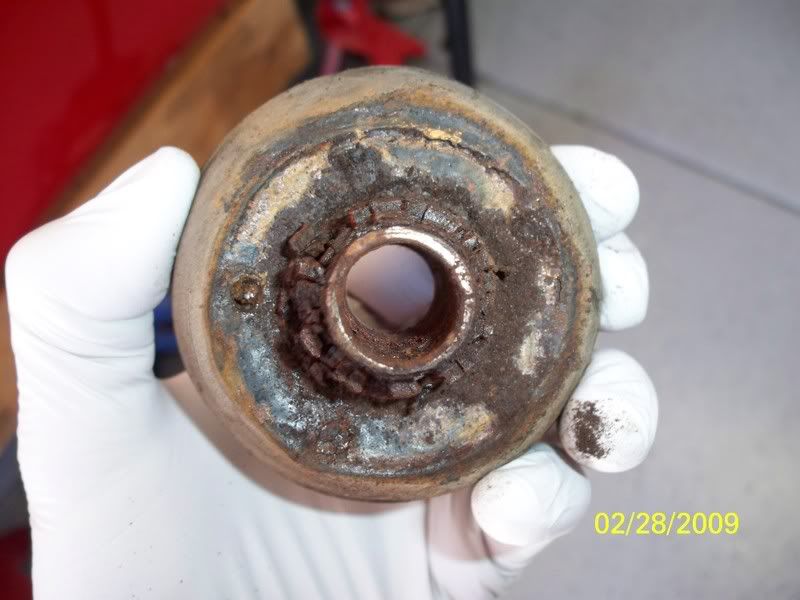
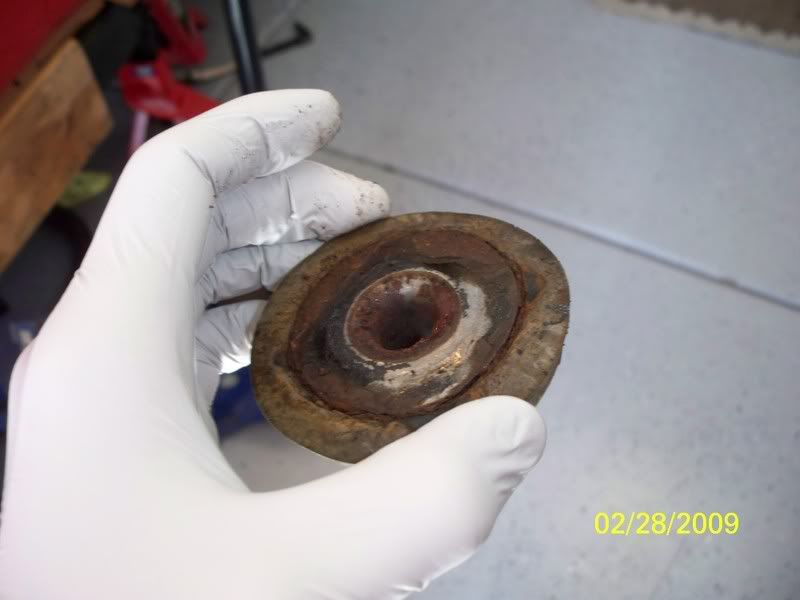
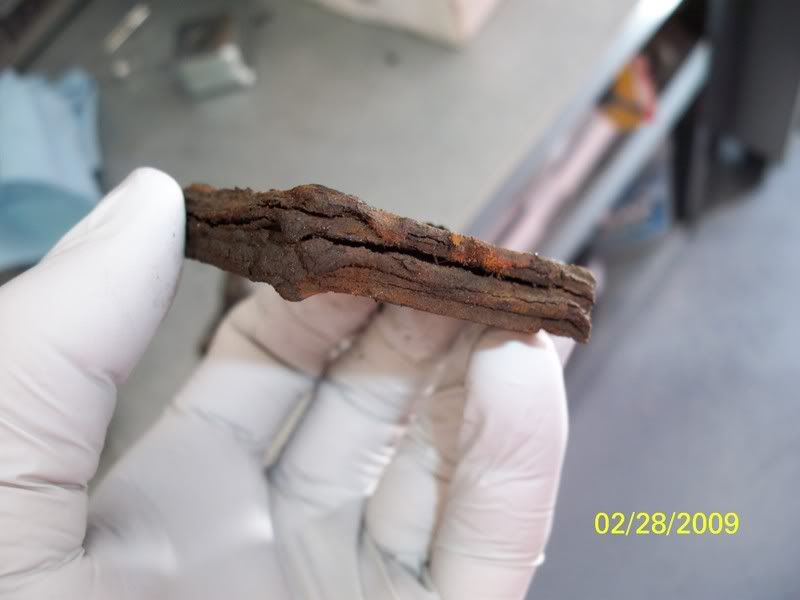
Some carnage from the removal. I took a sawzall to the #4 and#5 mounts.


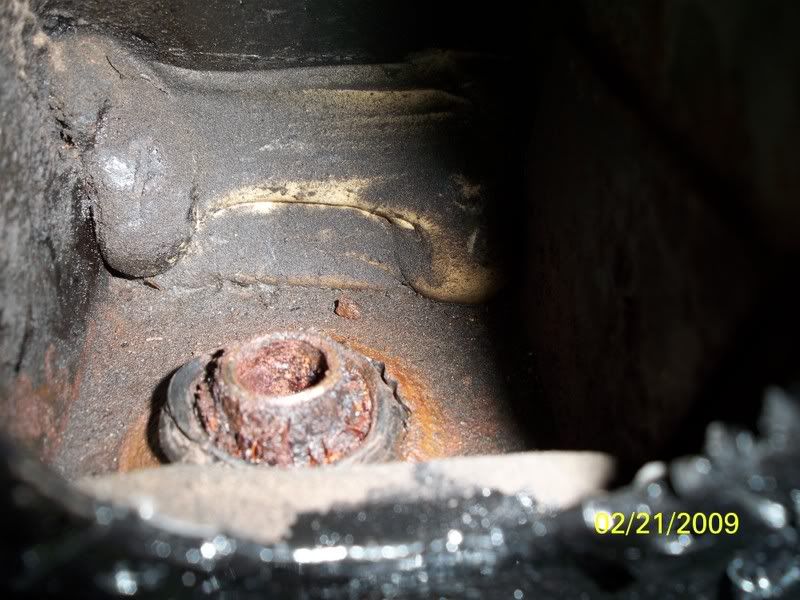

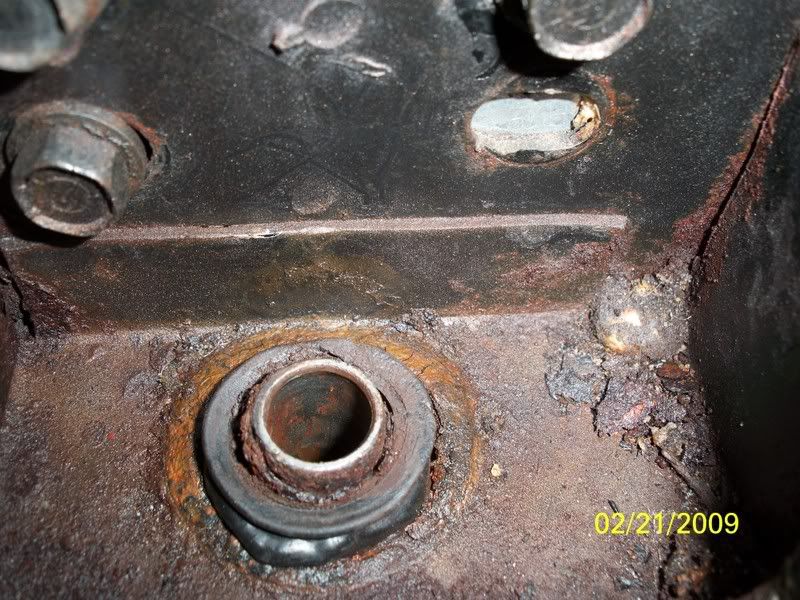
One doesn't see this view very often...


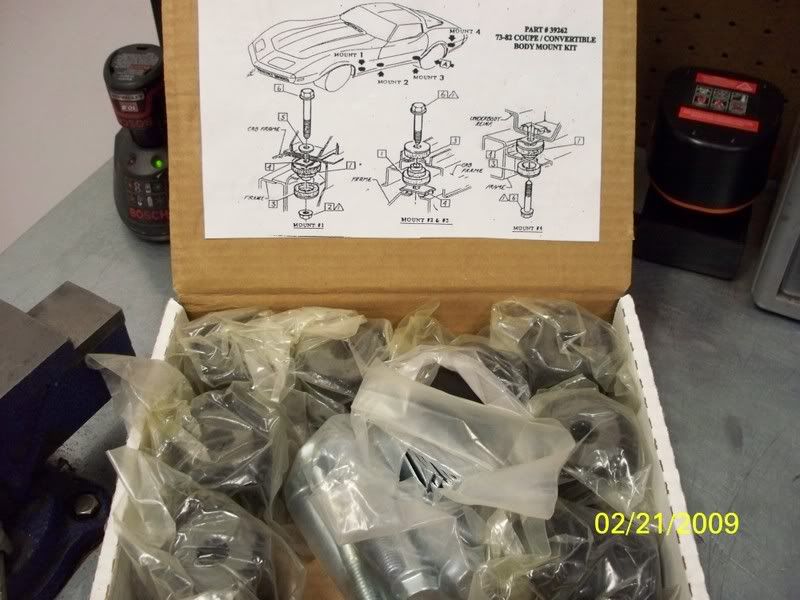
New mounts (rubber) ready to go...
I did one sid at a time using a floor jack and a 2x6 for support when lifting the body. Here are some finished pics...
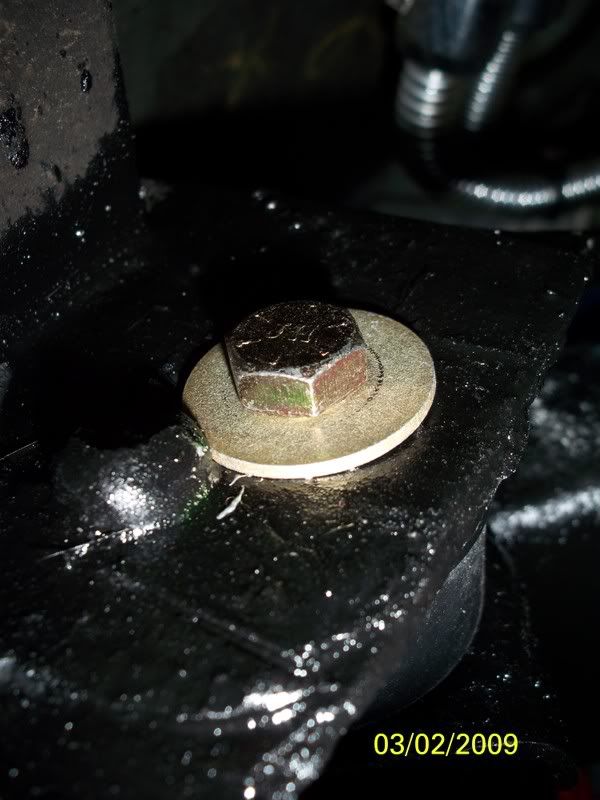

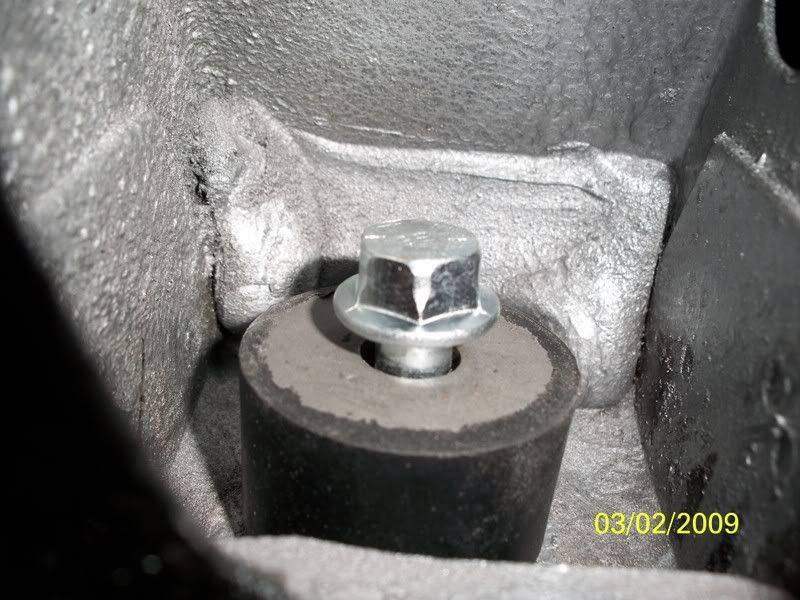

Not a very fun job, but it was time to replace those mounts as one can see. I'm glad it's over!!
Some carnage from the removal. I took a sawzall to the #4 and#5 mounts.
One doesn't see this view very often...
New mounts (rubber) ready to go...
I did one sid at a time using a floor jack and a 2x6 for support when lifting the body. Here are some finished pics...
Not a very fun job, but it was time to replace those mounts as one can see. I'm glad it's over!!


 03-03-2009, 09:00 PM
#4
Melting Slicks

 I've been putting off doing mine also. I have to admit I'm a little aprehensive about doing it. Don't want to start something that I may not be able to finish. I've putting that off and rebuilding my trailing arms also.

The following users liked this post:
James latert project (10-14-2023)
03-03-2009, 11:32 PM
#7
Burning Brakes


So, is this a body off job....
or can you get to those mounts without lifting the body right off?
Rudi.... Has your ride height changed with the new mounts?
what about issues with panel alignments/gaps ....
I've heard horror stories of misaligning doors, bonnet and body panels due to different settling on the mounts ????
I keep putting my mount replacement off.....
03-04-2009, 12:09 AM
#8
Safety Car
Thread Starter
So, is this a body off job....
or can you get to those mounts without lifting the body right off?
Rudi.... Has your ride height changed with the new mounts?
what about issues with panel alignments/gaps ....
I've heard horror stories of misaligning doors, bonnet and body panels due to different settling on the mounts ????
I keep putting my mount replacement off.....
or can you get to those mounts without lifting the body right off?
Rudi.... Has your ride height changed with the new mounts?
what about issues with panel alignments/gaps ....
I've heard horror stories of misaligning doors, bonnet and body panels due to different settling on the mounts ????
I keep putting my mount replacement off.....
I kept the #2 and #3 mounts in (but loose) and while doing the passenger side and the #6 and #7 in while doing the driver side to help with alignment. I only raised each side approx. 4 inches (doing one side at a time). As far as I can tell everything is the same (no uneven gaps etc).
03-04-2009, 01:24 AM
#9
Le Mans Master

Member Since: Mar 2008
Location: Oxford MA-----You just lost the game!!!!
Posts: 5,948
Likes: 0
Received 62 Likes
on
52 Posts

Wow, same boat, I kinda need to do mine, and I guess it's best to do it before you REALLY need to do it, if ya know what I mean. Musta been tough fighting off the "while-I'm-at-it's" with that kinda job.
Scott
Scott
03-04-2009, 02:01 AM
#10
Pro

Member Since: Dec 2008
Location: Frisco TX
Posts: 531
Likes: 0
Received 0 Likes
on
0 Posts
that happened to me - opened up a real Pandora's box on my '69. I had some rust issues to begin with - thats why the body was pulled to begin with.
both left and right #3 mounts were rotten - both at the frame and on the body. As a result both lower door rails (#2 and #3 mounts) are being replaced.
03-04-2009, 03:44 AM
#11
Melting Slicks

I just ordered a set this week.I will wait till i get the motor out of the car, i have the entire drive train out anyway so this will make life a bit easier i hope?
03-04-2009, 10:03 AM
#12
Melting Slicks
Good job, I need to do the same on 76. I also need to paint the frame, which it looks like you might could almost scrape a little and dab rust converter in the space on top.
It would be great if you could post some directions on how you did this. For example do you need to remove the front and rear bumper (assume this is an 82 from your profile)? and where & how do you jack to avoid cracking the fiberglass.
One other question, my fuel line is spliced where it rusted out above gusset in front of RR tire. Do you think you could install this fuel line at the same time?
Much thanks.
Last edited by 20mercury; 03-04-2009 at 10:07 AM.
03-04-2009, 11:07 AM
#13
Safety Car
Thread Starter
Good job, I need to do the same on 76. I also need to paint the frame, which it looks like you might could almost scrape a little and dab rust converter in the space on top.
It would be great if you could post some directions on how you did this. For example do you need to remove the front and rear bumper (assume this is an 82 from your profile)? and where & how do you jack to avoid cracking the fiberglass.
One other question, my fuel line is spliced where it rusted out above gusset in front of RR tire. Do you think you could install this fuel line at the same time?
Much thanks.
It would be great if you could post some directions on how you did this. For example do you need to remove the front and rear bumper (assume this is an 82 from your profile)? and where & how do you jack to avoid cracking the fiberglass.
One other question, my fuel line is spliced where it rusted out above gusset in front of RR tire. Do you think you could install this fuel line at the same time?
Much thanks.
Good questions. Yes, I did this on my 82.
Things I removed or loosened include
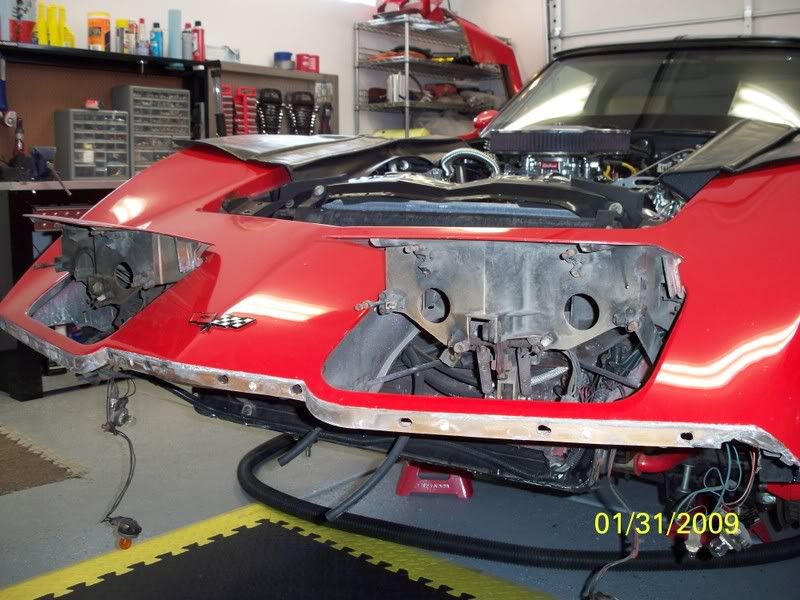
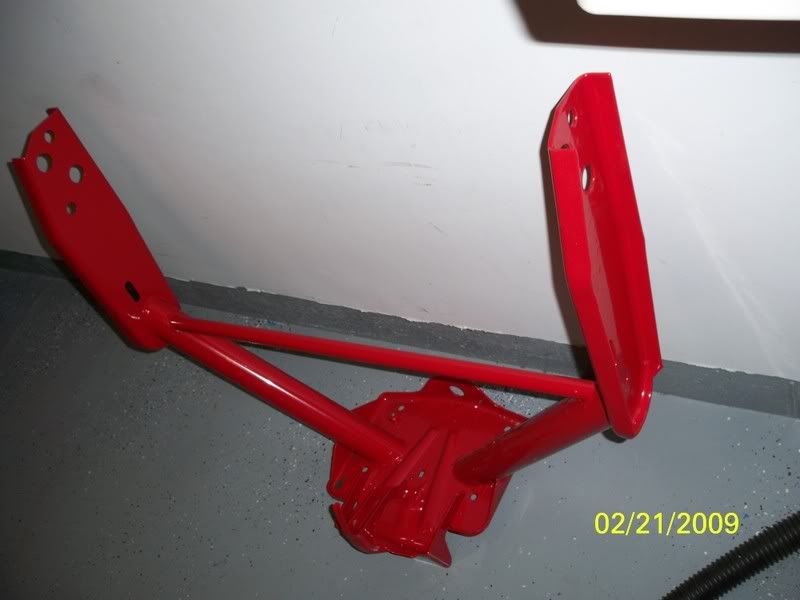
1. Front bumper, pay attention to where the front brace bolts to the body at the nose.


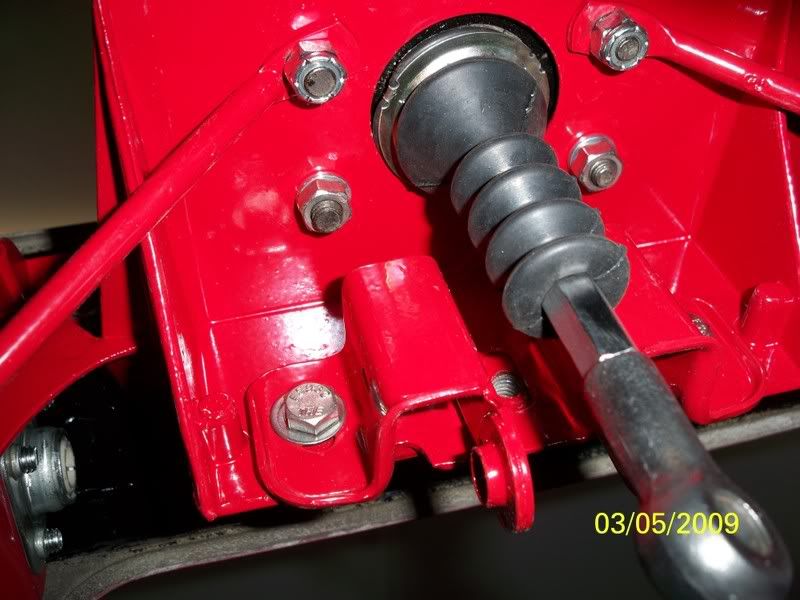
2. Unbolted the steering box from the frame. Left it coupled to the steering column.
3. Unbolted the master cylinder from the vacuum assist and supported it.
4. Removed the grounding strap by the #1 mount.
5. Unplugged the brake sensor from the brake line distribution block.
6. Removed the side trim on both sides. This is where I placed the 2x6 along the entire length for jacking.
With my car it was not necessary to remove the rear bumper.
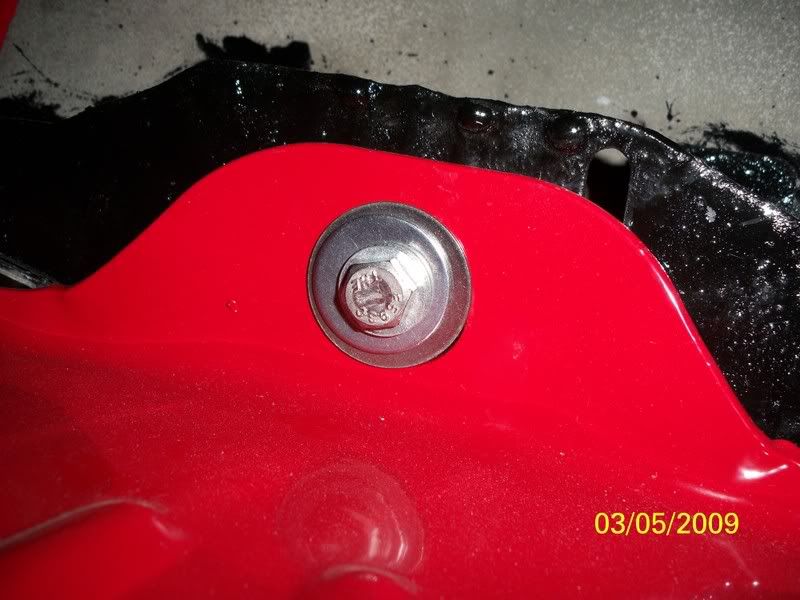
I only jacked the body up 4 inches and did one side at a time. As you can see from the pics I used a little POR 15 on the mounts and tops of the frame rails (no pics of finished frame rails).
Cleaned up the headlight sub-assemblies and front brace while I was there.


Hope this helps a little!!

Last edited by rudolph schenker; 03-05-2009 at 09:16 PM. Reason: more pics
03-04-2009, 11:08 AM
#14
Pro
Member Since: Dec 2008
Location: Frisco TX
Posts: 531
Likes: 0
Received 0 Likes
on
0 Posts
So, is this a body off job....
or can you get to those mounts without lifting the body right off?
Rudi.... Has your ride height changed with the new mounts?
what about issues with panel alignments/gaps ....
I've heard horror stories of misaligning doors, bonnet and body panels due to different settling on the mounts ????
I keep putting my mount replacement off.....
or can you get to those mounts without lifting the body right off?
Rudi.... Has your ride height changed with the new mounts?
what about issues with panel alignments/gaps ....
I've heard horror stories of misaligning doors, bonnet and body panels due to different settling on the mounts ????
I keep putting my mount replacement off.....
should not have to worry about any height differences with a chrome bumper car - the '68-'72 body mounts are solid - no rubber. I just ordered a kit for my '69 model
03-04-2009, 11:29 AM
#15
Safety Car

Nice Detail Rudolf!!! I wish you did that last fall. I searched every website for picks and info on are late model C3s with no luck. Everyone was doing an early 70s so I paid a guy to do mine for about $500. I wish I did do it so I could have touch up a lot of stuff like you. This thread should be a sticky or in a DYI site. Great Job
03-04-2009, 11:51 AM
#16
Safety Car
Thread Starter
Nice Detail Rudolf!!! I wish you did that last fall. I searched every website for picks and info on are late model C3s with no luck. Everyone was doing an early 70s so I paid a guy to do mine for about $500. I wish I did do it so I could have touch up a lot of stuff like you. This thread should be a sticky or in a DYI site. Great Job
03-05-2009, 07:54 AM
#18
Tech Contributor

Very nice job,did you put some never seize on those bolts? Not that you're going to have to replace them for a very LONG time. That's going to be a great cruising car!
03-05-2009, 10:01 AM
#19

This is one of the best threads I've seen in a long time. Awesome job and great pictures! Thanks for going back through with the step by step instructions.
Just have one question - How did you get the body mounts clean before the Por 15? Wire brush?
Thanks again, Chris
Just have one question - How did you get the body mounts clean before the Por 15? Wire brush?
Thanks again, Chris
03-05-2009, 10:26 AM
#20
Safety Car
Mark,
Very nice work. How many swear words where used?
A couple of bolts loosened and some wire harnesses and fuel lines disconnected and you could of taken the body off. On a scale of 1 to 10 what was difficulty? From your pics your car doesn't look like it needs paint, I guess it is the mystery of pictures.
Again nice work
Last edited by spedaleden; 03-05-2009 at 10:29 AM.