
Sandblast Cabinet "Plans"
 12-30-2007, 08:57 PM
#1
Safety Car

Thread Starter
Well, some forum members wanted plans for the sandblast cabinet I built for myself - so here is the info. It was a school project last year, so that is why it looks like a piece of furniture - it had to look good.
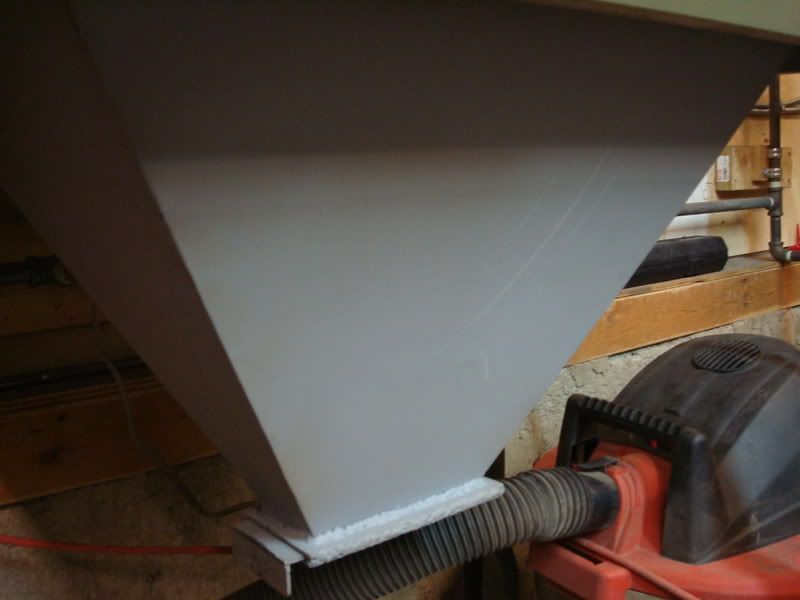
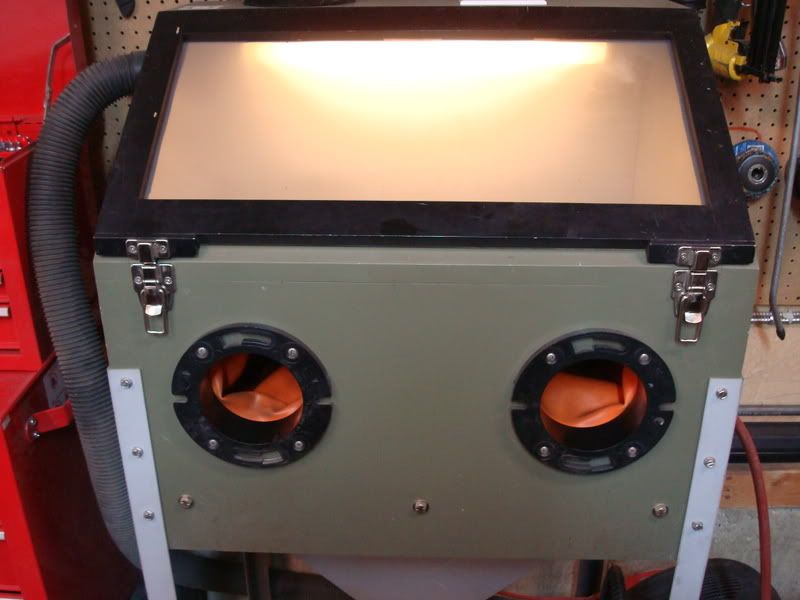
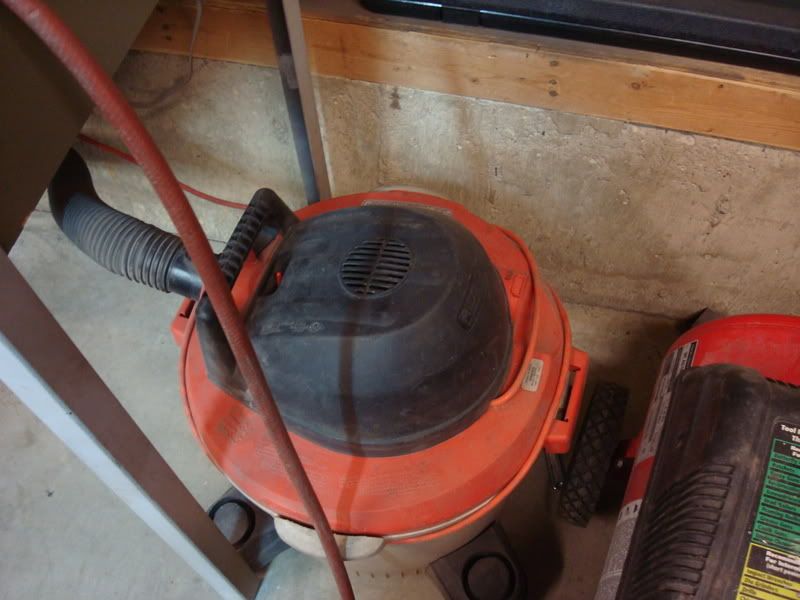
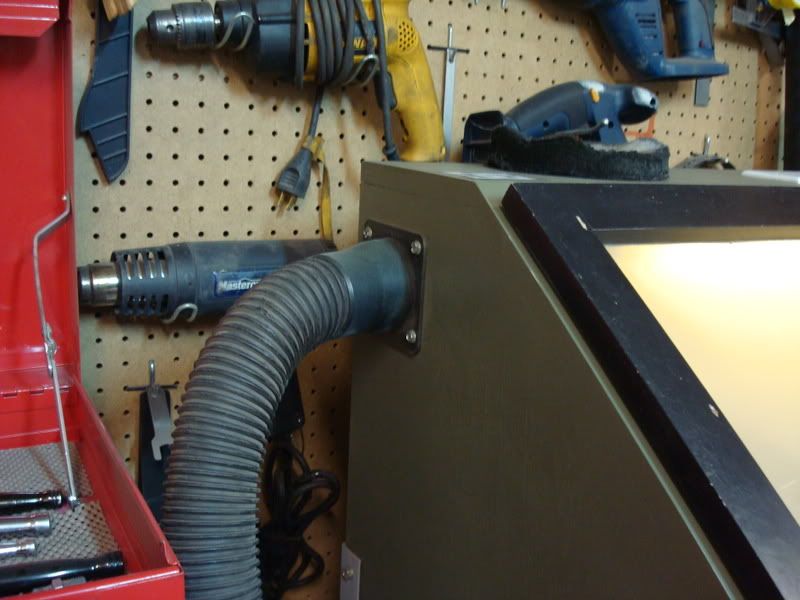
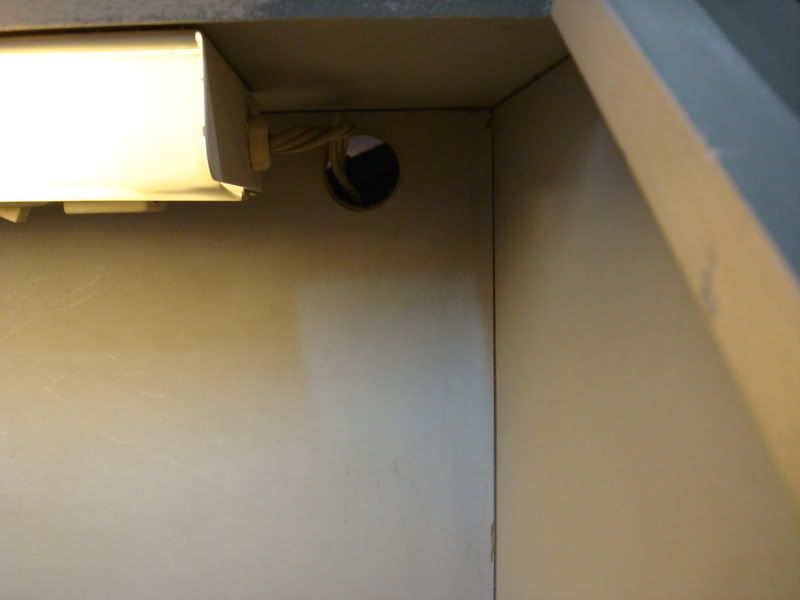
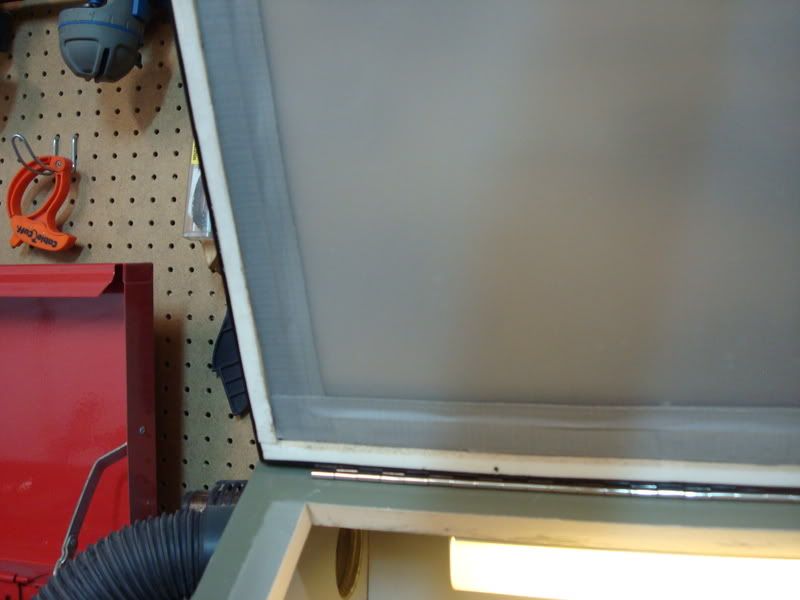
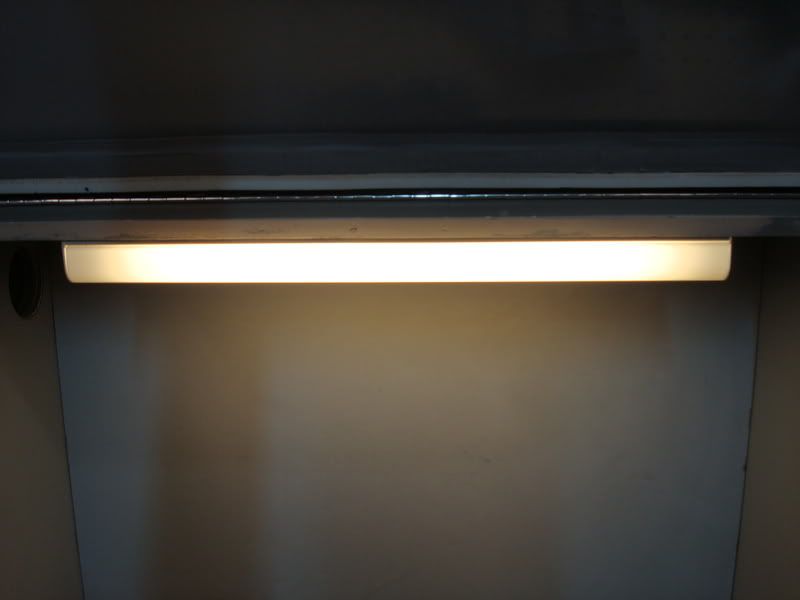
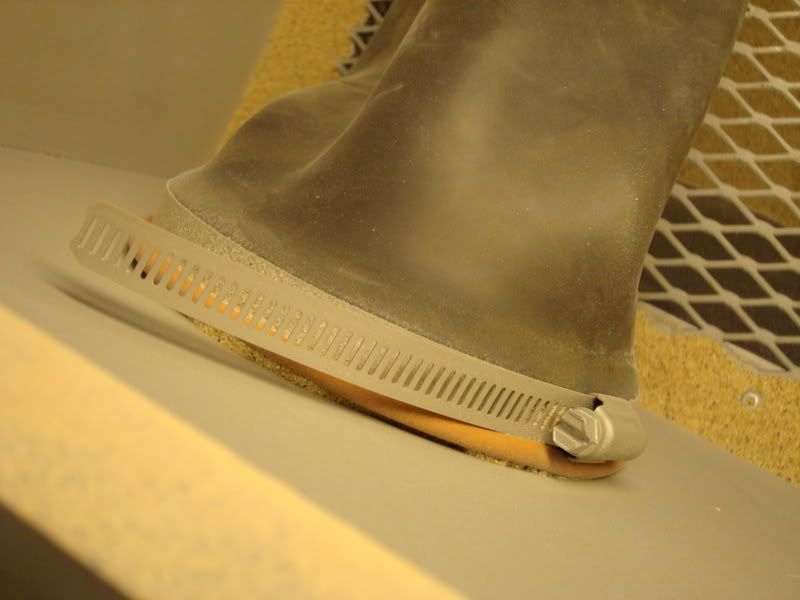
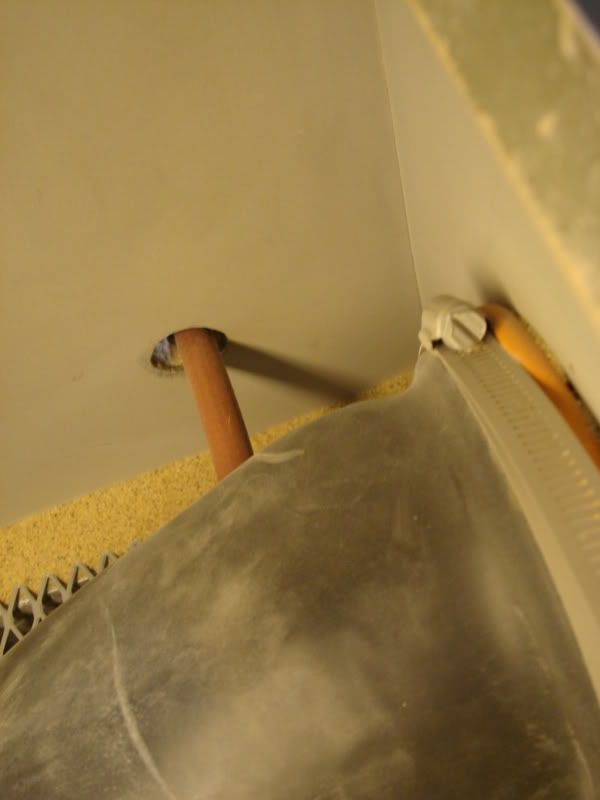
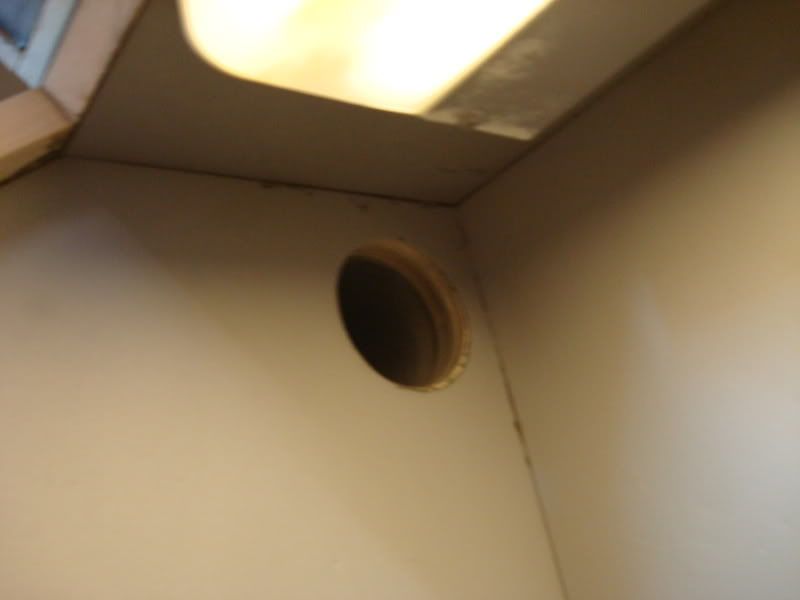
I made the cabinet portion out of 3/4'' ply. The hopper I made out of steel plate. If you want to save money, you could use 3/4'' ply instead. I used metal because of all the angles involved - it would have been a nightmare to try and cut all the angles in 3/4'' ply and then get them to line up. I made the cabinet door out of maple, which I then rabetted the edges of. I then went to Home Depot and got myself a piece of plexiglass which I cut to fit inside the grooves. I secured it with screws along the edge. Now, to prevent having to replace the plexiglass, I taped a clear plastic sheet over the front of the window with duct tape. I didn't really think to much about how I was going to replace the film when the time came. The door is attached to the cabinet top with a piano hinge. When it comes time to replace the film, I unscrew the hinge, take it to my workbench and tape a new sheet on. The entire cabinet was assembled using wood glue and brad nails. Now, this being said, the reason it has held together so well is because I used rabbet joints on everything (you woodworkers out there know what I am talking about). The legs are made out of an old bed frame I had at the side of the house. I welded together a square frame out of the angle iron, then welded that to the top of the hopper - then I bolted the metal frame to the cabinet top. The latch to remove the sand from the hopper is nothing more than two pieces of steel plate with squares cut out of the middle. I welded those together and left an 1/8'' gap in between the plates. I then cut a piece of steel which slides into this "channel" and welded a piece of angle onto one of the ends so I could remove it with a hammer. When I want to replace the sand, I take a hammer and keep hitting on the angle iron welded on the edge of the plate - then the sand falls into a bucket. The glove "flanges" are from the plumbing department at Home Depot - they are actually used for toilets! I cut two large holes and screwed them into place. The gloves clamp onto this flange using a pipe clamp. My teacher had some stainless steel sheeting he didn't need anymore, so I took the sheets, cut them to the size of the cabinet and contact cemented them to the interior. I also Used weather stripping foam on the perimeter of the door - this helps keep sand in and also helps the shop-vac create a seal, thus letting all the dust get sucked into the vacuum. The cabinet works great - I couldn't be any happier. I think the total came to around $200. This all being said, it can be built for a lot cheaper. I highly recommend the you plan the build out before you dive in - it will save you a lot of frustration. Estimate how much all the materials are going to cost you then decide if it is worth building - you may be able to get a cheaper one from Princess Auto (Canada's version of Harbor Freight) I will post some dimensions later on tonight...don't worry


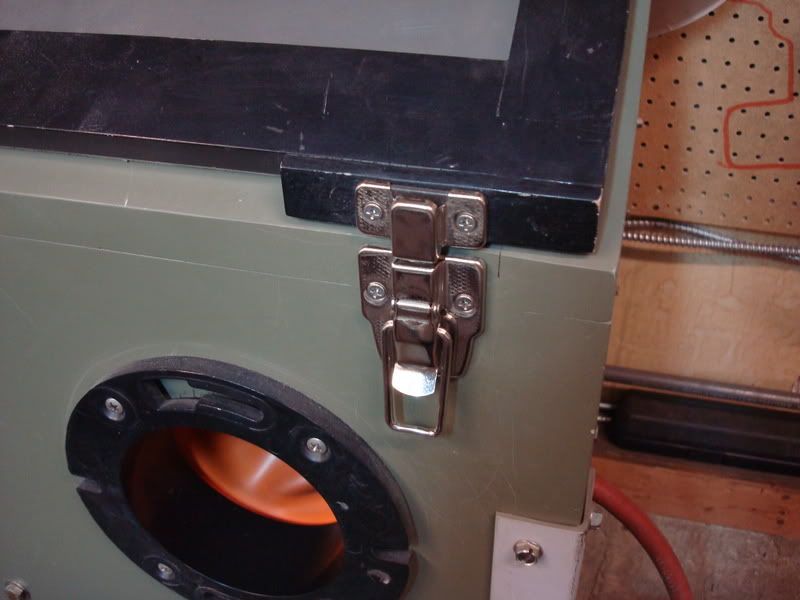

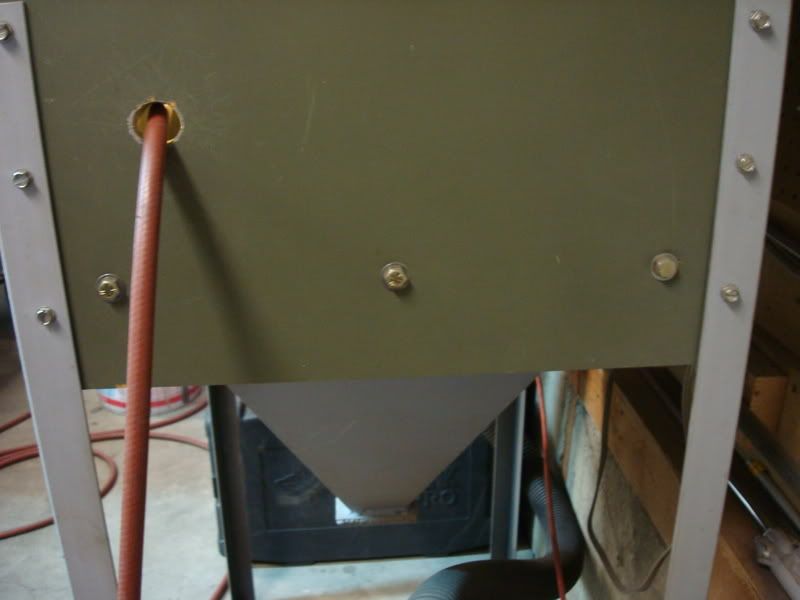


I made the cabinet portion out of 3/4'' ply. The hopper I made out of steel plate. If you want to save money, you could use 3/4'' ply instead. I used metal because of all the angles involved - it would have been a nightmare to try and cut all the angles in 3/4'' ply and then get them to line up. I made the cabinet door out of maple, which I then rabetted the edges of. I then went to Home Depot and got myself a piece of plexiglass which I cut to fit inside the grooves. I secured it with screws along the edge. Now, to prevent having to replace the plexiglass, I taped a clear plastic sheet over the front of the window with duct tape. I didn't really think to much about how I was going to replace the film when the time came. The door is attached to the cabinet top with a piano hinge. When it comes time to replace the film, I unscrew the hinge, take it to my workbench and tape a new sheet on. The entire cabinet was assembled using wood glue and brad nails. Now, this being said, the reason it has held together so well is because I used rabbet joints on everything (you woodworkers out there know what I am talking about). The legs are made out of an old bed frame I had at the side of the house. I welded together a square frame out of the angle iron, then welded that to the top of the hopper - then I bolted the metal frame to the cabinet top. The latch to remove the sand from the hopper is nothing more than two pieces of steel plate with squares cut out of the middle. I welded those together and left an 1/8'' gap in between the plates. I then cut a piece of steel which slides into this "channel" and welded a piece of angle onto one of the ends so I could remove it with a hammer. When I want to replace the sand, I take a hammer and keep hitting on the angle iron welded on the edge of the plate - then the sand falls into a bucket. The glove "flanges" are from the plumbing department at Home Depot - they are actually used for toilets! I cut two large holes and screwed them into place. The gloves clamp onto this flange using a pipe clamp. My teacher had some stainless steel sheeting he didn't need anymore, so I took the sheets, cut them to the size of the cabinet and contact cemented them to the interior. I also Used weather stripping foam on the perimeter of the door - this helps keep sand in and also helps the shop-vac create a seal, thus letting all the dust get sucked into the vacuum. The cabinet works great - I couldn't be any happier. I think the total came to around $200. This all being said, it can be built for a lot cheaper. I highly recommend the you plan the build out before you dive in - it will save you a lot of frustration. Estimate how much all the materials are going to cost you then decide if it is worth building - you may be able to get a cheaper one from Princess Auto (Canada's version of Harbor Freight) I will post some dimensions later on tonight...don't worry

 12-30-2007, 10:47 PM
#6
Melting Slicks

Member Since: May 2006
Location: Nashville TN
Posts: 2,511
Received 347 Likes
on
253 Posts
St. Jude Donor '09

Stinger, GREAT JOB & PICS!!! I have been eye-balling the SB cabinets at HF too and was disappointed in the feedback from the CF. I like your approach (build your own). I think I may take a crack at building a "custom" box too. Thanks for sharing!!!

 12-30-2007, 11:34 PM
#9
Former Vendor
Member Since: Aug 2006
Location: Jeffersonville Indiana 812-288-7103
Posts: 76,656
Received 1,813 Likes
on
1,458 Posts
St. Jude Donor '08-'09-'10-'11-'12-'13-'14-'15
We have a real old industrial blasting cabinet and there may be modifications (suggestions) that would make Stinger’s even better at a fraction of the price!
The Harbor cabinet comes with a plastic film you can peal away to make the view clearer when it becomes cloudy. A mess to deal with and fine if you only blast a few items every month or so!
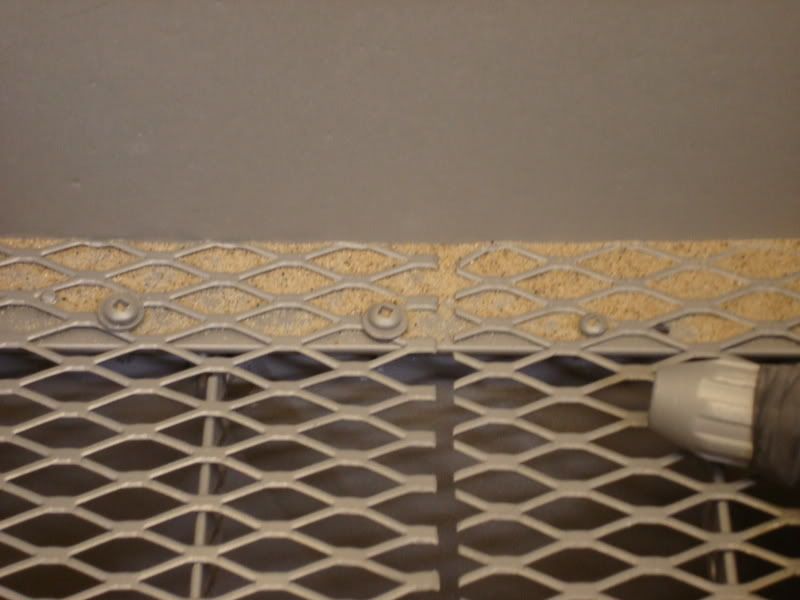
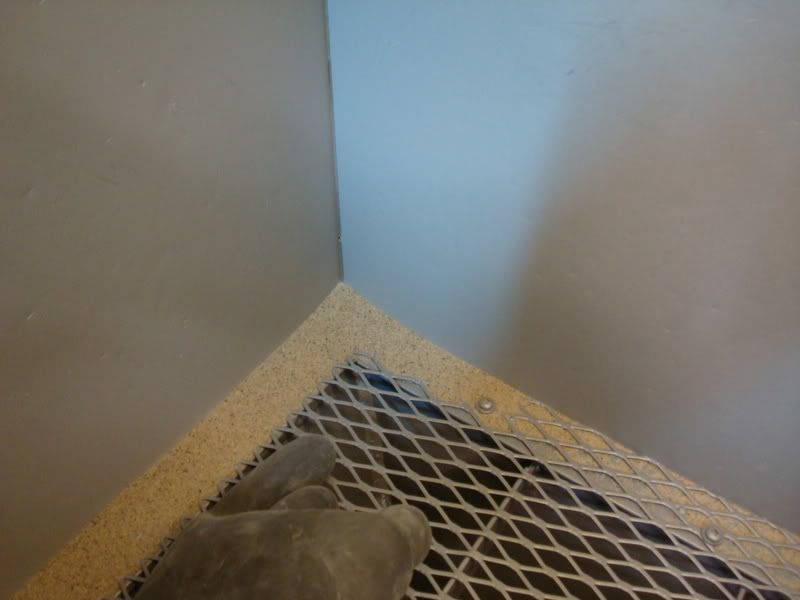
Or industrial cabinet has a fine wire screen under the glass for viewing! Having this keeps the sand from etching the glass. The only problem is that sand will accumulate between the wire screen and the glass. Solution: Our cabinet has an extra hose inside for blowing away the dust from the glass! It’s just a standard air hose that is T-ed off from the supply line. This is real handy when you have the fine powder that accumulates around the glass.
Our cabinet would cost an over a few thousand dollars and has a self contained filter for separating the fine dust from the good sand, a catch basin and do da do da. . . . Hey, it’s industrial and not for home use!
If stinger is interested I can take some pictures and email them to you on the blower hose and the screen.
I must say that Stinger might want to market this! It looks way better than those generic cabinets I’ve seen at the flea markets and Harbor Freight!
The cabinet shown is a perfect example of a great cabinet! Excellent job! I mean down right perfect for the home use!
Heck you want to make them, well sell them on the site for you!
Willcox Inc.
The Harbor cabinet comes with a plastic film you can peal away to make the view clearer when it becomes cloudy. A mess to deal with and fine if you only blast a few items every month or so!
Or industrial cabinet has a fine wire screen under the glass for viewing! Having this keeps the sand from etching the glass. The only problem is that sand will accumulate between the wire screen and the glass. Solution: Our cabinet has an extra hose inside for blowing away the dust from the glass! It’s just a standard air hose that is T-ed off from the supply line. This is real handy when you have the fine powder that accumulates around the glass.
Our cabinet would cost an over a few thousand dollars and has a self contained filter for separating the fine dust from the good sand, a catch basin and do da do da. . . . Hey, it’s industrial and not for home use!
If stinger is interested I can take some pictures and email them to you on the blower hose and the screen.
I must say that Stinger might want to market this! It looks way better than those generic cabinets I’ve seen at the flea markets and Harbor Freight!
The cabinet shown is a perfect example of a great cabinet! Excellent job! I mean down right perfect for the home use!
Heck you want to make them, well sell them on the site for you!
Willcox Inc.
Last edited by Willcox Corvette; 12-30-2007 at 11:37 PM.
12-30-2007, 11:36 PM
#10
Drifting

Member Since: Apr 2007
Location: Springfield Illinois
Posts: 1,892
Likes: 0
Received 3 Likes
on
3 Posts


You've have done great work with project. I love going to your resto thread and checking the updates. You're going to end up with a car that will blow the original '76 away in many categories from looks and performance to durability and more. Keep up the great work!
If you would, could you please provide us with the plans to construct a C3 dolly such as the one your car rests on?
Last edited by FRSTR90; 12-30-2007 at 11:38 PM.
12-31-2007, 04:18 AM
#12
Safety Car
Thread Starter
Thanks guys I really appreciate it. I plan on doing something with Corvettes when I finish university (start next year). I'm looking at opening my own shop - I don't know if it is going to work out, but I am going to give it a shot. I don't really have plans for the body dolly I made...I threw those out after I made it too (woops, not again). I think kaiserbud has some real nice plans that I saved to my computer a while back - I found them after I made the plans for mine (figures). I'll post the cabinet dimensions tomorrow...maybe even some before and after pics of parts being sandblasted to show how well it works. The best part about building it yourself is that you can build it to a size which is suitable for you.
). I think kaiserbud has some real nice plans that I saved to my computer a while back - I found them after I made the plans for mine (figures). I'll post the cabinet dimensions tomorrow...maybe even some before and after pics of parts being sandblasted to show how well it works. The best part about building it yourself is that you can build it to a size which is suitable for you.
12-31-2007, 04:25 AM
#13
Safety Car
Thread Starter
I must say that Stinger might want to market this! It looks way better than those generic cabinets I�ve seen at the flea markets and Harbor Freight!
The cabinet shown is a perfect example of a great cabinet! Excellent job! I mean down right perfect for the home use!
Heck you want to make them, well sell them on the site for you!
Willcox Inc.
The cabinet shown is a perfect example of a great cabinet! Excellent job! I mean down right perfect for the home use!
Heck you want to make them, well sell them on the site for you!
Willcox Inc.
12-31-2007, 12:58 PM
#14
Safety Car
Thread Starter
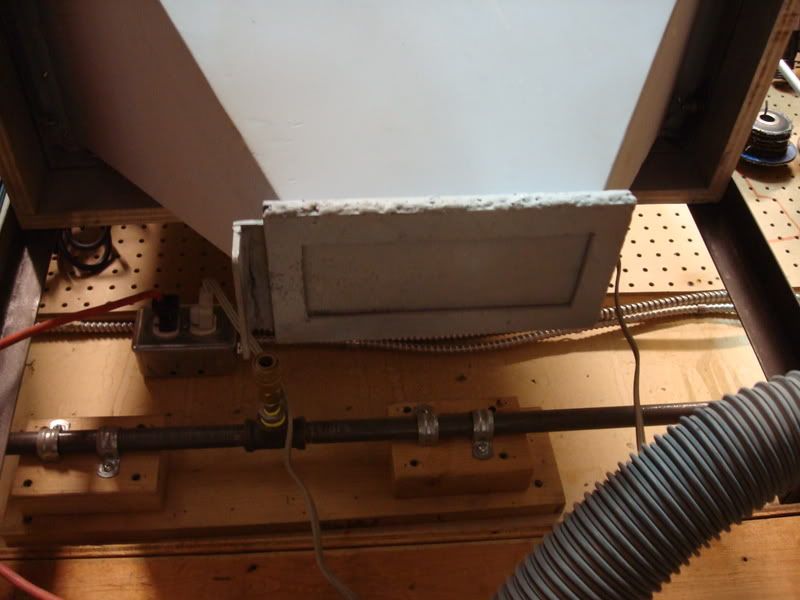
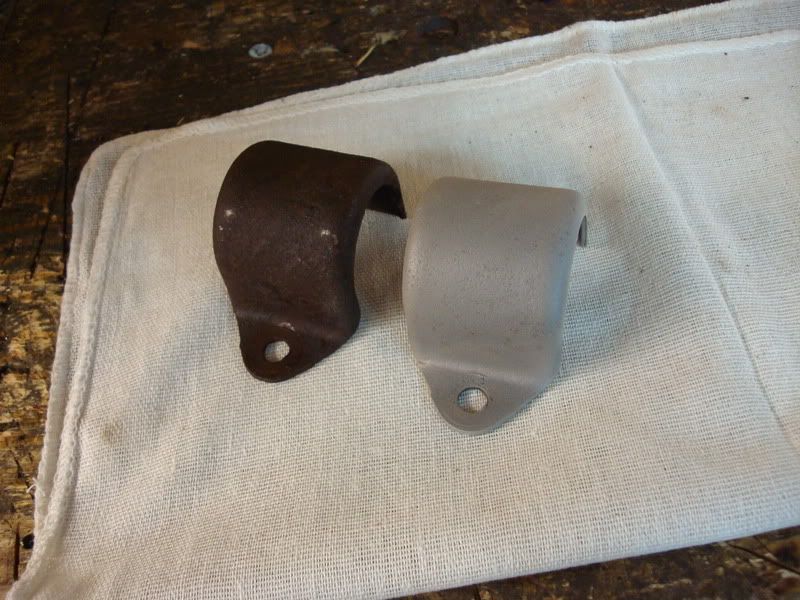
Here is an example of how good the cabinet works.
I need to get my big compressor back up and running again - it needs to go in for repair. I have this little one right now...it used to be my old one. Its oiless, runs constantly and makes more noise than the big one.
I need to get my big compressor back up and running again - it needs to go in for repair. I have this little one right now...it used to be my old one. Its oiless, runs constantly and makes more noise than the big one.
 01-02-2008, 03:12 PM
#16
my dads got an old blasting cabinet that gets used every day for the last 15 years. we still use the original Plexiglass window on it. how? simple, cut a piece of plastic thats fits under the plexi window. depending on how heavily the blaster gets used, it normally gets changed about 2-3 times a day. takes all of 2 mins to replace the plastic and be back up and running again.
01-02-2008, 03:34 PM
#17
Team Owner

my dads got an old blasting cabinet that gets used every day for the last 15 years. we still use the original Plexiglass window on it. how? simple, cut a piece of plastic thats fits under the plexi window. depending on how heavily the blaster gets used, it normally gets changed about 2-3 times a day. takes all of 2 mins to replace the plastic and be back up and running again.
01-02-2008, 03:56 PM
#18
Safety Car
its not neerly as expensive as replacing the lexan. We do the same thing with our blaster, have never changed the window, just the plastic. we also have a wheel blaster, which is realy cool, uses steel shot and is fully automatic.
01-02-2008, 04:16 PM
#19
Team Owner
where do you get the plastic so cheap ???
01-02-2008, 04:31 PM
#20
an arts and crafts store just a couple blocks down. i dont know the exact dimensions of the roll we get, but we normally go through about 2 rolls a year. they cost maybe 15-20 bucks a roll tops.